The gap between Nano Banana 2 and Nano Banana Pro comes down to one spec: native 4K output. Both models share the same foundational architecture, and both produce photorealistic results that have made them popular among AI image creators. But the moment you need to print large, display on a 4K screen, or crop into an image without losing quality, the difference stops being theoretical and starts costing you time and money.
This breakdown details what actually changes at 4K, where Nano Banana 2 still wins on speed, and how to close the gap between the two using AI upscalers when you need to stretch a standard-resolution output.
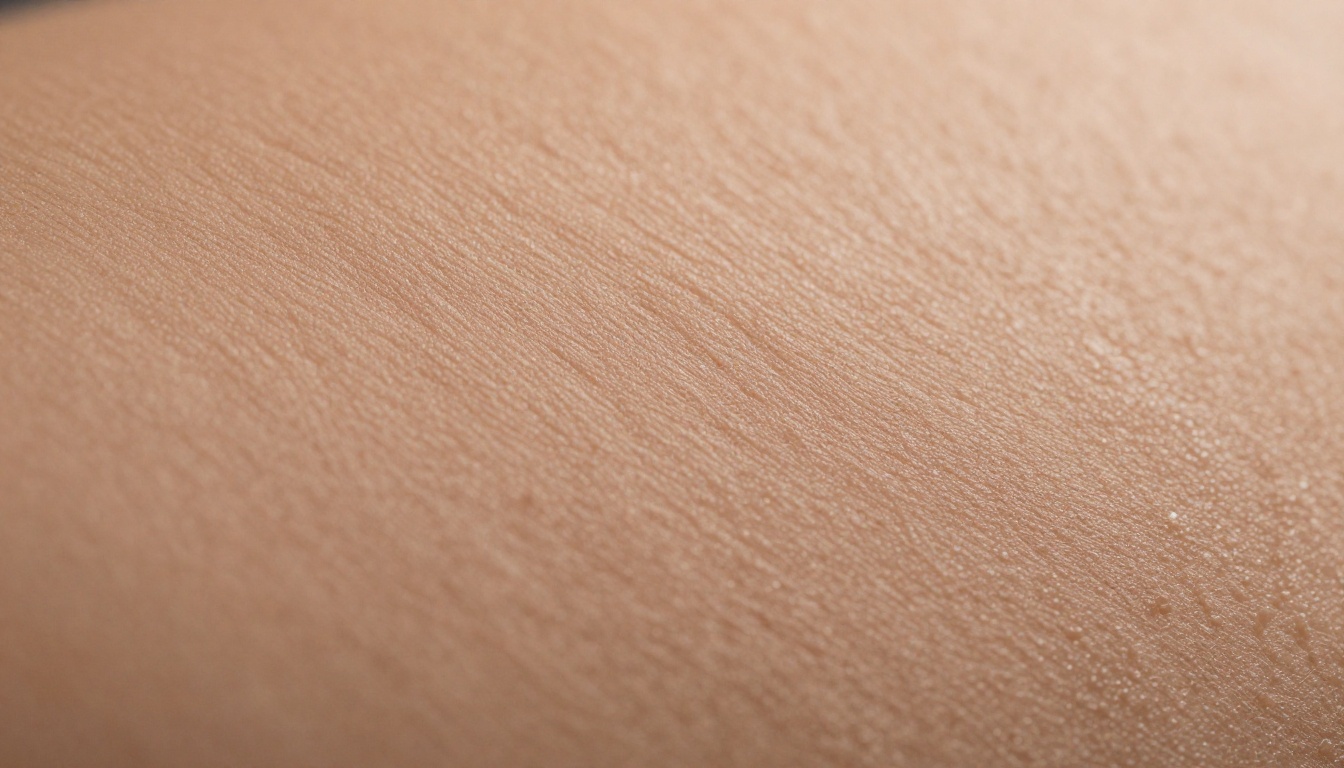
What Nano Banana 2 Actually Delivers
Nano Banana 2 outputs images at 1920x1080 (Full HD) as its native ceiling. For most digital use cases, that is more than sufficient. Social media posts, blog headers, digital ads, and website visuals all live comfortably at this resolution. The model processes requests quickly because it is generating roughly 2.07 megapixels per image, and that lower computational load translates directly into faster turnaround.
The strength of Nano Banana 2 is throughput. When you need 20 product mockups, 15 social media assets, or a batch of blog images within a deadline, the speed difference between Full HD and 4K generation is not trivial. Teams running high-volume content pipelines consistently prefer the faster model for iterative and approval-stage work.
What Full HD output handles well:
- Instagram and TikTok content (max 1080p displays)
- Website hero images and banners
- Digital advertising campaigns at screen resolution
- Rapid concept iteration and prototyping
- Email newsletter graphics and thumbnails
The limitation shows up the moment you need to crop. If you generate an environmental shot and want to zoom in on a specific detail, at 1080p you hit the pixel ceiling fast. You either accept a blurry crop or you reach for an upscaler afterward. Both options add steps that native 4K generation avoids entirely.
💡 Tip: When using Nano Banana 2 outputs for web delivery, pair them with P Image Upscale to push Full HD results to 2x or 4x without visible quality loss in under 60 seconds.
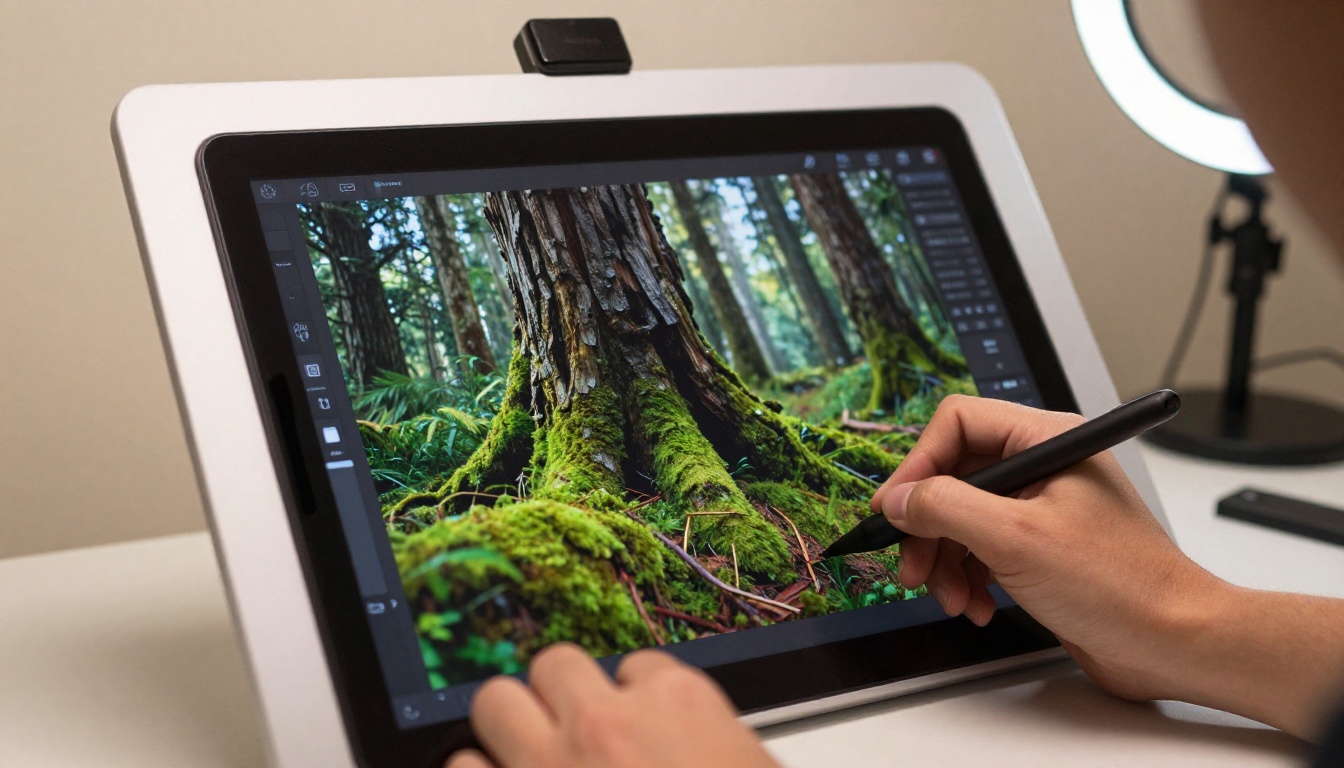
Where Nano Banana Pro Goes Further
Nano Banana Pro outputs at 3840x2160 (4K UHD) natively, which means it is generating approximately 8.29 megapixels per image. That is four times the pixel count of Nano Banana 2's ceiling. Four times the data in every single image.
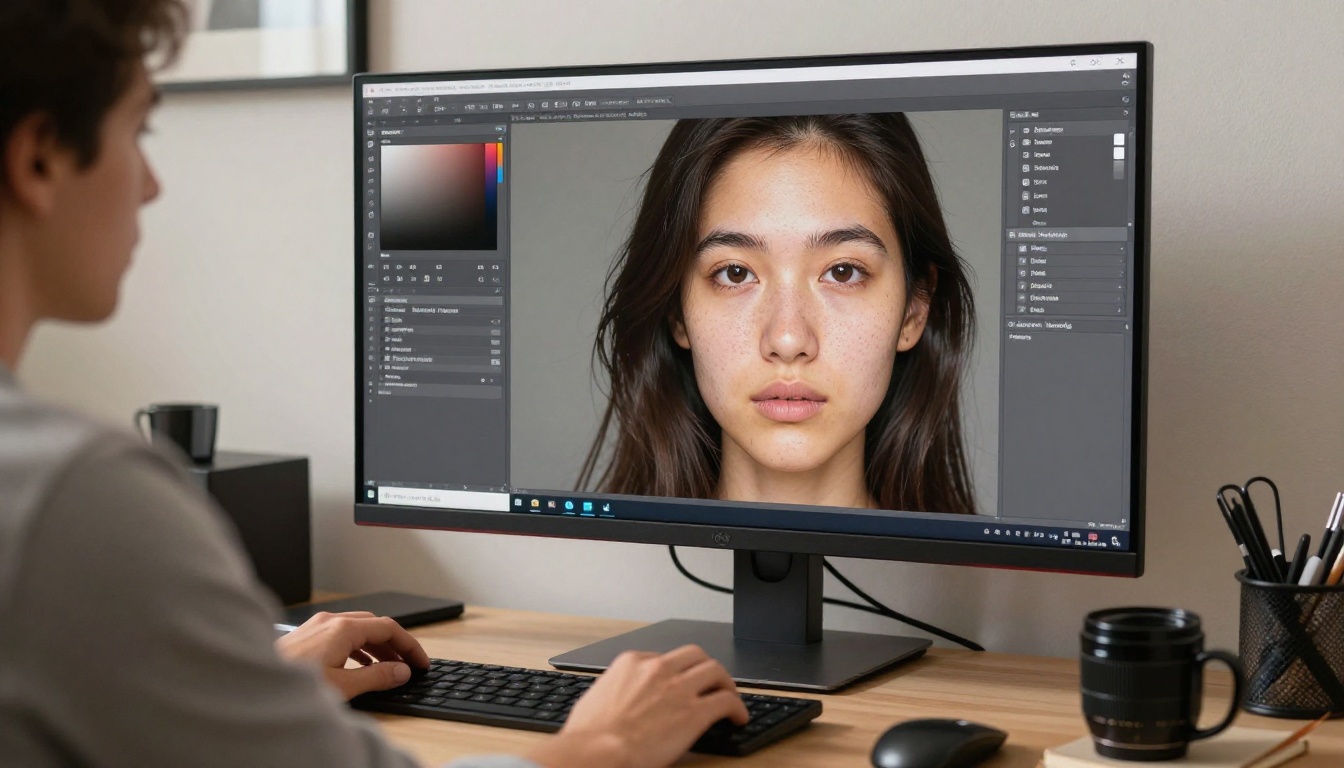
At that pixel density, the model captures micro-details that simply do not exist in a Full HD output: individual fabric threads in clothing, sub-millimeter skin pores in portrait work, the fine grain direction of wooden surfaces, the way light refracts through glass edges. These details are not something you can add back in post-processing. They either exist in the native generation or they do not, and no upscaler can invent accurate detail from nothing, only approximate it.
Where 4K native output is non-negotiable:
- Print work at A2 size and above (requires minimum 200 DPI at final print dimensions)
- 4K digital signage and large-format display advertising
- Product photography for e-commerce at high zoom levels
- Stock image submissions (major agencies require 4K minimum for premium licensing tiers)
- Cropping flexibility in editorial and commercial workflows
The processing overhead is real. Nano Banana Pro takes longer per image because the model is computing four times the pixel information. For high-volume batch work, that time cost accumulates into a significant constraint. But for premium output situations where quality is the deliverable, there is no substitute for the native resolution.
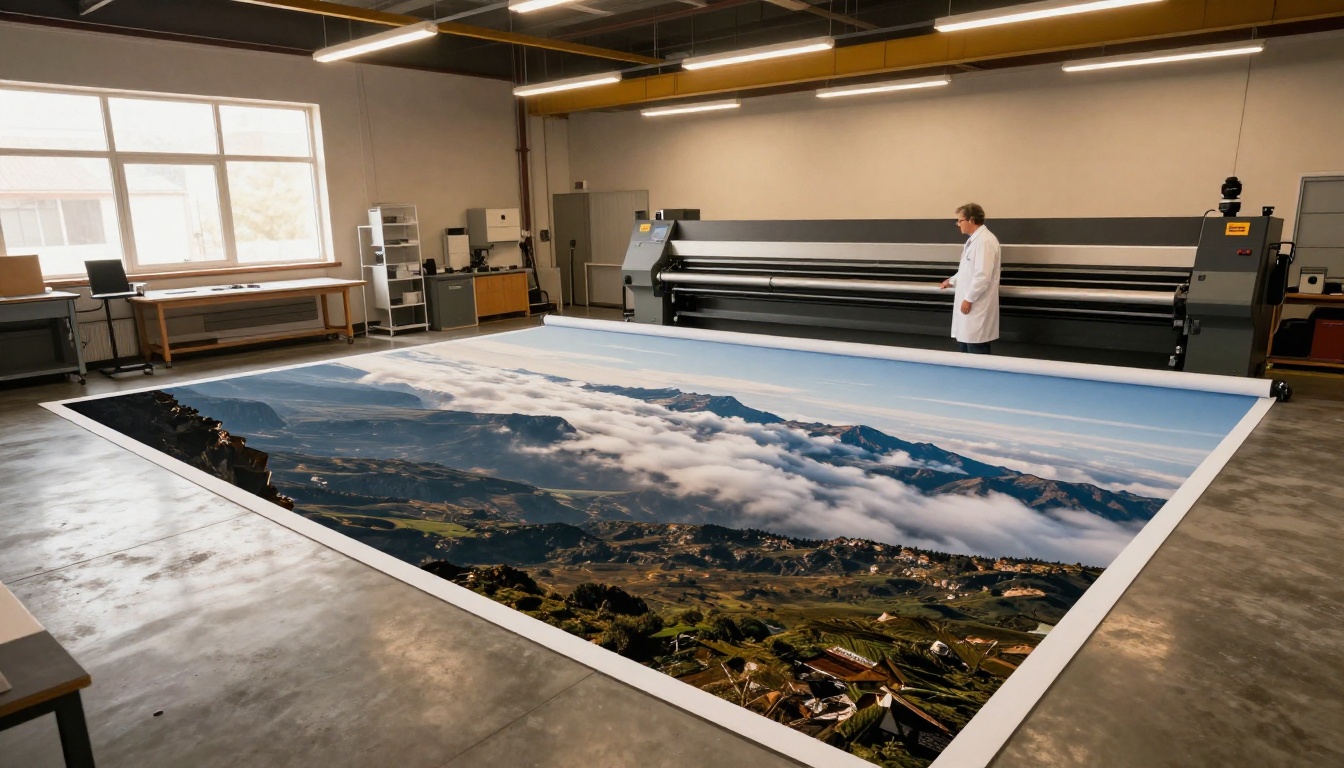
Why Pixel Density Changes Print Quality
The relationship between pixel count and print quality is fixed physics. Standard print resolution for professional output is 300 DPI. When you divide image pixel dimensions by 300, you get the maximum print size at full quality. There is no shortcut around this calculation.
| Resolution | Pixel Count | Max Print at 300 DPI | Max Print at 150 DPI |
|---|
| Nano Banana 2 (1080p) | 2.07 MP | 6.5 x 3.6 inches | 13 x 7.3 inches |
| Nano Banana Pro (4K) | 8.29 MP | 12.8 x 7.2 inches | 25.6 x 14.4 inches |
| After 4x AI Upscale | 33.17 MP | 25.6 x 14.4 inches | 51.2 x 28.8 inches |
The numbers explain why photographers and print designers moved to Nano Banana Pro for anything destined for physical output. A standard 1080p image hits its quality ceiling at roughly A5 size at 300 DPI. A 4K native output fills an A3 at the same quality. That practical difference, not a marketing spec, is what drives the choice between these two models in professional print workflows.
💡 Print workflow tip: Start with Nano Banana Pro's 4K output, then run it through Clarity Pro Upscaler for an additional 2x or 4x boost. The result is a wall-print-ready file from a single AI generation session with no re-work.
Detail Retention in Complex Scenes
Resolution alone does not tell the complete story. Detail retention at 4K is what separates usable crops from unusable ones.
When Nano Banana Pro generates a forest scene at 4K, the background foliage contains individually distinct leaves with visible vein structures. The foreground bark has directional grain and moisture variations. Shadows carry depth gradients that read as photorealistic at 100% zoom. When you take that same prompt in Full HD from Nano Banana 2, the background foliage merges into a textured blur and the bark becomes a flat surface with suggested, not rendered, texture.
This matters most in three content categories where buyers and editors examine output closely:
1. Nature and landscape photography substitutes where background elements need to hold up under scrutiny from stock agencies and editorial clients who zoom in during the review process.
2. Architecture and interior renders where tile grout, wood grain, and fabric weave need photorealistic detail for client presentations and contractor reference images.
3. Portrait work where skin texture, hair strand separation, and eye catch-light detail determine whether an output is viable in beauty, fashion, or commercial photography replacement contexts.
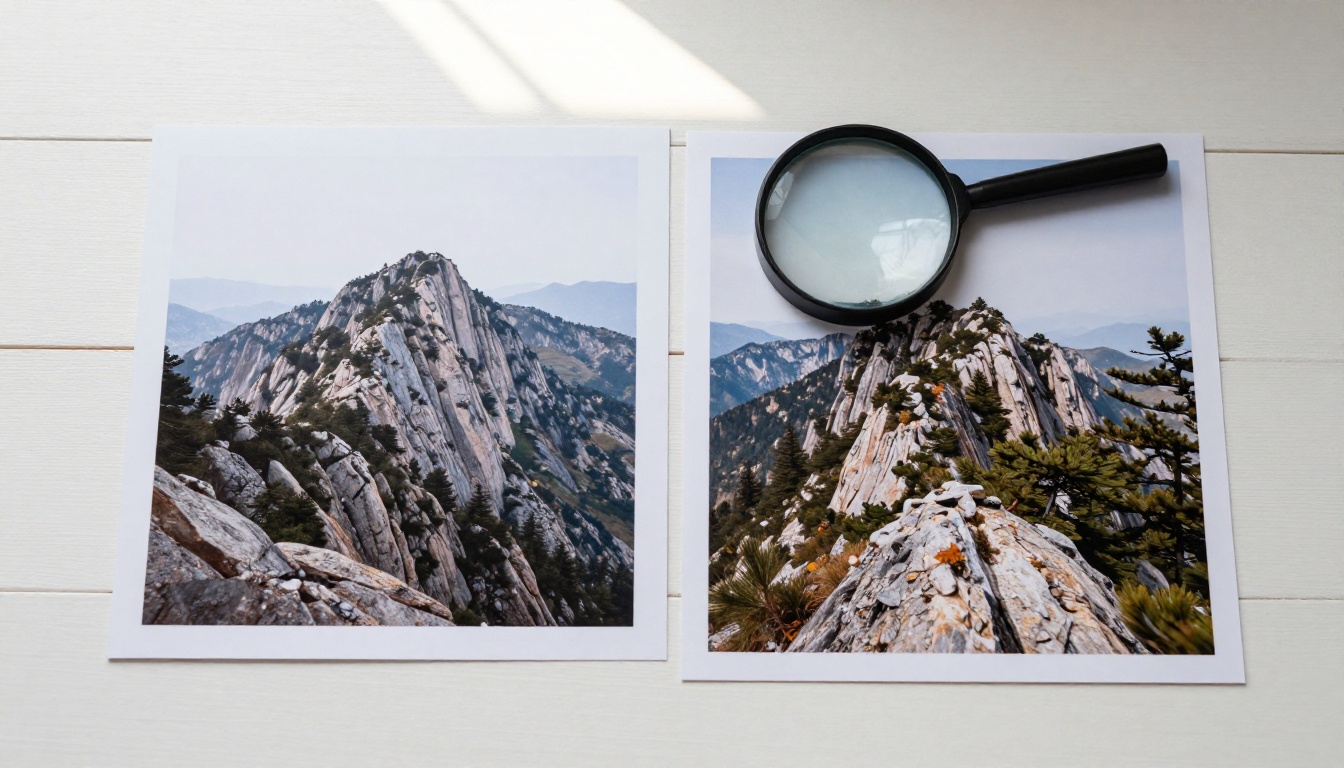
Speed vs. Quality in Real Workflows
The honest answer to "which model is faster" is Nano Banana 2, consistently. The real question is whether the time difference matters for your specific production context.
For teams running social content at volume, speed wins outright. A campaign producing 50 variations per week does not need 4K assets. The time saved by running Nano Banana 2 and accepting Full HD output compounds across every content sprint, reducing generation costs and delivery cycles simultaneously.
For individuals producing premium stock, commercial photography replacements, or print-ready assets, Nano Banana Pro's quality output eliminates the need for a second generation pass or extensive post-processing. One good 4K image often replaces two rounds of Full HD generation plus upscaling, which makes the longer wait time cost-neutral or better.
Workflow decision matrix:
| Use Case | Recommended Version | Reason |
|---|
| Social media content | Nano Banana 2 | Speed over resolution at display sizes |
| Blog and web images | Nano Banana 2 | 1080p exceeds typical screen needs |
| Product e-commerce at zoom | Nano Banana Pro | Crop headroom requires pixel density |
| Print A4 and below | Nano Banana 2 + upscaler | Cost-effective with AI upscaling |
| Print A3 and above | Nano Banana Pro | Native 4K needed without interpolation |
| Stock photography | Nano Banana Pro | Agency resolution minimums enforced |
| 4K digital signage | Nano Banana Pro | Display resolution must match source |
| Concept iteration | Nano Banana 2 | Volume and speed prioritized |
Upscaling Nano Banana 2 Output to 4K
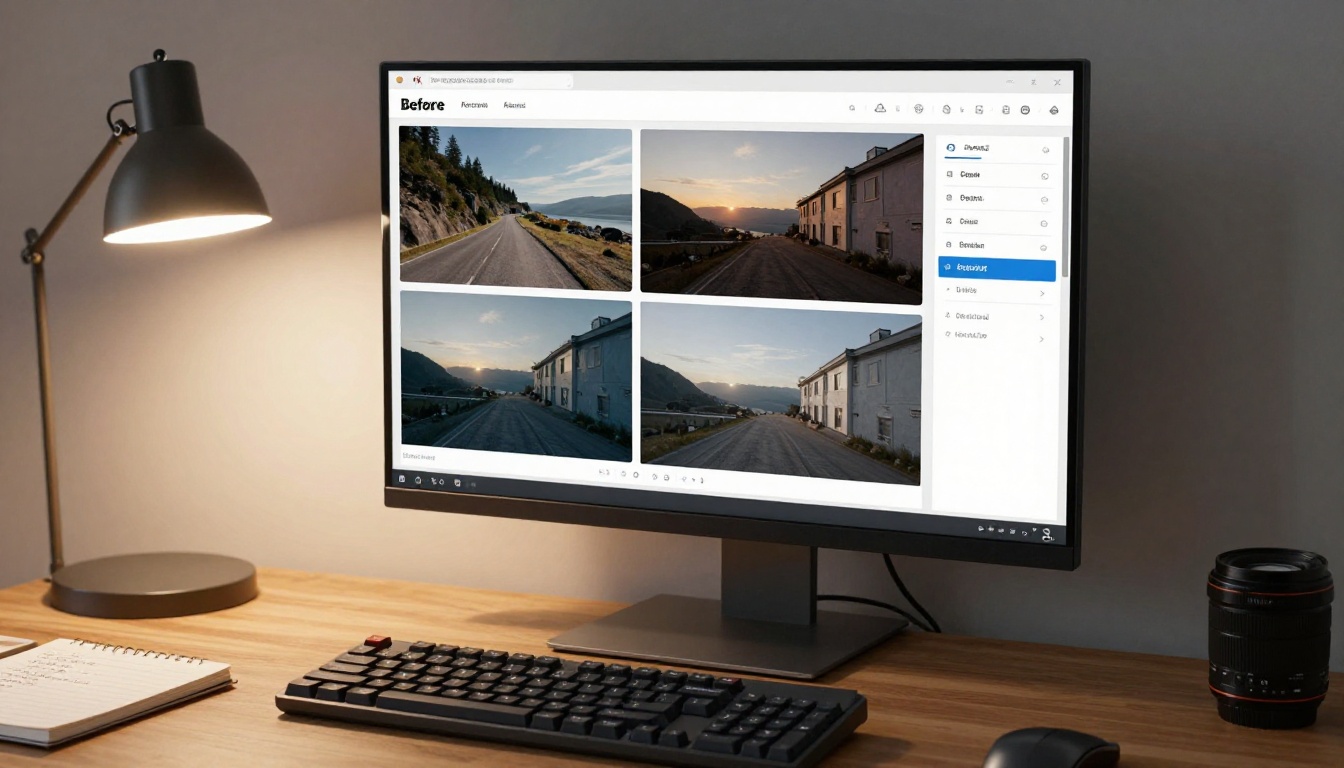
The practical middle ground for most creators is to generate with Nano Banana 2 at Full HD and run the output through a dedicated AI upscaler. This approach captures the speed advantage of the smaller model and recovers most of the detail loss through super-resolution processing. The result is not identical to a native 4K Nano Banana Pro generation, but for many use cases it is close enough to meet delivery requirements.
Not all upscalers produce the same results. The difference between a generic bicubic interpolation and a trained AI super-resolution model is immediately visible in the output at 100% zoom.
AI upscalers that work at 4x:
Real ESRGAN is the most widely tested open model for photorealistic upscaling. It handles natural scenes, landscapes, and architectural content well, though it occasionally over-sharpens fine portrait detail when pushed to 4x on complex faces.
Clarity Pro Upscaler adds genuine detail synthesis rather than simple interpolation. When upscaling AI-generated portraits, it produces believable pore structure and hair texture that holds at large sizes and close viewing distances.
Crystal Upscaler is specifically tuned for portrait and face work. If your Nano Banana 2 output contains human subjects in close or medium range, Crystal Upscaler recovers facial detail that generic models flatten or over-smooth.
Image Upscale by Topaz Labs supports up to 6x magnification, making it the ceiling option for large-format print preparation. Processing time is longer than the others, but quality at maximum scale is the highest available on the platform.
💡 Two-pass workflow: For the clearest results, upscale at 2x first through Increase Resolution, check the output for artifacts, then upscale again to reach 4x. Two-pass upscaling often produces cleaner results than a single 4x pass, especially on AI-generated content with soft backgrounds.
How to Upscale on PicassoIA
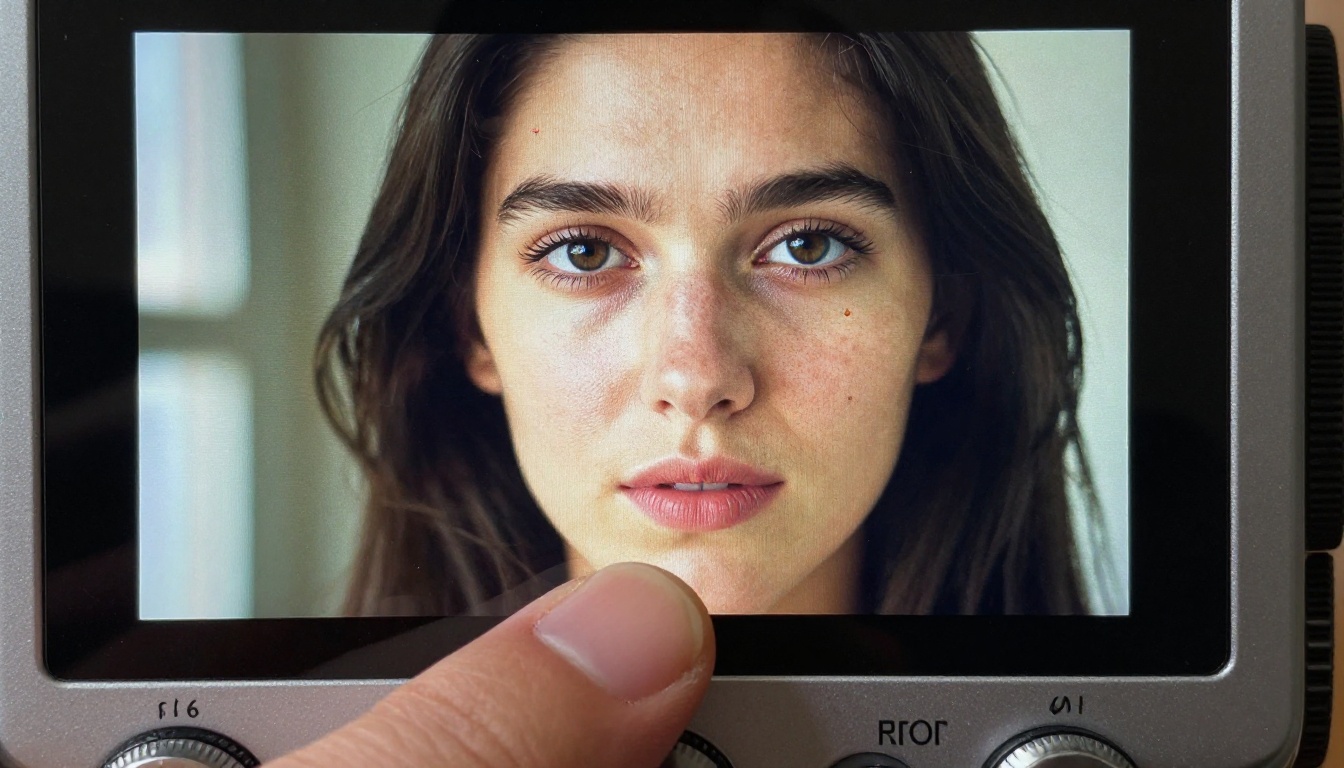
PicassoIA's super-resolution collection makes the upscaling step accessible without requiring local software installation or GPU hardware. Every upscaler in the collection runs through a browser interface with no technical configuration needed.
Step 1: Generate your base image
Start with your Nano Banana 2 output at Full HD. Download the file or copy the image URL from your generation result.
Step 2: Open the upscaler that fits your content
Navigate to the model that matches your material. For photorealistic content and landscapes, start with Real ESRGAN. For portraits and faces, use Crystal Upscaler. For general-purpose quality upscaling with creative detail synthesis, Clarity Pro Upscaler is the default starting point.
Step 3: Set the scale factor
Most upscalers on PicassoIA support 2x and 4x modes. Choose 4x to reach the 4K equivalent of your Full HD input. Where the model exposes a sharpening or enhancement parameter, set it at a moderate level between 0.3 and 0.5 to recover detail without over-sharpening smooth gradients.
Step 4: Download and verify at 100% zoom
Download the upscaled result and open it at full pixel view. Check for edge halos, over-smoothed textures, or artifacts in repeating patterns. If the result shows halos, try Recraft Crisp Upscale as an alternative. It uses a different algorithm that is less prone to edge artifacts on AI-generated content.
Step 5: Optional creative texture pass
Recraft Creative Upscale goes beyond resolution increase by adding new contextual detail. This is useful when the base image has intentionally soft focus or atmospheric haze and you want the upscaled version to fill in believable texture rather than simply enlarging the soft areas.
The Real Cost of Getting Resolution Wrong
Getting the resolution tier wrong in the wrong direction costs more than quality. It costs re-work time and, in client-facing situations, credibility.
If you generate Nano Banana 2 outputs for a client expecting print-ready files and discover at delivery that the images fall short for their A2 banner order, you are either re-generating everything from scratch or paying for an emergency upscaling pass. That upscaling pass may not match the quality of a native 4K generation, and it definitely costs more time than selecting the right model at the start.
Going the other direction is also a real problem. Generating Nano Banana Pro at 4K for every social media thumbnail wastes compute on resolution that a 1080p display will never show. The platform compresses the image anyway before rendering. You have spent time and credits producing detail that the delivery medium discards automatically.
The better default is to match resolution to delivery requirement before generation starts. A two-minute pre-flight assessment of where images will be used saves far more time than re-work after the fact.
Quick resolution decision checklist:
- Is the final display digital only? Start with Nano Banana 2.
- Will images be printed at A3 or larger? Use Nano Banana Pro.
- Do you need to crop into images after generation? Use Nano Banana Pro or budget for upscaling.
- Are you submitting to stock photography platforms? Check their requirements, most need 4K for premium tiers.
- Is speed the main production constraint? Use Nano Banana 2 and upscale selectively for approved finals.
When Nano Banana 2 Still Wins
There are specific situations where using Nano Banana Pro is overkill, even when the final output matters.
Concept proofing: When you are iterating on composition, color palette, and subject matter before committing to final generation, running 10 quick Full HD concepts in Nano Banana 2 is far faster than running 10 4K renders. Settle the creative direction first, then produce the final approved asset at 4K. This two-phase approach is standard practice in professional AI image workflows.
Animated content: For GIFs, short video loops, and social animations where individual frames are compressed during encoding and viewed at reduced display sizes, Full HD generation is more than enough. The compression applied at delivery eliminates any advantage 4K native output would have provided.
Text-heavy compositions: If the image is primarily serving as a background to text overlay in a design layout, background resolution rarely affects the viewer's experience. The text legibility is determined by the design tool, not the AI-generated background resolution.
Client mockups and internal reviews: Initial client presentations showing design directions work at Full HD without any quality concern. Reserve 4K generation for approved directions heading to final production. This reduces generation costs significantly during the review cycle.
💡 Cost management: Run all exploratory and approval-stage work in Nano Banana 2. Switch to Nano Banana Pro only when a direction is approved for final production. This approach reduces generation costs by 60 to 80 percent on typical projects without sacrificing final output quality.
Combining Both Models in One Workflow
The most efficient workflow does not choose between Nano Banana 2 and Nano Banana Pro exclusively. It uses both at different production stages, each for what it does well.
Phase 1 (Ideation): Generate 10 to 15 concept variations using Nano Banana 2 at Full HD. Evaluate composition, mood, subject accuracy, and lighting direction. This is fast, low-cost iteration where speed serves the creative process directly.
Phase 2 (Selection): Narrow down to 2 to 3 best candidates. Run these through Google Upscaler at 4x to simulate 4K quality and catch any detail or proportion problems before committing to a full Nano Banana Pro generation pass.
Phase 3 (Production): For the final selected image, generate once in Nano Banana Pro at native 4K. The quality difference between a 4x-upscaled Full HD image and a native 4K generation is visible in fine texture at 100% zoom. For premium deliverables, that difference matters to the buyer.
Phase 4 (Large Format Delivery): If additional size is needed beyond 4K native for very large-format print, run the Nano Banana Pro output through Image Upscale by Topaz Labs for up to 6x magnification. This produces wall-print-ready files without a new generation pass.
This four-phase structure is the standard high-output workflow that keeps costs predictable while maintaining quality at final delivery.
Try 4K AI Images Right Now
The resolution comparison between these two models is something you can test directly on PicassoIA without any software or local installation. Run a Nano Banana 2 output through Clarity Pro Upscaler or Real ESRGAN and see the quality difference yourself in about three minutes.
If you generate images for print, stock, or commercial photography replacement, run one image through the P Image Upscale workflow and compare the output at full pixel zoom against the original. The detail recovery is immediately visible in hair, fabric, and background elements.
For creators who consistently need 4K-equivalent output, PicassoIA's super-resolution collection removes the pressure to choose between the two models entirely. Generate fast in Full HD, scale to 4K when the output needs it. The tools to do both are already there.
Browse the full upscaling toolkit and image generation models at picassoia.com/en/all-models and match the right model to your output requirements from the first generation.


