Most people who search for an NSFW ComfyUI LoRA are stuck at the same three spots: the workflow does nothing, the results look burnt, or they have no idea which file is safe to download. This article fixes all three. You get a free, minimal workflow you can rebuild in five minutes, starting settings for Flux, Z-Image and SDXL, prompt structures that produce glamour and lingerie style photography, and a clear checklist for finding LoRA files without gambling with your PC.
Everything here is aimed at adult, non-explicit, photorealistic work: bikinis, lingerie, boudoir, beach and editorial glamour. If you want the same look without installing anything, there is a no-GPU route near the end.
What an NSFW LoRA Actually Does
A LoRA is a small add-on file, usually between 20 MB and 400 MB, that nudges a base model toward a style, a pose vocabulary, a fabric look or a body type. It does not replace your checkpoint. It sits on top of it, which is why the same LoRA can look great on one base model and terrible on another.
LoRA vs checkpoint
| Item | Typical size | What it controls | Swap cost |
|---|
| Checkpoint (base model) | 2 to 24 GB | Overall realism, anatomy, lighting logic | Slow, big download |
| LoRA | 20 to 400 MB | Style, outfit detail, pose habits, skin look | Instant, one node |
| Embedding | Under 1 MB | A single concept via a token | Instant |
The practical takeaway: pick the base model first, then shop for LoRAs that were trained on it.
Match the base model
This is the number one reason a LoRA "does nothing" or produces black, noisy frames. A LoRA trained on SDXL will not behave on Flux, and a Flux LoRA will not behave on SDXL. Look at the base model badge on the download page before you save anything.
💡 Quick test: if your image looks like static, a washed-out grey, or an obvious melted mess at strength 1.0, the base model and LoRA almost certainly do not match.
The Free Workflow, Step by Step
You do not need a 60-node monster. A clean LoRA workflow has seven nodes and every one of them has a job.
Nodes you need
- Load Checkpoint (or the separate Load Diffusion Model, Load CLIP and Load VAE nodes for Flux and Z-Image).
- Load LoRA. This sits directly after the checkpoint loader and takes both the model and CLIP outputs.
- CLIP Text Encode for the positive prompt.
- CLIP Text Encode for the negative prompt (skip or leave empty on Flux).
- Empty Latent Image for resolution.
- KSampler for seed, steps, CFG, sampler and scheduler.
- VAE Decode into Save Image.
The only trick is the wiring order. The checkpoint's model and CLIP outputs go into the Load LoRA node first. The Load LoRA outputs then feed the KSampler and both text encoders. If you connect the text encoders straight to the checkpoint, the LoRA is loaded but never used, and that is a very common silent failure.
Folder layout
Put files here and press R in ComfyUI to refresh the lists:
ComfyUI/models/checkpoints for SDXL style checkpointsComfyUI/models/diffusion_models for Flux and Z-Image style modelsComfyUI/models/loras for the LoRA itselfComfyUI/models/vae and ComfyUI/models/text_encoders for the extras
💡 Create subfolders such as loras/flux and loras/sdxl. When your library hits 50 files, you will be glad you did.
Wiring in five minutes
Add the Load LoRA node, pick your file, and set strength_model and strength_clip to the same value, starting at 0.8. Add the trigger word, if the author lists one, at the start of your positive prompt. Queue a batch of four with different seeds. Judge the LoRA on the batch, never on a single image.
To stack a second LoRA (say, a skin texture LoRA plus an outfit LoRA), chain another Load LoRA node after the first and lower both to about 0.5 to 0.7.
Settings That Actually Work
These are starting points, not laws. Each LoRA page usually lists its own recommended values, and those win over anything in this table.
| Setting | Flux style models | Z-Image Turbo style | SDXL style |
|---|
| LoRA strength | 0.7 to 1.0 | 0.6 to 0.9 | 0.6 to 0.9 |
| Steps | 20 to 28 | 8 to 10 | 25 to 35 |
| CFG / guidance | 2.5 to 4 | 1 | 5 to 7 |
| Sampler | euler | euler or res_multistep | dpmpp_2m |
| Scheduler | simple or beta | simple | karras |
| Resolution | 1024 x 1536 | 1024 x 1536 | 832 x 1216 |
| Negative prompt | Not used | Not used | Yes, short |
Flux and Z-Image settings
Flux style models use guidance, not classic CFG, so keep it low. Pushing it past 4.5 gives plastic skin and hard shadows. Turbo models such as Z Image Turbo are built for very few steps, so more steps will not help. Raising them often just adds noise.
SDXL settings
SDXL leans on a proper negative prompt and a mid-range CFG. Go above 8 and you get oversaturated, crunchy skin. If the picture looks burnt, drop CFG first, then strength.
Strength and stacking
- Too strong (above 1.0): distorted hands, repeated patterns, a plastic sheen, faces that all look identical.
- Too weak (below 0.4): the LoRA is barely visible and you waste its trigger word.
- Sweet spot: 0.65 to 0.9 for single LoRAs, 0.4 to 0.7 each when stacking two or three.
💡 Test with an XY plot or simply run the same seed at 0.5, 0.7, 0.9 and 1.1. Ninety seconds of testing saves an hour of guessing.
Prompts That Stay Tasteful
The look you want is a magazine glamour shoot, not an anonymous snapshot. That means describing the photograph, not only the person. Camera, lens, light and fabric do most of the work.
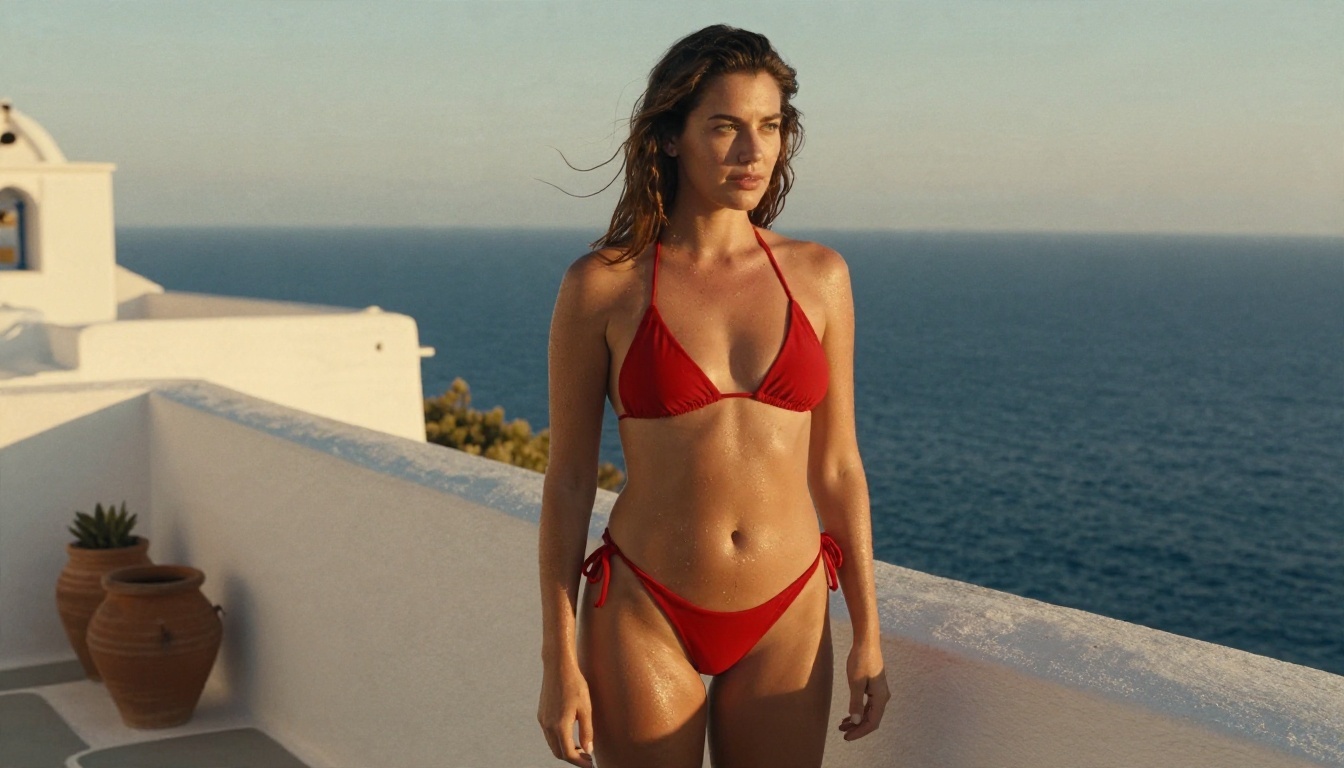
A prompt structure that works
Use this order: trigger word, subject, outfit, pose, setting, light, camera, texture.
Example for a Flux or Z-Image style model:
trigger_word, adult woman in her late twenties, red two-piece bikini, standing on a white stucco terrace, hand in her hair, golden hour backlight from the right, 85mm f/1.8, shallow depth of field, visible skin pores, light freckles, fine film grain, Kodak Portra 400 color
Example for SDXL:
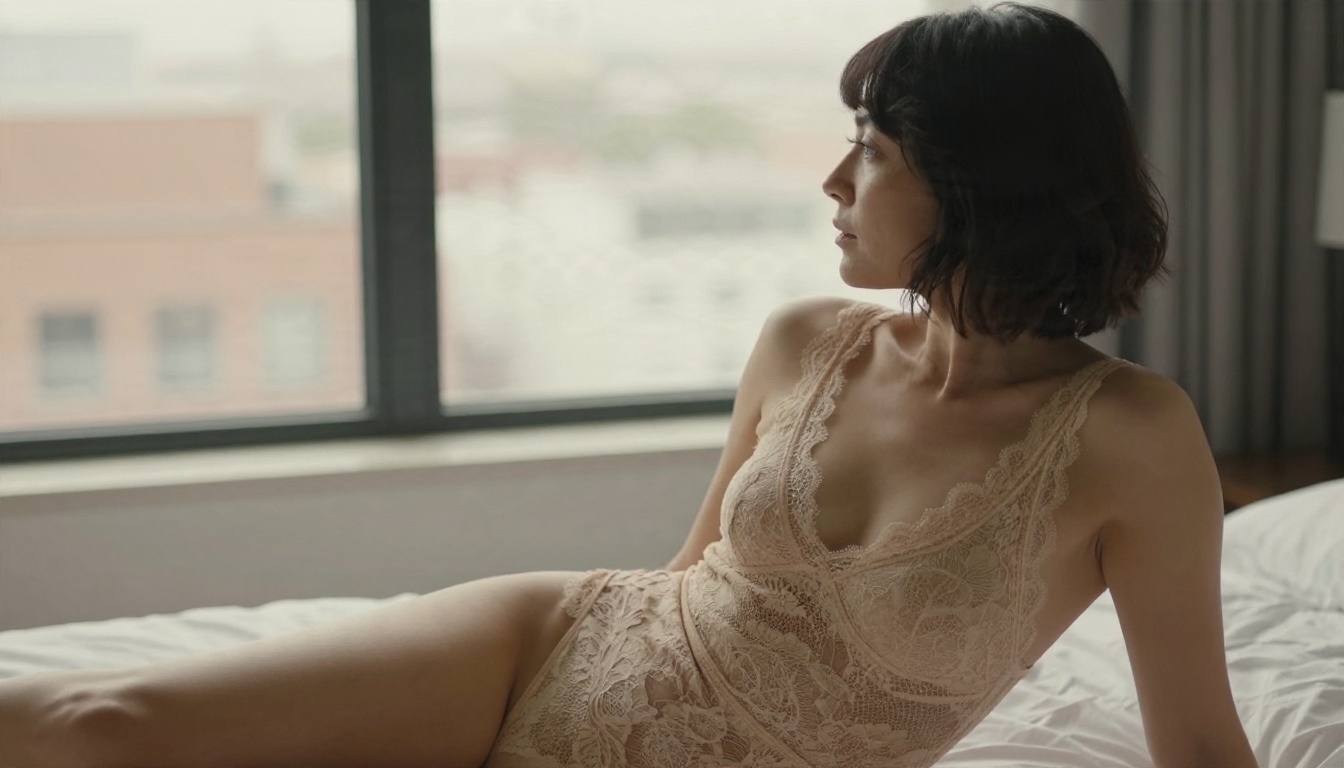
trigger_word, photo of an adult woman, champagne lace bodysuit, sitting on the edge of a hotel bed, overcast window light, 70mm lens, natural skin texture, muted warm tones, film grain
Negative prompt for SDXL only:
cartoon, illustration, 3d render, plastic skin, extra fingers, deformed hands, blurry, watermark, text, low quality
Words that sharpen realism
- Light: "soft window light from the left", "golden hour backlight", "overcast diffused daylight", "warm tungsten lamp".
- Camera: "85mm f/1.8", "35mm f/2", "shot at eye level", "low angle".
- Texture: "visible pores", "fabric weave", "lace detail", "natural skin sheen", "flyaway hairs".
- Film look: "Kodak Portra 400", "fine grain", "gentle highlight roll-off".
Words that cause trouble
Avoid stacking vague quality tags like "masterpiece, best quality, ultra detailed, 8k, hdr" on modern Flux style models. They were designed for older systems and tend to add a fake, over-sharpened look. One concrete camera line beats ten empty adjectives.
Keep subjects adult and invented
Describe adult, fictional subjects. Do not use a LoRA built from a real person's face without that person's consent, and never create anything involving minors. This is both a legal and a basic decency line, and reputable LoRA hosts remove content that crosses it.
Where to Download LoRAs Safely
Three places account for most of what people use.
| Source | Best for | Watch out for |
|---|
| Civitai | The biggest library, sample images with embedded settings | Check the base model badge, content filters and each file's licence |
| Hugging Face | Cleaner repos, official and research releases | Smaller NSFW selection, file names are less friendly |
| Your own training | Exact look, full control | Needs 20 to 60 clean images and a GPU or a cloud trainer |
A five-point safety check
Before you drop a file into models/loras, run through this list:
- Format: only download
.safetensors. Avoid .ckpt and .pt pickle files, which can run code when loaded.
- Base model: matches your checkpoint (Flux, SDXL, Z-Image and so on).
- Sample images: at least a few generations that look like the style you want, with settings shown.
- Licence: read what the author allows, especially for commercial use.
- Comments: scan for reports of broken files, wrong trigger words or bundled extras.
💡 Keep ComfyUI updated and install custom nodes only from sources you trust. A LoRA is data, but a random "required" custom node pack is code.
Training your own
If you cannot find the look you want, train it. A tidy dataset of 25 to 40 consistent, well-lit photographs, captioned with a single trigger word, will often beat a downloaded LoRA trained on messy data. A hosted option such as Qwen Image LoRA Trainer Legacy removes the local hardware requirement, and you can then use Flux 2 Klein 9B Base LoRA or Flux 2 Klein 4B Base LoRA style pipelines for LoRA-driven output.
Fixing the Usual Problems
| Problem | Likely cause | Fix |
|---|
| LoRA has no visible effect | Text encoders wired to the checkpoint, not the LoRA node | Rewire so Load LoRA feeds sampler and both encoders |
| Black or noisy image | Base model mismatch | Use a LoRA built for your base model |
| Burnt, oversaturated colour | CFG or strength too high | Lower CFG to 5 (SDXL) or guidance to 3 (Flux), strength to 0.7 |
| Plastic skin | Guidance too high, over-sharpened quality tags | Lower guidance, add "visible pores, natural skin texture" |
| Same face every time | Strength above 1.0 or a face-heavy LoRA | Drop to 0.6 to 0.8, vary seeds and descriptors |
| Bad hands | Low resolution or too few steps | Raise resolution, add a detail pass or hand-fix inpaint |
| Out-of-memory error | Large model on small VRAM | Use a smaller or quantized model, lower resolution, close other apps |
Upscale last, not first
Generate at a normal resolution, pick your best frame, then upscale. Real ESRGAN gives a clean 4x lift without re-rolling the composition, which keeps the skin and fabric detail you already like.
No GPU? Run It on PicassoIA
ComfyUI is powerful, but a good workflow needs a decent graphics card, drivers, nodes and model files that all agree with each other. If that is the part you dislike, skip it.
How to use Any ComfyUI Workflow on PicassoIA
Any ComfyUI Workflow takes a pipeline you exported from ComfyUI and runs it in the cloud, so your build runs without a local GPU.
- In ComfyUI, enable dev mode in the settings and use Save (API format) to export your workflow as JSON.
- Open the model page and paste the JSON into the workflow_json field, or provide a URL to it.
- If your workflow needs a reference image or a file set, upload it in input_file.
- Choose an output_format: webp for small files, png for lossless, jpg for sharing.
- Set output_quality. The default of 95 is a good balance.
- Leave randomise_seeds on to get fresh results on every run. Turn it off when you want to repeat a seed.
- If a run behaves oddly, switch on force_reset_cache for a clean start.
💡 Keep your test workflow small first. A seven-node graph is easier to debug than a forty-node one.
Faster routes to the same look
If you only want the finished glamour photograph and do not need a node graph, a prompt-first model is quicker. For adult, non-explicit work, these are the ones to start with, in this order:
- Seedream 4.5 is the first stop. It is fast, handles skin, fabric and light convincingly, and delivers sharp high-resolution results without any LoRA hunting.
- PicassoIA Image Editor Pro offers unlimited generations, which makes it ideal for iterating on outfits, poses and backgrounds, or editing a photo you already have.
- Z Image Turbo gives sharp images in seconds when you want to test prompt ideas quickly.
- Nano Banana Pro is a strong pick for 4K results and careful edits.
- Qwen Image 3 Pro delivers photorealistic portraits with natural light.
Local ComfyUI or cloud?
| Factor | Local ComfyUI + LoRA | PicassoIA models |
|---|
| Setup time | Hours | Minutes |
| Hardware | Strong GPU, plenty of VRAM | Any browser |
| Control over nodes | Total | Workflow upload or prompt-based |
| Custom LoRA files | Any you download or train | Workflow-based or LoRA-capable models |
| Iteration cost | Electricity and time | Unlimited with Image Editor Pro |
| Best for | Tinkerers building pipelines | Fast results with minimal fuss |
Many creators use both: they prototype the look in prompts, then lock a workflow in ComfyUI once they know exactly what they want.
Try Your Own Workflow Today
You now have the pieces: a seven-node workflow, starting settings for three model families, prompt structures built around real photography language, a safety checklist for downloads, and a cloud option for when your GPU is not up to it.
Pick one outfit, one location and one light direction, write a single prompt in the order shown above, and render four seeds. Change only one variable per run. By the tenth batch you will know which LoRA strength looks best on your base model.
When you want results without the setup, open Seedream 4.5 or PicassoIA Image Editor Pro and run the same prompts. If you want to try a different model, the full catalogue is at picassoia.com/en/all-models. Build, test, compare, and keep what works.


