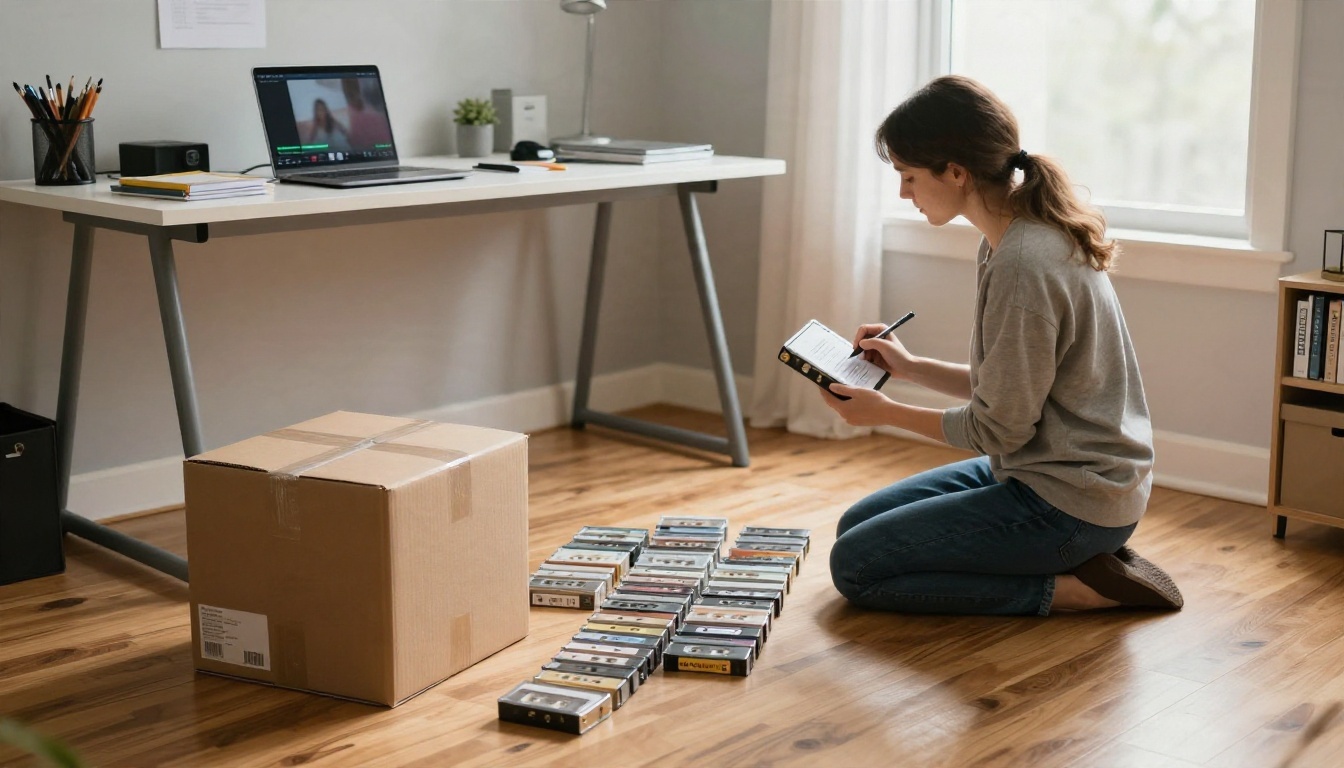
You found the shoebox. Inside are a dozen VHS tapes, a reel of 8mm film and a camcorder cassette labeled "Summer" in your mother's handwriting. You want them watchable again, you do not want to pay a studio, and a search for old video restoration online free promises an easy fix. Sometimes it delivers. Often it gives you a slightly sharper, slightly plastic version of the same blurry footage, with a watermark on top.
This article sorts out what free online restoration can honestly do, where the quality ceiling sits, and which alternatives give better results when a browser tool falls short.
💡 Short answer: free tools are good at upscaling and light cleanup. They are weak at repairing real damage, fixing interlaced tape, and rebuilding faces. Prepare the footage well and you get most of the possible gain before any AI touches it.
What Free Restoration Really Delivers
What "restoration" means in practice
People use the word for three very different jobs, and mixing them up is the first reason results disappoint.
- Upscaling: raising resolution, for example from 480p to 1080p or 4K, by predicting new pixels.
- Cleanup: reducing noise, compression blocks, flicker and color drift.
- Repair: fixing scratches, dropouts, tracking lines and missing frames.
Most free online tools handle the first job decently, the second partly, and the third barely at all. Colorization of black and white footage is offered by a few paid tools, but I could not find a clearly free, fully online video colorizer that produces reliable results.
What free tiers usually include
Free in this category nearly always means limited. Typical restrictions are a daily cap on clips, short maximum length, a lower output resolution, a watermark, or a queue that makes you wait. Browser tools such as TensorPix and Krea offer free tiers, and the limits change often, so check the current pricing page before you plan a whole archive around them. Vendor blogs that rank for this keyword are written by the companies selling the tools, which is worth keeping in mind when you read promises of "like new" results.
Browser upscalers
Browser tools are the quickest route. You upload a clip, pick a scale, wait for cloud processing and download the result. They suit short clips of a few minutes. They struggle with a two hour wedding tape, mostly because of the length caps.
Before committing, run a three step test on one representative 20 second clip:
- Upload the clip at the free resolution.
- Compare the output with the original on a big screen, not a phone.
- Check faces, text and fast motion, because that is where artifacts show up first.
Trial based desktop software
Paid desktop restoration apps usually offer a free trial with an export watermark or a time limit. They tend to give the strongest results because they run locally, accept long files and expose more controls. The trade is cost, which can run to a few hundred dollars one time or a monthly subscription, and a computer with a decent graphics card.
Quick comparison
| Option type | Typical cost | Length limit | Best for | Main weakness |
|---|
| Browser upscaler, free tier | Free, capped | Short clips | Testing a tape | Watermarks, queues |
| Browser upscaler, paid | Monthly fee | Longer | Small family archives | Subscription |
| Desktop app, trial | Free trial | Limited by trial | Heavy restoration | Hardware, price |
| Frame by frame image upscaling | Varies | None | Key moments, stills | Manual work |
Where Quality Hits a Ceiling
Damage AI cannot undo
An upscaler predicts detail from patterns it has seen before. If the tape lost its signal for half a second, there is nothing to predict from, and the model produces smooth guesses. Heavy tracking errors, snow, wrinkled tape and burned out highlights remain visible. Often the upscaler makes them more obvious, because the sharper frame draws attention to the flaw.
Interlacing and tape noise
Analog video from VHS, Hi8 and camcorders is interlaced: each frame is built from two alternating sets of lines. If a tool treats it like progressive video, you get combing along every moving edge, and upscaling bakes that pattern in. One 2026 roundup repeats the same advice many restoration forums give: deinterlace first, then clean the noise, then upscale. Skip a step and the order of operations works against you.
💡 Rule of thumb: upscaling amplifies whatever is already there. Noise, combing and compression blocks all get bigger, so remove them before you scale.
Faces and invented detail
Faces are where AI restoration is most convincing and most risky. Models can sharpen eyes and skin into something that looks crisp but no longer resembles the person. A grandparent's face may come back a little too smooth and a little too young. Check faces frame by frame in your test clip. If the person looks like a stranger, lower the strength or use a gentler model.
Digitize cleanly
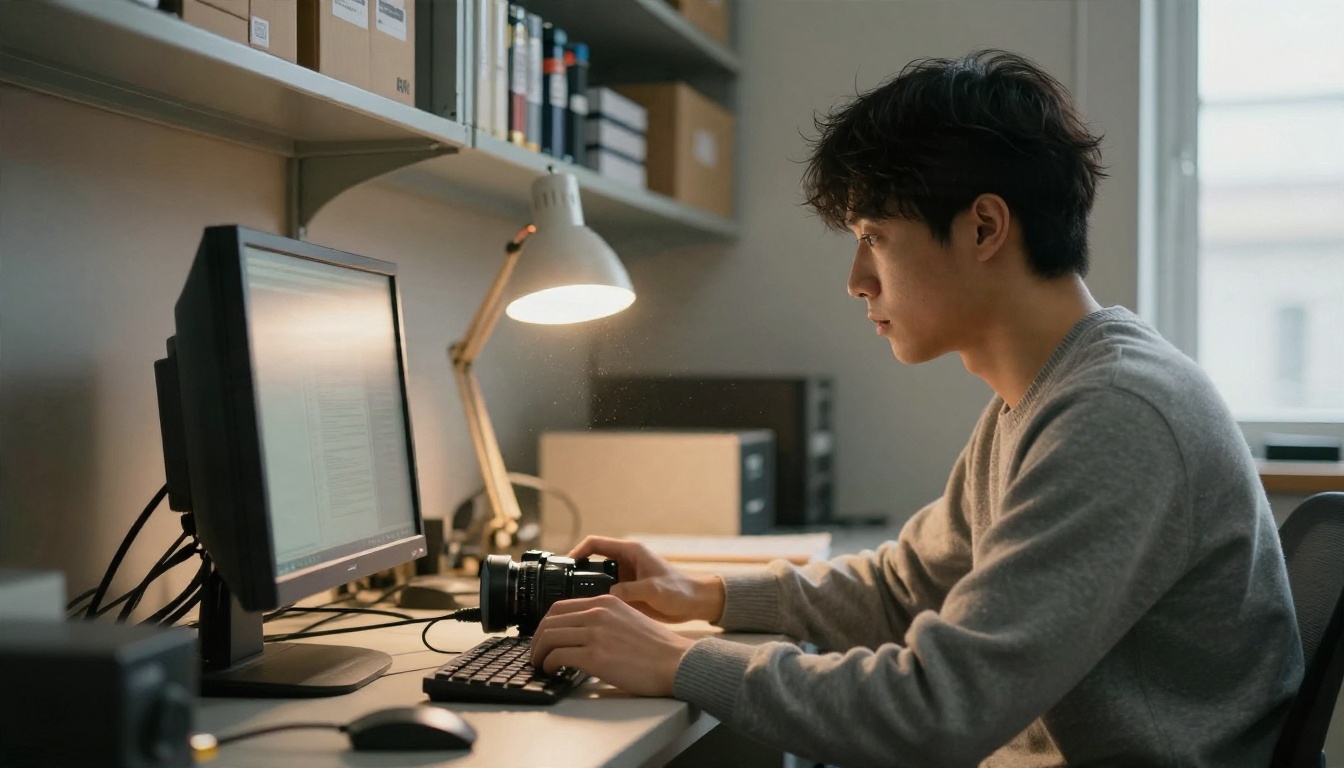
Restoration quality starts at capture. A poor transfer limits every later step. For VHS and camcorder tapes:
- Clean the heads of the player and use a decent playback deck or camcorder in good condition.
- Use a capture device with a composite or S-Video connection, and record at the highest quality setting it offers.
- Save a lossless or high bitrate file as your untouched original before editing anything.
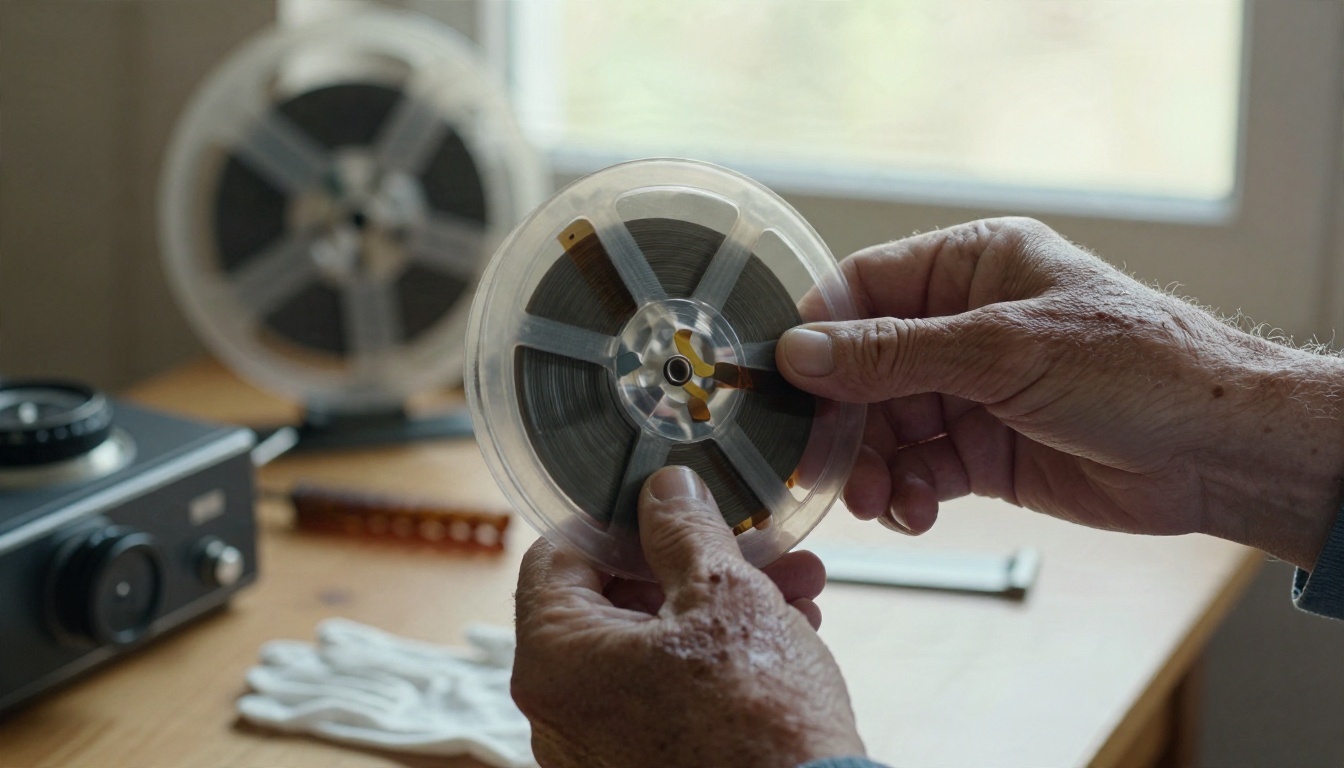
For 8mm and Super 8 film, a dedicated film scanner or a service gives far better frames than filming a projected image with a phone.
Deinterlace and trim
Deinterlace to a progressive format with a free editor, then trim dead air and the blue screen at the start and end of each tape. Shorter clips fit free tier limits, and you stop paying credits to restore black frames. Cut long tapes into scenes of one to three minutes, which also lets you test settings on the hardest scene first.
A Free Workflow, Step by Step
- Back up the original. Copy the raw capture to two places before touching it.
- Deinterlace the clip in a free editor and export a high quality file.
- Reduce noise lightly. Over-denoising erases film grain and skin texture, and the result looks waxy.
- Upscale in one pass to 1080p first. Go to 4K only if the source is clean, since a muddy 4K file wastes storage and shows flaws more clearly.
- Stabilize only if the shake is distracting.
- Compare side by side with the original at full screen.
- Keep both versions. The restored file is a viewing copy, never a replacement.
💡 Audio matters too. Hiss and hum make old footage feel older than the picture does. Clean the soundtrack with a free noise reduction tool before you export, and keep the original audio track as a backup.
Alternatives on PicassoIA
When a free browser tool hits its cap or gives plastic faces, PicassoIA has dedicated models for both video and still frames. They are not a magic repair button, but they give you more than one engine to test against the same clip.
Video upscalers
- Video Upscale is built for sharper footage at higher resolutions and smoother frame rates. It is a good first test on clean, deinterlaced clips where you want a crisp 1080p or 4K viewing copy.
- Upscale v1 targets 4K video upscaling. Try it as a second opinion on the same clip, since two models often disagree on how to handle grain and faces.
Run both on a 20 second test scene and compare skin tones, text and moving edges before processing the full tape.
Frame by frame upscaling
Some footage is too damaged for video models, yet a handful of frames are worth saving, like a portrait, a house or a handwritten sign. For those moments, export stills and use an image upscaler:
- Real-ESRGAN gives clean 4x upscaling with a natural look, a safe default for faded color frames.
- Clarity Pro Upscaler leans toward photorealistic detail and suits landscapes, buildings and objects.
- Crystal Upscaler is tuned for portraits, which makes it the one to try on faces from old family footage.
- Image Upscale enlarges photos up to 6x when you want a print sized version of a favorite frame.
Which option fits which tape
| Situation | Try first | Why |
|---|
| Clean, deinterlaced VHS clip | Video Upscale | Resolution and smoothness gains on moving footage |
| Same clip, different look wanted | Upscale v1 | Second engine for comparison |
| Heavily damaged scene, one good frame | Real-ESRGAN | Reliable still frame recovery |
| Portrait frame from a family tape | Crystal Upscaler | Built for faces |
| Building or landscape frame | Clarity Pro Upscaler | Photorealistic detail |
Settings That Protect the Original
A restored video should still feel like the day it was filmed. These habits keep the footage honest:
- Moderate strength beats maximum strength. If a slider offers a creativity or detail value, start low.
- Keep the grain. Film grain is part of the look. Remove the ugly digital noise, not the texture.
- Match the frame rate. Old camcorders shot at 25 or 30 frames per second. Forcing 60 frames per second interpolation makes home movies look like soap operas.
- Limit the scale. A 2x pass on a clean source usually looks better than a 4x pass on a noisy one.
- Judge on the final screen. Check the clip on the TV where your family will watch it.
Common Mistakes
Upscaling before cleaning
Scaling a noisy, interlaced file multiplies every flaw. Deinterlace and denoise first, scale last.
Judging on a phone screen
A phone shrinks the artifacts, so a mediocre result looks fine until you cast it to a TV. Review on the biggest screen you own.
Throwing away the original tape
Digitize, back up twice, and keep the cassette or reel if you can. Tools improve, and a better transfer or a better model may be available in a few years. Your original is the only copy that can be redone.
Trusting a tool that hides its limits
If a site promises to repair any tape instantly, test it on your worst clip before uploading a whole archive. Real tools show their weak spots quickly.
Quick Answers
Is free restoration good enough?
For short, reasonably clean clips, yes. The free tier of a browser upscaler can produce a clearly better viewing copy. For rare footage that matters a lot, expect to pay for a longer, more controlled workflow or spend time on the steps above.
Can AI add color to black and white video?
A few tools offer it, but results vary and often look washed out or wrongly tinted. Treat colorization as an optional experiment on a copy, never a replacement for the original.
How long does it take?
Short clips finish in minutes. A full archive is a weekend project, mostly because of capture time and checking each scene.
Will faces look the same?
Not always. Review faces at full screen after every run, and reduce strength if features drift.
Try It on Your Own Tapes
Pick one tape, capture a single scene, deinterlace it, and run a 20 second test through two different models. You will know within a few minutes whether the footage is worth a full restoration or better saved as a few sharpened stills. Browse the video and still frame upscalers on PicassoIA at picassoia.com/en/all-models, try Video Upscale on a clean clip and Crystal Upscaler on a favorite portrait, and keep the version that still looks like the people you remember.


