Generate imagesLarge Language ModelsVisual Effects
OpenAI Image Generation API in Python: Step-by-Step Example
Send a prompt from Python, get a base64 image back and save it to disk. This walkthrough uses the current GPT Image models and shows how size, quality and format change the result, then adds mask edits, streaming previews, async batches and a cost tracker.
Most tutorials for the OpenAI image endpoint stop at "here is a URL." That worked for DALL-E. It does not work for the GPT Image models, which hand back base64 data and nothing else, so the script people copy first often crashes on result.data[0].url. This walkthrough starts from a script that runs, then builds on it with sizes, quality levels, mask-based edits, streaming previews, async batches and a small cost tracker.
The parameters, model names and prices below come from OpenAI's current image generation docs and pricing page, read on 2026-10-06. Where a number can change, the text says so.
Before You Write Any Code
Three things must be in place before the first request succeeds: a model name, the installed SDK, and a verified OpenAI organization. The last one trips up most fresh accounts, because GPT Image models return an access error until verification is done in the developer console settings.
Pick a Model
These are the GPT Image models OpenAI prices today. All five also run on PicassoIA, which is handy for testing a prompt before you write any code.
Create a project secret in the OpenAI dashboard, then expose it as an environment variable. The SDK reads it automatically, so the secret never appears in your source file.
# macOS / Linux
export OPENAI_API_KEY="sk-..."

# Windows PowerShell
$env:OPENAI_API_KEY = "sk-..."
💡 Tip: keep the secret out of notebooks you plan to share and out of git history. If it leaks, revoke it in the dashboard and create a new one.
Your First Image in Python
The Minimal Script
This is the whole thing. Run it and a PNG appears next to the script.
import base64
from pathlib import Path
from openai import OpenAI

client = OpenAI()

result = client.images.generate(
    model="gpt-image-2.5-flare",
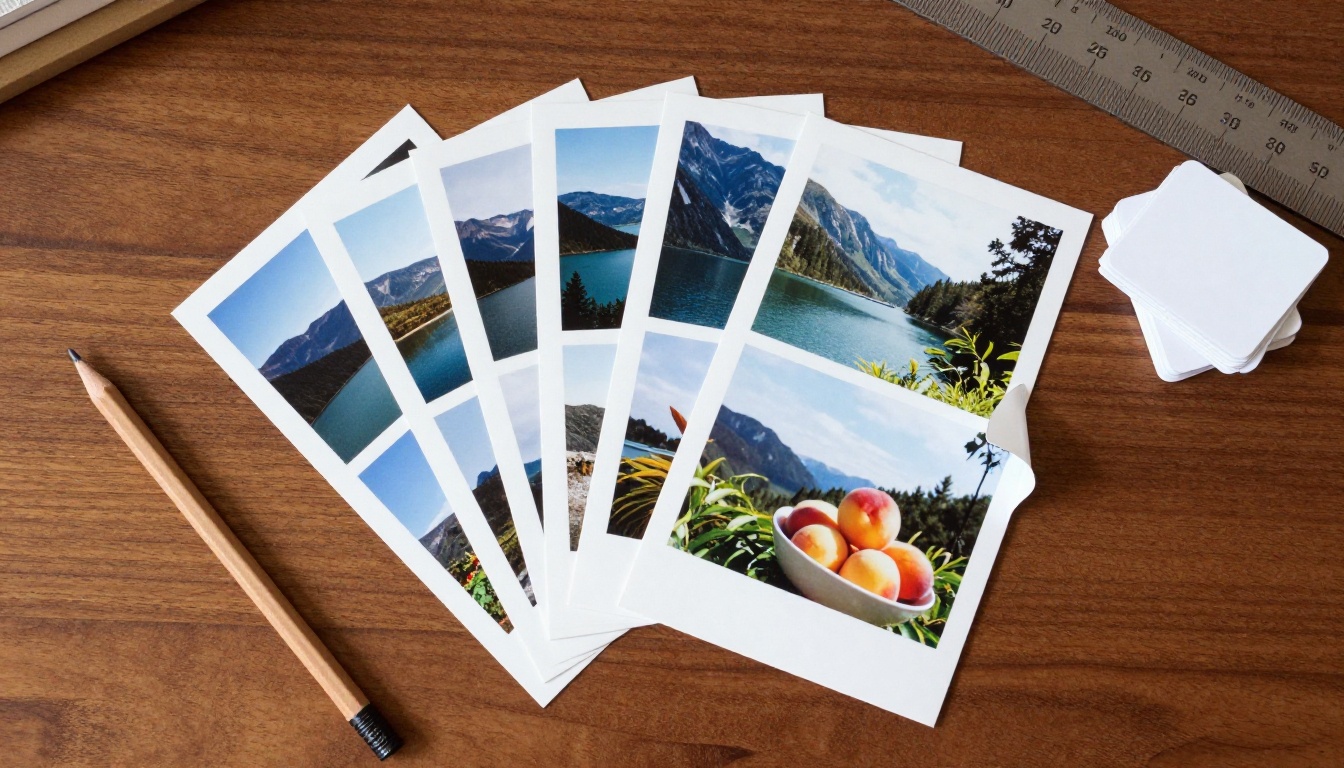
    prompt="A ceramic bowl of ripe peaches on a linen cloth, soft window light, 50mm photograph",
    size="1536x1024",
    quality="medium",
)

image_bytes = base64.b64decode(result.data[0].b64_json)
Path("peaches.png").write_bytes(image_bytes)
Four arguments do the work. model picks the engine, prompt describes the picture, size sets the pixel dimensions, and quality trades speed and cost against detail. Everything else has a sensible default, and the output format is PNG unless you ask for something else.
Write Prompts That Hold Up
A prompt that works in a demo can fall apart in a loop of fifty images. Four habits keep results steady:
Lead with the subject, then the setting, the light and the lens. "A ceramic bowl of ripe peaches on a linen cloth, soft window light from the left, 50mm photograph" beats a list of adjectives.
Quote any text that must appear in the picture, and keep it to a word or two.
Say what to avoid in positive terms. "Plain white wall" works better than "no clutter."
Change one thing per run. If you alter the subject, the light and the size together, you cannot tell which change helped.
Why the Response Is Base64
GPT Image models always return base64. The response_format="url" option that DALL-E accepted is not supported, so result.data[0].url does not exist and the image itself arrives inside b64_json. Three habits follow from that:
Decode once, write to disk.base64.b64decode gives you raw bytes you can save, upload or hand to Pillow.
Host the file yourself. If a blog or app needs a public link, push the bytes to your own storage (S3, R2, a CDN) and store that URL.
Skip the disk for quick previews. Build a data URI with f"data:image/png;base64,{b64}" and drop it into an <img> tag.
💡 Migrating old code? Searching your project for .url and response_format finds nearly every line that needs changing.
Size, Quality, and Output Format
These parameters decide what you get back and what it costs. Here is the full list the docs publish:
Parameter
Accepted values
Notes
size
1024x1024, 1536x1024, 1024x1536, or custom WIDTHxHEIGHT
Custom edges must be multiples of 16, ratio between 1:3 and 3:1, longest edge up to 3840 px, total pixels from 655,360 to 8,294,400
quality
low, medium, high, auto
The 2.5 models also list xhigh and max
output_format
png (default), jpeg, webp
Pick webp or jpeg for lighter files
output_compression
0 to 100
JPEG and WebP only
background
transparent, opaque, auto
Transparency needs a format with an alpha channel, so use PNG or WebP
n
Integer
Several images from one request
moderation
auto (default), low
low applies lighter filtering
stream, partial_images
Boolean, 0 to 3
Preview frames while the final image renders
Some practical rules of thumb:
Landscape and portrait.1536x1024 and 1024x1536 suit most blog and social formats. For true 16:9, ask for 2048x1152: both edges are multiples of 16 and the pixel count sits well inside the allowed range.
Iterate cheap, finish rich. Draft prompts at quality="low", then rerun the winner at high. You pay for output tokens, and higher quality produces more of them.
Format by destination. Keep PNG for editing and transparency, switch to webp with output_compression=85 for pages that must load fast.
Edit Existing Images With Masks
Edit One Image
images.edit takes a source file plus a prompt describing the change. Pass a list of files when you want to combine several references.
with open("living-room.png", "rb") as photo:
    edited = client.images.edit(
        model="gpt-image-2.5-sunburst",
        image=photo,
        prompt="Swap the grey sofa for a green velvet armchair, keep the window light unchanged",
    )

Path("living-room-edit.png").write_bytes(base64.b64decode(edited.data[0].b64_json))
Describe what must stay the same as clearly as what should change. Models drift when the prompt only names the new element.
Add a Mask
A mask limits the edit to one region. It is a PNG with an alpha channel, the same dimensions as the source. Fully transparent pixels mark the area to repaint; everything opaque is protected. Pillow builds one in a few lines:
from PIL import Image, ImageDraw

base = Image.open("living-room.png").convert("RGBA")
mask = Image.new("RGBA", base.size, (0, 0, 0, 255))          # opaque: keep
ImageDraw.Draw(mask).rectangle((620, 380, 1180, 900), fill=(0, 0, 0, 0))  # transparent: repaint
mask.save("mask.png")

with open("living-room.png", "rb") as photo, open("mask.png", "rb") as hole:
    edited = client.images.edit(
        model="gpt-image-2.5-sunburst",
        image=photo,
        mask=hole,
        prompt="A green velvet armchair with a wooden side table, matching the room's light",
    )
The mask is guidance, not a hard cut. Edges can bleed slightly, so leave a small margin around the object you want replaced.
Streaming Previews and Batches
Partial Images While You Wait
High quality renders can take a while. With stream=True and partial_images, the API sends draft frames before the final picture, so an interface can show progress instead of a spinner.
stream = client.images.generate(
    model="gpt-image-2.5-flare",
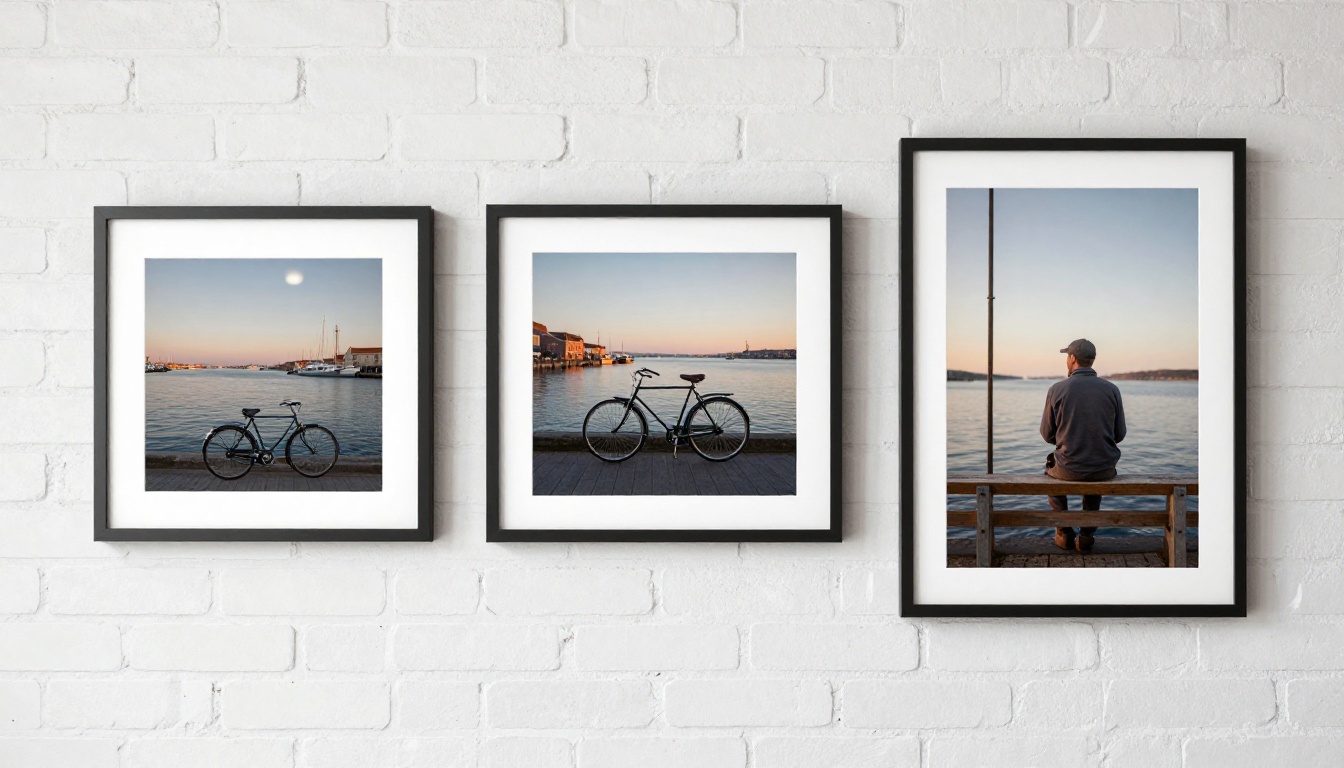
    prompt="A vintage red bicycle leaning on a brick wall, golden hour, 35mm photograph",
    size="1536x1024",
    quality="high",
    stream=True,
    partial_images=2,
)

for event in stream:
    if event.type == "image_generation.partial_image":
        Path(f"preview-{event.partial_image_index}.png").write_bytes(base64.b64decode(event.b64_json))
    else:
        Path("final.png").write_bytes(base64.b64decode(event.b64_json))
Previews can add to the token count, so compare usage with and without streaming before you turn it on for every request.
Async Batches Without Rate Errors
For a list of prompts, AsyncOpenAI plus a semaphore keeps the number of in-flight requests under control:
import asyncio
from openai import AsyncOpenAI

client = AsyncOpenAI(max_retries=4, timeout=180)
gate = asyncio.Semaphore(3)

async def render(index: int, prompt: str) -> Path:
    async with gate:
        result = await client.images.generate(
            model="gpt-image-2.5-flare", prompt=prompt, size="1536x1024", quality="low",
        )
    path = Path(f"batch-{index:02d}.png")
    path.write_bytes(base64.b64decode(result.data[0].b64_json))
    return path

async def main(prompts: list[str]) -> list[Path]:
    return await asyncio.gather(*(render(i, p) for i, p in enumerate(prompts)))
A semaphore limits concurrency, not images per minute. On low usage tiers the minute limit bites first, so raise max_retries and let the SDK back off. When nobody is waiting on the output, the Batch endpoint is supported by these models and bills output tokens at half price.
Costs, Limits, and Errors
Token Rates by Model
OpenAI prices these models by tokens, not by image, and publishes no per-image table for the current ones. Rates per 1M tokens:
Model
Text input
Image input
Image output
Image output (Batch)
gpt-image-2.5-flare
$5.00
$8.00
$30.00
$15.00
gpt-image-2.5-sunburst
$5.00
$8.00
$30.00
$15.00
gpt-image-2
$5.00
$8.00
$30.00
$15.00
gpt-image-1
$5.00
$10.00
$40.00
$20.00
gpt-image-1-mini
$2.00
$2.50
$8.00
$4.00
Quality and size change how many output tokens a picture uses, which is why one prompt can cost very different amounts at low and high.
Track Spend in Code
The response includes a usage object with token counts. Turn it into dollars after each call and you will never be surprised by an invoice:
Before you spend API budget on prompt experiments, run them in a browser. GPT Image 2 on PicassoIA renders readable text inside images, supports transparent backgrounds, accepts reference images and makes up to 10 variations per run.
Prototype Prompts Without Code
Open the model page and write your prompt. Put any text that must appear inside the image in quotes.
Set quality to low for drafts. Switch to high for the final render.
Choose an aspect ratio: 3:2 or 2:3 mirror 1536x1024 and 1024x1536, and 16:9 gives a widescreen frame.
Pick the output format. WebP is the default, PNG keeps transparency clean.
Set the number of images between 1 and 10, then generate.
Upload reference images if you want to edit rather than create from scratch.
The form fields line up with the Python call, so a recipe that works in the browser transfers straight to code:
PicassoIA field
Python argument
aspect_ratio
size
quality
quality
output_format
output_format
output_compression
output_compression
background
background
moderation
moderation
number_of_images
n
input_images
image (in images.edit)
An optional field accepts your own OpenAI credential; leave it empty and the PicassoIA proxy handles the request.
Two more habits pay off. First, draft the prompt with a language model: paste a rough idea into GPT 5 or Claude Sonnet 4.6 and ask for three photographic variants with lens, light and framing. Second, run the same prompt through PicassoIA Image and Seedream 4.5 to see which style fits your project. For edits that need no code, PicassoIA Image Editor Pro handles photo changes directly in the browser.
The PicassoIA Developer API
If your pipeline needs a different provider, PicassoIA has its own developer API with a Replicate-style shape:
Base URL:https://api.picassoia.com/v1
Auth: a Bearer token that starts with pia_sk_
Flow: create a prediction with POST /v1/models/{owner}/{name}/predictions, poll GET /v1/predictions/{id}, then read the result
Limit: 5 concurrent predictions per account
The jobs are asynchronous, so the create-then-poll loop replaces the single blocking call you wrote above. Check the plan requirements on the PicassoIA API page before you build on it.
Make Your Own Images Today
You now have a working pipeline: install the SDK, verify the organization, request an image, decode the base64, tune size and quality, edit with a mask, stream previews, batch with limits and log the spend. The fastest way to improve results is volume. Write ten prompts, run them at low, keep the two best and re-render those at high.
If you want to test prompts before touching the API, open GPT Image 2 on PicassoIA, generate a few variations, and compare them with other models in the PicassoIA model library. Once you have stills you like, PicassoIA's effects collection can add motion and style on top of them. Pick a subject you care about, write one detailed prompt, and see what comes back.