Large Language ModelsGenerate imagesGenerate videos
OpenAI Image Generation MCP for Cursor and Codex: Setup, Costs and Fixes
Add an OpenAI image generation MCP to Cursor and Codex and let your coding agent create hero banners, icons and edits inside your project. Copy-ready config for both editors, GPT Image 2 settings, real cost per render, fixes for timeouts, and a browser route that skips the server.
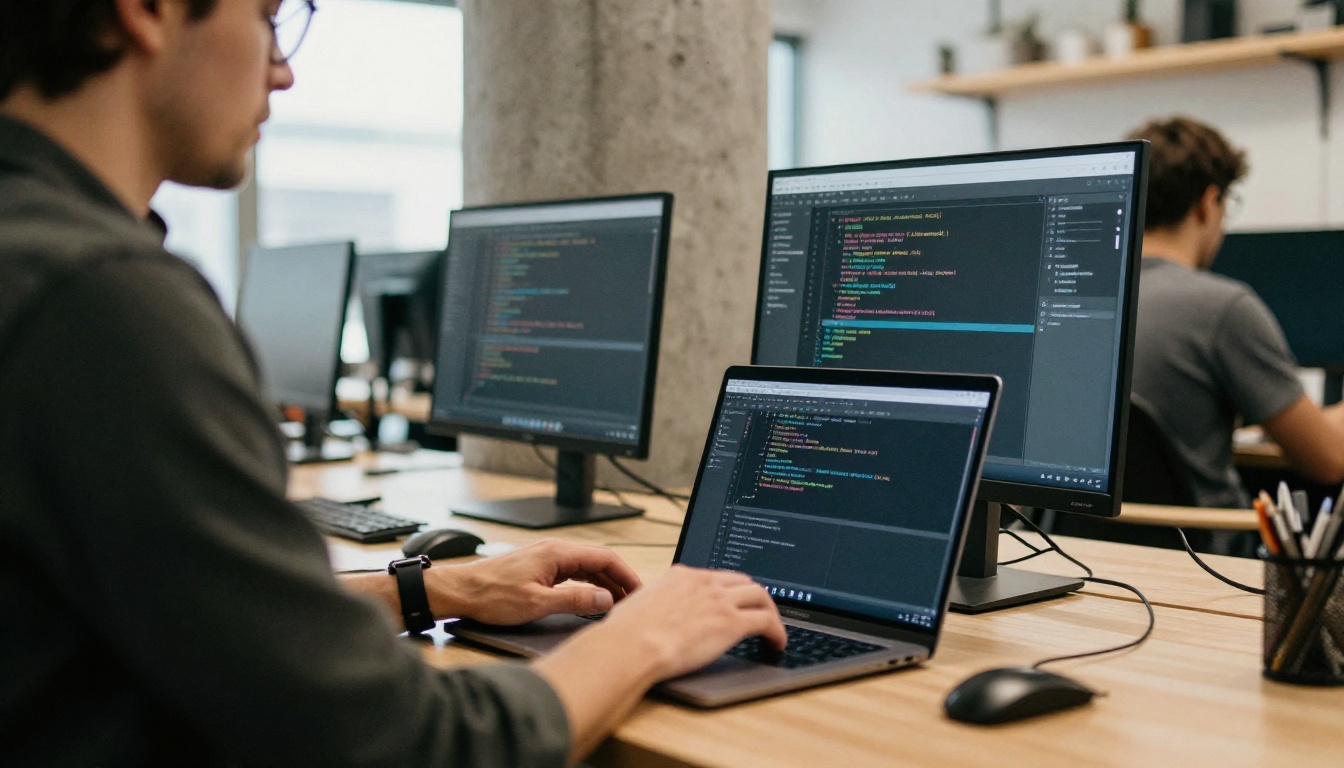
You are halfway through a landing page in Cursor, the hero section needs a photo, and the agent has nothing to offer except a gray placeholder box. An OpenAI image generation MCP for Cursor and Codex fixes that in one step: the agent calls an image tool, the file lands in your project folder, and the layout gets a real picture before you open a single browser tab.
This article shows the exact config for both editors, the model settings that matter, what a render costs, and the errors that waste an afternoon. It also includes a no-server route for people who would rather click than configure.
Why Put Image Generation in Your Editor
The usual routine is slow. You leave the editor, open an image site, write a prompt from memory, download a file, rename it, drag it into /public, and fix the path in your code. Every step is small. Together they break your focus a dozen times a day.
An MCP image tool collapses that loop. The agent already knows what the page is about because it just wrote the markup, so it can write the prompt from context, save the file and reference it in the same turn.
What the Agent Does for You
Writes the prompt from the surrounding code, so a pricing page and a recipe blog get different pictures
Calls the tool and chooses size, quality and background
Saves the file and updates the <img> tag or the CSS
Re-runs on feedback such as "warmer light, less stock photo"
Give the Agent a Prompt Recipe
Agents write better prompts when you hand them a recipe instead of a blank page. Store this one in your project rules and the pictures stay consistent from page to page:
Subject and action: what is in the frame and what it is doing
Setting: the room, street or landscape around it
Light: direction and time of day, such as soft window light from the left
Camera: lens length, angle and distance, such as a 35mm lens at eye level
Format: the aspect ratio, and whether the picture needs empty space for a headline
Add one fixed style sentence to every prompt, for example "natural light, fine film grain, realistic textures", and your hero banner, blog thumbnails and empty states will look like one set. Ask the agent to write the alt text in the same turn, since it already knows what the picture shows.
When a Built-In Tool Is Enough
Community write-ups on Codex CLI say it shipped with built-in image generation and an $imagegen skill when OpenAI launched gpt-image-2 on April 21, 2026, and that it runs on your ChatGPT login instead of a separate API credential. If that matches your install and you need a picture once a week, you may not need MCP at all.
An MCP server earns its place when:
You want the same tool in Cursor and Codex, with the same settings.
You need control over quality, background and size instead of defaults.
You want mask-based edits on existing screenshots or photos.
You plan to swap providers later without changing your workflow.
💡 Check first: run codex --version and read the MCP and image sections of the current Codex docs before you add a server. A built-in tool you forgot about is the cheapest option you have.
What the Server Exposes
Most OpenAI image servers on npm are thin wrappers around the Images API endpoints for generation and editing. The popular imagegen-mcp package exposes two tools, and its README lists gpt-image-1, dall-e-2 and dall-e-3 as supported models. Results are saved to temporary files, and the tool returns the file path together with base64 data.
Fixing one area of a screenshot, restyling a photo, removing an object
A typical edit: send a photo of your product, mask the background, and ask for a quieter setting. The masked area changes while the rest of the picture stays put, which keeps the product itself intact across versions.
Current OpenAI image model, snapshot gpt-image-2-2026-04-21, listed for generation, edits and batch
Your server must list it
gpt-image-1
Previous generation, and the one the README names
Older, so expect to update later
dall-e-3
Older model
One image per request (n=1)
dall-e-2
Oldest of the four
Keep it for legacy workflows only
If the version you install does not list gpt-image-2 yet, update the package or pick another server that does. The API itself takes gpt-image-2 as a plain model id, and OpenAI's docs list the v1/images/generations, v1/images/edits and v1/batch endpoints for it.
Set It Up in Cursor
Cursor reads MCP servers from an mcp.json file. You need an OpenAI credential, Node.js on your PATH, and about two minutes.
Pick Global or Project Scope
Global:~/.cursor/mcp.json makes the tool available in every project.
Project:.cursor/mcp.json keeps it inside one repo, so teammates who open the folder get the same tool.
Use the project file when the image tool belongs to one product, and the global file when you want it everywhere. Either way, keep the secret out of the file and let Cursor read it from your environment.
Export OPENAI_API_KEY in your shell profile, then restart Cursor so the editor process inherits it. Open the MCP settings, and the openai-image server should show as connected with two tools listed. Cursor can also toggle a server on and off from the Customize sidebar without deleting it.
💡 Leave approvals on. Cursor asks before running MCP tools by default. For a tool that bills per render, that confirmation is a feature, not an annoyance. Allowlist the image tool only after you have watched a week of usage.
Set It Up in Codex
Codex keeps its MCP settings in config.toml. You can add a server with one command or edit the file yourself.
The -- separates Codex's own flags from the server command. This writes the value straight into your config file, so use the next option on a shared machine.
env_vars forwards the variable from your shell, so no secret lands in the file. The file lives at ~/.codex/config.toml, and a trusted project can carry its own .codex/config.toml.
The two timeouts matter more than they look. Codex waits 10 seconds for a server to start and 60 seconds for a tool call by default. The first npx run downloads the package, and a high quality render can take a while, so both defaults are tight. The values above are my suggestion, not a requirement.
Codex also has a per-server approval setting, default_tools_approval_mode, with values such as prompt and approve. Setting it to prompt gives you the same confirm-before-spending habit as Cursor. Check the current Codex MCP docs for the exact options on your version.
What GPT Image 2 Costs
The MCP server is free software. You pay OpenAI for each render. At 1024 by 1024, third-party price lists put GPT Image 2 at roughly these figures:
Quality
Typical use
Approximate cost per render
Low
Layout drafts, thumbnails, prompt tests
about $0.006
Medium
Blog images, product mockups
about $0.053
High
Final hero art, text-heavy graphics
about $0.211
💡 Those numbers come from reseller price lists, not from OpenAI's own page. OpenAI bills by tokens, so larger sizes, edits with input images and long prompts shift the total. Confirm on OpenAI's pricing page before you budget.
Draft Low, Finish High
Run 40 draft renders at low quality, about $0.24, to settle composition and wording. Then spend on 5 high quality finals, about $1.06. The whole session lands near $1.30. Ten blind high quality attempts to get one keeper would cost about $2.11 on their own.
Put a Ceiling on Spend
Set a monthly spending limit in the OpenAI dashboard.
Create a separate project credential for the editor so you can revoke it alone.
Keep tool approvals on until the habit settles.
Ask for one image per call unless you are comparing options.
Fixes for Common Errors
Most failures fall into five patterns. Check this table before you change anything else.
Symptom
Likely cause
Fix
Server stays red or never connects
First npx download is slow, or npx is not on the PATH
Run the command in a terminal once, then raise startup_timeout_sec in Codex
401 error on every call
The credential is not in the editor's environment
Export OPENAI_API_KEY, then fully restart the editor
Tool call times out on a big render
Codex waits 60 seconds by default
Raise tool_timeout_sec, or drop quality to medium
"Model not found" or 403
Your account or the server's model list lacks the model
Check model access in the OpenAI dashboard and update the server
Image path points to a missing file
The server wrote to a temporary folder
Tell the agent to copy files into your assets folder
When the Server Never Connects
Run the exact command and args in a terminal first. If npx downloads the package there, the next editor launch is faster. On Windows, some setups only start npx through the shell, so try cmd as the command and ["/c", "npx", "-y", "imagegen-mcp", "--models", "gpt-image-1"] as the args. In Codex, raise startup_timeout_sec before you suspect anything else.
Where Did My Image Go
The server writes each result to a temporary folder, so the file can disappear at the next cleanup. Add a standing instruction to your project rules: .cursor/rules for Cursor, or AGENTS.md for Codex.
💡 A rule that works: "After generating an image, copy it to public/images/, give it a descriptive file name, and write alt text that describes the picture."
Paste a long, specific prompt. The model follows multi-part instructions and renders legible text inside the image.
Pick the aspect ratio and quality from the table below.
Choose a background, then set how many images you want (1 to 10).
Generate, download the file and move it into your assets folder.
Setting
Options
Pick it when
quality
low, medium, high, auto
Low for drafts, high for finals
aspect_ratio
1:1, 3:2, 2:3, 16:9, 9:16, plus fixed sizes up to 3840x2160
16:9 for hero banners
background
auto, transparent, opaque
Transparent for icons and cutouts
output_format
png, jpeg, webp
PNG or WebP when you need transparency
number_of_images
1 to 10
Several options of one concept
input_images
One or more reference images
Edits and style guidance
The form also has an optional field for your own OpenAI credential. Leave it empty and the request goes through PicassoIA's proxy.
💡 Prompt shortcut: ask a language model such as GPT 5.6 Sol or Claude Sonnet 5 to turn a one-line idea into a detailed prompt, then paste the result into the image form.
The PicassoIA API and MCP Connector
PicassoIA also offers a developer API and an MCP connector. The base URL is https://api.picassoia.com/v1, requests use a Bearer credential that starts with pia_sk_, and the endpoints follow the Replicate style: create a prediction, then poll it. Four models are available through it: PicassoIA Image, PicassoIA Image Editor Pro and two video models.
curl -X POST https://api.picassoia.com/v1/models/picassoia/picassoia-image/predictions \
  -H "Authorization: Bearer $PICASSOIA_API_KEY" \
  -H "Content-Type: application/json" \
  -d '{"input": {"prompt": "wooden desk with a laptop, soft morning light", "aspect_ratio": "16:9"}}'
Then call GET /v1/predictions/{id} until status reads succeeded, and read the image URLs from output. Limits to plan around: 5 predictions at once per account, prompts up to 4,000 characters, and a 10 MB request body.
GPT Image 2 is not one of those four API models. So the split is simple: use the OpenAI server above when you want OpenAI's model inside Cursor or Codex, and use the PicassoIA API when you want PicassoIA's own image models from code. The API page currently lists predictions as free, but plan requirements are worded differently elsewhere on the site, so confirm the terms on the pricing page before you rely on that.
Make Your First Images Today
Start small. Open GPT Image 2 on PicassoIA, paste the prompt you would hand your agent, and generate three variations at low quality. Compare them, pick a winner, and rerun that one at high quality. Ten minutes of that tells you more about your prompts than an hour of config tweaking.
Three prompts worth trying first:
Hero banner: a wide 16:9 scene that matches your product's mood, with space on the left for a headline
Empty state: a calm, simple photo-style scene for the screen users see before they add data
Social preview: a bold 3:2 image with a two-word caption rendered inside it
Once the pictures look right, wire the same settings into Cursor or Codex and let the agent do the saving. If you want to browse more options first, the full model list lives at picassoia.com/en/all-models. Pick a model, run your first prompt on Picasso IA, and see what lands in your project folder by lunch.