If you've spent time with AI image generators, you know the usual failure points: words that turn into visual noise, reference images that get half-ignored, and prompts that come back slightly off in ways you can't quite pin down. Qwen Image 2 Pro claims to fix those specific problems. Here's what actually happened when we tested it against real commercial workflows.
What Qwen Image 2 Pro Actually Does
Most text-to-image models share the same basic architecture: write a prompt, get an image. The generation quality varies but the interface is nearly identical across tools. Qwen Image 2 Pro works differently in one important way: it accepts both a text prompt and an optional reference image, meaning you can either start from nothing or reshape an existing photo through a description.
That reference image input changes how you approach projects. Instead of describing everything from scratch each time, you bring a real photo and describe what you want changed. The model handles the transition. That's a meaningful shift for anyone running product photography, editorial work, or client presentations where the starting point is a real asset rather than a blank canvas.
The model is built on a combination of a vision-language encoder and a diffusion decoder. The encoder reads both text and image inputs simultaneously, which is why the reference image integration feels tighter than simply feeding a photo into a standard img2img pipeline. The text and visual signals are processed together from the start, not in sequence.
Text Rendering That Doesn't Break
The most talked-about feature is accurate in-image text rendering. AI generators have historically failed here because text generation requires spatial reasoning that standard diffusion models handle poorly. Letters get transposed, spacing collapses, fonts turn decorative when you asked for clean sans-serif.
Qwen Image 2 Pro addresses those gaps by treating typography as a structural element rather than an afterthought. In practice, prompts like "a product poster with a bold sans-serif headline at the top of the frame" produce legible headlines. The letters are positioned where you described, the font weight matches what you asked for, and the text integrates with the composition rather than floating awkwardly on top of it.
This matters most for commercial work: social media graphics, event posters, product labels, presentation slide backgrounds. If your workflow requires text inside the image rather than added in post-production, this is one of the few models that makes that viable without significant prompt engineering or iteration overhead.
Reference Image Input
The optional image parameter accepts a URL to an existing photo. When you provide one, the model uses it as a visual anchor. You describe changes in the prompt and the output reflects those changes while preserving structural elements from the original.
The degree of transformation depends on how specific your prompt is and how much divergence you're asking for. A subtle background replacement with the subject unchanged is very clean. A full tonal overhaul from a reference photo can drift from the original composition. The model interprets the reference rather than locking it in completely.
Negative prompts work in combination with the reference image. If the source photo has elements you want excluded from the output, naming them in the negative prompt reduces how strongly they appear in the final result.
Testing Precise Editing: Product Photography
We ran three focused tests: background replacement for a product shot, typography inside a social media image, and style transfer from a reference portrait. Each test used a different prompt style and aspect ratio to stress different parts of the model's capabilities.
Background Replacement Results
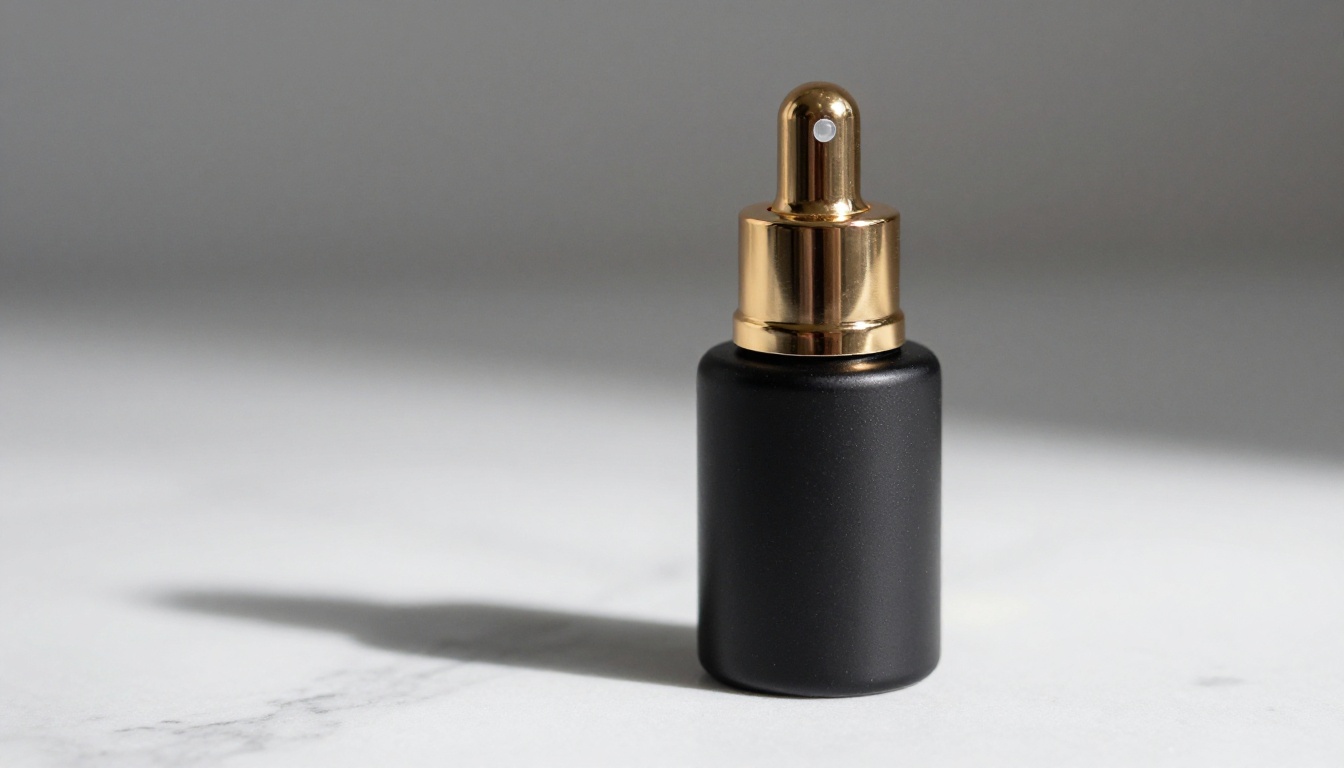
The test: a product bottle on a cluttered desk surface, reference image uploaded, prompt asking for a clean marble studio background with soft diffused daylight from the left.
The result: The marble texture was realistic with appropriate veining and surface reflection. The lighting direction matched the prompt. The product shadow was preserved from the original and extended naturally onto the new surface. Edge separation between the product and the new background was clean at normal viewing resolution, though zooming in at 200% showed slight softness at the bottle cap rim.
Processing time was around 8 seconds for 16:9 output at standard resolution. That's competitive with most Replicate-hosted models at this output quality, particularly for tasks that involve reference image processing.
💡 Tip: When replacing backgrounds with a reference image, use match_input_image: true to preserve the original aspect ratio and avoid crops that cut off product edges unexpectedly.
What the Negative Prompt Controls
The negative prompt isn't just for style filtering; it functions as a spatial exclusion tool. In the product test, adding "cluttered desk, wood surface, cables, papers" to the negative prompt made the background replacement cleaner on the first pass. Without it, faint desk textures bled through the marble in soft areas around the product base.
The strength of negative prompt response scales with specificity. Vague terms like "mess" had less effect than naming the actual elements present in the reference image. If you're seeing elements from your reference image persisting in the output, describe them explicitly in the negative prompt rather than using broad descriptors.
Testing Typography Inside Images
This is where Qwen Image 2 Pro separates from most models in a measurable way. Typography in generated images has been a known failure point across the category for years, and most solutions still require post-production overlay rather than generation.
Poster Layouts That Hold
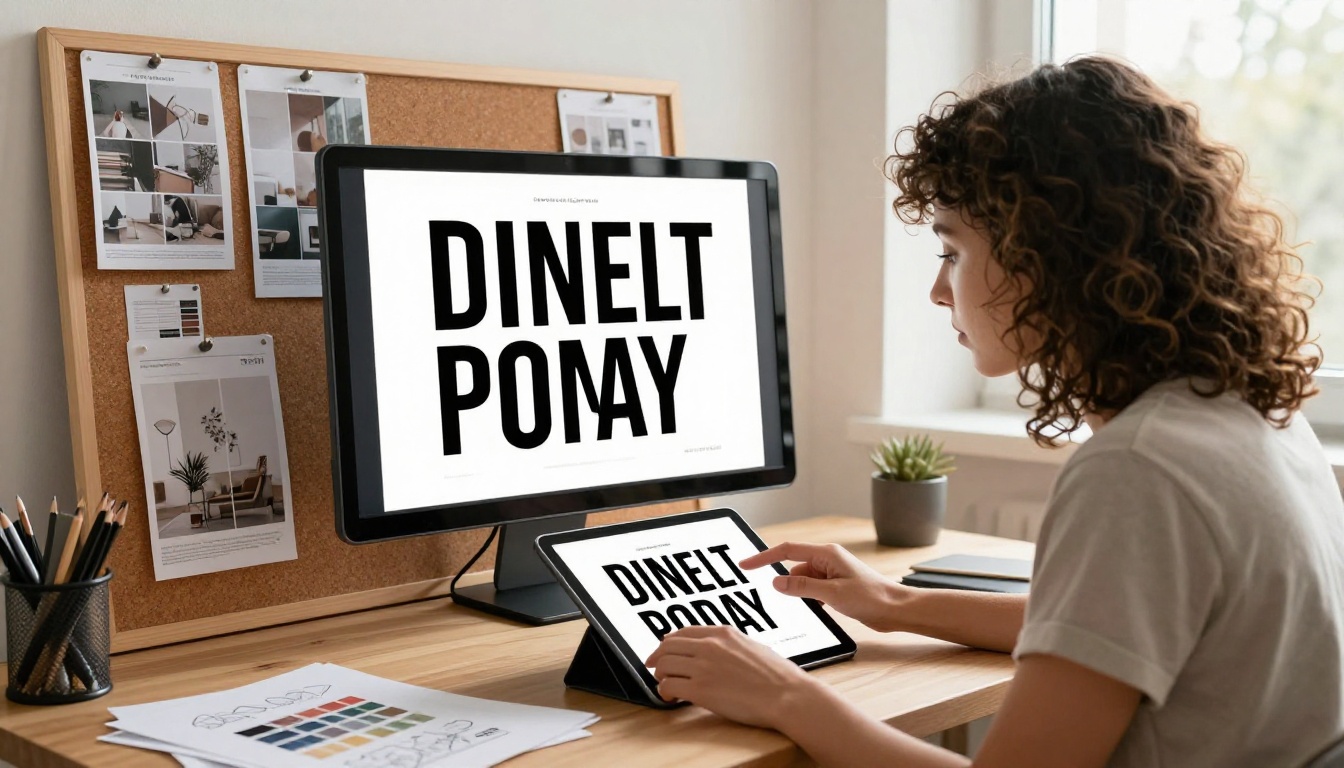
The test: generate a social media event poster with a two-line headline, a subheadline, and a date at the bottom. No reference image; pure text-to-image from a single detailed description.
The headline rendered in the correct position. Both lines were present and readable. The font showed clear weight differentiation between the headline and subheadline. The date at the bottom was legible in four out of five test runs. One pass produced a slightly merged letter pair in the subheadline on the third word.
For direct comparison, running the identical prompt in Flux Dev produced distorted or entirely missing characters in every single attempt. The visual quality of Flux Dev's non-text elements was strong, but the typography was unusable in all cases.
💡 Tip: For poster work, describe font weight such as bold, regular, or light, not a specific typeface name. The model responds to weight descriptors more reliably than to font family names.
Where Text Accuracy Drops Off
Long strings are harder. More than about eight words in a single headline and accuracy degrades: letter spacing gets inconsistent and individual glyphs occasionally merge or split at render time. Using the model for short, punchy text elements and keeping longer copy for post-production editing gives consistently better results.
Punctuation inside images is also inconsistent. Apostrophes and quotation marks appear correctly less often than plain alphanumeric characters. If your text requires exact punctuation, plan to finalize it in your design software after generation rather than relying on the model to place it accurately.
How to Use Qwen Image 2 Pro on PicassoIA
Qwen Image 2 Pro is available directly on PicassoIA with no setup beyond signing in. No local installation, no API token configuration for basic use.
Step 1: Open the Model Page
Go to Qwen Image 2 Pro on PicassoIA. The interface shows the main prompt field at the top, an optional image upload section below it, and parameter controls under that. The layout is straightforward and all configuration happens in a single panel.
Step 2: Write Your Prompt
Be specific about four elements: subject, environment, lighting direction, and any intended in-image text. A prompt like "a glass water bottle on a white ceramic tile surface, soft window light from the right, minimal shadows, clean product photography" gives the model enough spatial information to work precisely without over-constraining the composition.
If you're including text in the image, state it explicitly using quotes inside your prompt: headline: "Summer 2025". The model picks up quoted strings more consistently than text embedded as part of a descriptive scene. This is the single most reliable method for getting readable text in the output on the first pass.
Enable Auto Prompt Expansion for short prompts when you want the model to fill in scene details automatically. Disable it when you need tight control and don't want the model adding elements you didn't specify.
Step 3: Configure Aspect Ratio and Parameters
Available ratios: 1:1, 16:9, 9:16, 4:3, 3:4, 3:2, 2:3, 2:1, 1:2. For social media posts, 9:16 or 1:1 work best depending on the platform format. For horizontal banners and website headers, 16:9. For print layouts, 4:3 or 3:2.
If you uploaded a reference image and want the output to match its exact dimensions, toggle Match Input Image on. This overrides the aspect ratio setting and uses the reference image's native proportions.
Step 4: Iterate With Seed Control
Set a seed value the moment you find a result that's close to what you need. Keeping the same seed and making small, targeted prompt changes lets you move through variations in a controlled way instead of getting random outputs on every run.
This is particularly useful for typography iterations: fix the seed, adjust the text content in your prompt description, regenerate. The overall layout composition and lighting stay consistent while the specific text element you changed shifts. Most users get to a usable result within three to five iterations using this method.
Qwen Image 2 Pro vs. Flux Dev: Side by Side
Both models are available on PicassoIA and both handle text-to-image and image-to-image workflows, but they're optimized for different things.
| Feature | Qwen Image 2 Pro | Flux Dev |
|---|
| Text rendering | Accurate for short strings | Distorted in most cases |
| Reference image input | Yes, full image-to-image | Yes, img2img mode |
| Aspect ratios | 9 options | 11 options |
| Avg. generation time | ~8 seconds | ~3-5 seconds |
| Negative prompt | Yes | No native negative prompt |
| Seed control | Yes | Yes |
| Auto prompt expansion | Yes | No |
| Best for | Text-in-image, reference edits | Speed, volume, photorealism |
Flux Dev is faster and delivers excellent photorealistic results when text requirements aren't part of the brief. Its 12-billion parameter architecture produces sharp, high-fidelity scenes from descriptive prompts, and the img2img mode handles visual transformations well.
Qwen Image 2 Pro is more appropriate when the output needs readable typography or when you're working from a reference image and need clean background transitions with minimal edge artifacts.
They serve different workflows rather than competing in the same slot. Running both on the same project to compare first-pass outputs is a practical approach when you're unsure which fits better for a specific brief.

What to Pair It With
Qwen Image 2 Pro outputs at standard generation resolution, roughly 1 megapixel depending on the aspect ratio chosen. For commercial delivery, you'll often want an upscale pass before final export.
For Upscaling
Clarity Pro Upscaler is the strongest option for photorealistic outputs from Qwen Image 2 Pro. It adds micro-detail that matches the photorealistic style of the source: skin texture, fabric weave, surface grain. The results integrate naturally with what Qwen Image 2 Pro generates rather than adding synthetic sharpness on top.
For product photography results with smooth surfaces and clean edges, Google Upscaler handles those materials without adding artificial texture noise that would look out of place on glass or polished metal.
For a fast 4x pass without quality tweaking, Real ESRGAN processes quickly and handles most standard output types reliably.
For Background Cleanup
When background replacement leaves edge artifacts or faint remnants of the original scene bleeding through, Remove Background can isolate the subject cleanly. Use it after the Qwen Image 2 Pro generation pass to get a clean cutout, then composite onto a final background in your editing software.
💡 Tip: For product shots, the most efficient workflow is: generate with Qwen Image 2 Pro for composition and lighting, run through Remove Background for a clean cutout, then upscale with P Image Upscale for delivery. Three tools, roughly 30 seconds total, results that work in client-facing presentations.
Real Limitations to Know
Resolution at Generation Time
The model generates at standard resolution. For web use, this is sufficient. For large-format print or situations requiring full-bleed detail at A2 or larger, you need an upscale pass before delivery. Factor that into your timeline.
Long Text Strings Degrade
Text accuracy drops with string length. The model works best with short, contained text elements. For anything requiring longer copy inside the image, generate the visual composition without text and add the copy in your design tool afterward. This gives you better typographic control in post than fighting the model's rendering limits on long strings.
Reference Image Fidelity Is Not 100%
The model interprets a reference image, it does not copy it. When you upload a reference, expect the output to share structural elements and lighting characteristics with the original, not to be a direct pixel-level edit. If you need precise regional editing with explicit masks, that's a different tool category.
Prompt Expansion Can Surprise You
Auto prompt expansion is on by default. It adds scene detail the model infers from your short description. This can produce richer, more complete results, or it can introduce elements you didn't ask for. For precise commercial work, disable it and write your full prompt manually so you know exactly what you're prompting for.
3 Workflows That Deliver Results

Product packaging mockups: Upload the packaging reference image, describe the target background and lighting conditions, generate at 4:3 or 3:2, upscale with Clarity Pro Upscaler. This workflow is faster than setting up a physical studio shot for every packaging variation and produces results that hold up in client presentations and e-commerce listings.
Social media graphics with integrated text: Use the text rendering capability for event graphics, promotional headers, or announcement visuals where the headline is part of the composition rather than a post-production overlay. Keep headlines under six words for clean character rendering and use the seed control to iterate on wording without rebuilding the visual layout from scratch.
Style reference transfers: Upload a photo with the lighting and tonal quality you want to replicate, describe the new subject and environment, generate. The model carries over the tonal characteristics and lighting direction from the reference while replacing the content with what you described. This is faster than matching lighting manually in post and produces results with natural-looking integration between subject and environment.
For cases where you need to draft and refine complex prompts before running generation, Qwen3.7-Plus on PicassoIA can help you build detailed scene descriptions, analyze reference images to identify what elements to call out in your prompt, and troubleshoot why a particular prompt isn't producing the result you expect.

Try It on PicassoIA
Qwen Image 2 Pro is a focused tool. It handles text-in-image and reference-image editing better than most alternatives at this tier, and it produces photorealistic outputs at a quality level that works for commercial workflows without requiring external processing on every pass.
The limitations are real, mostly around text string length and generation resolution, but they're predictable. Once you know them, you can design around them: keep headlines short, plan for an upscale step, disable auto prompt expansion for precise work. The seed control and negative prompt give you enough iteration depth to get to results that are ready to use without running dozens of generations.
If you're producing content where typography needs to be inside the image, or where you're starting from a reference photo and need precise background or style changes, this model belongs in your workflow.
Try Qwen Image 2 Pro on PicassoIA now. Start with a short product description plus a reference image from your library and see how the first pass holds up. The parameters are minimal and the interface is immediate, so you can run your first test in under two minutes.
You can also browse all available models on PicassoIA to find the right combination of generation, editing, and upscaling tools for your specific creative workflow.


