A sleeve tattoo is the one piece of ink you cannot improvise. It wraps a shoulder, a bicep, an elbow and a forearm, and every element has to flow into the next one or the whole arm looks like a collage. That is why people sit on the idea for years. Sleeve tattoo ideas AI tools remove the hardest first step: you describe the arm you picture, and a few seconds later you have an image to react to, edit and carry into a consultation.
This article walks through the sleeve styles that work best as prompts, the exact wording that produces clean results, a step-by-step tutorial for GPT Image 2 on Picasso IA, and the honest limits of the whole approach. An AI render is a conversation starter with your artist, not a finished stencil. Used that way, it saves hours of vague back and forth in the chair.
Why AI Works for Sleeve Planning
Most sleeves go wrong at the planning stage, long before the needle touches skin. People collect screenshots from ten different artists, hand them over, and hope the result somehow reads as one piece. It rarely does, and fixing a patchwork arm means years of filler work or an expensive redesign.
The Problem With Flash Sheets
Flash sheets show single motifs: a rose, a dagger, a snake, a skull. A sleeve needs a dozen of those motifs arranged around a cylinder that bends at the elbow and twists at the wrist. Picking pieces one by one almost always ends in a patchwork with random filler stuffed into the gaps.
What a Prompt Gives You
A prompt lets you describe the whole arm at once: the theme, the style, where the heavy shading sits, and how the design travels from shoulder to wrist. You can generate six versions of the same idea in a few minutes, compare how an owl sits against a forest, and decide what you actually like before paying for a single hour of artist time.
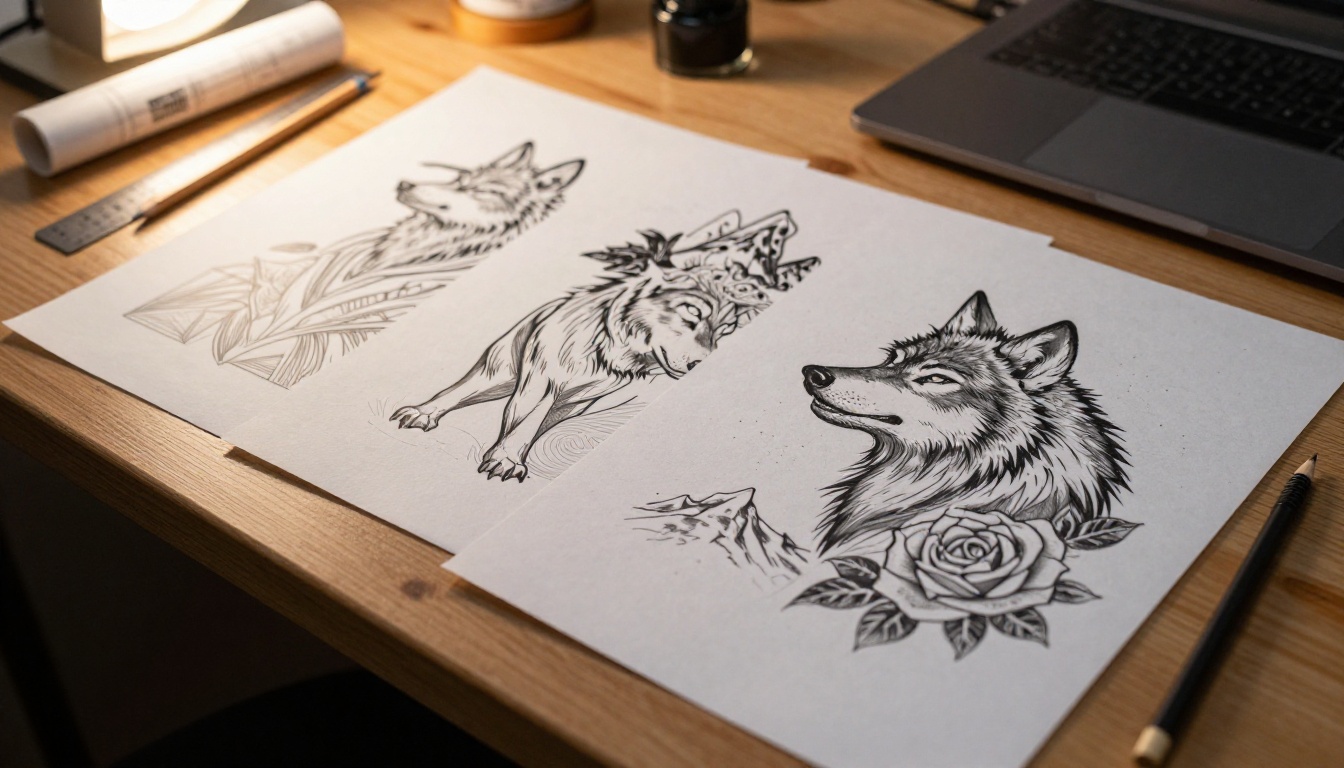
💡 Tip: Generate at least ten variations before choosing. The third or fourth render is rarely the one you keep, but it shows you which elements you keep reaching for.
Five Sleeve Styles Worth Prompting
Not every tattoo style survives the jump from prompt to skin. These five give an image model the clearest instructions, and they give a tattoo artist the clearest starting point.
| Style | Best for | Prompt starter |
|---|
| Japanese irezumi | Bold, story-driven sleeves | koi, waves, cherry blossom, bold outlines |
| Blackwork geometric | Clean, symmetrical looks | mandala, dotwork, sacred geometry, solid black |
| Fine line botanical | Light, delicate sleeves | single-needle ferns, wildflowers, negative space |
| Neo-traditional | Color and contrast | rose, dagger, bold outline, saturated palette |
| Black and grey realism | Portraits and animals | wolf, smoky shading, soft gradients |
Japanese Irezumi With Koi
Japanese sleeves are the natural fit for prompting because the tradition already has rules: a hero animal, a background of waves or clouds, and flowers that fill the gaps. Tell the model which animal leads, which direction it swims, and how much of the arm stays as bare skin.
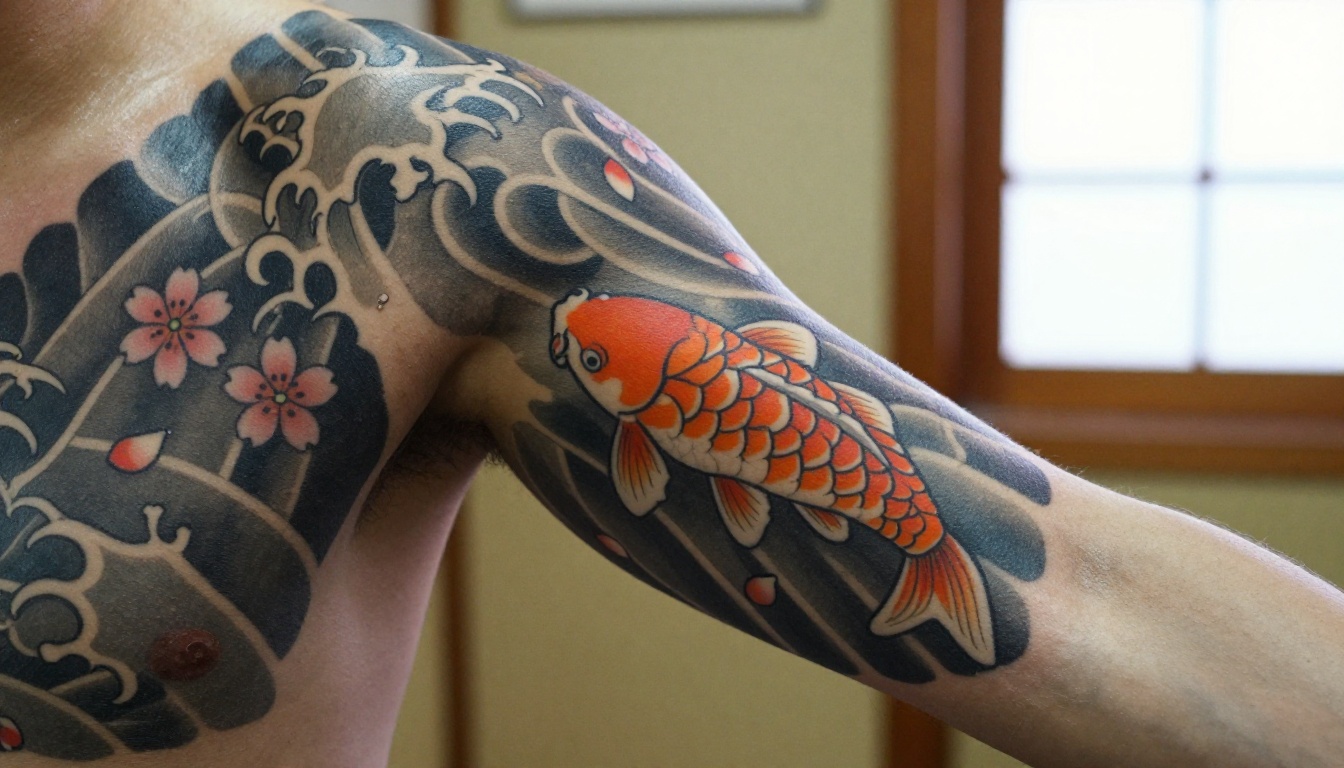
Prompt example: an orange and white koi leaping up a stylized blue-grey wave, scattered cherry blossom petals, bold black outlines, flowing from the shoulder cap down the outer forearm.
Blackwork and Geometric Mandala
Blackwork rewards symmetry, and symmetry is something image models handle well. Concentric circles, dotwork gradients and lotus petals can wrap a bicep so evenly that the pattern reads as a single band. Ask for solid black ink and crisp edges to avoid muddy grey areas that will not heal cleanly.
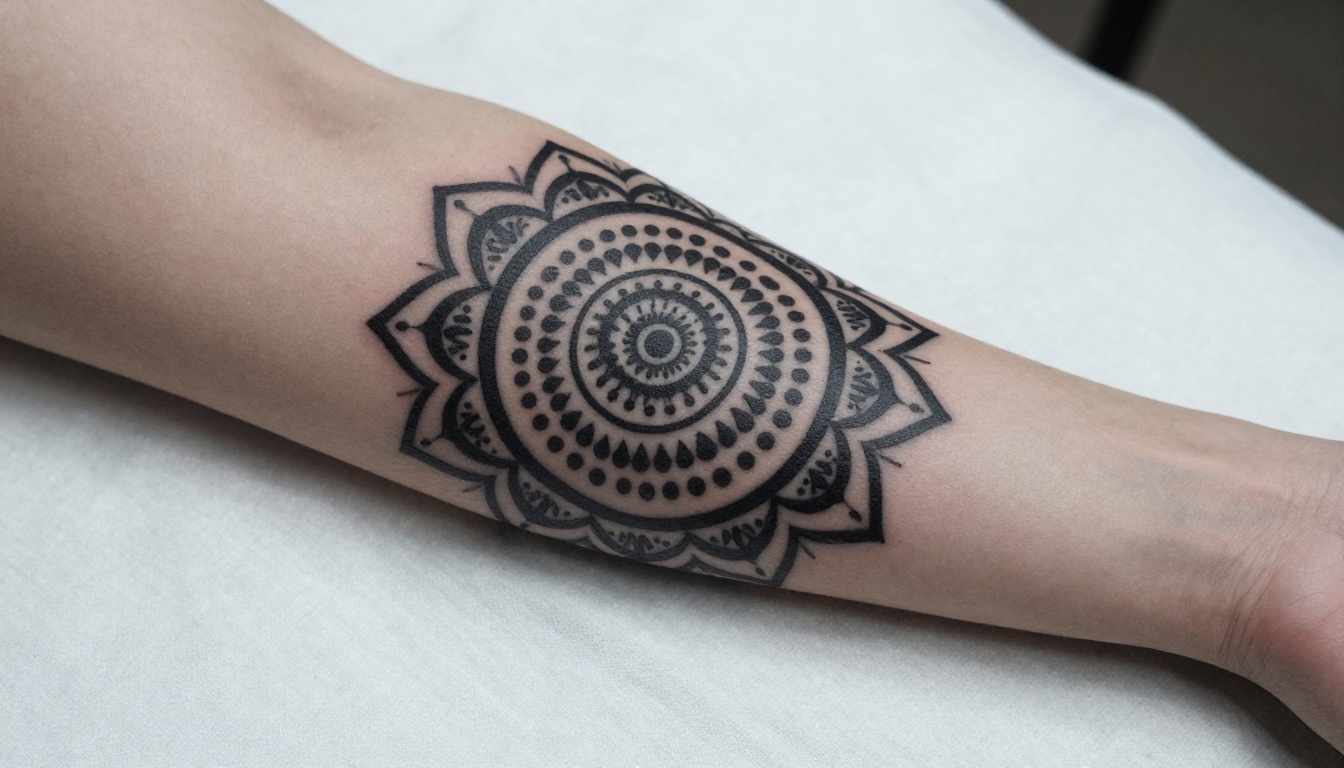
Prompt example: blackwork mandala sleeve, concentric dotwork circles, symmetrical lotus petals, thin radiating lines fading into skin near the collarbone.
Fine Line Botanical Sleeves
Fine line work is the style where AI renders and real tattoos drift apart the most, so treat the output as a layout and not a final drawing. Still, for planning where stems should curve and where empty space should stay, nothing is faster. Ferns, wildflowers and eucalyptus branches winding up the forearm give a light result that suits first sleeves.
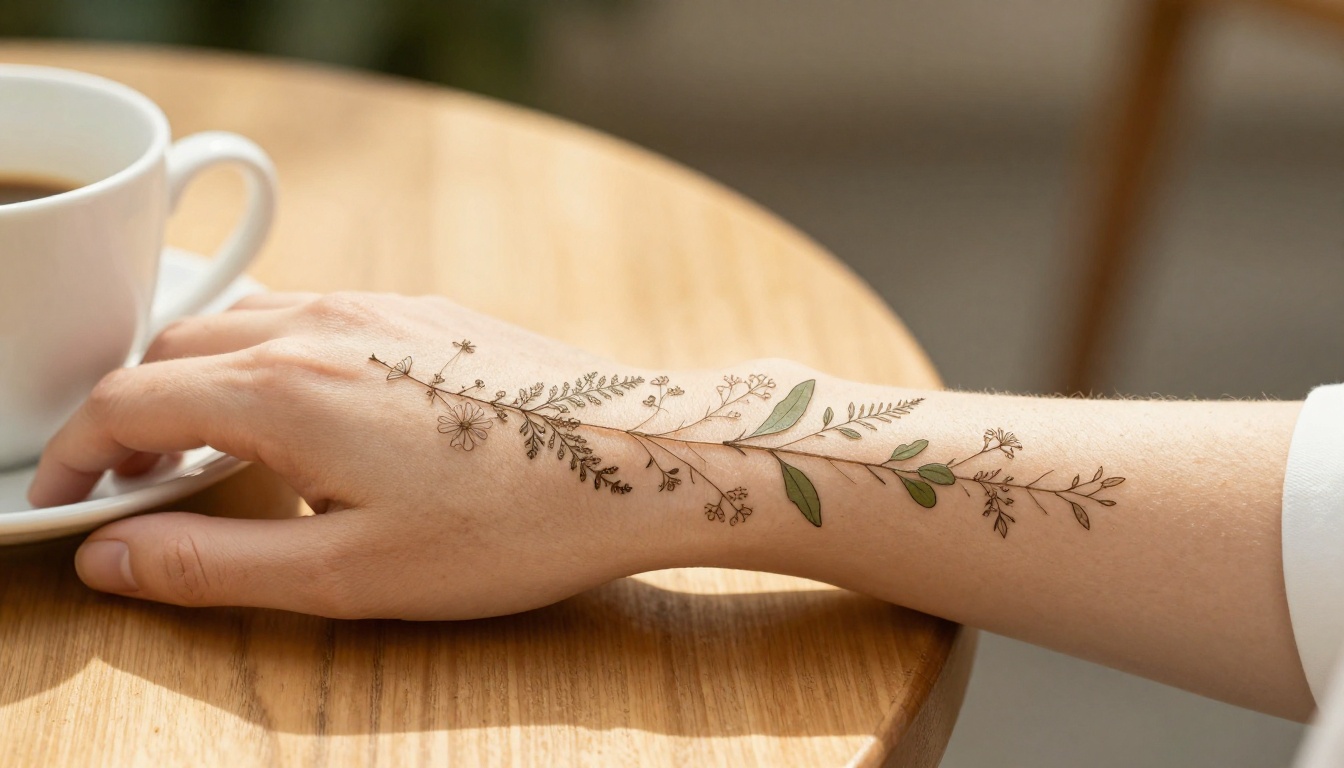
Prompt example: delicate single-needle botanical sleeve, wildflower stems and ferns winding from wrist to elbow, generous negative space, thin consistent line weight.
Neo-Traditional Color Sleeves
Neo-traditional mixes the bold outlines of old school work with a wider, richer palette. The classic cast is a rose, a dagger, an hourglass and a swallow. Name each object and its color, because a vague request like "colorful traditional sleeve" produces a different palette every time and makes comparing versions harder.
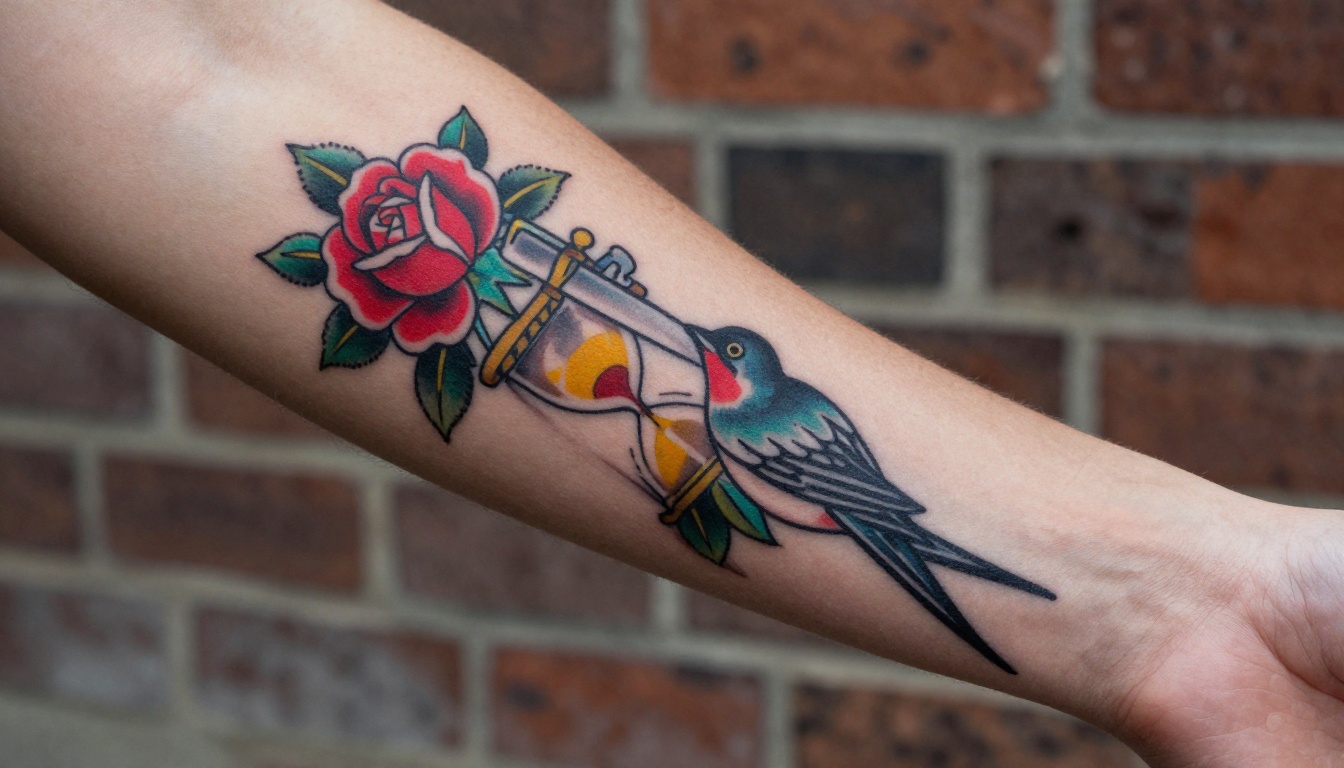
Prompt example: neo-traditional sleeve, red rose with dark green leaves, silver dagger, golden hourglass, swallow, bold black outlines, saturated reds, teals and mustard yellow.
Black and Grey Realism
Realism asks the most from both the model and the artist. A wolf, lion or owl portrait with soft smoky gradients looks stunning on a screen, but it takes a specialist with a steady hand to reproduce. If you want this style, use the render to find your preferred pose and shading depth, then book an artist whose portfolio already shows realism.
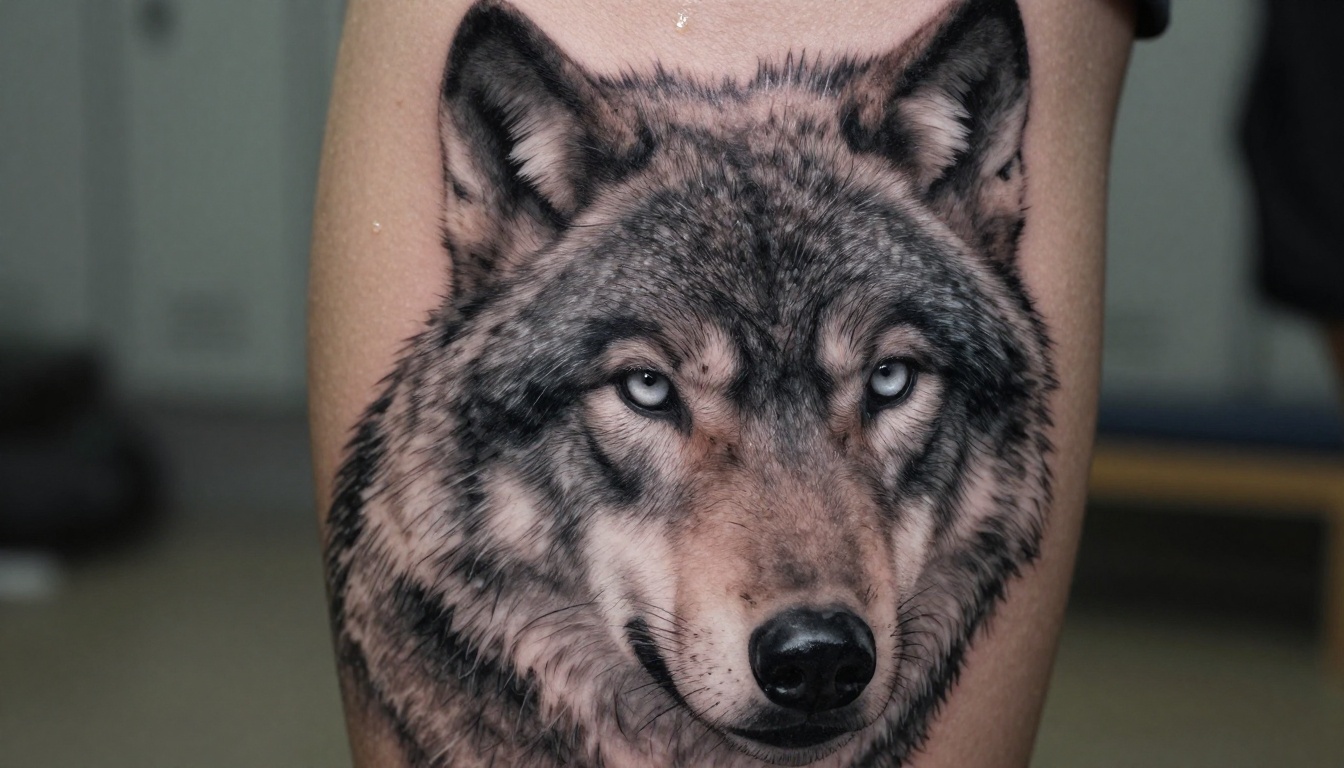
Prompt example: black and grey realism wolf portrait, individually shaded fur, pale glassy eyes, smoky gradients fading into bare skin at the edges.
How to Write a Sleeve Prompt
Short prompts give you a flat, front-facing picture of a tattoo that could be anywhere. Sleeve prompts need to describe the arm itself. The difference shows up immediately in how natural the result feels.
The Five-Part Prompt Formula
Build every prompt from the same five parts, in the same order, so you can change one part at a time and see exactly what moved.
| Part | What to write | Example |
|---|
| Subject | The hero image and two or three supporting elements | an owl, pine forest, mountain ridge |
| Style | One tattoo style, named once | black and grey realism with blackwork linework |
| Flow | How the design travels along the arm | rising from the shoulder cap to the wrist |
| Ink | Line weight, shading, color rules | deep black ink, smooth grey wash |
| Skin and light | Realistic arm, pores, soft window light | photorealistic, natural skin texture, 85mm lens |
The last part matters more than it seems. Without it, many models draw a flat illustration of a tattoo on white paper. Adding natural skin texture and a lens or lighting phrase pushes the result toward a photograph of a healed tattoo on a real arm, which is far easier to judge.
Placement Words That Matter
Placement is what separates a sleeve from a sticker. These phrases change the composition more than any adjective:
- "wraps around the forearm" forces the design to continue past the visible edge.
- "flows from shoulder cap to wrist" creates one direction of movement instead of stacked scenes.
- "negative space between elements" leaves breathing room that artists love and clients forget to ask for.
- "fading into bare skin" gives you a half sleeve or a clean edge for later expansion.
- "elbow ditch shading" keeps heavy detail away from the hardest spot to tattoo.
💡 Tip: Write what you want to avoid in plain words too: no text, no logos, no extra fingers, no floating objects. A short exclusion line saves several wasted generations.
Using GPT Image 2 on PicassoIA
GPT Image 2 follows long, multi-part prompts closely, which is exactly what a sleeve brief is: five or six named elements arranged in a set order. It also accepts reference images, so you can feed it a photo of your own arm and ask for a design that fits that shape.
Step by Step
- Open the model page. Go to GPT Image 2 on Picasso IA and sign in.
- Paste your prompt. Use the five-part formula above, with the subject first and the skin and light phrase last.
- Pick the aspect ratio. Choose 2:3 for a vertical arm from shoulder to wrist, or 3:2 when the arm lies across a table.
- Set the quality. Start on low or medium while you scout ideas, then switch to high for the one you plan to show an artist.
- Raise the image count. Set the number of images between 4 and 6 so you can compare versions side by side.
- Choose the background. Select transparent when you only want the artwork, or leave it on auto for a realistic arm in a scene.
- Add a reference. Upload a photo of your arm in the image input if you want the design fitted to your shape.
- Generate and refine. Change one element per run, keep the two best renders, and download them as PNG.
| Setting | Scouting round | Final render |
|---|
| Quality | low or medium | high |
| Number of images | 4 to 6 | 1 to 2 |
| Aspect ratio | 2:3 | 2:3 or 3:2 |
| Background | auto | transparent for artwork only |
Other Models Worth Trying
Different models read the same prompt in different ways, so running one idea through two or three of them is a cheap way to widen your options.
From Render to Real Stencil
Here is the part most AI tattoo articles skip: the render is not what goes on your skin. A tattoo artist redraws the design for your arm, adjusts the size around your muscle shape, and decides which details survive. What the render does is shrink the briefing from three consultations to one.
Flatten the Design Into Line Art
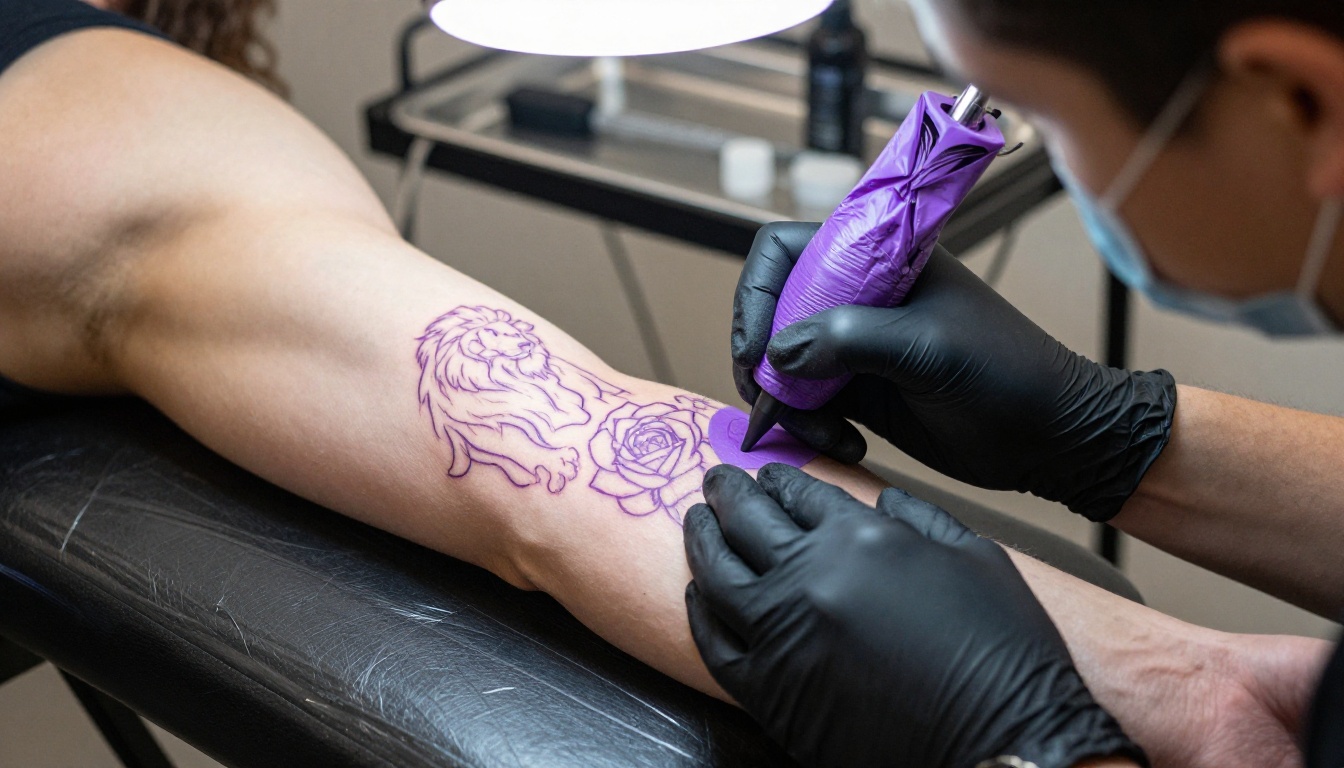
Artists work from outlines, not from photographs of tattoos. Ask the model for a second version of your best render: black ink line drawing on plain white paper, no shading, no skin. Then run that image through Recraft Vectorize, which accepts PNG, JPG and WEBP files and returns a clean SVG. If the line drawing comes out small, upscale it first with Real ESRGAN so the lines stay sharp.
Plan Placement on the Arm
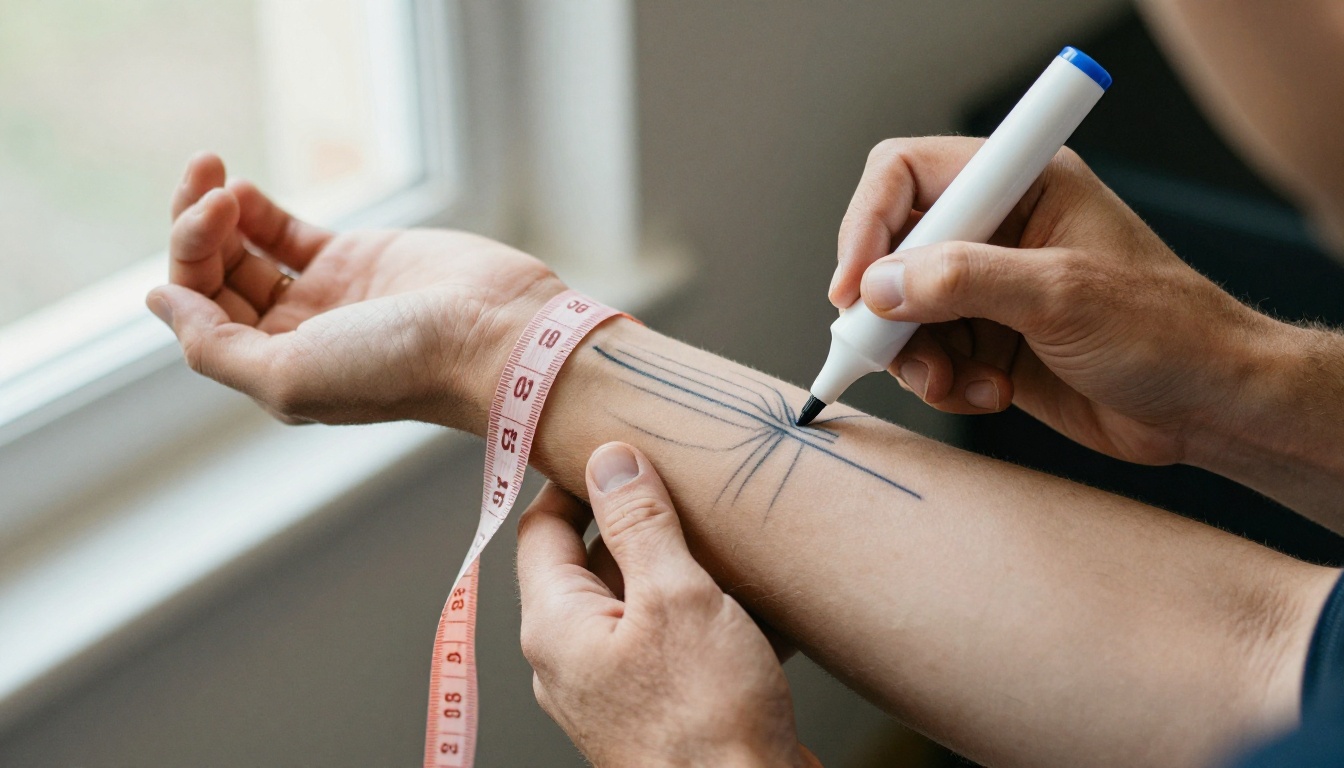
Print your line art at real size and bring it with the original render. A good artist will mark the arm with skin-safe marker lines and test where the elbow, bicep and wrist bands fall. Ask three questions before the first session:
- Where does the design start and stop, and can I extend it later?
- Which details are too small to last, and how would you simplify them?
- How many sessions will the first section take?
Mistakes That Ruin AI Sleeves
Image models are generous. They will happily draw ten ideas at once and make it look good. Skin is less forgiving, so watch for these patterns:
- Too many focal points. If three elements compete for attention, the sleeve reads as noise. Pick one hero and let the rest support it.
- Detail that will not last. Hairline texture and tiny lettering soften over the years as ink settles in the skin. Ask your artist to thicken anything finer than a single needle line.
- A flat picture, not a wrapped arm. Renders are often composed like posters. An arm is a cylinder, so the design has to continue around the back.
- Copying a living artist's style. Prompt for a style category like Japanese irezumi or fine line, not a named tattooer. Their signature work belongs to them.
- Skipping the consultation. The render shows what you want to feel. Only your artist knows how it will age on your skin.
Cost, Pain and Healing Time
A full sleeve is a project measured in months, not weekends. Prices and hours swing widely by city, artist and style, so use the table below as a rough planning aid and get a quote from your artist.
| Sleeve type | Typical sessions | What drives the price |
|---|
| Half sleeve | 2 to 4 | Size, line density, color |
| Full sleeve, line work | 4 to 8 | Hours of linework, shoulder to wrist |
| Full sleeve, color or realism | 6 to 12 | Shading depth, color packing, portrait detail |
Hourly rates often fall somewhere between roughly $100 and $300 depending on location and reputation, and the elbow ditch, inner bicep and wrist are the spots most people find hardest to sit through. Plan breaks between sessions so each section can settle before the next one starts.
Pain is the part no render can preview. The outer forearm and outer bicep are usually the easiest areas, while the inner arm, the elbow and the wrist tend to sting more. If your design puts heavy shading on the elbow, say so early. Many artists will schedule that section for a fresh, well-rested day, or suggest a lighter pattern there that still reads as part of the same sleeve.
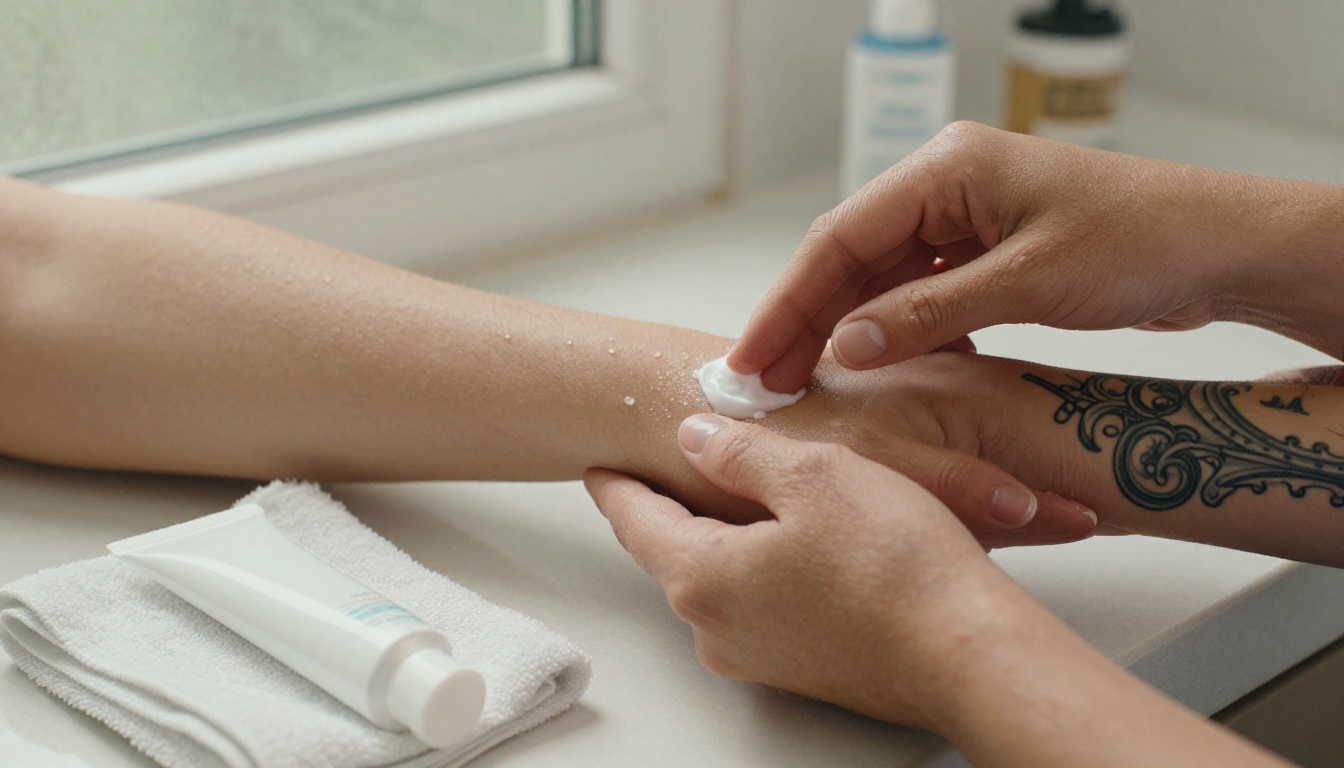
Aftercare in Four Steps
Healing decides how the sleeve looks ten years from now, so treat it as part of the project.
- Keep the bandage on for as long as your artist says, usually a few hours.
- Wash gently with lukewarm water and fragrance-free soap, then pat dry with a clean towel.
- Moisturize lightly with a fragrance-free lotion once the skin feels tight. A thin layer is enough.
- Protect from sun and soaking. Skip pools, hot tubs and direct sunlight until the surface has fully healed, which commonly takes two to three weeks.
Make Your Own Sleeve Design Today
You do not need to know what you want before you start. You need one image to react to, and a prompt gets you there in minutes. Open GPT Image 2 on Picasso IA, paste in one of the prompt examples from this article, and change a single word at a time: the animal, the style, the direction the design flows.
Try the same prompt in Seedream 5 Pro and Flux Krea Dev to see how each one reads your idea, then flatten your favorite into line art with Recraft Vectorize. Save the three renders you keep coming back to, print them, and bring them to your artist. You can browse every available model at picassoia.com/en/all-models, so go experiment, and let your next sleeve start as a prompt.


