Every piece of content you have already written is sitting idle. Blog posts take hours to produce, yet most readers skim them in under three minutes before moving on. Video captures attention differently, holds it longer, and reaches audiences who simply will not read long-form text. The good news is that you no longer need a camera, a studio, or a video editor to make this shift. AI models can take your written words and produce professional video content in minutes, ready to publish on YouTube, Instagram, LinkedIn, or TikTok.
This article walks you through the exact process to turn a blog post into a video with AI, covering source content preparation, model selection, script optimization, and distribution strategy.
Your Blog Posts Are Missing Half the Audience
Most content marketers focus exclusively on written output. That leaves a significant portion of their potential audience unreached. Studies consistently show that video content drives dramatically higher retention rates than text alone. While a well-written blog post might retain 20% of readers to the end, a well-produced video holds 60-80% of viewers through completion.

The numbers behind video content
The data is clear. Video content on social platforms receives significantly more organic reach than text posts. YouTube is the second largest search engine in the world, meaning a video version of your blog post has a second chance to rank for the same keywords. LinkedIn videos receive 3x more interaction than plain text posts. TikTok and Instagram Reels serve short-form video to billions of users daily, none of whom will ever open a blog.
What written content cannot do alone
Text is linear, passive, and slow. A well-written paragraph requires effort from the reader. A well-made video requires almost nothing: the viewer relaxes while the content washes over them. AI-generated video from blog content means you are not sacrificing the quality of your written research. You are simply presenting it in a format that more people will actually consume.
💡 Pro tip: The best blog posts to convert are listicles, how-to articles, and explainer content. Their structure already maps naturally to video scenes.
What You Need Before Starting
Jumping straight into an AI video tool without preparation produces mediocre results. The models perform best when you give them clear, scene-oriented input. Taking 15 minutes to prep your source material saves hours of iteration.

Picking your source blog post
Not every post converts equally well. The ideal candidates share these traits:
- Clear sections: Posts with 4-8 distinct H2 headings translate naturally into video chapters
- Concrete topics: "How to batch cook for the week" works better than "Thoughts on productivity mindset"
- Visual subjects: Content about travel, food, products, tutorials, or physical processes has obvious visual potential
- Under 1,500 words: Shorter posts are easier to condense into a 60-90 second video without losing meaning
Avoid converting posts that are heavily opinion-based or rely on nuanced written argument. Those are hard to visualize without losing their impact.
Breaking text into visual scenes
Before touching any AI tool, break your blog post into 6-10 short scene descriptions. Each scene should represent one visual moment, lasting 4-8 seconds on screen. A good scene description answers three questions:
- What is happening? (action or subject)
- Where is it happening? (environment or setting)
- What does the viewer feel? (mood or emotion)
For a cooking blog, a scene description might read: "A woman in a bright kitchen slicing fresh vegetables on a wooden board, warm natural light, relaxed morning energy." This kind of input consistently produces strong output from text-to-video AI models.
3 Ways to Convert a Blog Post to Video with AI
There is no single approach that fits every type of blog content. Below are the three most effective methods, each suited to different post types and goals.

Direct text-to-video input
The simplest approach. Take your scene descriptions, enter them as prompts into a text-to-video model, and generate clips for each section of your blog. Models like Seedance 2.0 from ByteDance produce 1080p output with built-in audio, making them ideal for this workflow. Wan 2.7 T2V is another strong option for detailed scene generation with high visual fidelity.
Best for: Tutorial posts, listicles, product reviews
Image-first, then animate
Generate still images based on your blog topic, then animate each image into a short video clip. This approach gives you more control over visual aesthetics. Kling v2.6 specializes in turning photographs and illustrations into cinematic motion video. Pair it with Wan 2.7 I2V for image-to-video animation that preserves fine visual detail.
Best for: Travel posts, food content, fashion and lifestyle topics
Avatar narration style
Create a talking head video where an AI avatar reads your blog post aloud. This works particularly well for opinion pieces and editorial content. Avatar IV by HeyGen and the Video Agent by HeyGen are leading tools for this format, letting you paste your blog text and receive a polished presenter-led video in return.
Best for: Opinion pieces, interviews, thought leadership content
How to Use Seedance 2.0 on PicassoIA
PicassoIA gives you access to Seedance 2.0, one of the most capable text-to-video models available right now. Here is a step-by-step walkthrough of the blog-to-video process using this model.
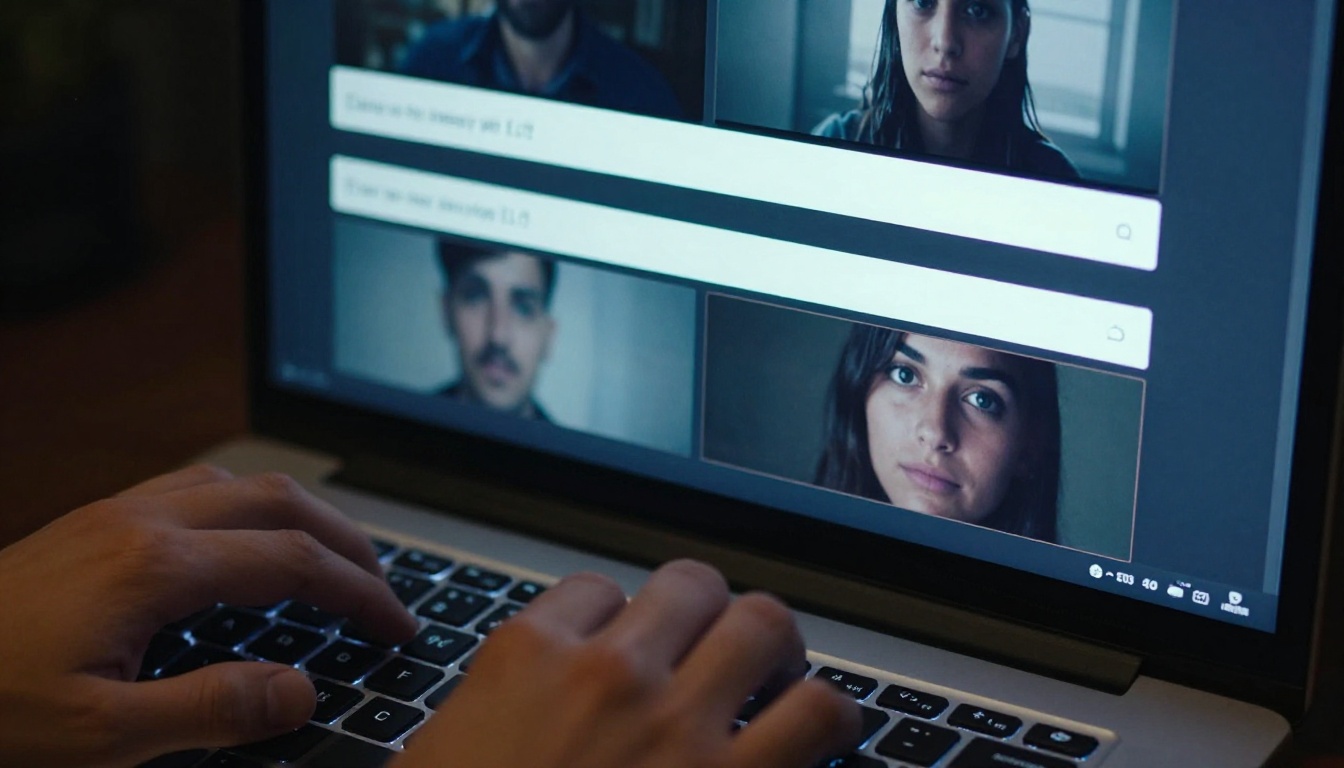
Step 1: Open Seedance 2.0
Go to Seedance 2.0 on PicassoIA. You will see a text input field for your prompt along with options for video duration and resolution.
Step 2: Write your scene prompt
Paste one of your prepared scene descriptions into the prompt field. Keep it under 100 words. Include the subject, the action, the environment, the lighting, and the mood. For example:
A content creator at a clean oak desk typing on a laptop, warm morning light through tall windows, focused and calm, photorealistic
Step 3: Set output parameters
Choose 1080p for best quality. Select a duration of 5-8 seconds per scene, which is the sweet spot for social media clips. Leave audio generation enabled so Seedance 2.0 adds ambient sound automatically.
Step 4: Generate and review
Click generate and wait for the preview. Seedance 2.0 typically produces results in under 2 minutes. Review the clip for subject accuracy and motion quality before moving to the next scene.
Step 5: Repeat for each scene
Generate one clip per scene description from your blog post. A 6-scene blog post becomes 6 individual video clips, each 5-8 seconds long, totaling 30-48 seconds of footage.
Step 6: Assemble
Download your clips and drop them into any basic video editor such as CapCut, DaVinci Resolve, or a native mobile editor to arrange them in sequence, add transitions, and layer music or voiceover.
💡 Tip: Seedance 2.0 includes built-in audio that often matches the visual mood without any extra work. Listen before adding your own music layer.
Choosing the Right Model for Your Content
With over 100 text-to-video models available on PicassoIA, narrowing down the right choice depends on two factors: your content type and your quality requirement.
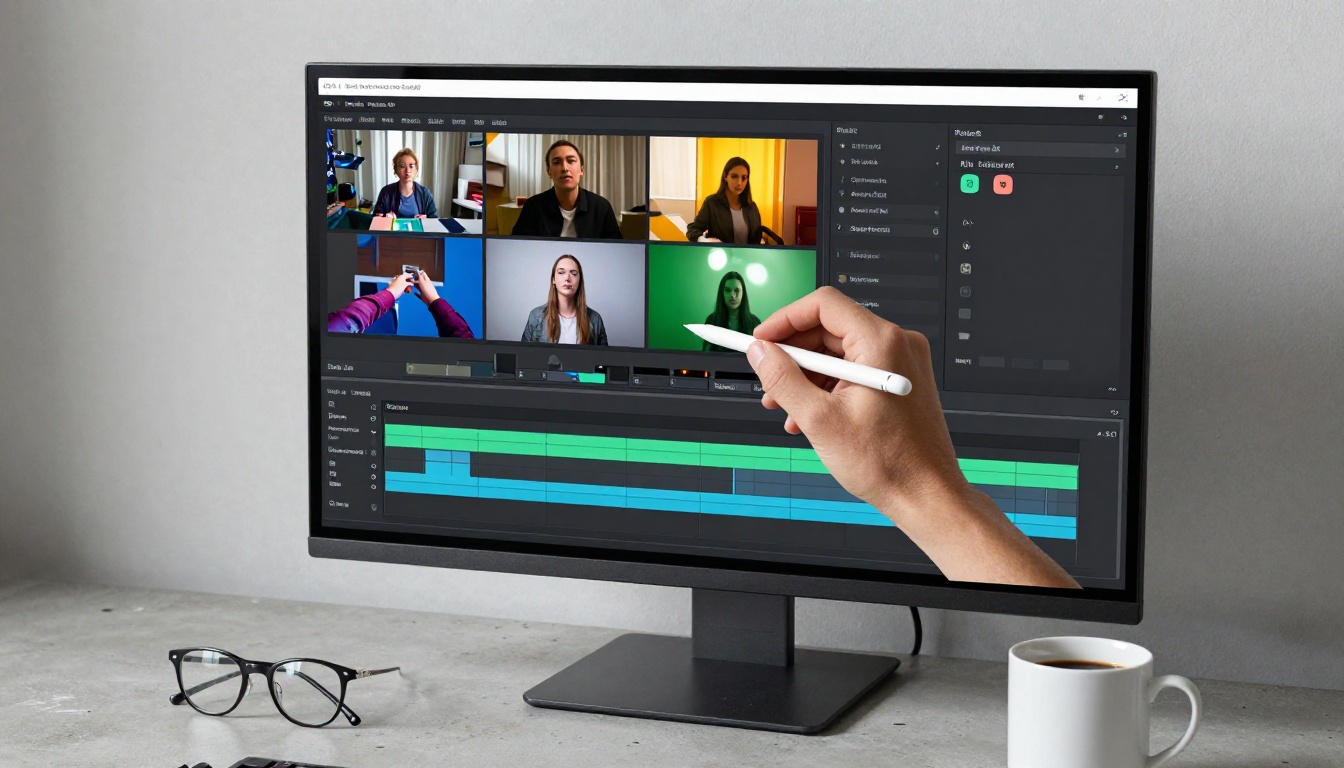
| Model | Best For | Output Quality | Speed |
|---|
| Seedance 2.0 | General blog content, tutorials | 1080p with audio | Fast |
| Kling v3 Video | Cinematic, lifestyle content | 1080p cinematic | Medium |
| LTX 2.3 Pro | High-detail professional video | 4K | Slower |
| Pixverse v5.6 | Social media short clips | 1080p | Fast |
| Veo 3 | Realistic storytelling with audio | 1080p with native audio | Medium |
| Ray 2 720p | Quick drafts and testing | 720p | Very Fast |
| Sora 2 | High-fidelity HD with audio | HD | Slower |
| Gen 4.5 | Cinematic motion from prompts | 1080p | Medium |
Short-form vs long-form videos
For social media (TikTok, Reels, YouTube Shorts), aim for 30-60 second videos assembled from 5-8 scene clips. Fast models like Pixverse v5.6 or Ray 2 720p are ideal for rapid iteration.
For YouTube long-form content (5-15 minutes), you need more clips with higher quality. Seedance 1 Pro and Veo 3 produce the quality needed for longer watch sessions.
Realistic footage vs cinematic style
Some blog topics call for raw, documentary-style footage while others suit a polished cinematic look. Hailuo 02 produces naturalistic, almost documentary-feeling video that works well for health, finance, and technology topics. Kling v2.6 delivers a more cinematic treatment that suits fashion, travel, and entertainment content.
Writing Your Blog Script for AI
Feeding your raw blog text directly into a video model almost never produces good results. The text was written to be read, not visualized. You need a simple translation layer between your written content and the AI input.
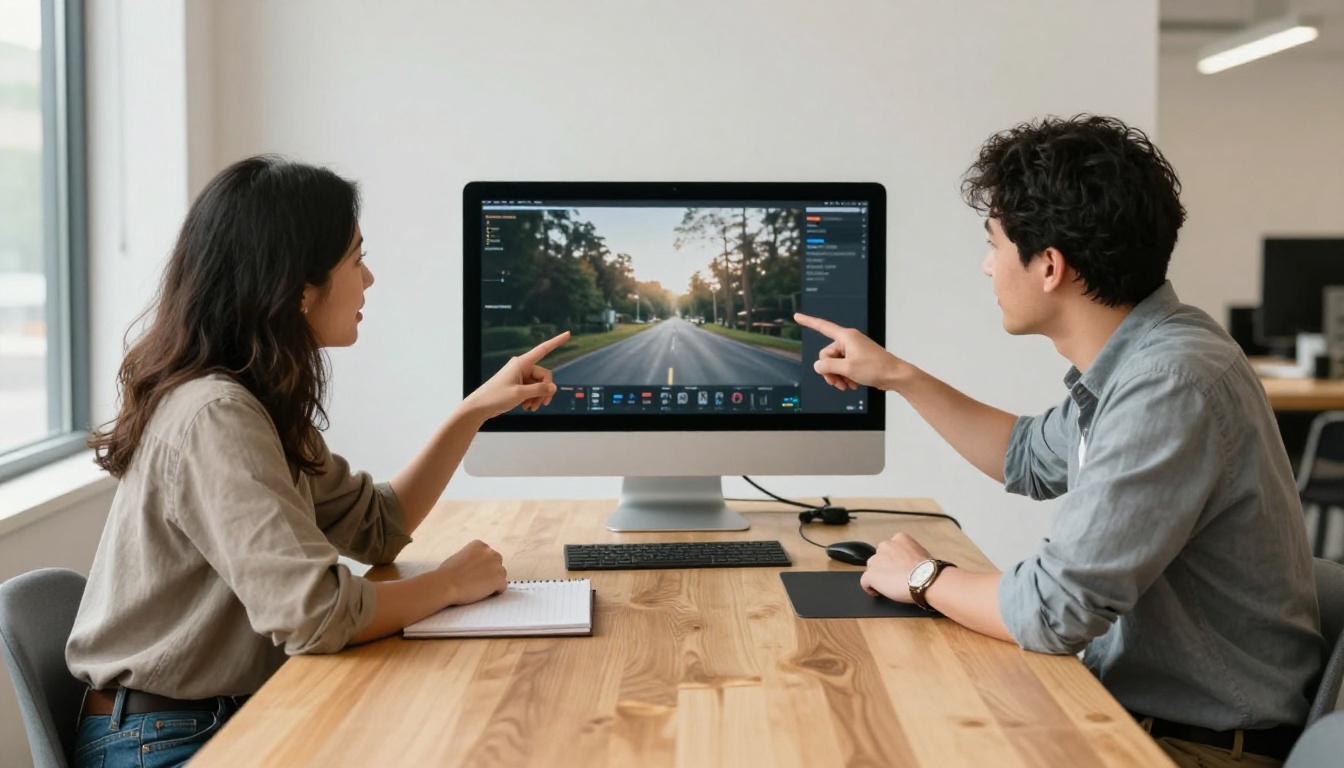
Sentence structure that AI handles well
Short, declarative sentences produce the most accurate visual outputs. Compare these two versions:
Original blog sentence: "The increasing adoption of remote work tools has fundamentally altered how teams communicate, raising questions about productivity, isolation, and professional identity in a distributed workforce."
AI-ready scene description: "A professional on a video call in a quiet home office, morning light, focused expression, laptop open on a wooden desk."
The AI cannot visualize abstraction. It excels at concrete subjects in defined spaces with clear lighting conditions.
What to avoid in prompts
- Abstract concepts: words like "success", "growth", or "innovation" without physical context produce inconsistent results
- Long compound sentences: one idea per prompt produces cleaner output
- Negative instructions: write what you want to see, not what you do not want
- Vague settings: "somewhere outside" produces random results. "A rooftop terrace in a city at golden hour" produces something specific and repeatable
💡 Always include: subject + action + location + lighting condition. That four-part structure produces consistent results across every model on the platform.
Where to Distribute Your AI Videos
Generating the video is only half the work. The distribution strategy determines whether your repurposed content actually reaches a wider audience or sits untouched in a downloads folder.
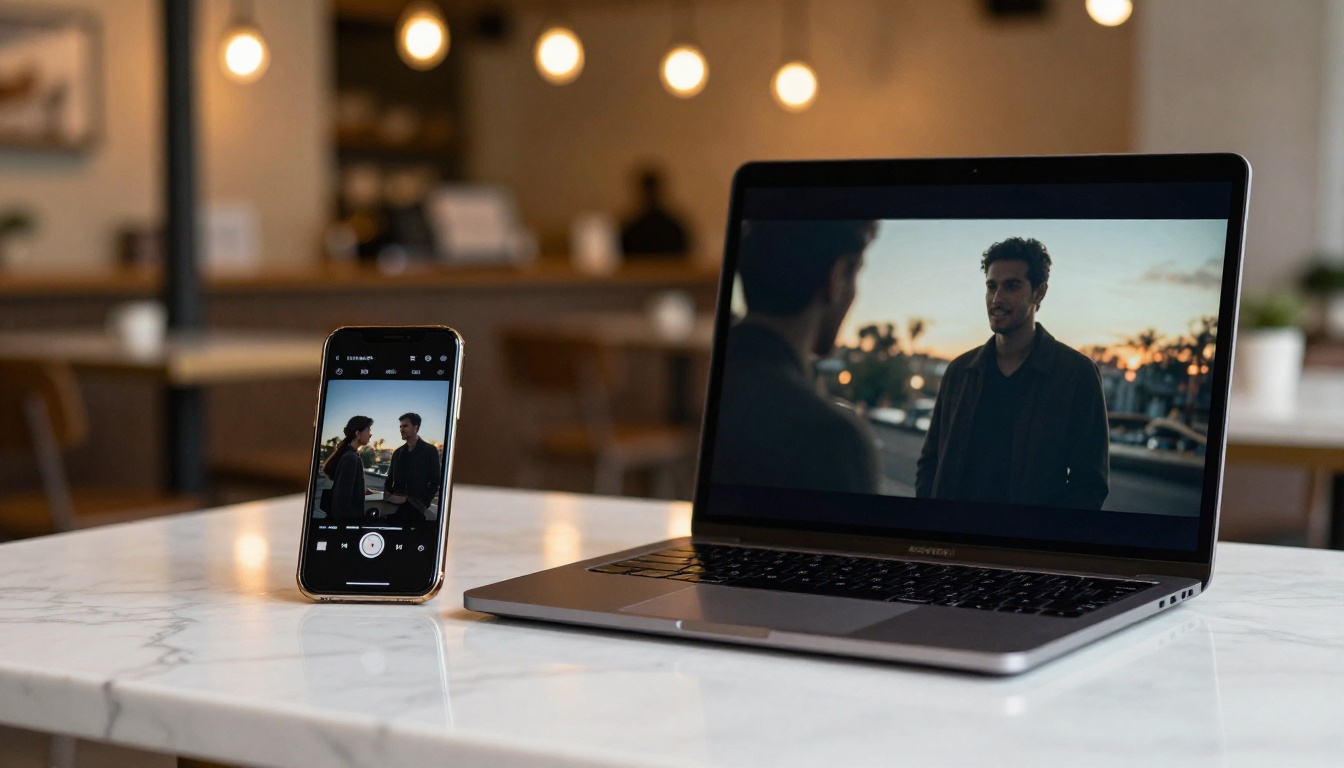
YouTube and SEO benefits
YouTube video descriptions and titles can be optimized for the exact same keywords as your original blog post. In many cases, a YouTube video ranking for a keyword appears in Google Search results alongside the written article, giving you two entries on the first page. Add captions to your video (YouTube auto-generates them) and include your blog post URL in the description to drive traffic back to the written version.
Ideal video length for YouTube SEO: 3-8 minutes for educational content, 60-90 seconds for product-focused topics.
Social media formats by platform
Different platforms require different video dimensions and lengths:
| Platform | Format | Ideal Length | Notes |
|---|
| TikTok | 9:16 vertical | 30-60 seconds | Hook in first 2 seconds |
| Instagram Reels | 9:16 vertical | 15-90 seconds | Captions increase watch time |
| LinkedIn | 16:9 or 1:1 | 1-3 minutes | Professional tone works best |
| YouTube Shorts | 9:16 vertical | Under 60 seconds | High replay rate |
| Pinterest | 9:16 or 2:3 | 15-60 seconds | Strong for lifestyle topics |
Most AI video models on PicassoIA default to 16:9 landscape output. For vertical formats, use a 9:16 aspect ratio setting if available, or crop in your editing tool before uploading.
Repurposing without repetition
The goal is not to post identical content on every platform. Take one blog post and extract:
- 1 long-form video (3-5 minutes) for YouTube from the full post
- 3 short clips (20-30 seconds each) for TikTok and Reels, one per main section
- 1 square clip (1:1) for LinkedIn, focused on the post's core insight
- 5-10 still frames from the video for Pinterest and Twitter visual posts
One blog post becomes 10+ pieces of content with minimal extra effort when you use AI for generation.
Start Creating Your First AI Video Today
You now have everything needed to turn a blog post into a video with AI. The workflow is shorter than most people expect: prepare 6-10 scene descriptions from your post, select a model that fits your content type, generate clips in sequence, assemble them, and distribute across platforms.

The difference between a basic video and a compelling one often comes down to prompt quality. Spend time on your scene descriptions. Be specific about lighting, subject, and setting. Test two or three different models on the same prompt to see which output suits your brand aesthetic. Seedance 2.0 is the easiest starting point for most blog topics. Kling v3 Video delivers cinematic results when you need a more polished look. LTX 2.3 Pro is worth trying when you need 4K output for premium distribution channels.
The most important step is simply to start. Pick one blog post, write three scene descriptions, and generate your first clip. Once you see what these models produce from clean, specific input, the content repurposing possibilities become immediately clear.
Ready to create? Open PicassoIA, head to the text-to-video collection, and start with your best-performing blog post. Your written content has already done most of the work.


