The difference between hitting publish today and waiting until tomorrow often comes down to one choice: Veo 3.1 Fast or Veo 3.1 Standard. Google's Veo 3.1 shipped two distinct inference modes, and the tradeoffs between them are real, measurable, and highly workflow-dependent. This article puts both modes under the microscope so you can stop second-guessing and start generating with precision.
The Two Modes Explained
Fast Mode: Built Around Speed
Veo 3.1 Fast is a distilled inference variant of the full Veo 3.1 architecture. It uses fewer denoising iterations during generation, allowing the model to produce video clips in a fraction of the time compared to its Standard counterpart. The tradeoff is not a simple "lower quality" outcome. The relationship is more nuanced than that, which is why most surface-level benchmarks miss the real story.
Fast mode produces 1080p video output with native synchronized audio. Resolution is not sacrificed. What changes is the model's ability to resolve fine-grain temporal details across frame sequences, particularly in scenes with complex motion, layered surfaces, or rapidly shifting lighting.
The model runs fewer denoising steps through the diffusion pipeline. Each step refines the output, so fewer steps means the final frame contains slightly less micro-detail. In static scenes with simple compositions, this difference is negligible. In dynamic scenes with textured subjects, it becomes visible at full resolution.
Standard Mode: Full-Fidelity Inference

Veo 3.1 Standard runs the complete diffusion pipeline without step reduction. Every denoising pass adds detail, stabilizes temporal consistency, and sharpens the model's interpretation of your prompt. The result is tighter frame-to-frame coherence, more consistent lighting across the clip duration, and noticeably richer surface textures on close subjects.
Standard mode is what Google used for the headline benchmark clips when Veo 3.1 was announced. When you see sample outputs with rain-slicked streets at dusk or slow dolly-ins over crowded markets with photorealistic crowd density, those are Standard mode renders.
Veo 3.1 Lite sits below both as a free-tier option that trades further quality for zero cost, useful for initial concept testing before committing to paid runs in either tier.
Speed: The Numbers That Separate Them
Generation Time in Practice

Speed gains in Fast mode are significant and consistent. Across real-world generation tests, Fast mode completes an 8-second clip 50 to 70% faster than Standard under identical prompts. Platform queue load introduces some variance, but the relative gap stays stable.
| Metric | Veo 3.1 Fast | Veo 3.1 Standard |
|---|
| Avg. generation time (8s clip) | ~45 to 90 seconds | ~2 to 4 minutes |
| Output resolution | 1080p | 1080p |
| Native audio | Yes | Yes |
| Temporal coherence | Good | Excellent |
| Texture fidelity on close subjects | Good | Excellent |
| Motion consistency in complex scenes | Moderate | Excellent |
| Best production use | Iteration, drafts, social delivery | Final output, archival, film-grade |
When Fast Mode Is Fast Enough
Speed matters most in specific production scenarios. If you are cycling through prompts to find the right composition before committing credits to a final render, Fast mode is the correct tool. It functions as a low-cost prototype layer before you escalate a winning prompt to Standard.
For social media content where viewers watch at 60 to 70% screen size on a phone, Fast and Standard outputs are largely indistinguishable after platform compression. The compression codecs used by Instagram Reels, TikTok, and YouTube Shorts eliminate the sub-pixel detail differences that separate the two modes at source quality.
💡 Practical rule: Use Fast mode for anything under 15 seconds destined for compressed social delivery. Switch to Standard for anything screened at full resolution, printed to a large display, or submitted as a final brand asset.
Quality Differences You Can See
Temporal Coherence and Frame Consistency
Temporal coherence is the quality metric that most visibly separates Fast and Standard. It describes how consistently the model maintains scene properties — lighting direction, object surface identity, color temperature — across every frame in a sequence.
In Standard mode, a subject's face retains consistent skin tone and micro-detail even during a full 180-degree pan. In Fast mode, there is measurable temporal drift on fine details during motion, most visible as subtle texture shimmer in hair, fabric weave, and foliage edges. This drift is perceptible at full resolution on a 27-inch or larger 4K monitor and becomes invisible once compressed for web delivery.
The practical implication: if your video will be paused, screenshotted, or used as a still frame extraction, Standard mode is the only correct choice.
Detail, Texture, and Surface Fidelity
The difference in texture rendering across the two modes shows up most clearly on these subject types:
- Hair and fur: Fast mode renders plausible hair mass but lacks individual strand light interaction. Standard mode shows root-to-tip subsurface scattering and strand-level depth.
- Fabric and clothing: Fast mode reads as correct fabric at a glance. Standard mode shows realistic thread weave, seam micro-shadows, and natural crease behavior during movement.
- Architecture and hard surfaces: Fast mode produces believable walls and floors. Standard shows individual mortar lines, surface grain direction, and specular highlights on wet or polished materials.
- Water and fluid simulation: The widest gap between modes. Fast mode water reads as acceptable motion blur. Standard mode water shows surface tension variation, refracted light beneath the surface, and directional wave micro-detail.
- Smoke, steam, and volumetric effects: Fast produces credible general shapes. Standard renders the internal density variation and edge light diffusion that makes volumetric effects feel physical.
💡 When this matters most: Close-up product shots, beauty content, architectural walkthroughs, and any workflow where viewers pause and examine individual frames are scenarios where Standard mode pays back its higher credit cost.
Synchronized Audio in Fast Mode

Both modes generate native synchronized audio, which is one of Veo 3.1's most important structural advantages over earlier models like Veo 2 and the original Veo 3 Fast. The audio pipeline runs as a parallel process to the visual generation, which is why audio quality does not degrade proportionally when the visual inference steps are reduced.
Fast mode audio sync is tight and functional in production. Foley elements align correctly to visual events, ambient sound layers read as spatially coherent, and dialogue cadence, where applicable, matches lip movement without noticeable desync.
Audio Depth in Standard Mode
Standard mode benefits from longer visual inference time in an indirect but real way: because the visual content is more temporally stable, the audio synchronization model has more consistent visual anchor points to lock onto. The result is slightly more natural audio texture on complex ambient layers.
This difference shows up most clearly in scenes with dense sonic environments: rain falling on different surface types simultaneously, crowd noise with spatial variation, or industrial ambience with machine rhythms. In Standard mode, these layered sound environments have more distinct separation. In Fast mode, they compress into a single ambient wash that is still correct but less spatially rich.
Real Creative Workflows for Each Mode
When to Choose Fast Mode
Fast mode fits specific production contexts where speed provides more value than pixel-level fidelity:
- Prompt iteration: Testing five to ten scene compositions in under 15 minutes to identify the strongest visual before switching to Standard.
- Social media content: YouTube Shorts, Instagram Reels, and TikTok clips where platform compression eliminates the visible quality difference.
- Mood boards and pitch decks: Visual reference material for client presentations where the goal is to communicate direction, not deliver finished assets.
- High-volume production: News-adjacent content, event recaps, and social feeds where publishing frequency outweighs archival quality requirements.
- Client concept approval rounds: Showing multiple scene options without exhausting your credit allocation before getting a direction sign-off.
When Standard Mode Earns Its Cost
Standard mode is the right choice when these conditions apply:
- Final deliverable, non-negotiable quality: A brand campaign video, paid social placement, or festival entry where quality is the asset itself.
- Close-up and product shots dominate: Any scene where subjects fill the frame and surface detail is part of what the viewer is meant to see.
- No compression in the delivery pipeline: Direct website embed, trade show display, cinema screening, or broadcast delivery.
- Temporal fidelity is critical: Scientific or medical visualization, architectural presentation, documentary footage, or any use where individual frames carry evidentiary weight.
- You are generating fewer, more deliberate clips: When the production plan calls for one precise shot rather than five iterations.
How to Use Both Modes on PicassoIA
Step-by-Step for Veo 3.1 Fast
Veo 3.1 Fast is available on PicassoIA with no additional setup. Here is the workflow:
- Navigate to Veo 3.1 Fast on PicassoIA.
- Write a detailed scene description in the prompt field. Specify camera angle, lighting conditions, subject behavior, and motion direction explicitly.
- Select your target clip duration.
- Submit. Fast mode results arrive in under 90 seconds in most queue conditions.
- If the composition is correct, copy that prompt verbatim into Veo 3.1 Standard for your final render. Do not adjust the prompt between passes unless you need a different result.
Prompt Strategies That Improve Both Modes

These prompt strategies consistently improve output in both Fast and Standard tiers:
- Specify lighting direction: "Warm directional light from the upper left at 45 degrees" gives the model a stable illumination anchor for the full clip. Ambiguous lighting prompts produce inconsistent shadows across frames.
- Describe motion with timing: "Slow dolly-in over 5 seconds from medium to close" produces tighter temporal coherence than "camera moves closer."
- Avoid multi-cut prompts: Single-shot scenes maximize temporal stability. Prompts describing two or more scene changes within one clip introduce drift at the transition points.
- Name surface materials specifically: "Wet brushed concrete," "raw linen," "anodized aluminum" activate the model's detailed texture generation pathways more reliably than generic descriptors like "realistic" or "detailed."
- Build on Veo 3 prompts: If you have prompts that worked well in Veo 3, they port directly to Veo 3.1 with improved baseline quality. Veo 3.1 is backward-compatible with prompt styles from its predecessor.
Same Prompt, Different Outputs
What Changes Frame by Frame
Running the same prompt through both modes reveals the differences more clearly than any written description. Using the test prompt "A white ceramic coffee cup on a dark walnut table, morning sunlight from the left window, slow zoom out, steam rising from the cup," here is what changes at the output level:
| Element | Fast Mode | Standard Mode |
|---|
| Steam behavior | Continuous loop with slight repetition | Organic, non-repeating, physically directional |
| Cup surface | Smooth white ceramic, correct form | Micro-glaze texture, natural rim shadow |
| Table grain | Plausible wood pattern | Individual grain lines, natural knot variation |
| Cast shadow | Static throughout clip | Subtle 0.3-degree creep across 8 seconds |
| Temporal consistency | Good, no major drift | Excellent, zero perceptible drift |
| Sound design | Ambient morning room tone | Layered ambience with spatial depth |
Resolution and Post-Production Compatibility
Both modes output at 1080p. The resolution spec is identical. The perceptible sharpness difference comes from how the diffusion model fills each pixel, not from pixel count. Standard mode distributes detail evenly across the full frame. Fast mode prioritizes subject clarity and can leave peripheral zones with softer texture treatment to allocate the model's detail budget to the primary subject.
In post-production, this distinction matters when you apply upscaling. If you run Standard mode source files through an AI upscaler or extend resolution using a model like LTX 2.3 Pro, the output responds better because there is more genuine detail in the source file for the upscaler to work from. Fast mode sources produce softer upscales because the starting detail level is lower.
Veo 3.1 Versus the AI Video Field
Where the Two Tiers Fit in the Landscape
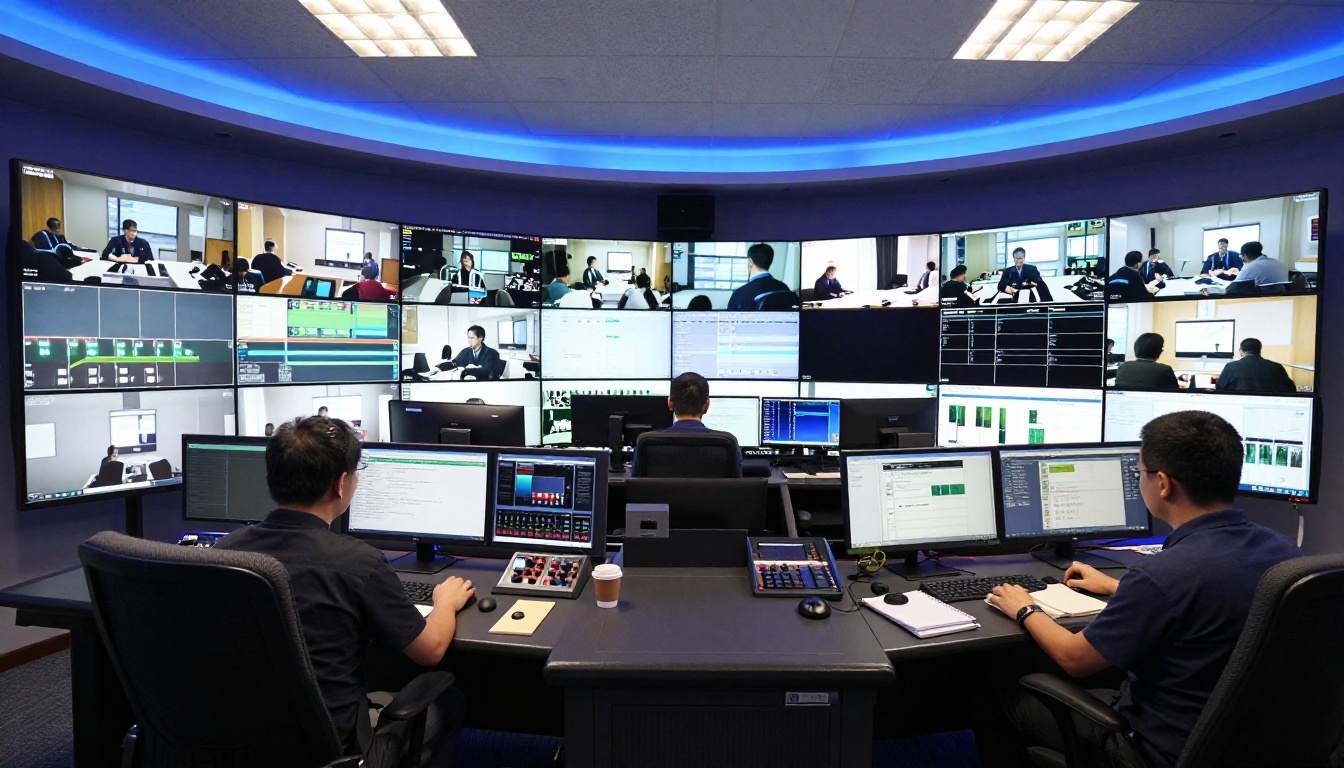
The Fast vs Standard structure in Veo 3.1 reflects a broader industry pattern. Most leading models now offer at least two tiers. Here is how the Veo 3.1 tiers position relative to alternatives available on PicassoIA:
- Seedance 2.5 offers its Lite variant for speed and its full model for cinematic output up to 30 seconds, the closest structural parallel to Veo 3.1's tiering.
- Seedance 2.0 Fast is specifically optimized for rapid generation, comparable to Veo 3.1 Fast in speed philosophy.
- Hailuo 02 Fast targets pure speed at 512p output, a step below either Veo 3.1 tier in resolution.
- Kling v3 Video targets cinematic 1080p output in a single tier, making it a Standard-mode-only competitor without a fast equivalent.
- Ray 3.2 offers HDR color depth in a single production tier, philosophically closest to Veo 3.1 Standard in output philosophy.
What sets both Veo 3.1 tiers apart from most of these alternatives is native synchronized audio generated in the same pass as the video. Competitors either require separate audio generation workflows or deliver audio that needs replacement in post. In Veo 3.1, the audio arrives with the video as a single deliverable, which reduces post-production steps regardless of which mode you choose. This is a structural advantage inherited from Veo 3 and refined in the 3.1 release.
Which Mode Fits Your Next Project
Before generating your next clip, answer three questions:
Is this clip going to social media after platform compression?
Yes: Fast mode. Compression erases the visible quality difference and Fast returns results in under 90 seconds.
Is this a draft or a finished deliverable?
Draft: Fast mode. Iterate at speed, promote the winning prompt to Standard.
Final: Standard mode. Pay once for the quality level your output requires.
Will close-up shots or fine surface textures be visible to your audience at full resolution?
Yes: Standard mode. The texture fidelity difference is visible to attentive viewers and cannot be recovered in post from a Fast mode source file.
💡 Credit efficiency formula: Run Fast for rounds one and two of prompt iteration. Once you have a prompt producing the right composition, switch to Standard for the client-facing or public-facing render. This reduces your credit spend per final deliverable by 40 to 60%.
Veo 3.1 Fast, Veo 3.1 Standard, and Veo 3.1 Lite are all available on PicassoIA. Pick the mode that matches your output requirement, write a specific and detailed prompt, and generate. The quality difference speaks for itself at full resolution. Browse over 100 text-to-video models and every available Veo tier at picassoia.com/en/all-models.


