Two Google-built text-to-image models sit on PicassoIA right now, and they share a name, a resolution ceiling, and the ability to process up to 14 reference images. Beyond those surface similarities, Nano Banana Pro and Nano Banana 2 are built around fundamentally different creative workflows. One prioritizes polished, high-fidelity output with precise safety controls; the other wraps image generation inside an iterative editing loop powered by real-time web data. If you have picked the wrong one for a project, you already know how frustrating that feels. This breakdown covers every meaningful difference so you choose right from the start.
The Two Models at a Glance
Before going into specifics, it helps to understand the design intent behind each model. Nano Banana Pro was built for creators who need reliable, high-quality output on the first or second generation. The emphasis is on image fidelity, resolution control, and predictable results. The default output resolution is 2K, which means you get a clean, detailed image without pushing any extra settings.
Nano Banana 2, on the other hand, was designed around iteration. The model supports conversational editing (where you type a follow-up instruction instead of rewriting the whole prompt) and real-time web grounding (where the model pulls live information from Google Search or Image Search to inform what it generates). It defaults to 1K resolution to keep that iterative loop fast, and it explicitly offers unlimited generations on PicassoIA, making it the better fit for anyone who needs to run dozens of variations without watching a credit counter.
When Pro Makes Sense
If you need a finished image with minimal back-and-forth, Pro is the cleaner choice. Product shots, portfolio pieces, marketing visuals where the art direction is clear from the start: these are the jobs Nano Banana Pro handles without friction. You write a detailed prompt, optionally attach reference images, pick your resolution, and get a usable output.
When Nano Banana 2 Makes Sense
If you are still figuring out what the image should look like, or if the brief depends on information that changes day to day (sports results, weather, trending topics, recent news), Nano Banana 2's web grounding and conversational editing loop gives you tools that Pro simply does not have.
Resolution and Output Quality
Both models top out at 4K. The difference is in the defaults and the philosophy around resolution.
Default Resolution Settings
Pro defaults to 2K because its use case assumes you want something close to print-ready without extra steps. Nano Banana 2 defaults to 1K to keep the feedback loop fast. When you are running twenty prompt variations to figure out a composition, you do not want each one to take three times as long.
When 4K Actually Matters
For web use, 2K is often already more than enough. But if you are generating images for print, large-format advertising, or premium product photography, 4K in Nano Banana Pro is the correct setting. The extra resolution holds up when the image is cropped aggressively or reproduced at large scale.
💡 Tip: Start iterating in Nano Banana 2 at 1K speed, then switch to Nano Banana Pro at 4K when you are ready for the final render.
Reference Images: Same Count, Different Purpose
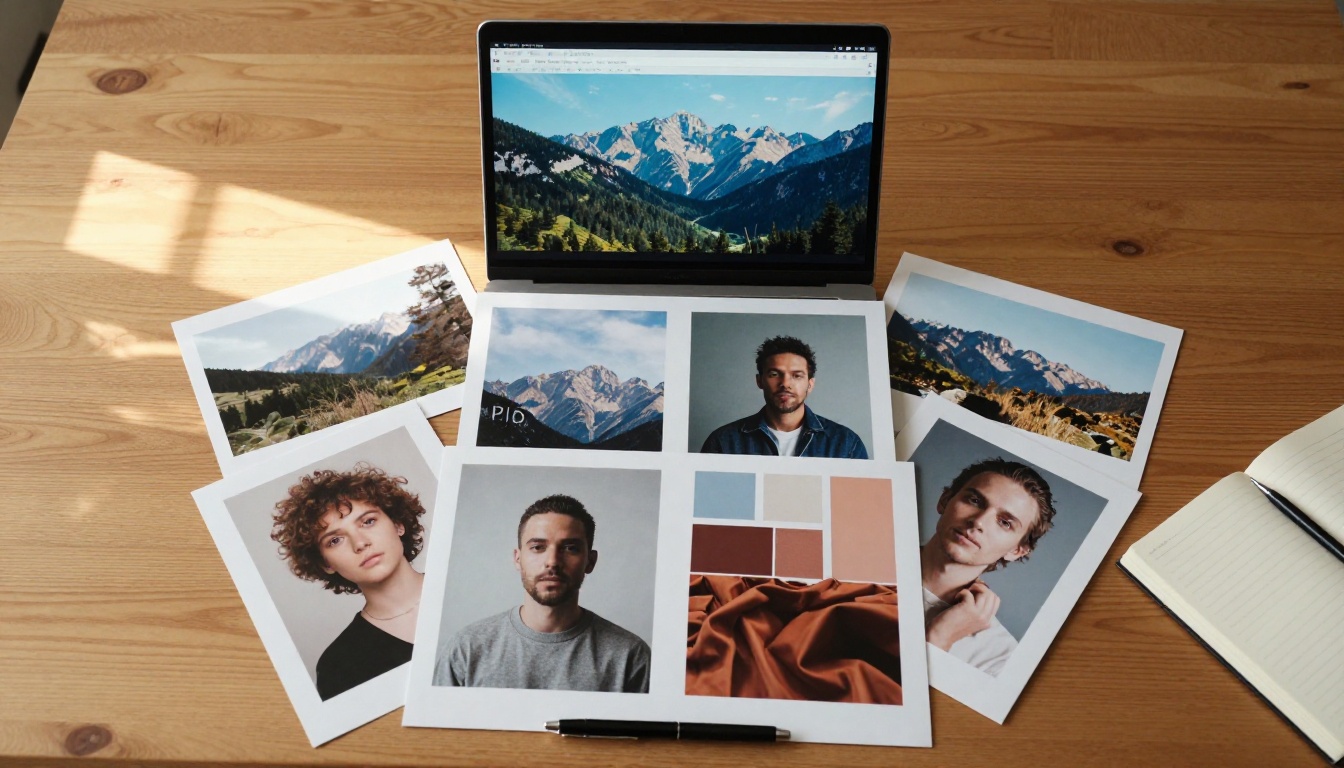
Both models accept up to 14 reference images alongside your text prompt. The similarity ends there.
In Nano Banana Pro, reference images are used to steer the output toward a specific visual style, composition, or subject. You might feed it a mood board of lighting setups, a sketch of a composition, or a series of product photos you want to match. The model uses those references to constrain and direct what it generates, producing results that align closely with the visual intent you have established.
In Nano Banana 2, reference images serve a broader role. The model supports multi-image fusion, where you blend elements from multiple source images into a single coherent output. You can also reuse a character reference across multiple scene generations to maintain visual consistency across different backgrounds or settings. That character consistency feature (keeping the same face, hairstyle, and clothing identical across ten different scene illustrations) is something Nano Banana 2 was specifically designed to handle.
The Editing Loop
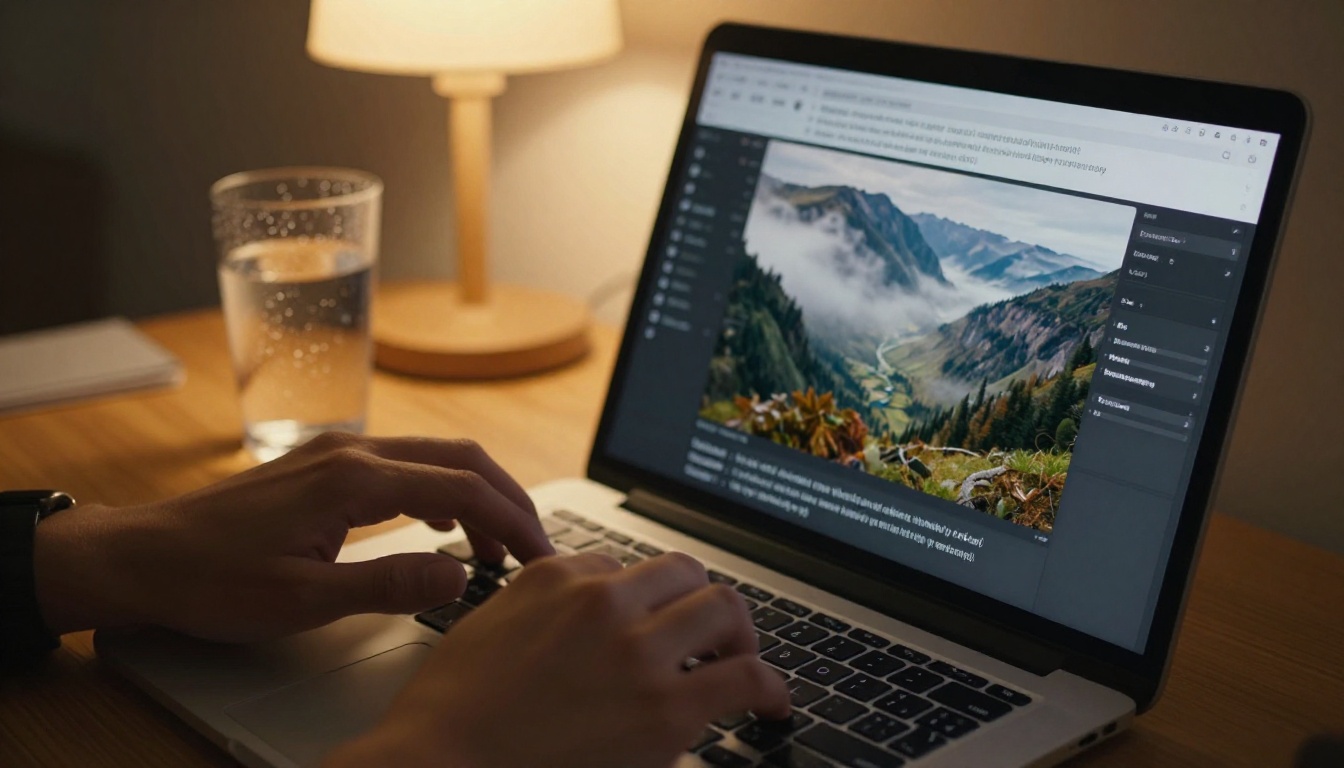
This is one of the most practical differences between the two models, and it is the feature most users notice first.
Conversational Editing in Nano Banana 2
Nano Banana 2 supports conversational editing. After you generate an image, you type a follow-up instruction in plain language to refine it. Something like "make the background darker and add light fog in the lower half" or "move the subject to the left third and add a golden rim light". The model applies that instruction and re-renders without requiring you to rewrite the original prompt from scratch.
This changes the creative dynamic completely. Instead of a single-shot prompt that either hits or misses, you get a back-and-forth process that feels much closer to working with a designer who can take direction. For anyone who has spent forty minutes rewriting the same prompt with slight word changes, this feature alone can cut that process down to a few exchanges.
Static Prompt Input in Nano Banana Pro
Nano Banana Pro does not offer conversational editing. Each generation is a standalone prompt. This is not a limitation in the context of how Pro is designed. When you have a clear, detailed brief and strong reference images, the prompt-to-output loop in Pro is fast and precise. The tradeoff is that if you want adjustments, you revise the prompt or change the reference images and generate again.
💡 Tip: Use Nano Banana Pro's seed parameter to generate close variations of a successful prompt without losing the original visual direction.
Real-Time Web Grounding

Nano Banana 2 includes a feature that Nano Banana Pro does not have at all: real-time web grounding via Google Web Search and Google Image Search.
When Google Search grounding is enabled, you can generate images tied to current events, specific news moments, live sports scores, or trending topics without manually describing every detail. The model queries live web data and incorporates what it finds into the image. A prompt like "today's weather in Osaka as a visual infographic" or "current Champions League standings as a poster" becomes possible in a way that a static model cannot match.
Google Image Search grounding takes this further by letting the model pull actual web images as visual context for generation. You can generate something that references a specific real-world visual without needing to upload the source image yourself.
For Nano Banana Pro, neither of these options exists. Pro operates entirely on the prompt and reference images you provide directly. This is the right approach for evergreen content, product photography, and any use case where you want complete control over every visual input.
Both models support a wide range of aspect ratios, but Nano Banana 2 has a larger preset library.
| Aspect Ratio | Nano Banana Pro | Nano Banana 2 |
|---|
| 1:1 (Square) | ✓ | ✓ |
| 16:9 (Landscape) | ✓ | ✓ |
| 9:16 (Portrait/Stories) | ✓ | ✓ |
| 4:3 | ✓ | ✓ |
| 3:2 | ✓ | ✓ |
| 21:9 (Ultra-wide) | ✓ | ✓ |
| 1:4, 4:1 (Banners) | ✗ | ✓ |
| 1:8, 8:1 (Extreme banners) | ✗ | ✓ |
| Match input image | ✓ | ✓ |
| Total presets | 11 | 15 |
Both models export in JPG and PNG. Nano Banana Pro specifically delivers outputs without watermarks, which matters if you plan to use generated images commercially or in client deliverables.
Safety Filter Control
One of the less-discussed but practically important differences is the adjustable safety filter in Nano Banana Pro. Pro exposes three filter levels:
- block_low_and_above: Strictest setting, blocks a broad range of content
- block_medium_and_above: Moderate filtering for general-audience platforms
- block_only_high: Most permissive setting, blocks only explicit content
This control is absent in Nano Banana 2 and Nano Banana 2 Lite. For studios or agencies working across different client categories, having this dial in Nano Banana Pro is a meaningful operational advantage. You can lock down the output level to match the target platform's content policies without relying on prompt engineering alone.
Character Consistency Across Scenes
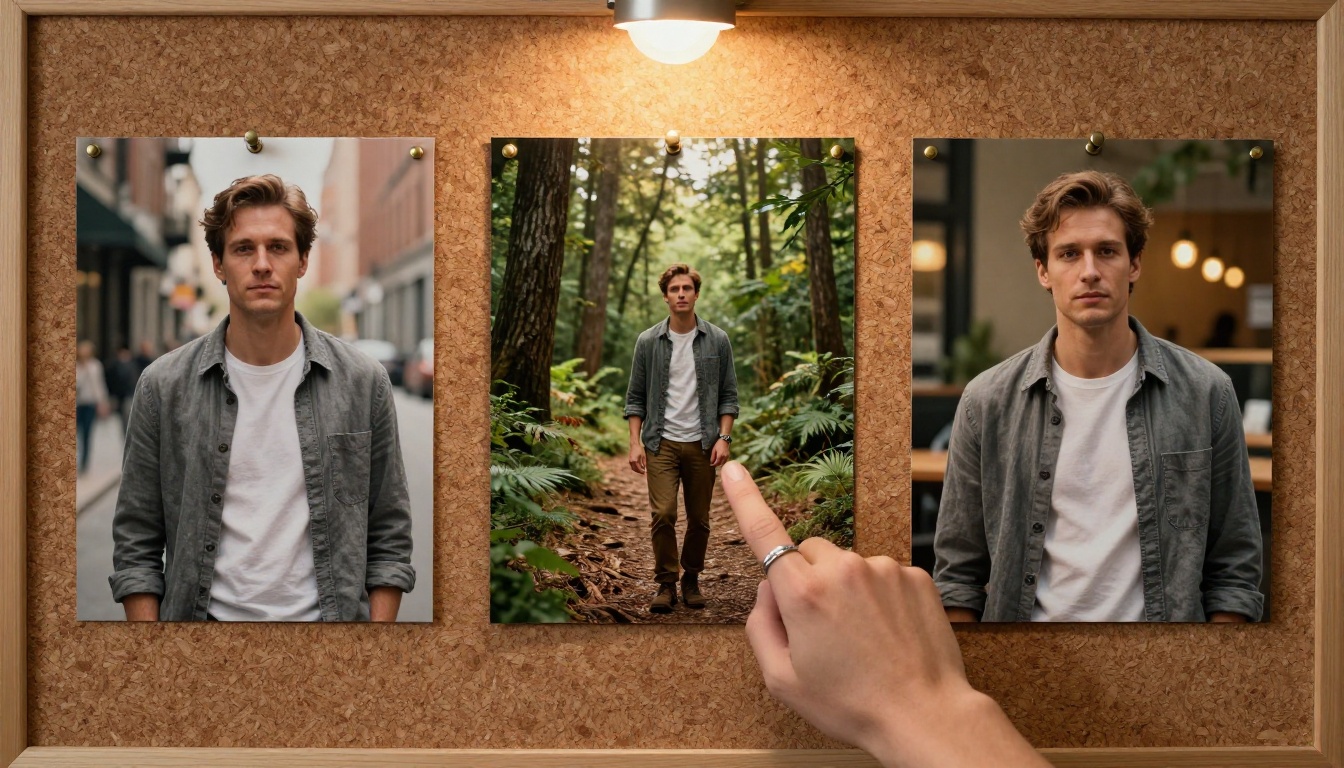
One of the standout capabilities of Nano Banana 2 is its ability to maintain a consistent character across multiple scene generations. If you have a brand mascot, a story character, or a model you want to show in different contexts, you feed the reference image into each generation run and the output keeps the face, hair, build, and clothing stable.
This is useful for:
- Illustrated storytelling where the same character appears in multiple panels or pages
- Brand campaigns requiring the same AI-generated model across ten different ad layouts
- Product catalogs showing the same person wearing different items in different settings
Nano Banana Pro can accept reference images and steer toward a consistent look, but it does not have the same explicit multi-scene character consistency system. If character stability across many generations is a core requirement, Nano Banana 2 is the more reliable choice.
How to Use Nano Banana Pro on PicassoIA
Since Nano Banana Pro is available directly on PicassoIA, here is a step-by-step walkthrough for getting clean, high-quality outputs:
Step 1: Open the Model
Go to Nano Banana Pro on PicassoIA. No account is required for a first test.
Step 2: Write Your Prompt
Be specific. Include the subject, environment, lighting, and mood. The more precise the prompt, the closer the output will be to your target. Example: "A close-up product shot of a matte black ceramic mug on a white marble surface, steam rising, soft morning window light from the left, 100mm macro lens, f/5.6".
Step 3: Add Reference Images (Optional)
If you have a specific visual style or composition you want to match, upload up to 14 reference images. These steer the output without overriding your text prompt.
Step 4: Set Resolution and Aspect Ratio
- For web and social: 2K at 16:9 or 1:1
- For print or large-format: 4K
- For video thumbnails: 16:9
- For social stories: 9:16
Step 5: Adjust the Safety Filter
Match the filter level to your platform's content policy. For standard commercial work, block_medium_and_above is a reliable default.
Step 6: Generate and Refine
Hit generate and review the output. If the result needs adjustment, revise specific prompt elements and re-generate. Use a fixed seed number across variations to keep the composition stable while changing smaller details.
Side-by-Side Comparison
| Feature | Nano Banana Pro | Nano Banana 2 |
|---|
| Default Resolution | 2K | 1K |
| Maximum Resolution | 4K | 4K |
| Conversational Editing | No | Yes |
| Web Search Grounding | No | Yes |
| Image Search Grounding | No | Yes |
| Reference Images | Up to 14 | Up to 14 |
| Character Consistency | Limited | Strong |
| Aspect Ratio Presets | 11 | 15 |
| Safety Filter Control | 3 levels | No |
| Unlimited Generations | Yes (PicassoIA) | Yes (PicassoIA) |
| Output Formats | JPG, PNG | JPG, PNG |
Which Model Should You Use?
The honest answer depends entirely on your workflow, not on which model sounds more impressive on paper.
Choose Nano Banana Pro if:
- You have a clear brief and want high-quality output fast
- You need to control the safety filter level for specific platforms or clients
- You are generating print-ready or commercial assets where 2K or 4K is the default requirement
- You want clean, watermark-free JPG or PNG files for immediate delivery
Choose Nano Banana 2 if:
- You are still developing the visual concept and need to iterate freely
- Your content depends on real-time information (news, sports results, trends)
- You need character consistency across many scene variations
- You want to refine images using plain-language follow-up instructions without rewriting the full prompt
Choose Nano Banana 2 Lite if:
- Speed and low cost per generation matter more than maximum detail level
- You are doing batch runs or rapid concept passes
- The final resolution does not need to reach 4K
All three models are available on PicassoIA, and none require a credit subscription to try. Run a few test generations with the same prompt across models and the differences will be immediately obvious from the first output.
Try It Yourself on PicassoIA
The best way to understand what separates Nano Banana Pro from Nano Banana 2 is to run the same prompt through both and compare what comes back. The resolution defaults, the editing options, and the web grounding are not abstract features: they show up immediately in how the image looks and how fast you can get it where you want it.
Both models are free to use on PicassoIA without a subscription. Open Nano Banana Pro for polished, high-fidelity single-pass generation, or try Nano Banana 2 when you want a creative workflow that responds to direction, live data, and iterative refinement. You can also browse the full range of text-to-image and other AI models at picassoia.com/en/all-models to find the right fit for any specific project type.


