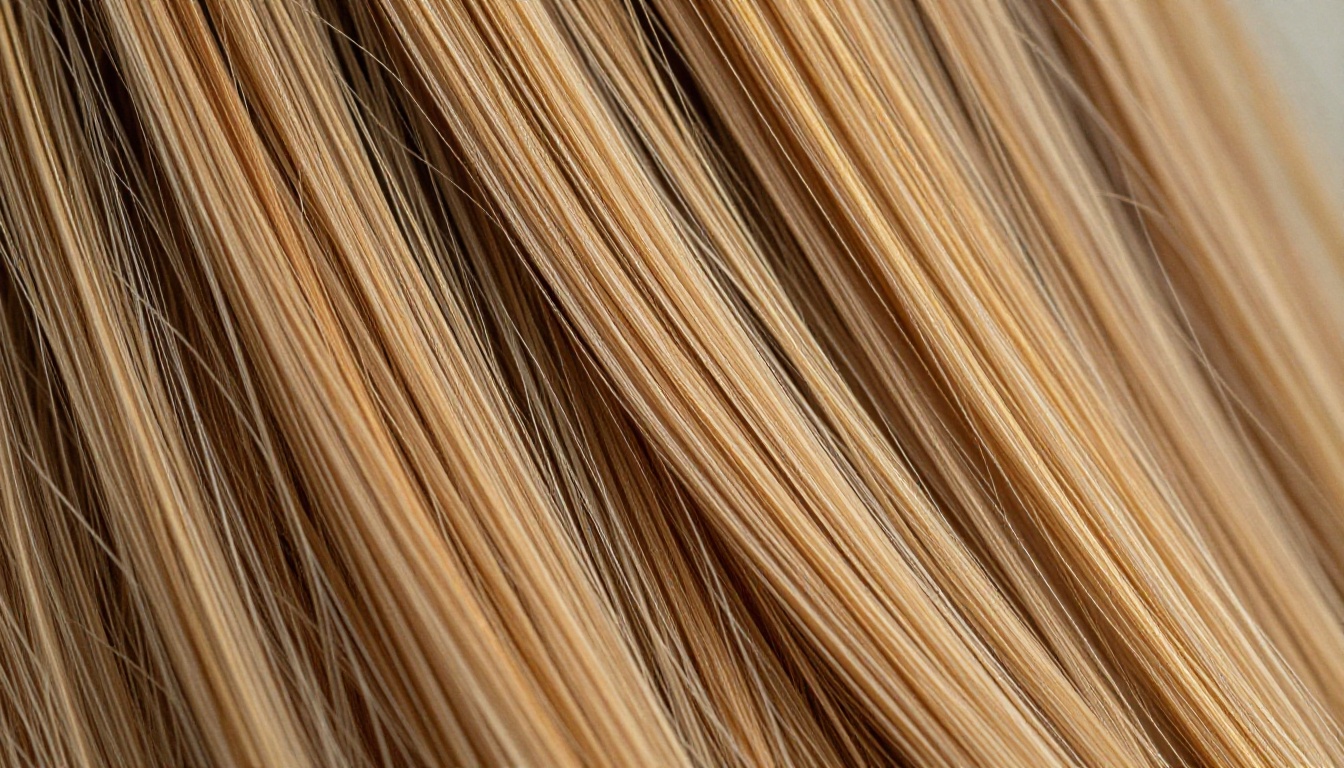
Hair detail separates a render that looks like a stock photo from one that looks like a painting someone gave up on. It is, genuinely, one of the hardest things to get right in AI image generation, and most tutorials skip past it entirely. Here are 7 specific, actionable tricks that produce strand-level photorealism every time.
The Real Problem with AI Hair
Why models struggle with strands
Hair is not a single object. It is thousands of individual fibers with their own physics, their own light response, and their own relationship to gravity. When an AI model processes your prompt, it has to predict the position, shadow, highlight, and curvature of each of those fibers simultaneously from a single string of text. Most of the time, it defaults to a shortcut: a smooth, uniform mass that reads as hair but has none of the micro-detail that makes it convincing.
The problem gets worse at lower resolutions. At 512px or even 1024px, the model simply does not have enough pixels to encode strand separation. What looks like flat, painted hair in a small preview often has latent detail hiding in the weight space that an upscaler can actually recover. This is why the final step of your workflow matters as much as the first.
The three failure modes
When AI hair fails, it usually fails one of three ways: plastic sheen (over-saturated, no texture variation), blob hair (no strand separation at all, just a shape), or clip art fringe (individual hairs that look like they were drawn with a vector pen). Each failure mode requires a different fix, and tricks 1 through 7 below address all three.
Trick 1: Prompt Like a Photographer, Not a Poet
The strand-level vocabulary
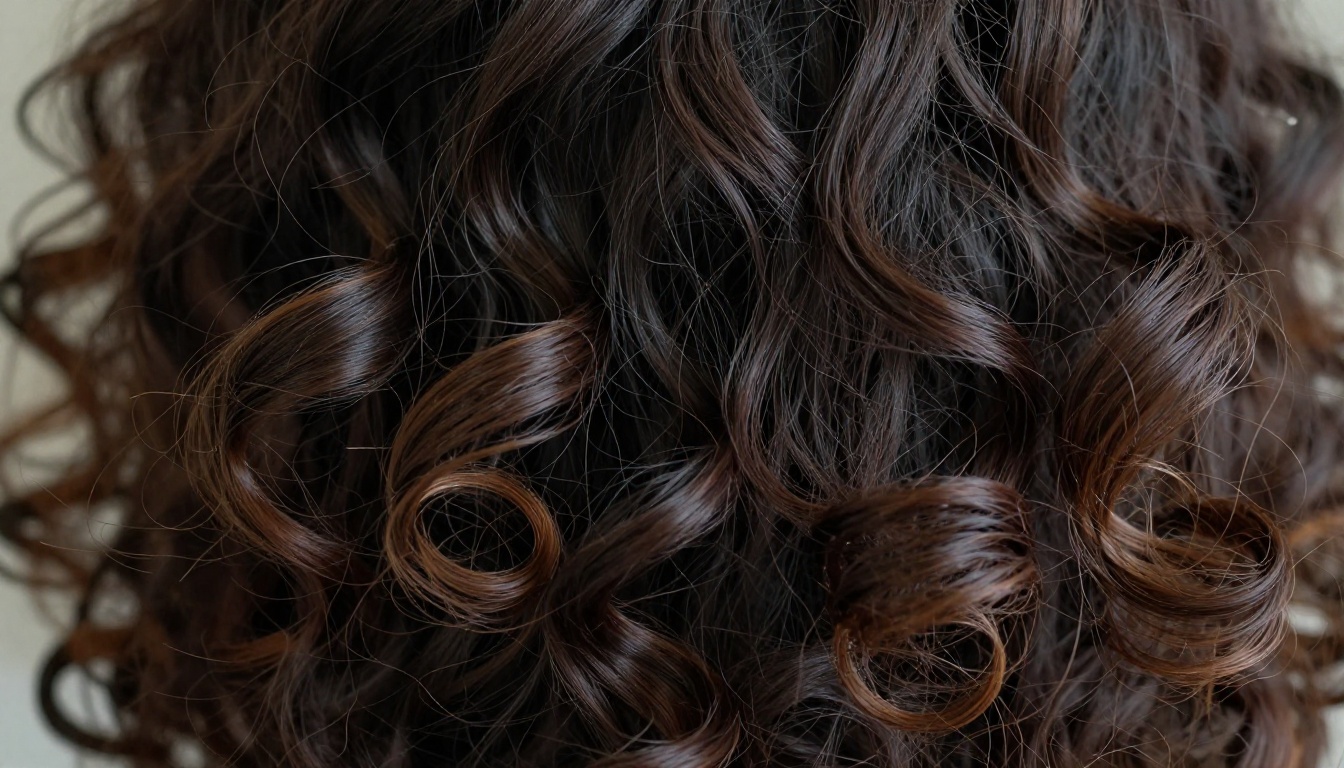
The biggest single improvement you can make is swapping aesthetic adjectives for physical descriptors. Most people write "beautiful flowing hair" or "silky shiny hair." These phrases activate learned style associations in the model, not structural detail. Try this instead:
- "individual hair strands visible, strand separation"
- "each fiber catching light independently"
- "fine hair diameter, translucent in backlight"
- "natural cowlick at crown, organic growth pattern"
- "flyaway baby hairs at the hairline"
- "cuticle-scale surface texture on each strand"
These phrases push the model toward structural prediction rather than aesthetic generalization. The difference in output is substantial, especially for portraits at close range.
Lighting physics in prompts
Lighting language does double duty in hair prompts: it sets the mood and it forces the model to differentiate between individual strands. Specific lighting descriptors that consistently work include:
- "rim lighting revealing translucency of individual hair strands"
- "volumetric backlight from upper right casting hair shadows on the neck"
- "diffused window light from left creating shadow gradients in each curl groove"
- "specular highlight streak along the top of each wave, no blown-out gloss"
The more specific the light direction, the more the model has to calculate how it falls across separate surfaces, which in turn produces strand-level variation in both color and shadow.
Trick 2: Depth Cues and Layered Descriptions
Root-to-tip thinking
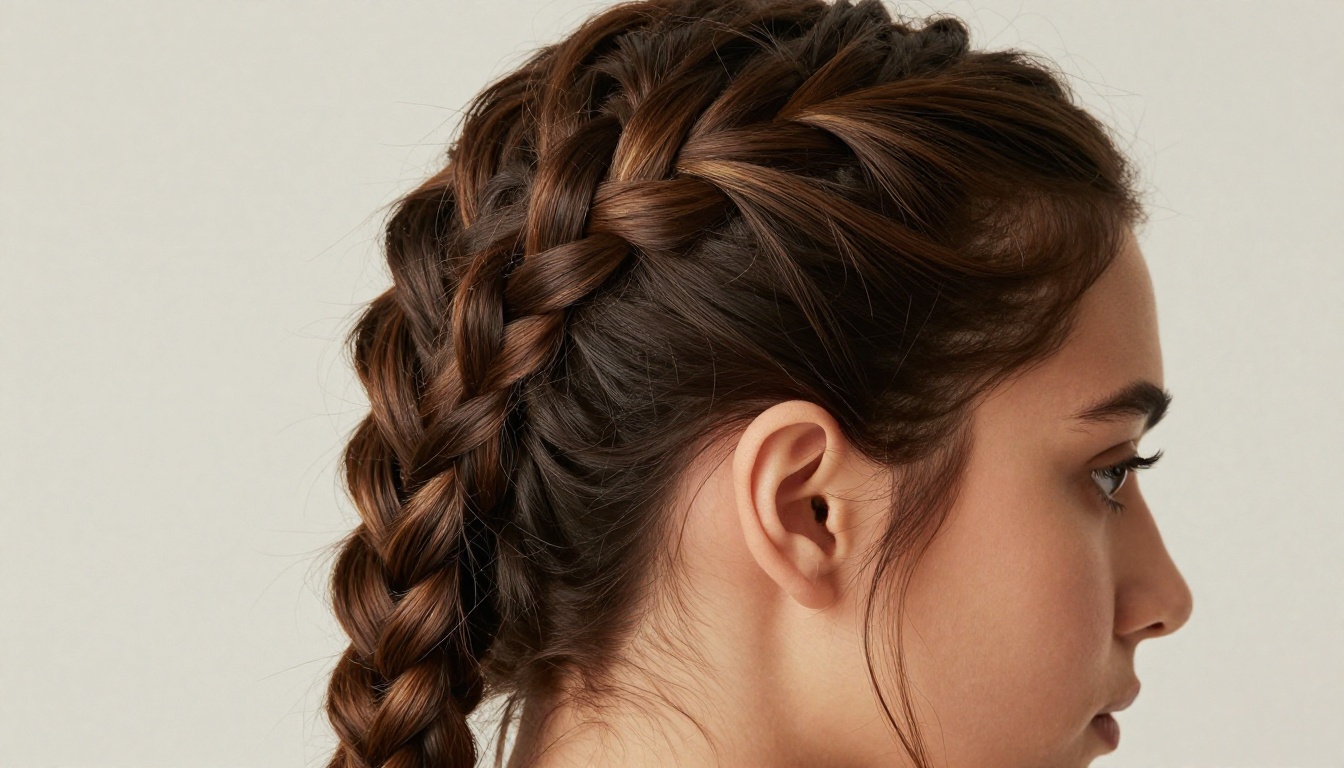
Describe hair from the scalp outward. The model generates from coarse structure to fine detail, and prompts that mirror this order get better adherence. Instead of "long wavy hair," try: "hair emerging from scalp in tight waves that loosen at mid-length to broad S-curves by the ends, with split-end texture in the final two inches."
This gives the model a structural scaffold to work within instead of a single flat request.
💡 Tip: Include density cues. "Thick dense hair with visible scalp only at the part" vs. "fine thin hair with scalp showing through" produce completely different strand weight predictions from the same base model.
Negative prompts that actually help
Negative prompts for hair have more impact than most people expect. The following consistently improve results:
plastic, glossy, airbrushed, smooth, smeared, paintedflat color, no texture, cartoon, vector, illustrationhelmet hair, solid mass, blurred strands
Combined with your positive prompt's physical descriptors, these push the model away from both the plastic sheen and blob hair failure modes at once.
Trick 3: Seed Locking and Iteration
When to reroll vs. refine
Most people treat the seed number as a random lottery. The real workflow is to find a seed that gets the structure right, then refine the prompt around it. Run 4 to 8 variations without a fixed seed until you get a render where the hair shape and volume are correct. Note that seed number. Lock it. Now iterate only on your lighting and texture descriptors.
This separates two distinct problems: "where is the hair" vs. "what does the hair look like." Mixing both variables in a single run makes it impossible to know which change caused which result.
Small prompt edits, big gains
Once your seed is locked, single-word swaps produce cleaner A/B comparisons than full prompt rewrites. Test these pairs against each other:
| Original | Improved |
|---|
shiny | natural sheen, no gloss |
silky | smooth cuticle, matte finish |
flowing | strand separation, mid-air movement |
detailed | individual fiber visible |
realistic hair | Kodak Portra 400 hair texture |
The right-column versions speak to physical properties the model can predict rather than aesthetic qualities it has to guess at.
Trick 4: Lighting Direction Is Half the Battle
Backlit hair
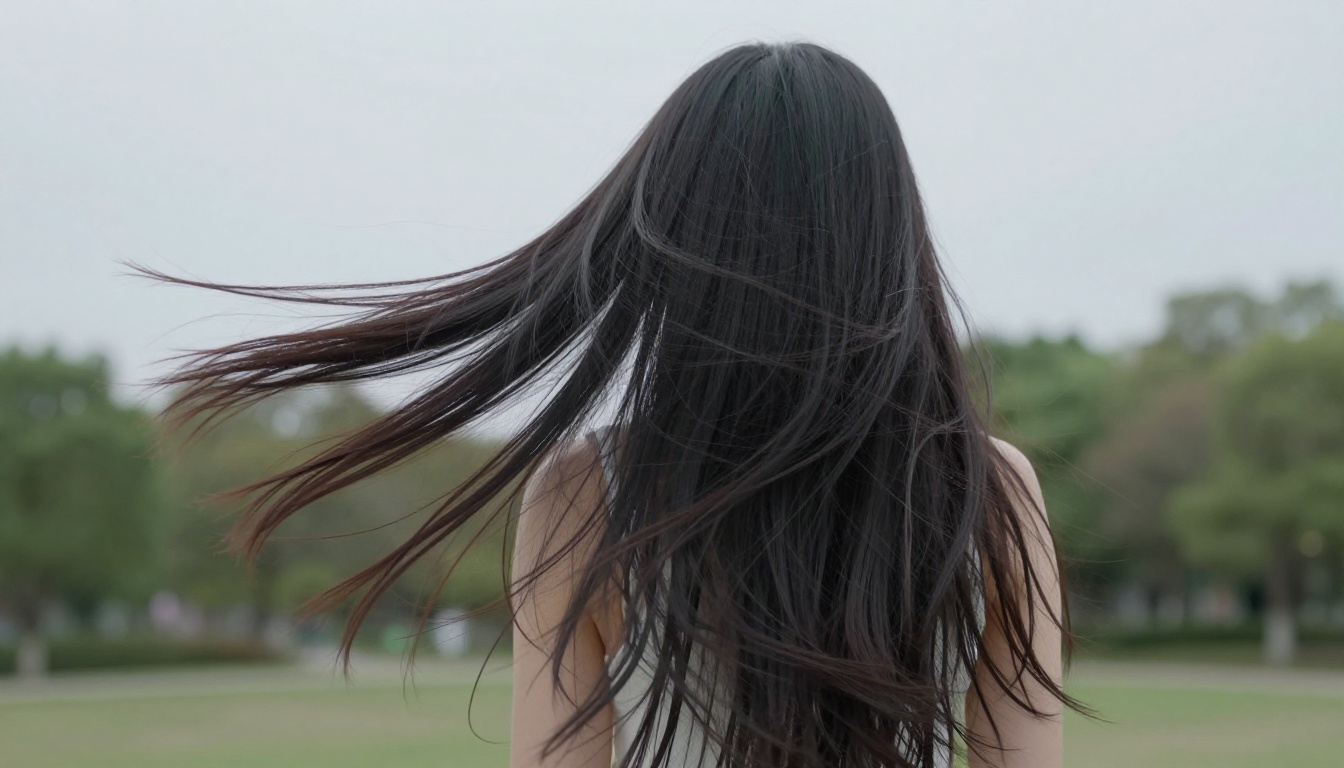
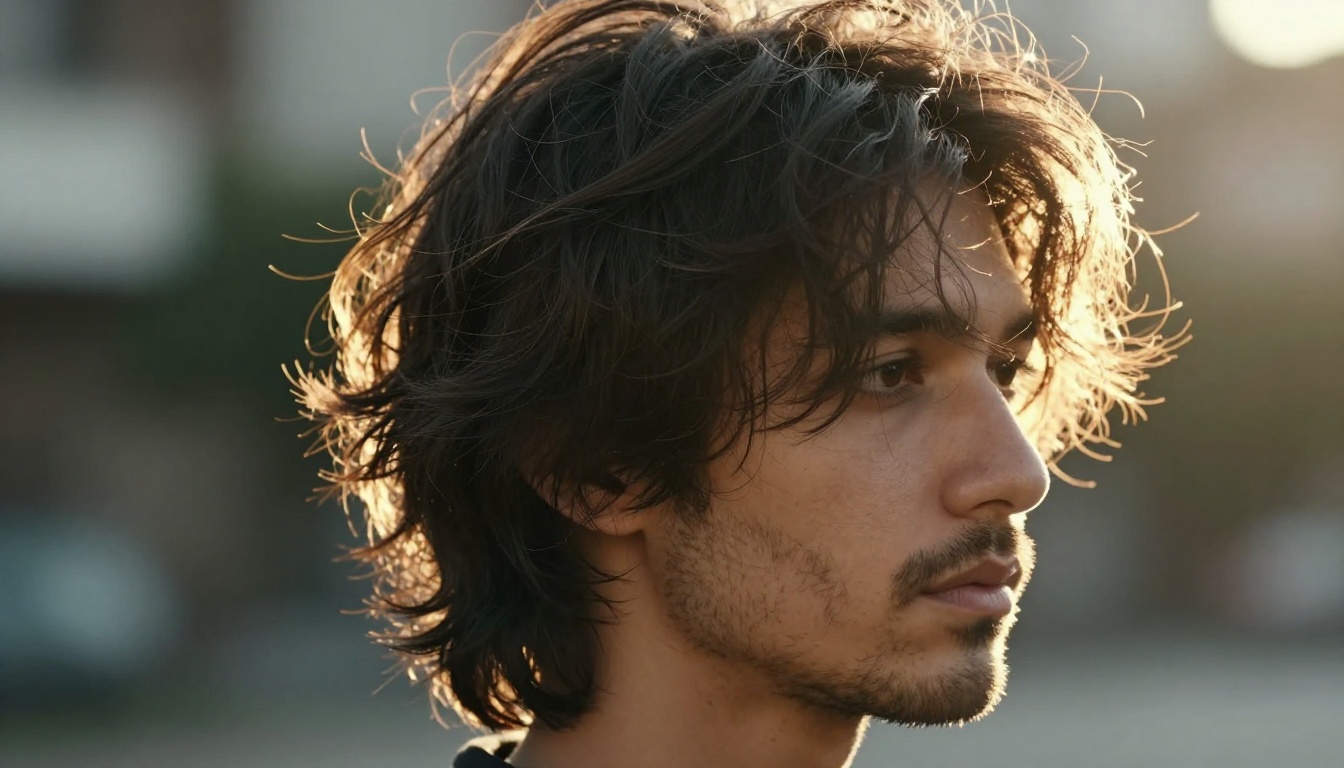
Backlighting is arguably the single most reliable trick for beautiful AI hair. When you specify a light source directly behind the subject, the model predicts rim light along each individual strand, which forces it to render them as separate objects with distinct edges rather than a unified mass.
Use phrases like:
- "strong backlight from upper left, hair strands lit from behind creating translucent rim effect"
- "late afternoon sun directly behind subject, hair catching warm golden rim light"
- "hair backlit to reveal individual fiber diameter and translucency"
The results consistently show dramatically better strand separation than front or flat lighting of the same subject.
Side lighting that reveals texture
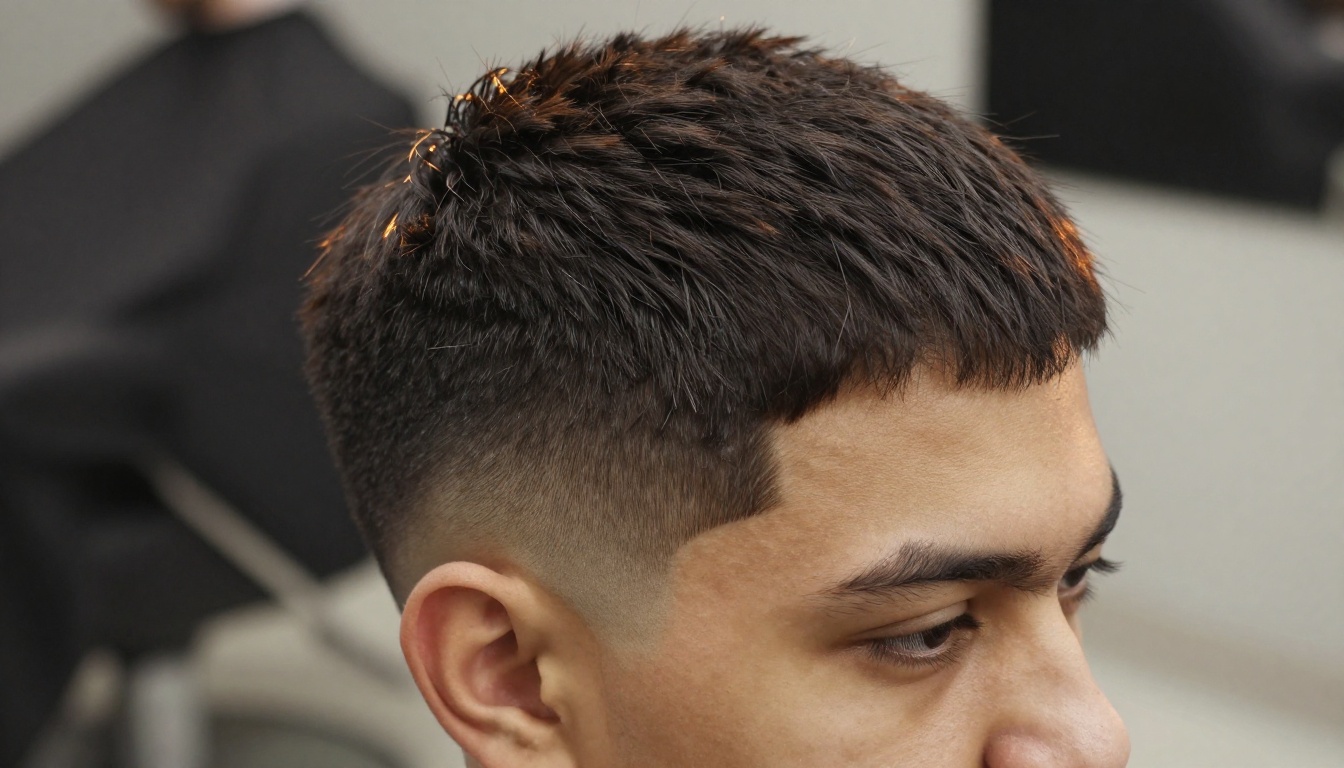
When you want the actual surface texture of hair visible, side lighting at a low angle works better than backlighting. A light source at 90 degrees to the hair surface creates shadows within individual curl grooves, wave troughs, and braid weaves. Without those micro-shadows, all surface texture disappears into flat color.
Specify: "hard side light from the left at 45 degrees to the hair surface, deep shadows in curl valleys revealing 3D wave structure."
💡 Tip: Mix your lighting. "Soft fill from the right, hard side key from the left" gives both texture-revealing shadows AND ambient fill that prevents shadow zones from going pure black. Pure black zones read as paint on screen.
Trick 5: Use Inpainting to Correct Hair
Selecting the right area
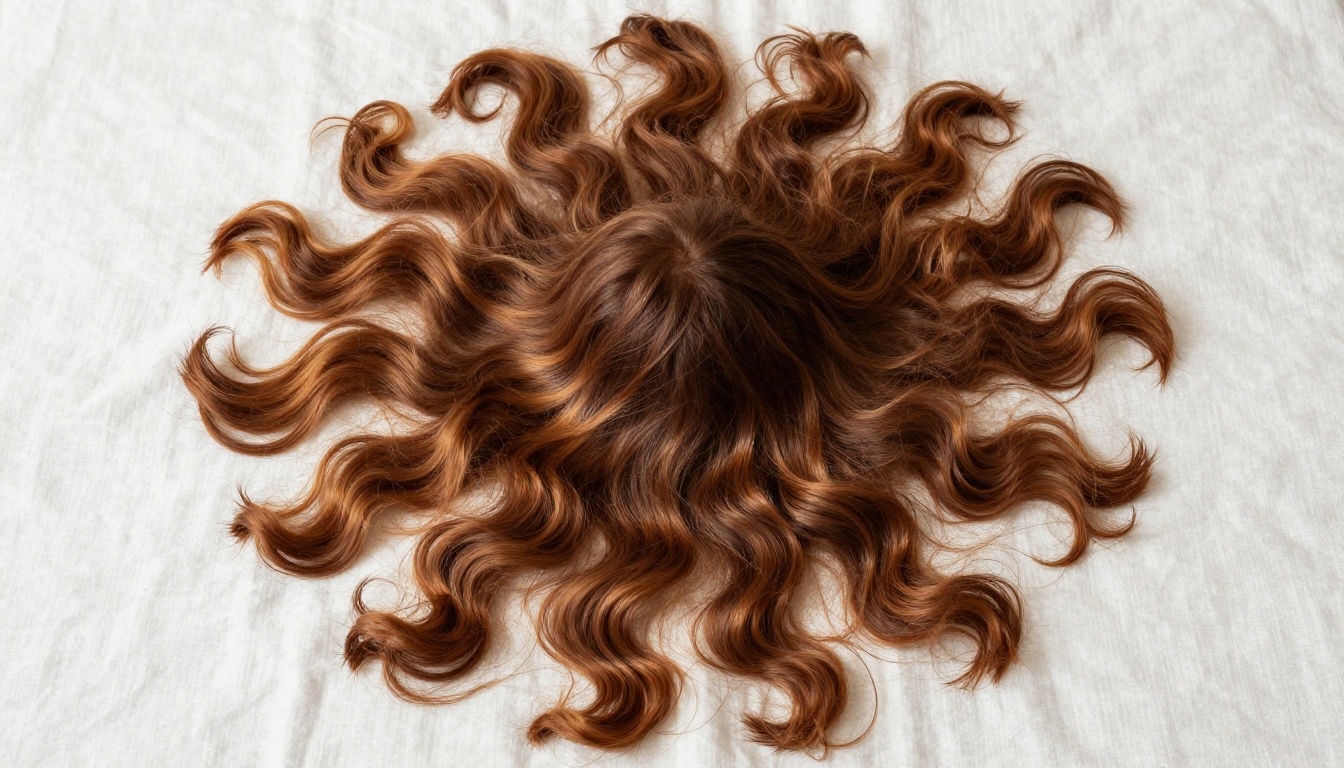
Even a near-perfect render often has one zone of bad hair: an ear where strands merge awkwardly, a forehead fringe that turned into a blob, or a braid segment that lost its weave. Inpainting lets you fix just that region without regenerating the whole image.
The selection matters more than the prompt. Make your mask slightly larger than the problem area so the model has clean hair context on all edges to blend into. A tight mask produces a hard edge; a generous mask produces a natural seam.
Prompt strength settings
For hair inpainting, keep your denoising strength between 0.55 and 0.75. Below 0.55, the model lacks enough freedom to fix structural problems. Above 0.75, it ignores the existing context and generates disconnected hair that does not match the rest of the image. The 0.6 to 0.7 range is the sweet spot for most corrections.
Write your inpainting prompt as a description of only the hair in that zone: "natural wavy brunette hair strands, individual fibers visible, soft side lighting from left, photorealistic, 8K." Do not re-describe the full portrait or the model gets confused about what it is replacing.
Trick 6: Run Every Hair Render Through an Upscaler
This is non-negotiable for serious hair work. Base generation at any resolution hides detail in the pixels that upscalers are specifically trained to recover. For hair, this translates directly to visible strand separation that was invisible at the original resolution.
Clarity Pro Upscaler for portraits
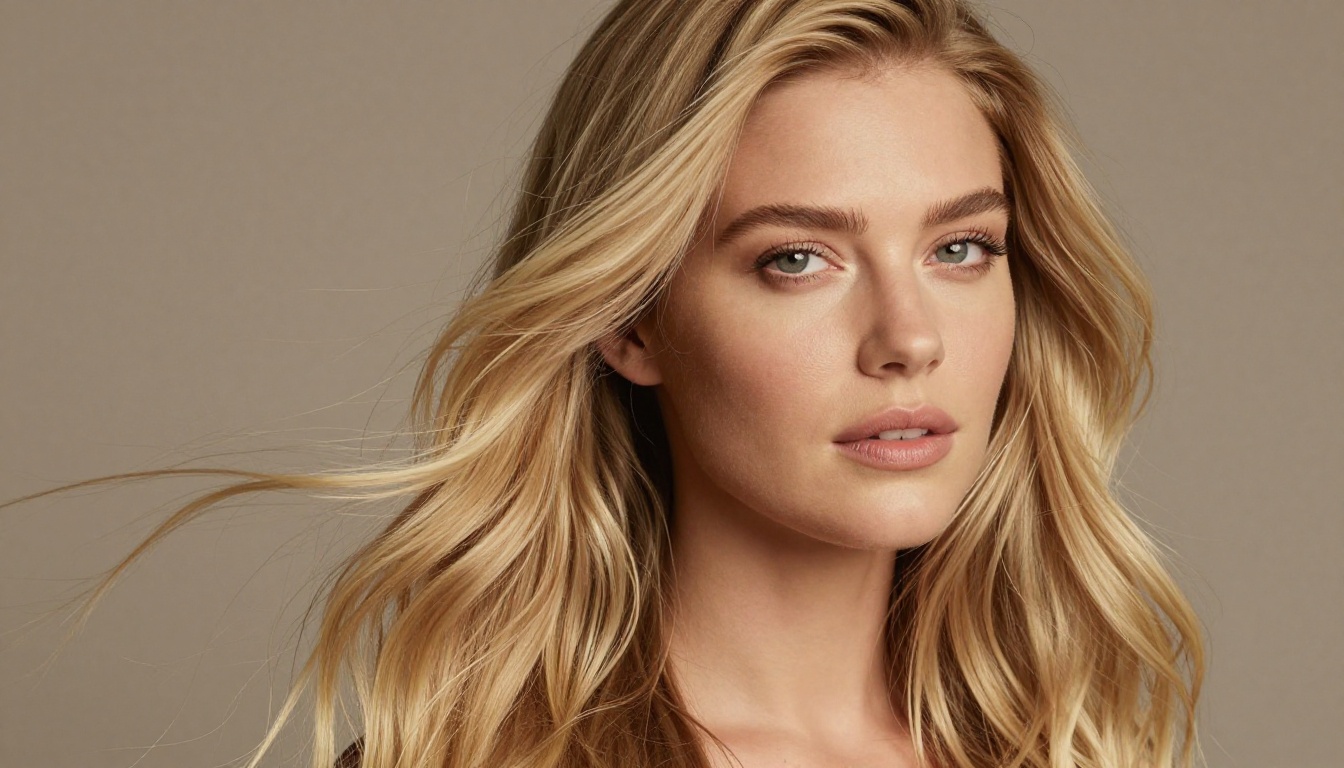
Clarity Pro Upscaler is the go-to for full portrait renders. It uses a diffusion-based approach that adds high-frequency texture while preserving the existing structure. Hair strands that were soft and blended in the base render become distinctly separated after a Clarity Pro pass. It is particularly strong on fine hair texture: baby hairs, split ends, and flyaways.
Crystal Upscaler for fine strands
Crystal Upscaler is purpose-built for portrait subjects, which makes it the right choice when hair is the priority. At 4x resolution, it recovers strand-level detail that was not visible in the base image. It handles both straight and curly hair types without over-sharpening or adding artifical edge halos.
Topaz Image Upscale for maximum resolution
When you need the highest possible output resolution, Image Upscale by Topaz Labs scales up to 6x while maintaining photorealistic grain structure. For large-format outputs or print work, this is the final step that keeps hair textures looking natural at extreme zoom levels.
Trick 7: Creative Upscaling Adds What the Base Model Missed
Recraft Creative Upscale
Standard upscalers preserve what is already there. Recraft Creative Upscale takes a different approach: it uses AI to intelligently add plausible detail that was never in the original render. For hair, this means it will synthesize individual strand separations, cuticle texture, and natural sheen variations in zones where the base model produced a flat mass.
This is not sharpening. It is generation of new, coherent detail within the existing structure. When used on hair renders that have good overall shape but poor micro-detail, the results can be dramatic.
When AI adds the detail the base model could not
The workflow is: generate at your target resolution, run through Increase Resolution by Bria for a clean 4x base, then hit Recraft Creative Upscale for the final texture pass. This two-step upscale pipeline reliably produces strand detail that neither tool achieves alone.
For renders where you want to keep the exact style but add texture, Recraft Crisp Upscale preserves every pixel of the original composition while making it sharper and more detailed. Crisp upscale is ideal when your colors and composition are exactly right but the hair looks too soft.
💡 Tip: Run your upscaler at 2x first, check the hair result, then decide if you want a second 2x pass. Double-upscaling with a quality model at 2x often beats a single 4x pass because each step can be evaluated independently before committing.
Hair Detail Cheat Sheet
| Hair Type | Best Prompt Approach | Recommended Upscaler |
|---|
| Long straight hair | Strand separation, backlight, fine diameter | Clarity Pro Upscaler |
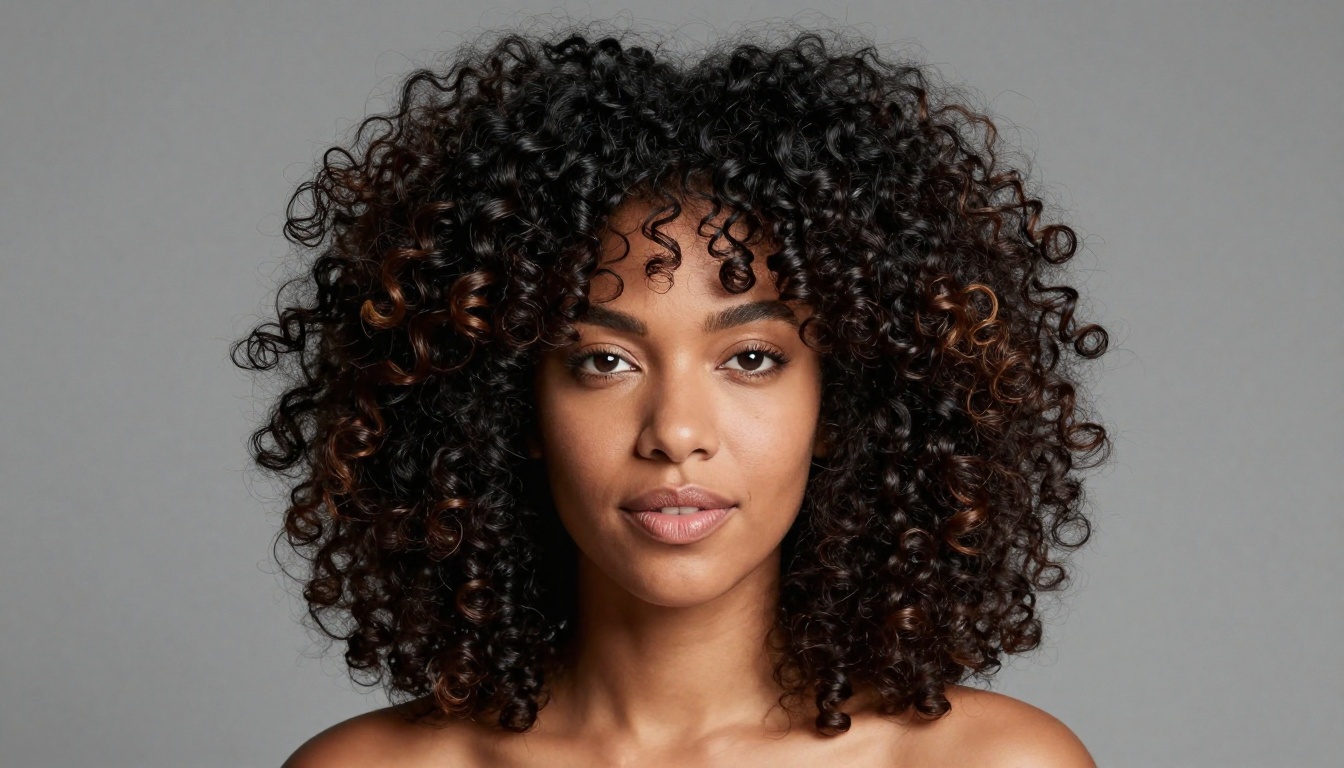
| Tight curls and coils | Shadow in curl valleys, moisture sheen, coil diameter | Crystal Upscaler |
| Wavy hair | S-curve structure, mid-tone variation, wind movement | Recraft Creative Upscale |
| Short textured hair | Follicle-level detail, scalp texture, natural fade | P Image Upscale |
| Braids and weaves | Weave structure description, shadow in grooves | Google Upscaler |
| Fine and baby hair | Translucency, flyaway language, hairline description | Real ESRGAN |
Start Rendering Better Hair Right Now
Every trick in this article is available in one place on PicassoIA. Generate your base image with any of the 91+ text-to-image models, fix specific zones with inpainting, then run the result through any of the upscalers linked above. The platform puts the full workflow on a single screen with no software to install and no API keys to manage.
The fastest way to test these tricks is to take an existing render you are not happy with and put it straight into Clarity Pro Upscaler or Crystal Upscaler. You will see within 30 seconds whether hidden strand detail was sitting in your image all along. For most renders, it is.
Pick one trick from this article, apply it to your next render, and compare the result. The improvement in hair detail is immediately visible, and once you have seen what strand-level prompting plus a quality upscale produces, generic descriptions will never feel like enough again. Try it at picassoia.com/en/all-models.


