You have a photo you love. Maybe it is a selfie from a trip, a blurry shot of your dog mid-zoomie, or a faded print of your grandparents. Now you want it to look like a painting, a pencil sketch, or a gallery print, and you want it done in two minutes, not two weeks. That is exactly what an AI art generator from photo does: it takes your picture as the starting point and redraws it in the style you describe.
The catch is that results vary wildly. Some tools melt faces. Some barely change the image. Some bury the whole thing under a style so heavy your own mother would not recognize you. This article shows which free online tools are worth opening, which prompts produce clean results, and which settings decide whether the output looks like you or like a stranger in a nice frame.
How Photo to Art Generators Work
Image to image, in plain terms
A normal text-to-image model starts from random noise and builds a picture from your words. A photo-to-art tool starts from your image instead. It adds a controlled amount of noise to your photo, then rebuilds it while following your text prompt. The more noise it adds, the more freedom the model has to restyle things. The less noise, the closer the output stays to your original.
That single idea explains almost every problem people run into. If the face changes, too much noise was added. If the style looks timid, too little. Everything else, from prompt wording to resolution, is fine tuning around that one balance.
Newer editing models work a little differently. Instead of just adding noise, they read your photo and your instruction together, then rewrite only what you asked for. That is why you can say "turn this into a watercolor, keep the same pose and face" and get something that respects both halves of the sentence.
Why strength matters more than the prompt
Most beginners spend ten minutes polishing a prompt and zero minutes on the strength slider. Flip that. A mediocre prompt at the right strength beats a brilliant prompt at the wrong one. We will come back to exact numbers in the settings section, but keep this in mind: strength is the dial that decides how much of your photo survives.
💡 Quick rule: If you want the same person in a new style, stay low to medium on strength. If you want a loose, artistic reinterpretation of a landscape or a pet, go higher.
Models you can use on PicassoIA
You do not need to install anything or own a powerful graphics card. Browser-based tools handle the heavy lifting. These are the ones that consistently handle photo-to-art work well:
| Model | Best for | Why it works |
|---|
| Nano Banana | Restyling a photo with a plain sentence | Understands instructions like "keep the face, change the style" |
| Flux Kontext Fast | Quick edits and style swaps | Fast turnaround, good at preserving the subject |
| Qwen Image Edit Plus | Precise changes to clothing, background, color | Strong at editing one thing without disturbing the rest |
| Seedream 4.5 | High-detail, photorealistic and painterly results | Clean textures and sharp output |
| PicassoIA Image Editor Pro | Unlimited experiments | Lets you keep iterating without counting generations |
| Reve 2.1 | Natural-looking edits and generation | Good prompt following on stylized looks |
| Grok Imagine Image 2 | Creative 2K reinterpretations | Handles bold style changes well |
If you are not sure where to begin, start with Nano Banana for the first pass and Image Editor Pro for the repeated tweaks. That pairing covers most situations without any setup.
What "free" usually means
Free is a slippery word online. Here is how it usually plays out:
- Free credits: you get a handful of generations, then a paywall.
- Free with watermark: the output carries a logo you cannot remove.
- Free with limits: low resolution, slow queues, or one style only.
- Unlimited tiers: rare, and worth grabbing when you find them.
Before you invest an hour in a tool, run two quick tests. Upload one portrait and one landscape, then check the output resolution and whether a watermark appears. Those two checks save a lot of frustration.
💡 Tip: Experimenting is where most credits disappear. A tool with unlimited generations, like Image Editor Pro, is the better place to try ten variations of the same photo.
Prompts That Actually Work
A good photo-to-art prompt has four parts: the style, the medium or material, the lighting or mood, and a protection clause that tells the model what to keep. The last part is the one most people skip, and it is the one that saves faces.
Template: Turn this photo into [style], [medium and texture], [mood and light]. Keep the same face, pose and composition.
Oil painting and watercolor
Oil works best when you name the brushwork. Watercolor works best when you name the paper.
- Oil: "Turn this photo into a classical oil portrait, visible thick brushstrokes, warm ochre and teal palette, soft window light. Keep the same face, pose and composition."
- Watercolor: "Turn this photo into a loose watercolor on cold-press paper, soft bleeding edges, pale washes of color, white paper showing through. Keep the same faces and layout."
- Gouache: "Restyle this photo as a flat gouache illustration, matte opaque colors, gentle shadows, simple shapes. Keep the subject recognizable."
Pencil sketch and ink
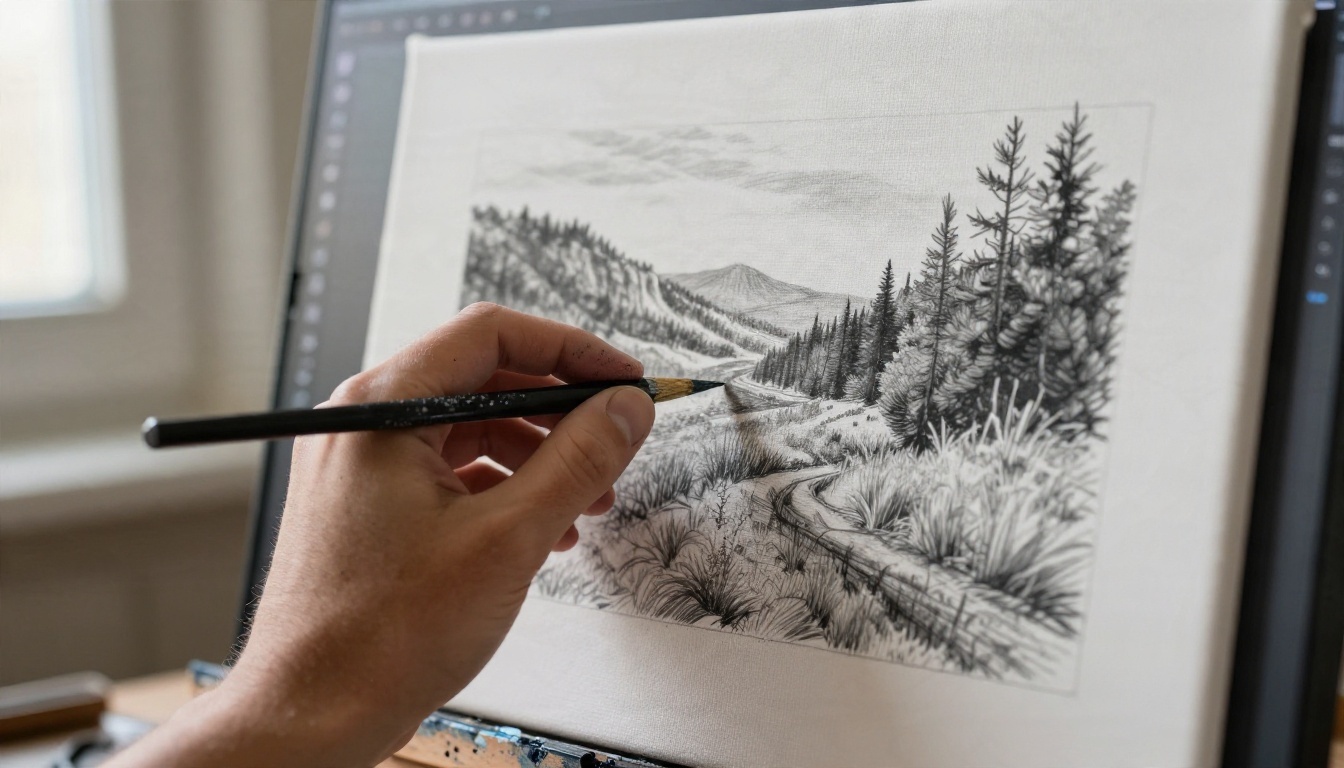
Black and white styles are forgiving. With no color to fight over, the model has an easier time keeping likeness.
- Graphite: "Convert this photo into a detailed graphite pencil drawing on textured paper, fine cross-hatching, soft smudged shadows, no color. Keep the likeness."
- Ink: "Redraw this photo as a pen and ink sketch, confident linework, light hatching, cream paper background. Keep the same pose."
- Charcoal: "Turn this photo into a charcoal portrait, deep blacks, soft gradients, visible paper grain, dramatic side light."
Pet and family portraits
Pets are one of the most popular uses for this kind of tool, and they are easier than people because nobody notices if one whisker is off. Name the fur. Name the setting.
- "Turn this photo of my golden retriever into a regal oil portrait in the style of an old master, rich velvet background, soft rim light. Keep the exact face and fur color."
- "Restyle this family photo as a warm watercolor, soft pastel palette, keep every person in the same position."
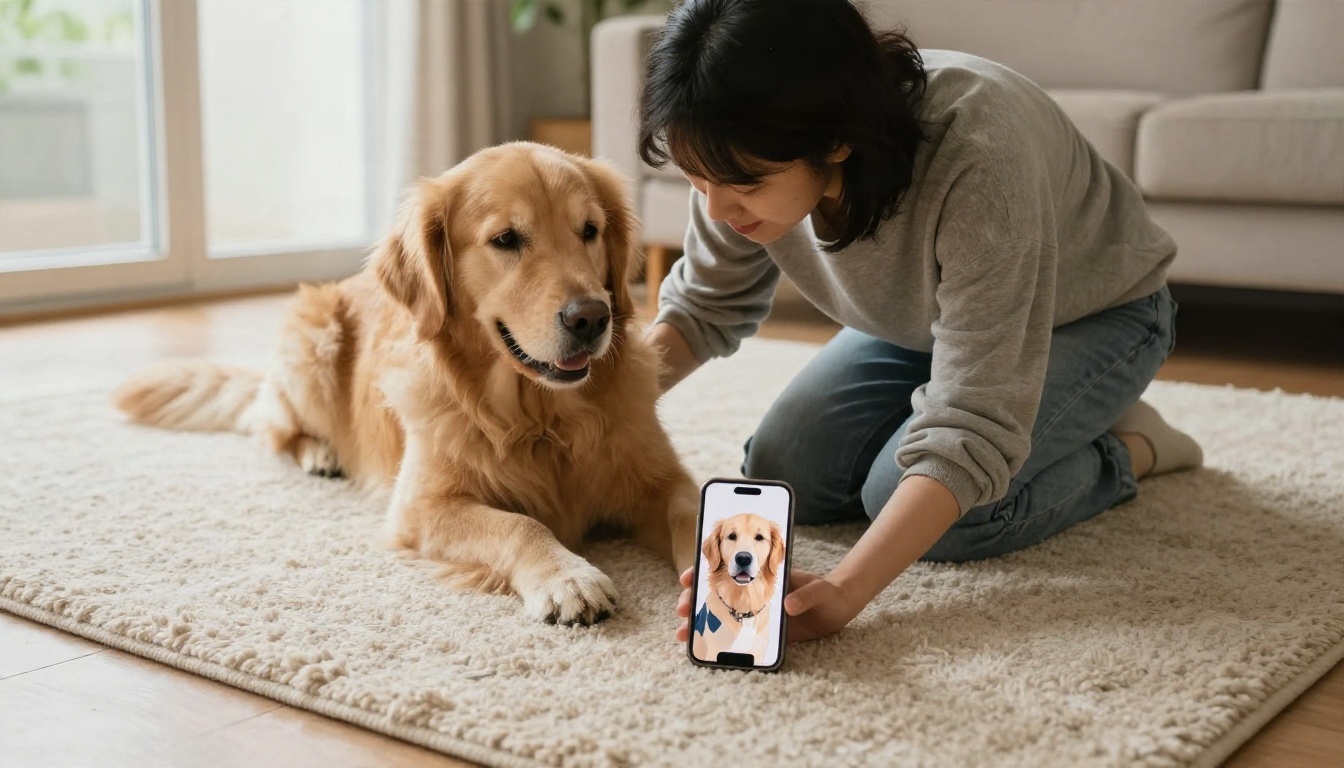
💡 Prompt habit: Name the medium ("cold-press paper", "thick impasto", "graphite") instead of vague words like "artistic" or "beautiful". Specific materials give the model something concrete to copy.
Settings That Keep the Face Intact
Strength, guidance, and seed
Different tools label these settings differently, but the logic is the same. Here is a practical starting table:
| Setting | What it does | Starting value | Adjust when |
|---|
| Strength / image influence | How much the output may depart from your photo | 0.35 to 0.55 for portraits | Raise for stronger style, lower if the face drifts |
| Guidance / prompt weight | How tightly the model follows your text | Medium (about 5 to 8) | Lower if colors look harsh and overcooked |
| Seed | Fixes the random starting point | Random first, then lock | Lock it once you like a result and change only one thing |
| Steps | How long the model refines | Default is fine | Raise slightly for fine detail |
| Number of outputs | Variations per run | 2 to 4 | Keep low when credits are limited |
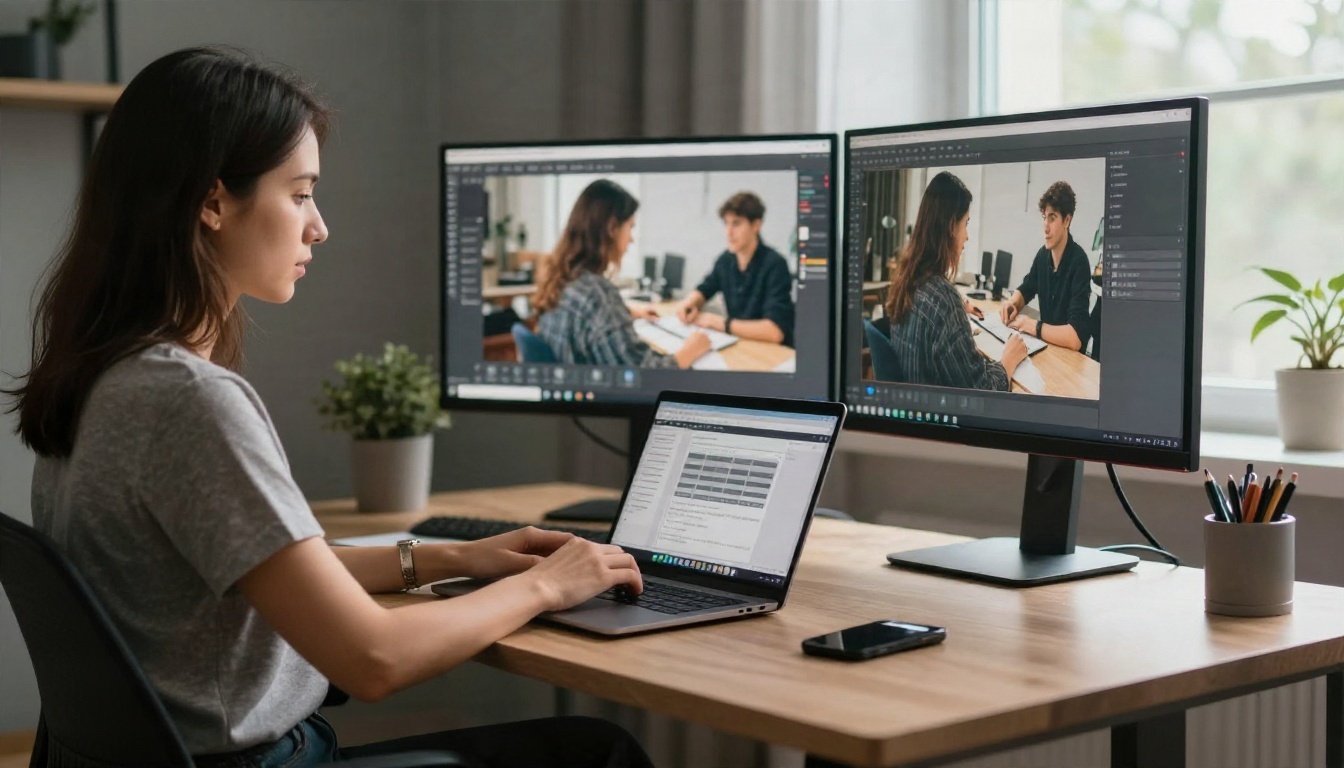
The best habit in this table is the seed. Once you get a result that is almost right, lock the seed and change one word in the prompt. If you change the seed, the prompt and the strength all at once, you will never learn what actually helped.
Editing models such as Nano Banana and Qwen Image Edit Plus often hide the strength slider and replace it with instruction wording. In that case, your protection clause does the same job. Phrases like "keep the same face and expression" and "do not change the pose" act as a soft strength control.
Resolution and aspect ratio
Two small choices have a large impact:
- Match the aspect ratio of your source. A vertical portrait forced into a square gets cropped or redrawn, and faces suffer.
- Start with a sharp, well lit source. Upload the largest, cleanest version you have. A compressed screenshot of a photo gives the model less to work with.
- Upscale last, not first. Generate at the tool's normal size, pick your favorite, then enlarge it. Real ESRGAN handles 4x upscaling and keeps brush texture crisp, which matters if you plan to print.
How to Use Nano Banana on PicassoIA
Nano Banana is a good first stop because it follows plain-language instructions. You do not have to understand sliders to get a decent result. Here is a simple workflow.
Step by step
- Open the model page. Go to the Nano Banana page on PicassoIA and open the generator.
- Upload your photo. Choose a clear picture where the face is well lit and not cut off. Front-facing or three-quarter angles work best.
- Write your instruction. Use the template from earlier. For example: "Turn this photo into a soft watercolor portrait on textured paper, gentle pastel colors, keep the same face and pose."
- Run the first pass. Look at three things: the eyes, the hands, and the edges of the hair. Those are where mistakes show up first.
- Refine one thing at a time. If the style is too weak, add a stronger medium word such as "thick oil paint". If the face drifted, repeat the protection clause with more emphasis.
- Try a second model for comparison. Run the same photo through Flux Kontext Fast or Seedream 4.5. Each model has a different taste in color and texture.
- Upscale the winner. Send your favorite to Real ESRGAN before you print or post it.
💡 Workflow shortcut: Keep a notes file with prompts that worked. A good prompt is reusable across dozens of photos, and that is where the real time savings come from.
Fixing Common Mistakes
Faces look off
This is the number one complaint. Common causes and fixes:
- Strength too high. Drop it by 0.1 and try again.
- Small or turned faces. Crop closer to the face before uploading.
- Heavy filters on the source. Beauty filters confuse the model. Use an unedited photo.
- Multiple faces in a busy frame. Edit people one at a time if the group result is poor, using an editing model such as Qwen Image Edit 2511.
Style is too weak
If the output looks like your photo with a mild filter, the model is being polite. Fix it by naming the medium more specifically, by raising strength a little, and by removing contradictory words. A prompt that says "realistic oil painting, photographic detail" pulls in two directions and ends up with neither.
Blurry final image
Soft results usually come from a low resolution source or a very small output size. Start with the largest source you have, then upscale the final pick with Real ESRGAN. If the image is old and damaged, restore it first and stylize it second. That order matters, because the model will happily paint scratches and fading into your new artwork as if they were part of the scene.
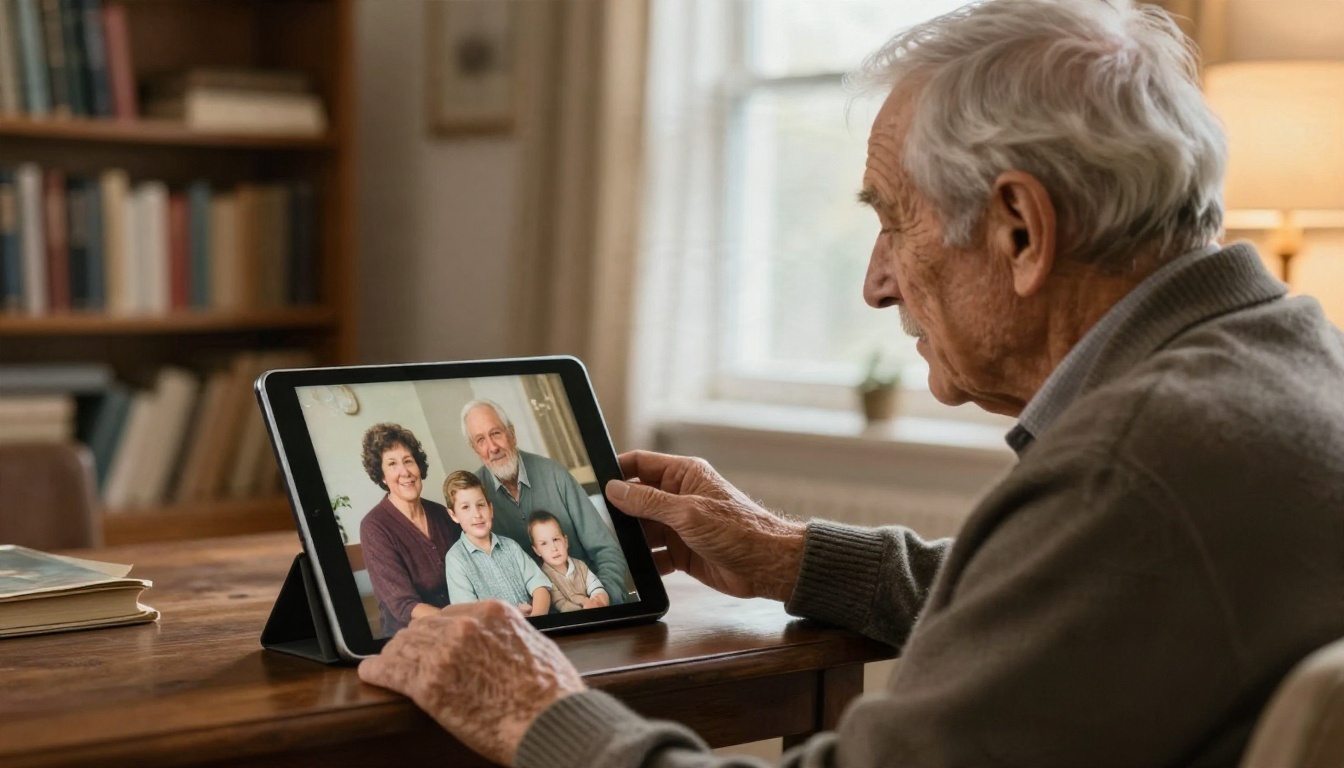
💡 Old photos: Ask for restoration first: "Restore this old photo, remove scratches, sharpen faces, keep the original look." Once it is clean, run your art style on the restored version.
Printing and Sharing Your Art
A finished image is only half the fun. Here is how to get the most from it.
For prints:
- Upscale to at least 4x before ordering.
- Pick matte paper for watercolor and pencil styles, and canvas or semi-gloss for oil looks.
- Check the print shop's preview for edge cropping, especially when your aspect ratio is unusual.
For sharing:
- Post the original and the AI version side by side. People love the before and after.
- Keep one clean copy without any text in case you want to reuse it later.
- Save your prompt next to the image. Future you will thank present you.
For gifts: A stylized portrait of a pet, a couple or a childhood home makes a surprisingly personal present. Frame two or three together as a small series and the wall looks curated rather than random.
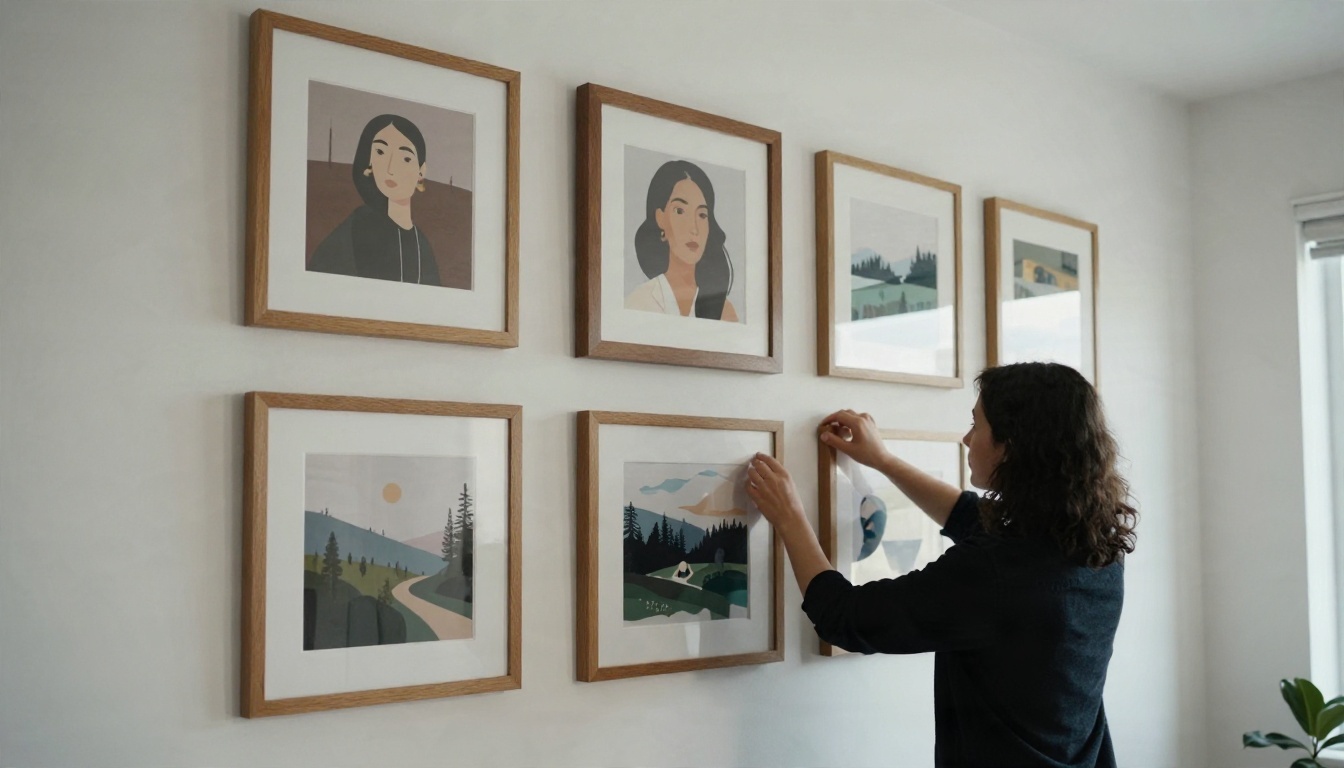
💡 Respect people's images: Only restyle photos you own or have permission to use, especially pictures of other people. A quick message before you turn a friend's portrait into art keeps everyone comfortable.
A quick style cheat sheet
| Goal | Prompt keywords | Strength |
|---|
| Classic portrait | "oil painting, thick brushstrokes, warm palette" | Medium |
| Soft and airy | "watercolor, cold-press paper, pale washes" | Medium to high |
| Clean black and white | "graphite, cross-hatching, paper grain" | Low to medium |
| Bold and graphic | "gouache, flat color, simple shapes" | Medium to high |
| Gentle cleanup only | "restore, sharpen, keep original look" | Low |
Try It With Your Own Photos
Pick one photo today, ideally a sharp portrait or a pet picture with good light. Open Nano Banana, paste the oil painting prompt from this article, and see what comes back in under a minute. Then change one word, lock the seed, and run it again. Three rounds of that and you will have a feel for how the dials work that no tutorial can give you.
When you want to keep experimenting without counting credits, switch to PicassoIA Image Editor Pro and run as many variations as you like. For sharper detail, try Seedream 4.5, and send your favorites through Real ESRGAN for print-ready size.
Your photos already hold the composition, the emotion and the story. The AI only supplies the brush. Head over to Picasso IA, upload your first picture, and see which style makes it look like yours.


