A flat file of your book design is easy to ignore. A hardcover standing on a sunlit desk, with a real spine, real shadows and real paper edges, makes people stop scrolling. That gap between a flat rectangle and a believable object is exactly what an AI book cover mock up closes, and today you can do it for free, online, in about the time it takes to drink a coffee.
No Photoshop smart objects. No 3D software with a steep learning curve. No photographer. You describe the scene, the AI generates a photographic render of a book, and you use it for your store listing, your social posts, your pre-order page or your pitch deck.
This article shows what actually works: the prompt formulas, the camera angles that flatter a book, the scenes that sell each genre, and a clear workflow you can repeat for every title you publish.
What an AI Mock Up Really Is
A traditional mock up places a flat image onto a template of a book. You need the template, a layered file and some patience. An AI mock up flips the process. A model such as Nano Banana or Seedream 4.5 builds the whole photograph from a text description, and some models can also take your own design as a reference image and wrap it around a book.
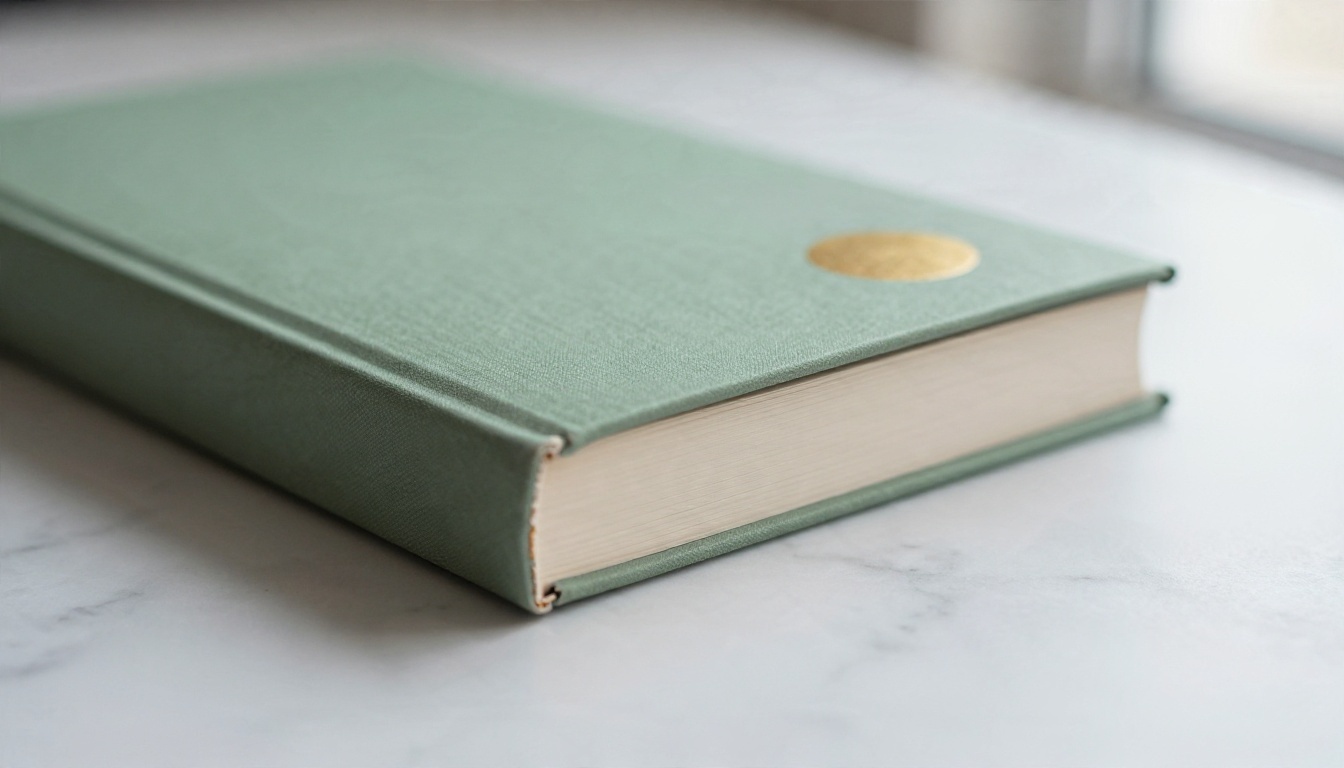
The result is not a flat overlay. The model handles perspective, the curve of the spine, the thickness of the page block, the way light rolls across laminate and the soft shadow under the book. That is why the output reads as a 3D preview even though no 3D file exists.
Flat template versus AI render
| Feature | Template mock up | AI mock up |
|---|
| Setup time | 20 to 40 minutes | 1 to 3 minutes |
| Software needed | Layered editor | Browser only |
| Scene variety | Whatever the pack includes | Unlimited |
| Lighting realism | Fixed | Changes with each prompt |
| Cost | Pack or subscription | Free to start |
| Skill level | Medium | Beginner |
Where the 3D look comes from
The phrase "3D" can mislead people. You are not exporting a mesh or rotating a model in a viewer. You are generating a photograph in which the book has convincing depth. For most sellers that is what matters, because store pages, ads and social posts all use still images anyway. If you want motion later, you can animate a finished still with a text to video model.
💡 Tip: Think of the AI as a product photographer you brief in words. The more precisely you describe lens, light and surface, the less you need to fix afterward.
Why Sellers Use Them
Readers judge a book in about two seconds. A flat design on a white page looks like a draft. The same design on a physical looking book looks like a product, and products get clicks.
Faster launches
Indie authors often wait on a photographer or a template pack before announcing a release. With AI renders you can publish the announcement the same day the design is approved. You can also produce ten scene variations and test which one gets the most taps.
Lower costs
A single staged book photo shoot can cost more than the book's entire ad budget. A generator removes props, rental space and travel. You pay with a few minutes of prompt writing.
Consistent branding across a series
When you publish a trilogy, matching scenes across all three titles builds recognition. Reuse the same prompt, change only the design description, and the lighting and angle stay consistent.
Every strong book render prompt answers six questions. Skip one and the model fills the gap with something generic.
- Object: hardcover, paperback, spiral notebook style, box set, or ebook on a reader.
- Design: colors, imagery and mood of the front, described in plain words.
- Surface: marble, oak, slate, a bookstore table, a window sill.
- Light: morning window light, warm shop lamps, evening blue hour.
- Camera: lens length, aperture and angle.
- Texture words: cloth weave, matte paper, foil, glossy laminate, curled corners.
A starter prompt you can copy
Hardcover novel standing upright on a worn oak desk, dust jacket showing a lone lighthouse on dark cliffs under a stormy teal sky, soft morning light from the left, 85mm lens at f/1.8, shallow depth of field, cloth spine texture, visible cream page edges, Kodak Portra 400 film grain, photorealistic.
Why camera words matter
Lens language tells the model how much of the scene should be sharp and how the background should look. An 85mm lens at f/1.8 gives creamy background blur and makes the book feel precious. A 28mm lens makes a space feel wide and busy. A 100mm macro lens pulls the eye to cloth texture and foil.
| Lens style | Best for | Mood |
|---|
| 100mm macro, f/2.8 | Spine and foil details | Premium, tactile |
| 85mm, f/1.8 | Single hero shot | Intimate, editorial |
| 50mm, f/1.8 | Shelf and table scenes | Natural, honest |
| 35mm, f/4 | Flat lays and workspaces | Clear, organized |
| 28mm, f/4 | Workshop and store wide shots | Context, scale |
Angles That Flatter a Book
The same design can look dull or striking depending on the angle. These are the five that consistently work.
The three quarter hero
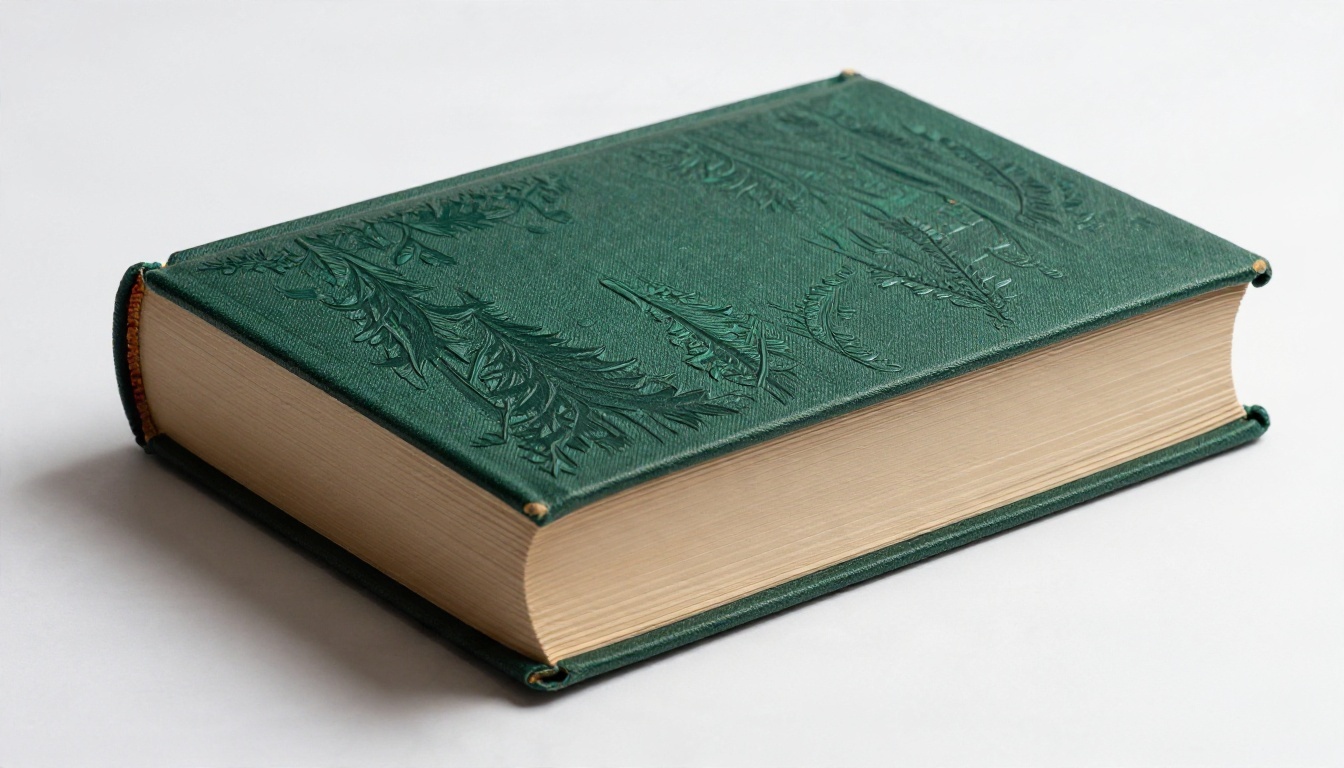
Turn the book so the front and the spine are both visible. This single trick sells the 3D effect. Light the scene from one side so the spine falls slightly darker than the front, which creates depth.
The low angle on a shelf
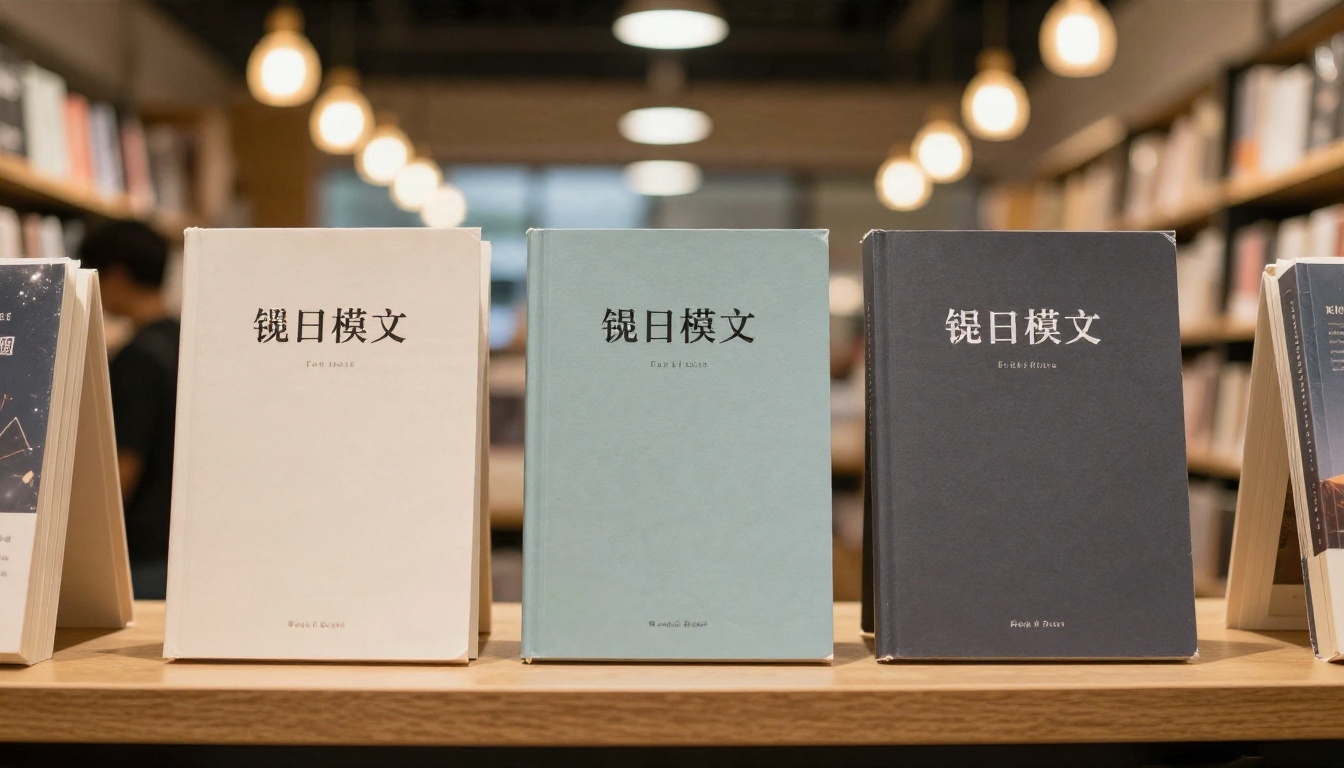
Shoot from table height looking slightly up. Books look tall, confident and important. This is a favorite for paperbacks in a store scene.
The overhead flat lay
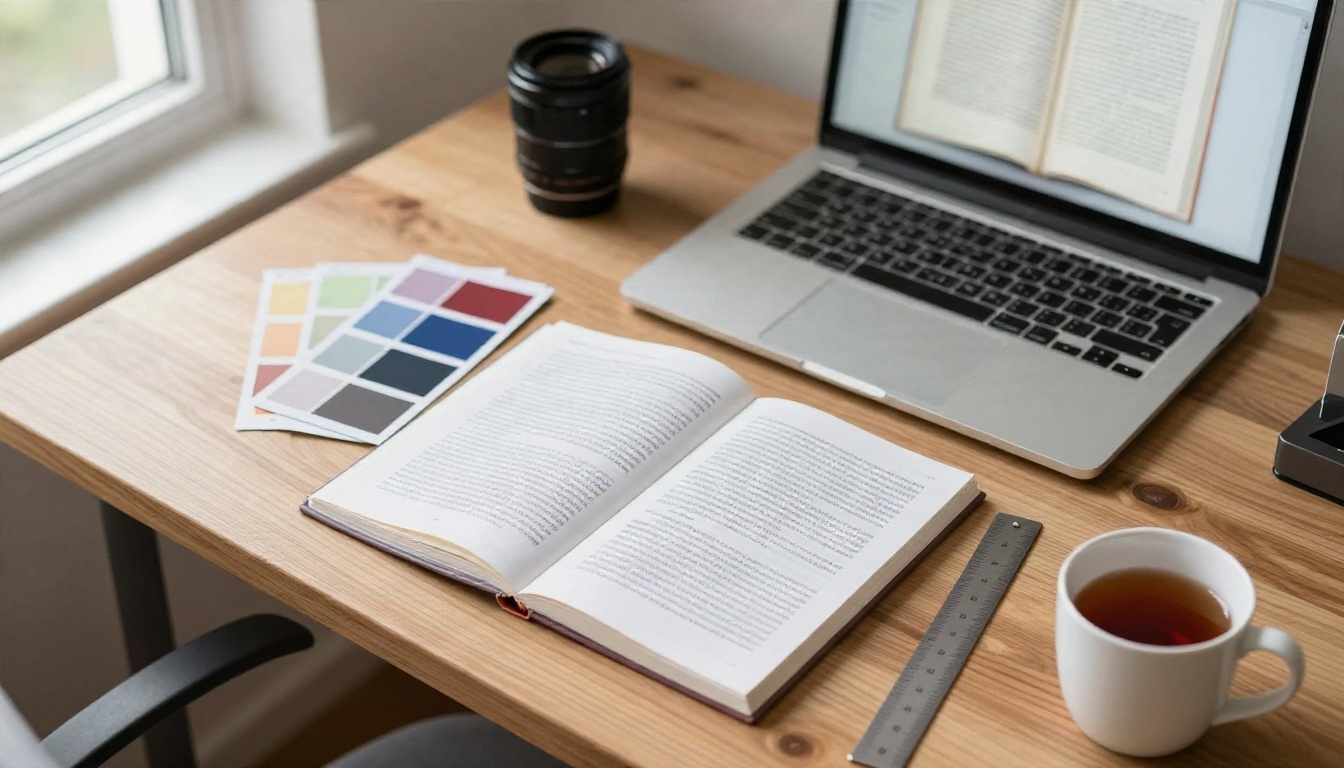
Place the book among a few props: a pencil, a mug, color swatches. It tells a story of creative work and works well for how to titles and journals.
The in hand shot
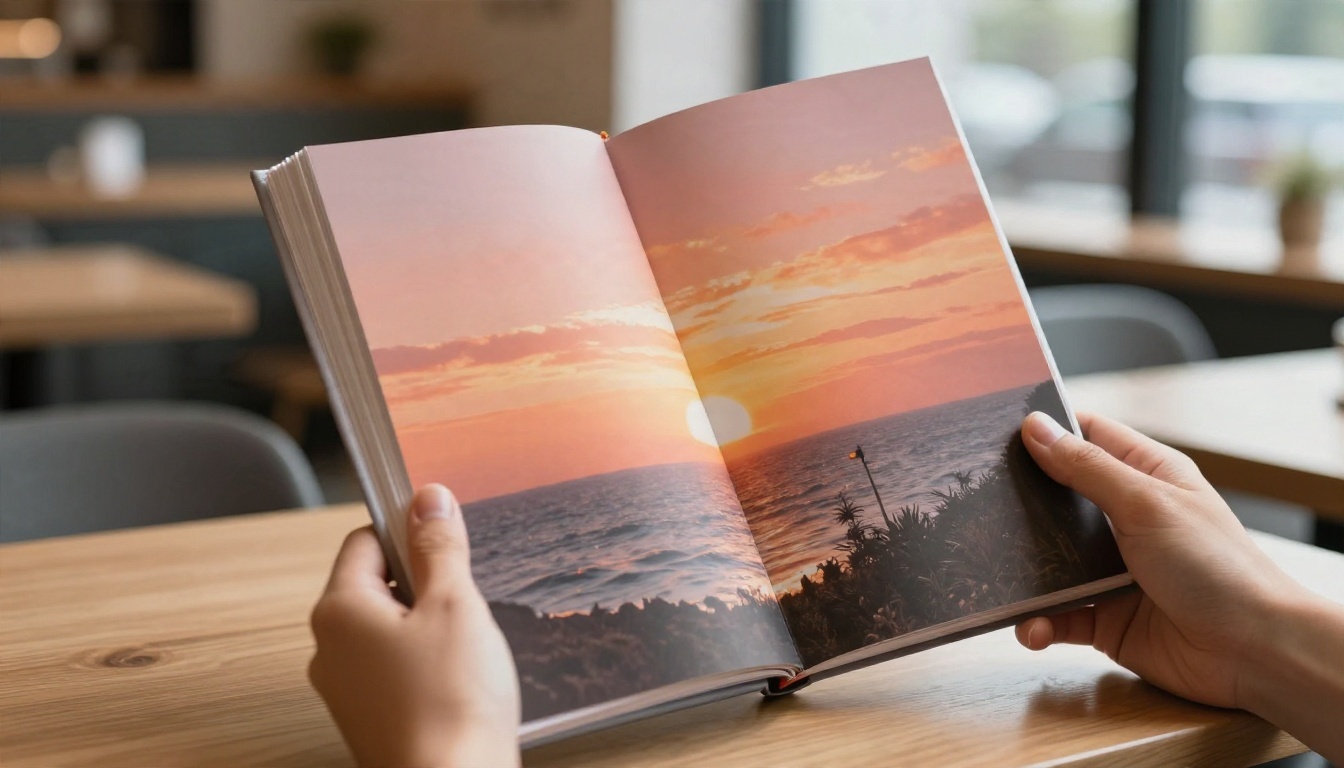
A person holding the book gives instant scale and emotion. It is the best option for memoirs, romance and self help, because the reader pictures themselves holding it.
The dramatic side view
Lay the book flat and shoot from the side with a single spotlight. The thickness of the page block and the shine of foil become the star. It suits fantasy and collector editions.
Matching the Scene to Your Genre
A cozy mystery and a war memoir should not sit in the same photo. The scene tells readers what to expect before they read a word.
| Genre | Scene idea | Light | Props |
|---|
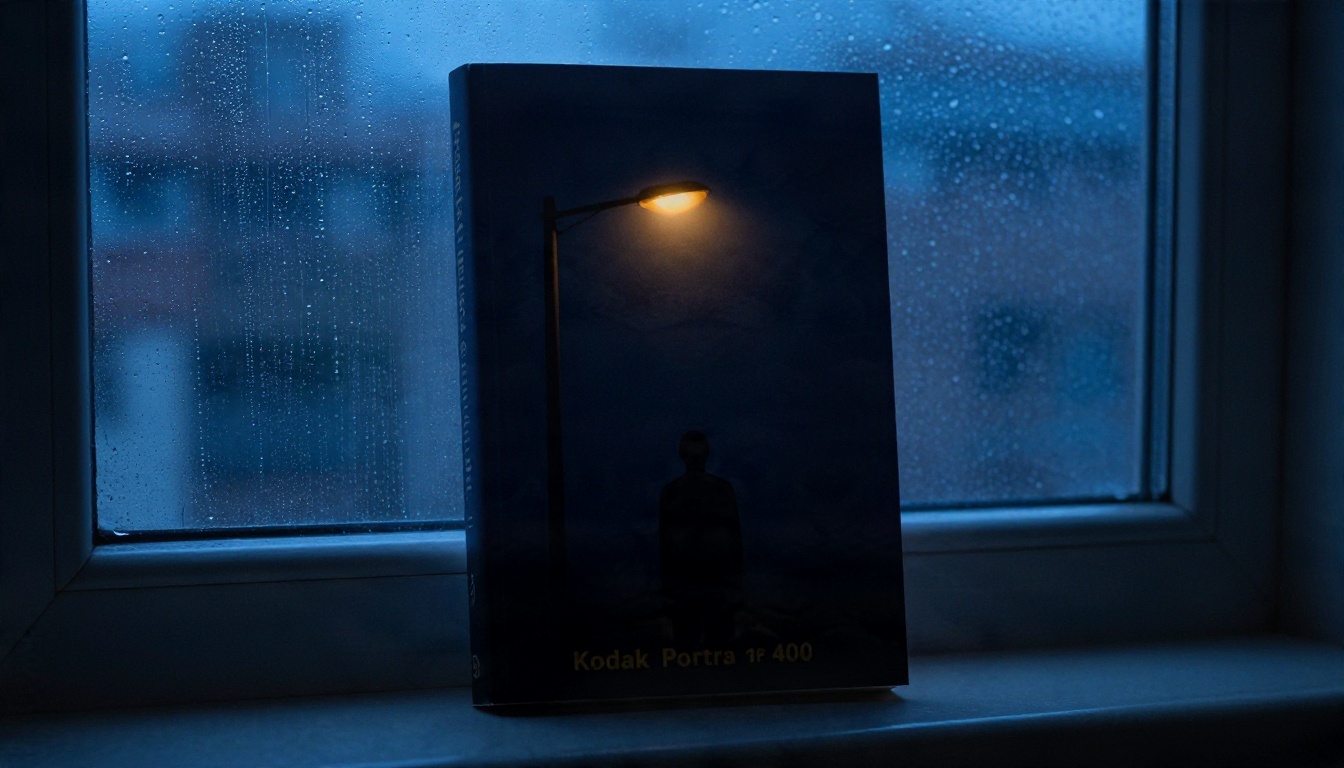
| Thriller | Window sill at dusk, rain on glass | Cool blue with a warm lamp | None, keep it stark |
| Fantasy | Dark slate or old wood | Single warm spotlight | A candle, a key shaped prop, dried leaves |
| Romance | Cafe table or bed linen | Soft overcast daylight | Tea, flowers, a knit sweater |
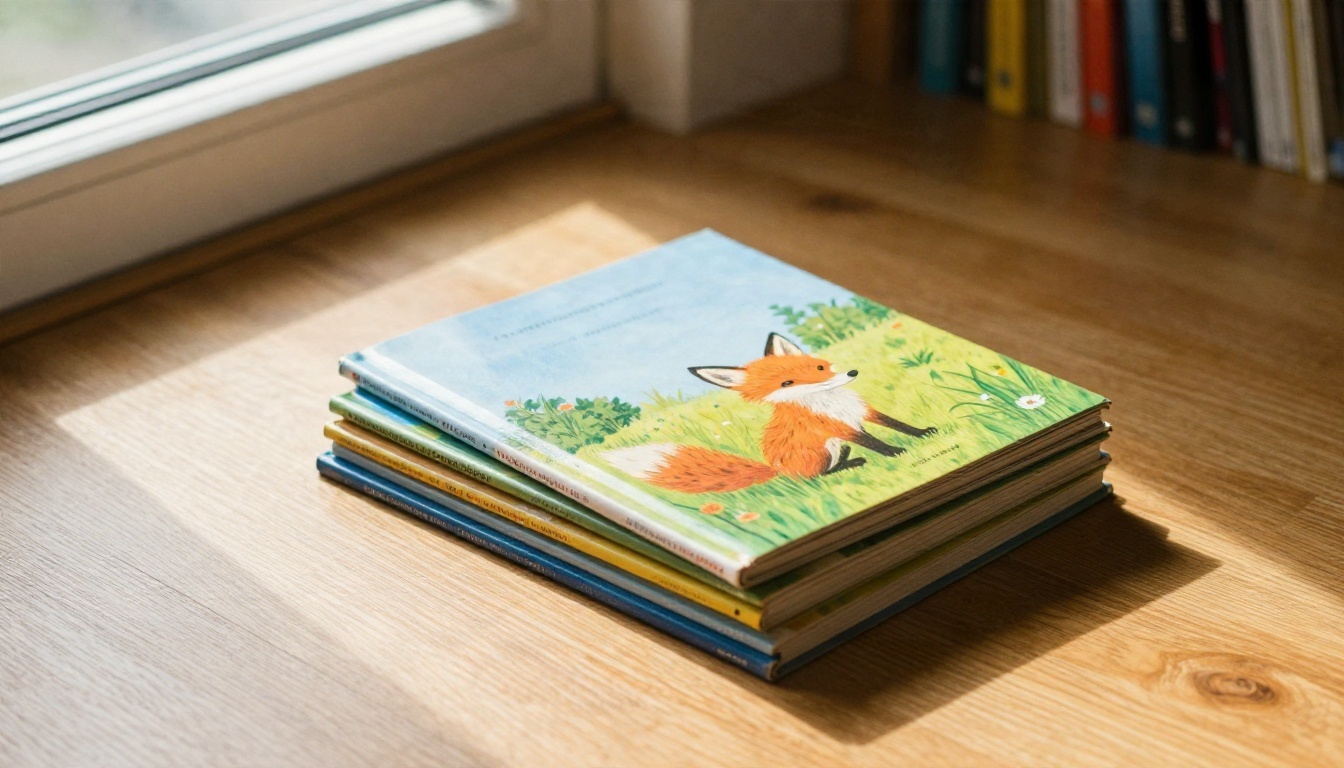
| Children's | Sunlit floor or reading nook | Bright, airy window light | Stuffed toy, rug |
| Business | Clean white desk | Soft studio light | Laptop, notebook |
| Literary fiction | Marble or oak desk | Morning window light | Pencil, coffee |
Thrillers want shadows
A dark navy design on a rainy window sill sets the tone immediately. Keep the background quiet and let the blue evening light do the work.
Children's books want warmth
Bright light, soft textures and a hint of home. Show the book in a place a parent would actually read it. Glossy laminate catches highlights nicely in this setting.
Nonfiction wants clarity
Business and how to titles do best on clean surfaces with clear light. Avoid clutter, because the design should be the only strong color in the frame.
Ebooks and Digital Previews
Not every book is printed. For ebook sellers, a device scene gives a physical anchor to a digital file.
Prompt for a device scene
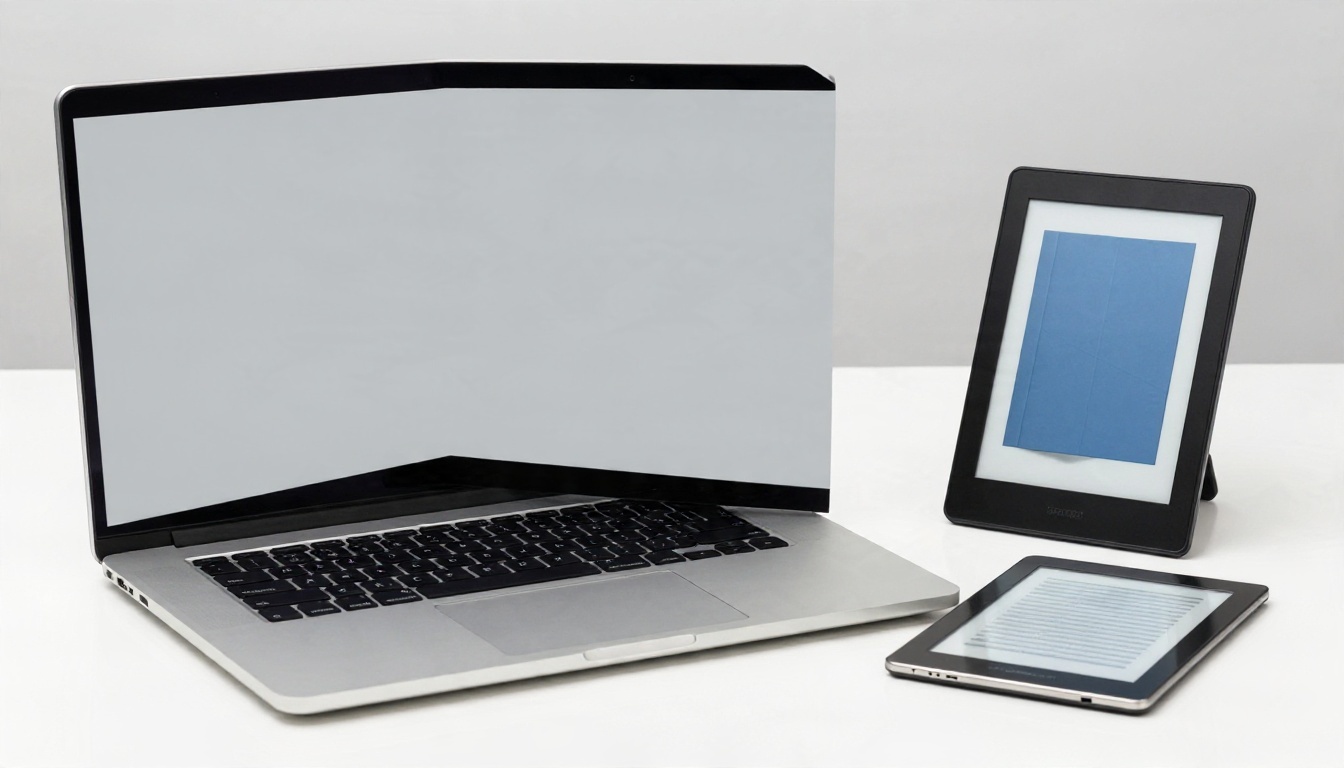
E-reader leaning beside an open laptop on a white desk, simple blue geometric design on the reader screen, soft studio light from the front left, 50mm lens at f/4, clean glass reflections, crisp aluminum texture, photorealistic.
Keep the screen simple
Screens are the hardest part for any generator because small details can warp. Use bold shapes and few colors in your description, and keep the device in a simple setting. If the screen looks off, you can fix it in the next step by placing your real design into the render with an image editor model.
A Free Workflow on PicassoIA
PicassoIA hosts dozens of text to image models, so you can try the same prompt on several and keep the best result. Here is a workflow that works for most titles.
Step 1: Draft the base render
Open Seedream 4.5 for crisp, detailed product photography, or Nano Banana when you want to feed in your own design as a reference and ask the model to place it on the book. Paste your prompt using the six part formula.
Step 2: Set the right parameters
- Aspect ratio: 16:9 for website banners and video thumbnails, 4:5 or 1:1 for social posts, 2:3 for vertical store listings.
- Prompt length: 50 to 80 words is the sweet spot. Shorter prompts give generic results, longer ones start to contradict themselves.
- Seed: keep the same seed when you want to change only one detail, like the color of the design.
Step 3: Fix the text issue
Models can still misspell titles and author names. The safest approach is to generate the render with a blank or text free front design, then place your real typography on top. If you need legible words inside the image, try Ideogram v4 Quality, which was built with lettering in mind. Keep any text to one or two short words.
Step 4: Upscale for print and ads
Social posts are fine at standard size, but store banners and printed flyers need more pixels. Run the final image through Real ESRGAN to sharpen paper grain and cloth texture at four times the size.
Step 5: Clean cutouts when needed
If a retailer asks for a plain white background, use Remove Background to isolate the book from the scene. For a tighter edge on product shots, Product Cutout is another option.
💡 Tip: Save your best prompt in a note. Next time you publish, change only the design description and you will get a matching scene in seconds.
Mistakes That Make Renders Look Fake
Most failed mock ups share the same few problems. Fix these and your results jump in quality.
Too many objects
Five props, three books and a cat will compete with your design. Limit the frame to one hero book and two or three quiet props.
No light direction
If the prompt never mentions where light comes from, the result looks flat. Always name a side: "soft window light from the left" is enough.
Impossible physics
Floating books, mismatched shadows and pages that bend the wrong way give the game away. If you see them, generate again with a more grounded setup, such as a book resting on a surface.
Ignoring the spine
A hardcover without a believable spine looks like a picture frame. Mention "cloth spine texture" or "visible page block" and the model adds that thickness.
Using neon or glossy effects
Heavy glow and over saturated color scream "AI". Stay with natural light, soft film grain and realistic materials. The best looking mock ups look like a real photographer shot them on film.
From Print Shop to Product Page
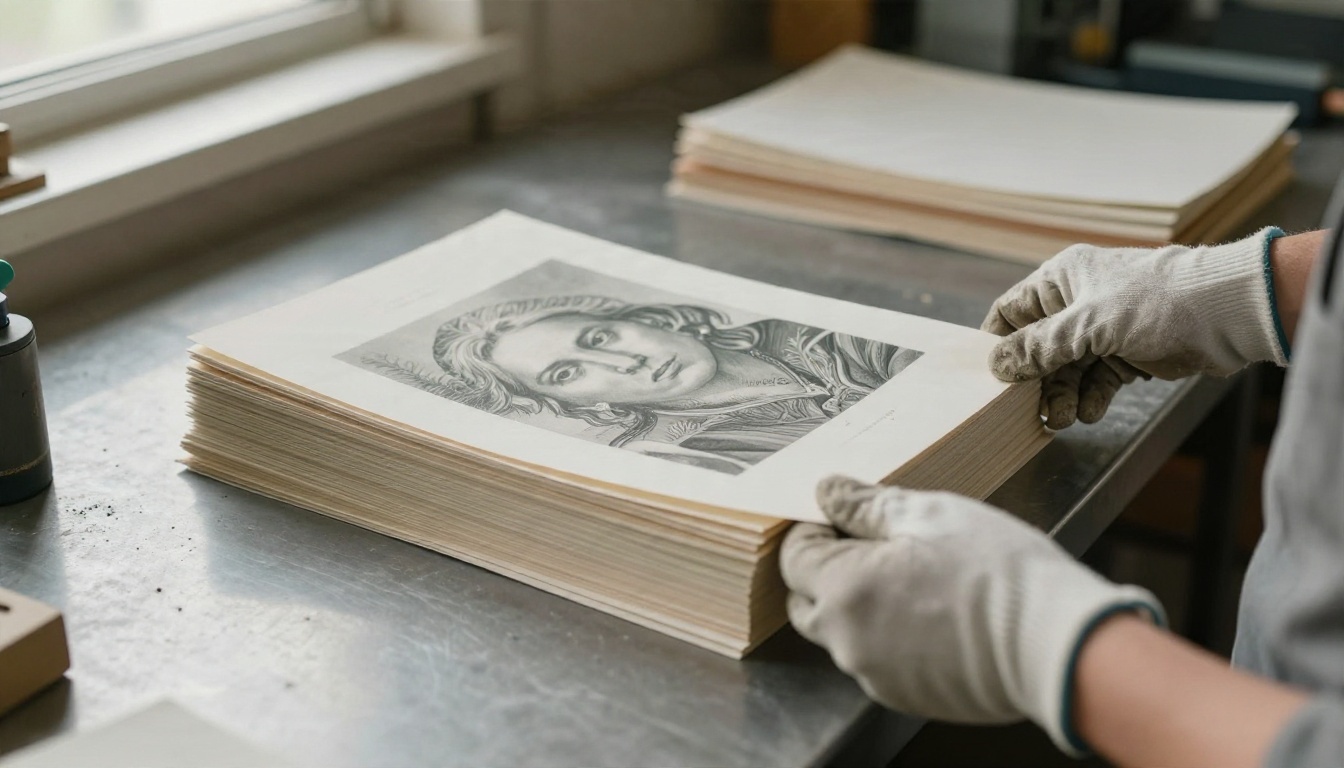
A realistic render also helps you talk to your printer. You can show the finish you want, whether matte, glossy, soft touch or foil, before you pay for a proof.
Where to use your renders
- Store listings: the first image sets the tone, so use your best three quarter hero.
- Social posts: rotate scenes weekly, so followers do not see the same image twice.
- Email launches: one clean hero image beats a crowded collage.
- Pre-order pages: show the physical edition, even if the printing has not started.
- Pitch decks: agents and publishers respond to a polished visual.
- Ads: test two scenes against each other and keep the winner.
A simple testing plan
Generate four versions of the same book: one on a desk, one in hand, one on a shelf, one in a dramatic side view. Post each to a small audience or run them as split test ads for three days. Keep the version with the best click rate and retire the others.
A Quick Prompt Library
Copy and adjust any of these. Replace the design description with your own.
| Use | Prompt starter |
|---|
| Hero shot | Hardcover novel angled three quarters on a marble table, soft window light from the right, 100mm macro lens, cloth texture, film grain |
| Bookstore | Three paperbacks standing in a row on a wooden display table, warm pendant lights, 50mm lens, blurred shopper behind |
| Cafe | Woman holding a book at a window seat, soft overcast light, 85mm lens, wool sweater texture |
| Dark fantasy | Thick hardcover on dark slate, emerald cloth with foil emblem, single spotlight from upper right |
| Children's | Stack of picture books on a sunlit floor, glossy laminate, soft rug, bright window light |
| Ebook | E-reader beside a laptop on a white desk, clean reflections, soft studio light |
Keep the style realistic
Add "Kodak Portra 400, natural light, fine film grain, realistic textures" to every prompt. These words nudge the model toward photography and away from the overly smooth, plastic look.
Try Your Own Book Previews Today
You have the formula, the angles, the genre scenes and the workflow. The only thing left is your own title. Open PicassoIA, pick a model from the full model list, paste one of the prompts above, and swap in the colors and imagery of your book. Generate a few variations, choose the one that makes your design feel like a real object, and upscale it for your store page.
Start with a single hero shot today. Then build a small set of scenes, from a desk to a bookstore table to a cafe window, and watch how much more professional your launch looks. Your book already exists. Now give it a place to sit.


