A cartoon fox stares into the camera, tilts its head, and says your script in a voice that sounds like it was cast by a studio. Two years ago that took an animator, a voice actor and a week of editing. Today an AI cartoon generator with voice can do it in an afternoon, and some of the pieces cost nothing to try. The catch is that "cartoon generator with voice" is not one tool. It is a chain of three jobs: drawing the character, producing the voice, and making the mouth match the audio. If one link is weak, the whole clip feels off.
This article walks through the chain link by link. You will see what each step needs, which models on PicassoIA handle it, where free tools make sense, and which mistakes make talking characters look creepy instead of charming.

What an AI Cartoon Voice Generator Does
Search results for this keyword mix up several different products. Some are apps that turn a photo into a cartoon portrait. Others are text to speech tools with a cartoon mascot on the homepage. What most people actually want is simpler: type a script, get a character that speaks it on screen.
Three Jobs in One Pipeline
Every talking cartoon, no matter which app builds it, runs through the same stages:
- Character: a still image or a short animated clip of the character.
- Voice: an audio track, either synthesized from text or recorded by a person.
- Lip sync: a model that moves the character's mouth, jaw and sometimes the whole face to match each sound.
All-in-one apps hide these stages behind a single button. That is convenient, but it also locks you into one voice library and one animation style. Working stage by stage costs a few more clicks and gives you far more control.
Who Actually Uses This
The audience is wider than hobbyists. Teachers build short explainer clips with a friendly mascot. Small shops record promo videos without filming a person. Parents make bedtime stories starring their kid's drawing. YouTubers run faceless channels with a recurring character. Indie game developers prototype dialogue before hiring actors.
💡 Tip: Decide whether your character will speak once (a greeting, an ad) or many times (a series). A one-off can use any quick tool. A series needs a consistent design and a consistent voice, which means more planning up front.
The Four Building Blocks
Character Image
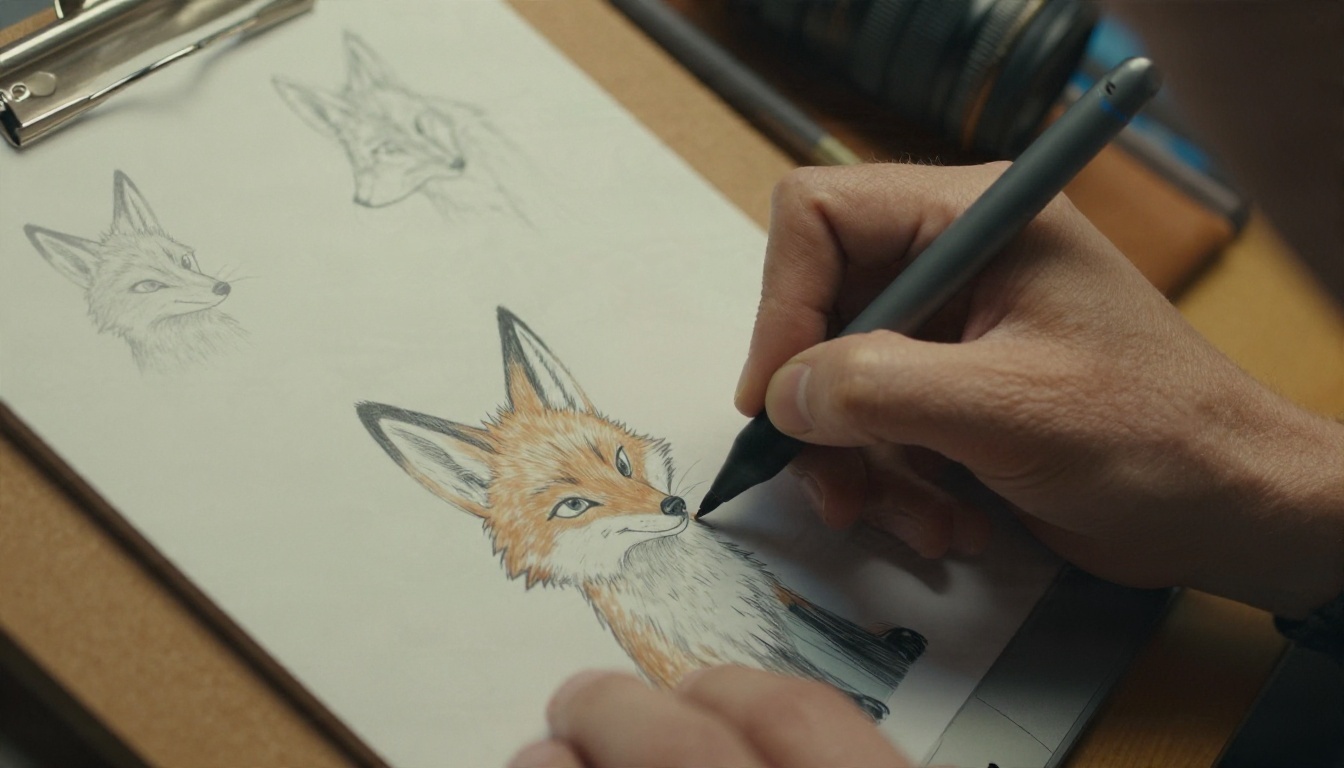
Everything starts with a clear, front-facing picture. Lip sync models need to see a mouth. A character with a hand covering its face, a mask, or a profile view gives the model almost nothing to work with.
For the artwork itself, a text to image model such as Seedream 4.5 handles stylized characters well, and Seedream 5 Pro is a good pick when you want sharper detail. Describe the design in plain language: species or type, outfit, color palette, art style, expression. Ask for a neutral, slightly open mouth so the later animation has a natural starting shape.
Voice Track
The voice carries at least half of the personality. A squeaky sidekick, a gruff pirate and a calm narrator can share the same drawing style and still feel like completely different characters because of pitch, pace and rhythm.
You have two routes: synthesize the voice from text, or record yourself. Both are covered in the next section.
Lip Sync Layer
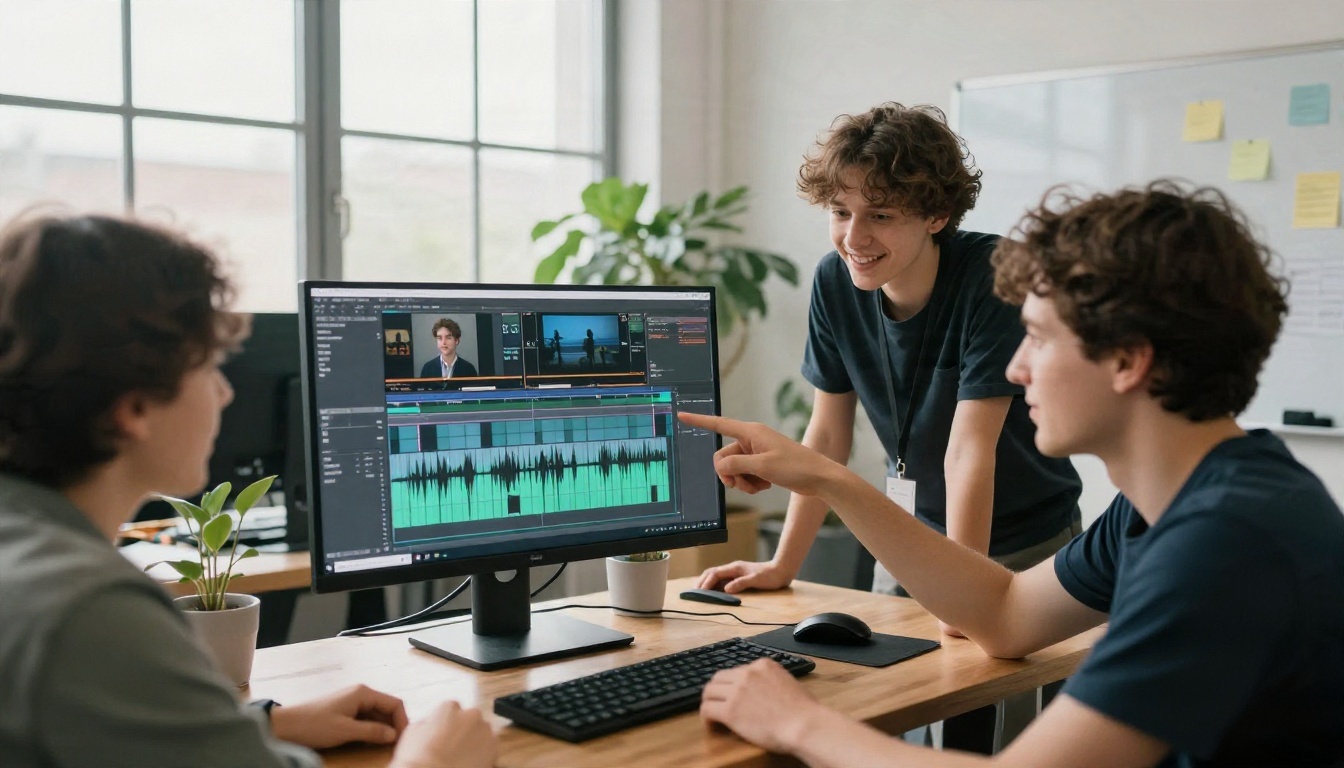
This is the step that makes the character feel alive. A lip sync model reads the audio, detects the phonemes, and animates the mouth to match. Some models start from a single photo or illustration. Others take an existing video and re-time the mouth movement to new audio.
Motion and Camera
A mouth that moves inside a frozen body looks like a puppet. Better results add small head tilts, blinks, shoulder movement and a slow camera push. Video models such as Kling v3 Video can animate the scene first, and a lip sync model can then be applied on top of the moving clip.
Picking a Voice That Fits
Text to Speech Options
If you do not want to record anything, synthesized voices are the quickest route. A few that suit character work:
- Gemini 3.1 Flash TTS: around 30 voices across 70+ languages, handy when you want to test many personalities fast.
- ElevenLabs V3: known for expressive delivery, which matters for comedic or dramatic lines.
- Speech 2.8 HD: studio-style clarity for narrator characters.
- Realtime TTS 2: quick turnaround when you are iterating on a script.
- Speech 2.8 Turbo: a lighter option for drafts.
Write the script the way people talk, not the way people write. Short sentences. Contractions. A pause marked with a comma or a full stop. Synthesized voices follow punctuation closely, so a line like "Wait. You did what?" lands very differently from "Wait you did what".
Recording Your Own Voice
A real recording gives you something a synthesized voice rarely matches: timing that feels human. You do not need a studio. A USB microphone, a closet full of clothes to deaden the echo, and a quiet hour are enough.
Perform the line with your face. Smile when the character smiles. Voice actors do this for a reason: the emotion shows up in the audio even when no one sees you.
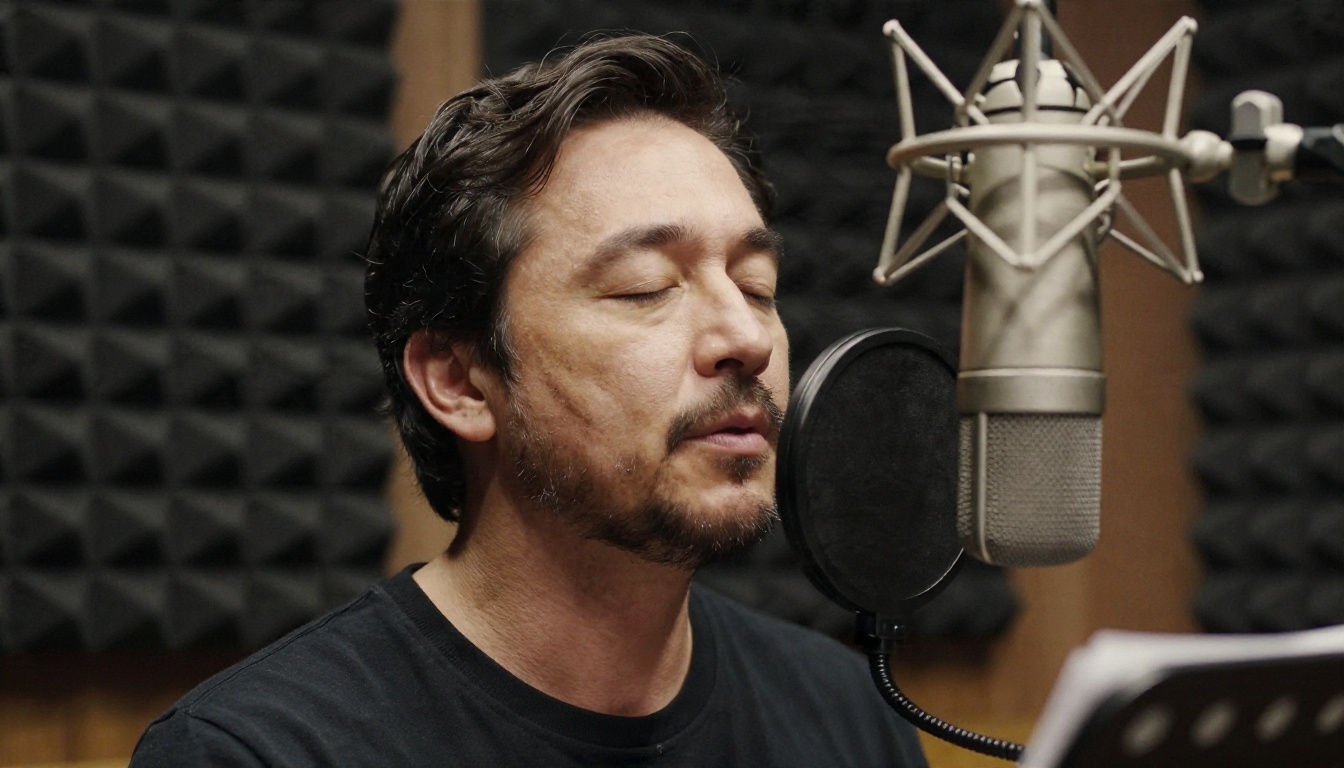
If you want a character voice that is not your natural register, record normally and then shift it. Or record your real voice and let a speech tool re-voice it. Keep the final audio clean, with no music underneath, because lip sync models can mistake background sound for speech.
Lip Sync Models Compared
PicassoIA's lipsync category has a dozen models, and they split into two groups. Photo to talking video models take one image and one audio file. Video to video models take an existing clip and fix the mouth to match new audio.
| Model | Input | Best for |
|---|
| Fabric 1.0 | Photo + audio | Fast talking clips from one illustration, 480p or 720p |
| Omni Human 1.5 | Photo + audio | Realistic faces with natural head motion |
| Omni Human | Photo + audio | Animating a still into a talking video |
| P Video Avatar | Photo or avatar + audio | Presenter style avatar videos |
| Kling Lip Sync | Video + audio | Matching the mouth in an animated scene |
| Lipsync 2 Pro | Video + audio | Higher precision on close-up faces |
| Lipsync 2 | Video + audio | General purpose dubbing |
| React 1 | Video + audio | Adding expressive lipsync to existing footage |
| Lipsync | Video + audio | Quick syncing of generated clips |
| Lipsync Speed | Video + audio | Fast dubbing turnaround |
| Lipsync Precision | Video + audio | Careful dubbing where accuracy beats speed |
| Video Translate | Video | Dubbing into 150+ languages |
Which One Should You Pick?
A simple rule works for most projects:
- One illustration, one voice line: start with Fabric 1.0. It is the shortest path from image to talking video.
- A character who needs more natural head and body movement: try Omni Human 1.5.
- An animated scene already rendered by a video model: use Kling Lip Sync or Lipsync 2 Pro so the mouth is fixed after the motion is final.
- The same clip in several languages: run it through Video Translate and let the model re-time the mouth for each language.
💡 Tip: Photo-based lip sync models were trained mostly on human faces. Stylized characters with big eyes and small mouths usually work, but a very abstract design with no clear mouth can fail. Run a two second test before you build a whole episode around a design.
How to Use Fabric 1.0 on PicassoIA
Fabric 1.0 is the easiest place to begin because the inputs are only an image and an audio file. Its listing describes it as free to try online with no coding required.
Step by Step
- Open the model page. Go to the Fabric 1.0 page on PicassoIA and find the input form.
- Upload your character. Use a clear, front-facing image with a visible mouth. A square or landscape crop with the face in the middle third works best.
- Add your audio. Upload a recording, or generate speech first with a text to speech model such as Gemini 3.1 Flash TTS and use that file.
- Choose the resolution. Pick 480p for fast drafts and 720p for the version you plan to publish.
- Run it and review. Watch the result with sound on. Check that the mouth opens on the loud syllables and closes on the quiet ones.
Settings That Matter
Fabric 1.0 keeps its controls simple: image, audio and resolution. That means the quality you get depends almost entirely on what you feed it.
| Input | What to do | What to avoid |
|---|
| Image | Neutral expression, mouth slightly closed, sharp edges | Heavy shadows over the mouth, hands in front of the face |
| Audio | Clean voice, no music, steady volume | Echo, background chatter, clipped peaks |
| Length | Short lines of 5 to 15 seconds for the first test | A full minute before you know it works |
| Resolution | 480p while iterating, 720p for the final | Rendering every draft at the highest setting |
Once you have a talking clip you like, you can place it inside a longer video, add music with an AI music generation model, or run several lines in a row to build a scene.
What Free Usually Means
Almost every "free AI cartoon with voice" tool follows the same pattern: you can try it, but something is restricted. Common limits include a watermark, a cap of a few seconds per clip, a small number of voices, a daily credit limit, or low resolution exports. None of this is a problem for testing. It becomes one when you are on deadline.
A few practical checks before you invest time in any free tool:
- Does the export have a watermark? A watermark is fine for a draft and useless for a client.
- Can you upload your own audio? Tools that only allow their built in voices limit your character options.
- Is commercial use allowed? Read the terms before you publish a monetized channel.
- Can you bring in your own character? Tools that force their library characters make a series hard to brand.
Where to Spend Credits
If you want free and flexible, split the work. Use quick, low cost models for drafts and keep your effort for the final render. On the video side, Seedance 2.5 Lite is listed as a free and unlimited video generator for clips up to 10 seconds, which makes it a comfortable sandbox for testing character motion. For clips where the sound is generated together with the picture, Veo 3.1 Lite produces video with native audio, so a character can speak inside the scene without a separate lip sync step.
💡 Tip: Draft at the lowest resolution, approve the script and the voice, and only then run the final pass at 720p. Most wasted credits come from re-rendering a clip whose script was never finished.
Mistakes That Ruin Talking Characters
Most failed clips share the same handful of problems. Fix these and your results improve more than any model upgrade would.
Skipping the Audio Check
Listen to the voice track alone, with your eyes closed, before you animate anything. If the line sounds flat, no amount of animation will rescue it. Clipping, hiss and room echo all get worse once a model tries to read phonemes from them.
A Character With No Face Room
Characters drawn too small in the frame leave the mouth only a few pixels wide. The lip sync model then has almost nothing to animate. Crop in so the face fills a generous part of the picture.
Mismatched Energy
A hyper cartoon squirrel reading a slow, sleepy narration voice feels wrong immediately. Match voice energy to the design. Cheerful designs need rising pitch and quick pace. Gruff designs need lower, slower delivery.
Overlong First Attempts
New users often paste a two minute script into the first run. Cut it into short lines, test each one, then join the clips. It is faster to fix one bad five second shot than a whole failed scene.
Ignoring the Script Format
Write for the ear. Read each line out loud. If you run out of breath or stumble, the synthesized voice will do the same.
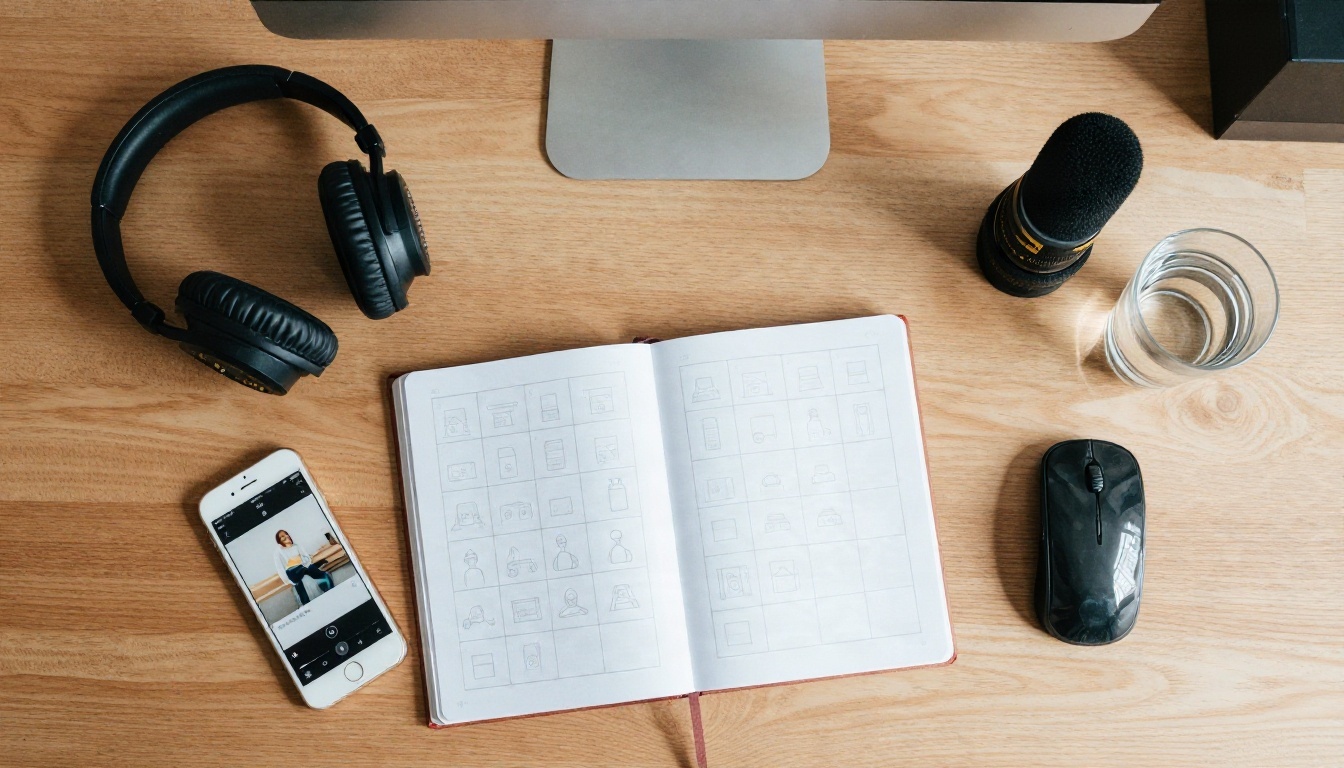
A simple storyboard grid in a notebook, with one box per line of dialogue, prevents most of these problems. You see the pacing before you spend a single credit.
Real Uses for Talking Characters
Family Stories and Kids' Content
Children respond strongly to a character who looks at them and speaks directly. Parents turn a kid's drawing into a narrator for a bedtime story, or build a short series with a recurring animal friend. Keep clips short, keep the voice warm, and review every clip before a child watches it.

Classrooms and Training
A talking mascot can introduce a lesson, read out a vocabulary list, or explain a safety rule. Because the audio is separate from the animation, a teacher can swap the script and re-render the same character in minutes. With a translation model, the same lesson becomes available in other languages. Video Translate re-times the mouth for each language so the dub does not look pasted on, and ElevenLabs Dubbing offers translation of video into 90+ languages.

Shops and Small Brands
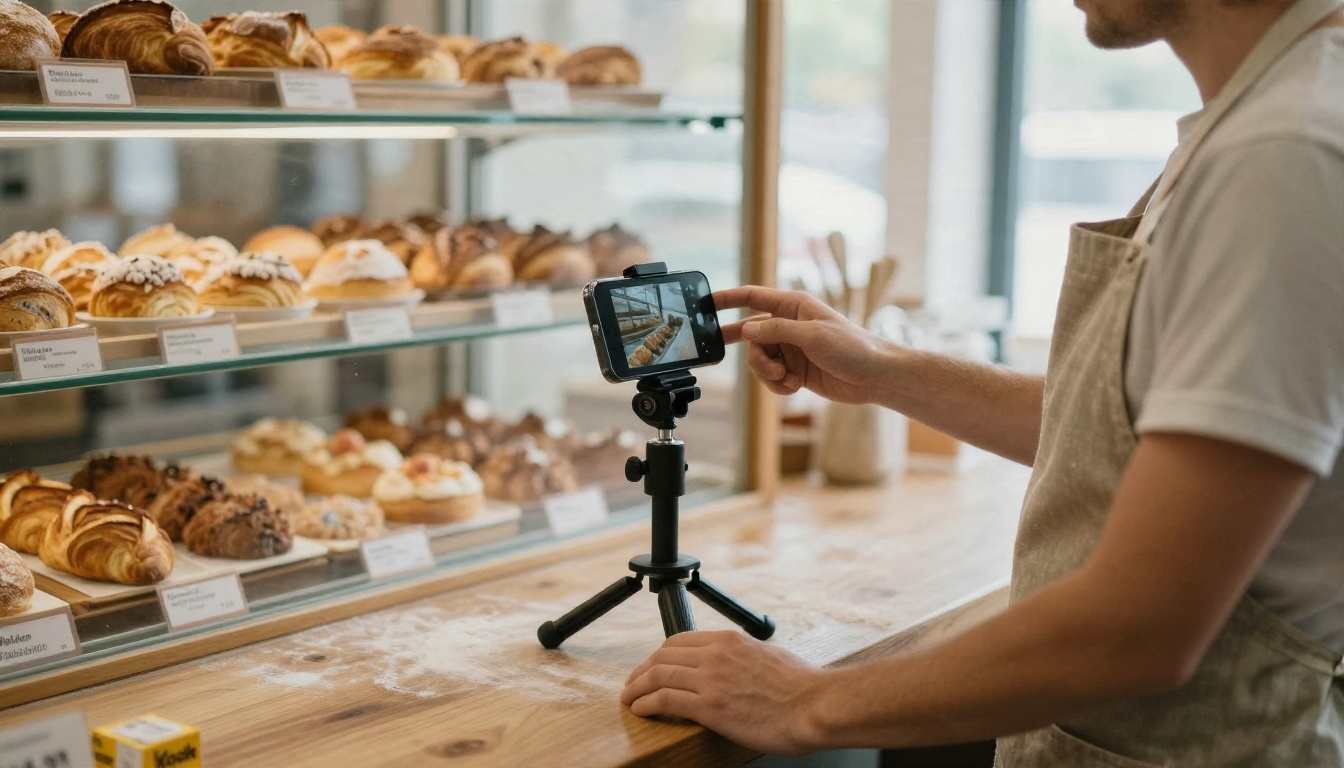
A bakery, a bike repair shop or a dentist can create a mascot once and reuse it across every promotion. Seasonal offers, opening hours and holiday greetings become a new script and a fresh render, with no camera and no actor booking. A recognizable character also gives a small business a face that people remember.
Faceless Channels and Games
Creators who do not want to appear on camera use a character as the host. Game developers use talking placeholder characters to test dialogue flow before recording final voices. In both cases, a consistent design and a consistent voice are what make an audience attach to the character.
A Simple Workflow You Can Repeat
Here is a routine that keeps quality high and credits low:
- Write the script in short lines, read it aloud, and trim anything that makes you stumble.
- Generate the character with a text to image model, then pick the version with the clearest face.
- Create the voice with text to speech, or record it yourself in a quiet room.
- Test one line with a photo to talking video model such as Fabric 1.0 at 480p.
- Fix the weakest link: the voice, the crop or the script. Re-test.
- Render the final clips at 720p and join them in your editor.
- Add music and captions so the video works with the sound off, which is how many people watch on social media.
This loop usually takes a few tries to get right the first time. After that, a new episode is mostly a new script.
Make Your First Talking Character
The fastest way to understand all of this is to make one clip. Pick a character idea, write three short lines, and run them through the chain. You do not need a big budget or animation skills, only a clear face and a voice with something to say.
Open Fabric 1.0 on PicassoIA, upload a character image and a short audio clip, and watch the mouth move to your words. Then try a different voice, a different design, or a full animated scene with Kling Lip Sync. Every model mentioned here is one click away at picassoia.com/en/all-models, so you can mix and match until your character sounds like itself.


