You have a heroine in your head. She has a limp, a grudge and a coat she never takes off. But when you sit down to write chapter three, you can't remember whether her eyes were grey or green, and the reader certainly can't see her. That gap between the character in your mind and the character on the page is exactly where an AI character generator for novel writers earns its place. It drafts descriptions when you're stuck, and it turns those descriptions into portraits you can pin above your desk.
This article walks through the full workflow: how to get usable character descriptions from a language model, how to turn them into photorealistic portraits, which free options are worth your time, and where the whole process tends to break. Everything here is built for fiction writers, not marketers, so the focus stays on voice, consistency and story.
What an AI Character Generator Actually Does
The phrase "character generator" covers two very different jobs, and mixing them up is the first reason writers get disappointed.
Two Tools, One Workflow
A text generator is a large language model. It invents backstory, speech patterns, flaws, contradictions and physical details. An image generator takes a written description and produces a picture. Most writers need both, in that order: words first, face second.
| Job | Tool type | Output | Best used for |
|---|
| Backstory and traits | Language model | Profiles, dialogue samples, quirks | Early drafting, fixing flat characters |
| Physical description | Language model | Paragraph for your manuscript | Introducing a character in prose |
| Visual reference | Image model | Photorealistic portrait | Pinning, mood boards, consistency checks |
| Setting reference | Image model | Location photograph | Scene writing, sensory detail |
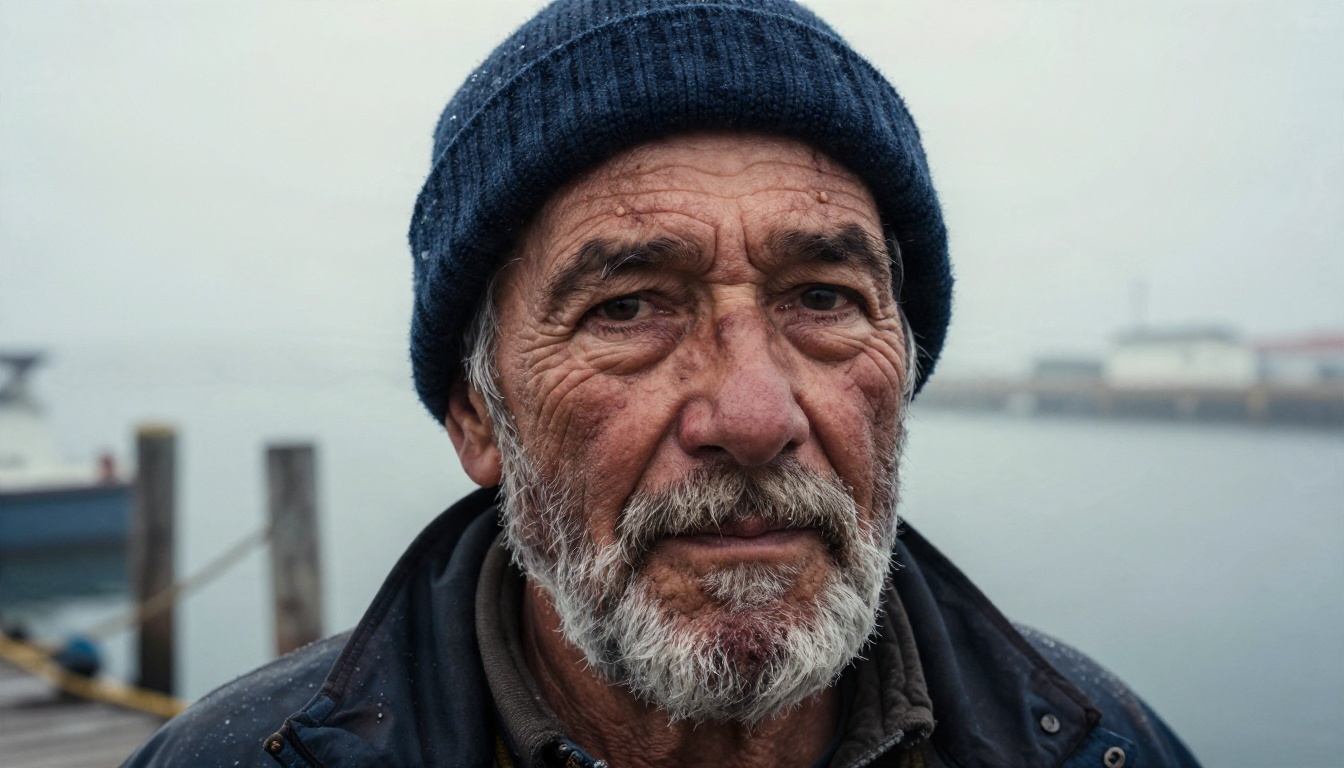
💡 Tip: Treat the portrait as a memory aid, not as the character. The picture helps you remember the scar through the eyebrow. It doesn't decide who the man is.
Who Benefits Most
Not every writer needs this. It helps most if you:
- Plan characters on paper before drafting and want a faster way to fill gaps.
- Write long series where recurring faces need to stay consistent.
- Run tabletop campaigns or fan fiction and need many named figures quickly.
- Struggle to describe appearance without clichés like "piercing blue eyes".
- Are preparing a pitch deck, a query package or a book page and want a reference image.
If you are a discovery writer who finds characters through the first draft, you can still use it afterwards. Generate a portrait from what you have already written and see whether the face matches the voice.
Writing Character Descriptions with AI
Language models are good at structure and weak at taste. They will hand you ten plausible bakers, all of them warm and secretly lonely. Your job is to push them away from the average.
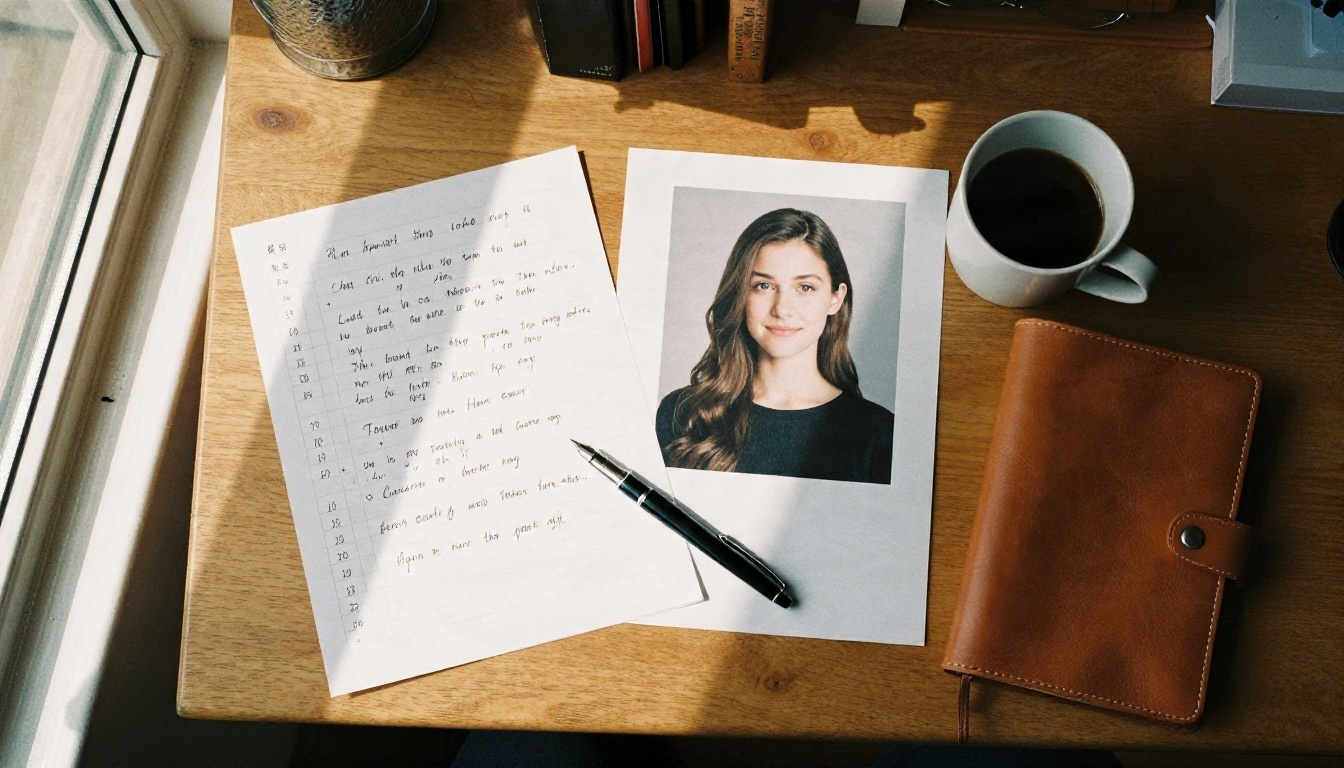
A Prompt Template That Works
Vague requests produce vague people. Give the model a frame with constraints, then ask it to break its own first answer.
Try this structure:
- Role in the story: "She is the second antagonist in a slow-burn gothic mystery."
- Setting and era: "A fishing town on the English coast, 1887."
- One contradiction: "She is generous with strangers and cruel to her sister."
- Physical anchors: "Three details only: a chipped front tooth, ink-stained fingers, a man's overcoat."
- Voice sample request: "Write four lines of dialogue where she lies politely."
- Constraint: "Avoid the words 'mysterious', 'haunted' and 'piercing'."
That final line matters more than it looks. Banning the model's favourite adjectives forces it to reach for something specific.
Questions Beat Commands
Instead of asking for a finished profile, ask the model to interview you. A prompt like "Ask me ten questions about my villain, one at a time, and push back when my answers are generic" produces better material than any template. You do the thinking and the model keeps you honest.
Other useful requests:
- "List five things this character would never say."
- "What does this person hide in their kitchen drawer?"
- "Give me three ways this character's habit would annoy their best friend."
- "Rewrite this description without using any colour words."
Which Language Model to Pick
Different models suit different parts of the job. These are all available on PicassoIA, and they behave differently enough that it's worth trying two or three on the same character.
| Model | Good for | Notes |
|---|
| Claude Sonnet 5 | Voice, nuance, long profiles | Strong at keeping a tone across a long exchange |
| GPT 5.6 Luna | Fast brainstorming | Quick replies for rapid name and trait lists |
| Gemini 3.5 Flash | Speed and image input | Handy when you want to paste a portrait and ask for a description |
| Deepseek v3.1 | Reasoning through motives | Useful when plot logic depends on why a character acts |
| Granite 4.1 8B | Light drafting on a budget | A compact model suited to quick, low-stakes lists |
| Qwen3.7-Plus | Text plus image reading | Another option for describing a portrait you already have |

💡 Tip: Run the same prompt through two models and merge the best lines by hand. The seams between them are where your own voice gets in.
Turning Descriptions into Portraits
Once you have a profile you like, the next step is a face. This is where most writers paste three paragraphs of backstory into an image model and get a generic stock photo back.
Write for the Camera, Not the Page
Image models can't see motives. They see nouns, textures and light. So convert your character into things a lens can record:
- Age range and build: "a man in his sixties, broad shoulders, slightly stooped".
- Skin and hair detail: "deep wrinkles, salt-and-pepper beard, a scar through the left eyebrow".
- Clothing with texture: "faded navy wool cap, oilskin coat beaded with sea spray".
- Environment: "foggy harbour dock at dawn, rope and wooden pilings behind".
- Light: "soft overcast light from the right".
- Camera: "85mm lens, shallow depth of field, Kodak Portra 400 film grain".
The camera line is not decoration. Naming a lens and a film stock pushes the model toward photographic realism and away from the glossy, airbrushed look that makes every face look like an advert.
Keep One Face Across Scenes
Consistency is the hardest part. Most image models treat each prompt as a fresh start. A few habits help:
- Lock a description block. Save one paragraph with fixed physical details and paste it into every prompt unchanged.
- Change only the scene. Swap the location and lighting, never the face description.
- Use an image reference when the model allows it. Editing models can take a portrait you already generated and place the same person elsewhere. Nano Banana is built for editing and generating from existing pictures.
- Generate a small batch, pick one, and stop. Rolling the dice forty times invites you to chase a face that doesn't exist.
💡 Tip: Write the character's three most distinctive features at the start of every prompt. Models weight early words more heavily, so a scar or a chipped tooth is more likely to survive.
How to Use Seedream 4.5 on PicassoIA
For realistic character portraits, Seedream 4.5 is a strong first choice. It handles skin texture, fabric and natural light well, which is what a believable novel character needs.
- Open the model page. Go to the Seedream 4.5 page on PicassoIA and open the generator.
- Paste your description block. Start with the three distinctive features, then age, clothing, setting, light and lens.
- Choose 16:9 for scenes, a portrait ratio for faces. Wide frames show the setting around the character, tall frames suit a headshot.
- Write what you want, not what you don't. "Overcast light" works better than "no harsh shadows".
- Generate, then adjust one thing at a time. If the coat is wrong, change the coat. Rewriting the whole prompt makes it impossible to tell what helped.
- Save the winning prompt. Keep it in your character file next to the profile. That's your lock for later scenes.
Other image models worth a try on the same prompt:
Free Options Worth Using
Money is a real constraint for most writers. The good news is that the free end of this workflow is genuinely usable. The bad news is that free comes with trade-offs you should know about before you build a project around it.
What Free Really Means
Free usually takes one of these forms:
- Daily or monthly credits on a hosted platform, enough for a few dozen images.
- Smaller open models that run on your own machine, free to use but slow without a decent graphics card.
- Free tiers of chat assistants with message caps and slower image generation.
- Trial generations on platforms such as PicassoIA, where several models, including Nano Banana Pro, Flux 2 Klein and Granite, are offered with free access to try.
For a single novel, you rarely need more than 30 to 60 portraits: a main cast, a few secondary figures and a handful of settings. That fits inside most free allowances if you plan your prompts.
Where the Limits Hit
Free access tends to fail in the same places:
| Limit | What it costs you | Workaround |
|---|
| Daily credit caps | Stops mid-session | Write all prompts first, then generate in one sitting |
| Lower resolution | Soft faces, weak textures | Pick the one portrait you like and upscale it |
| Queue times | Slow iteration | Use a fast model like Flux Schnell for drafts |
| Inconsistent faces | Characters drift between images | Lock a description block and use an editing model |
| Commercial terms | Unclear rights for covers or marketing | Read the licence before publishing the image |
💡 Tip: Draft in a fast, cheap model, then render the final portrait once in a stronger one. Ten fast drafts and one good render beat eleven good renders.
A note on rights: a portrait for your private mood board is one thing. Putting a generated face on a published book page or a marketing campaign is another, and platform terms differ. Check what the platform allows for commercial use before you commit.
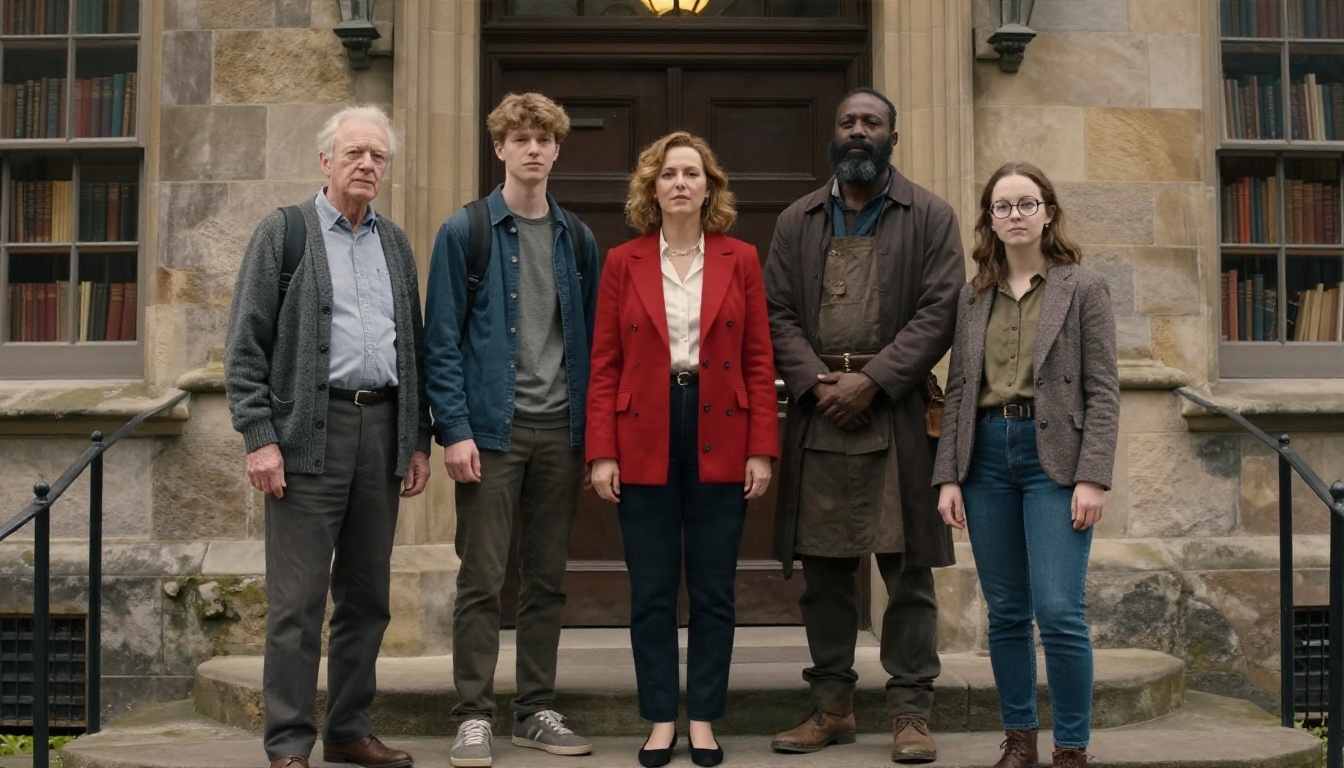
Examples by Genre
Here is how the same workflow looks across story types.
Noir and Crime
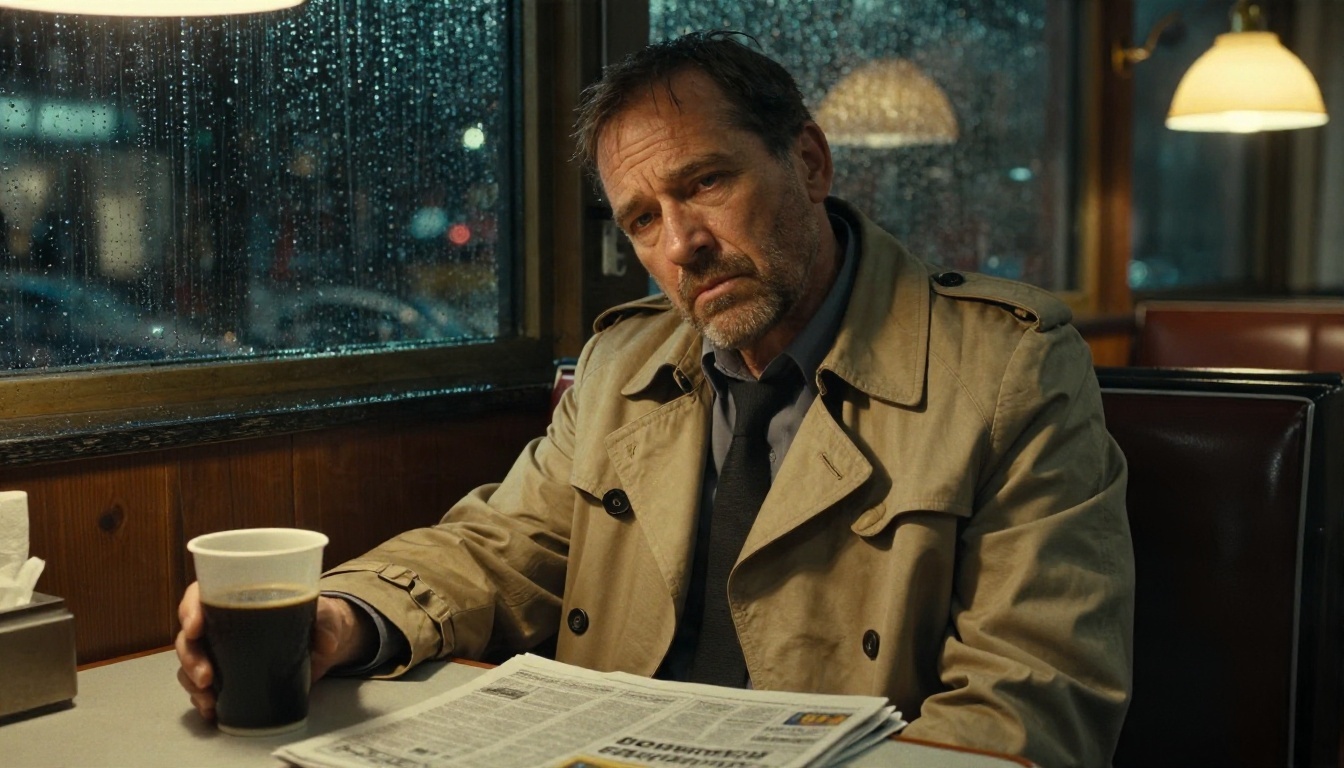
The detective in the diner is a good test of how much a few details carry. The prompt didn't say "weary". It said rumpled beige trench coat, stubble, bags under the eyes, a cup of black coffee and warm tungsten light from above. The tiredness comes from the evidence.
For your own detective, ask the language model for five small habits first: how he holds a cigarette he no longer smokes, which pocket he keeps his notebook in, what he does when someone lies to him. Then put the physical ones into the image prompt.
Fantasy and Historical
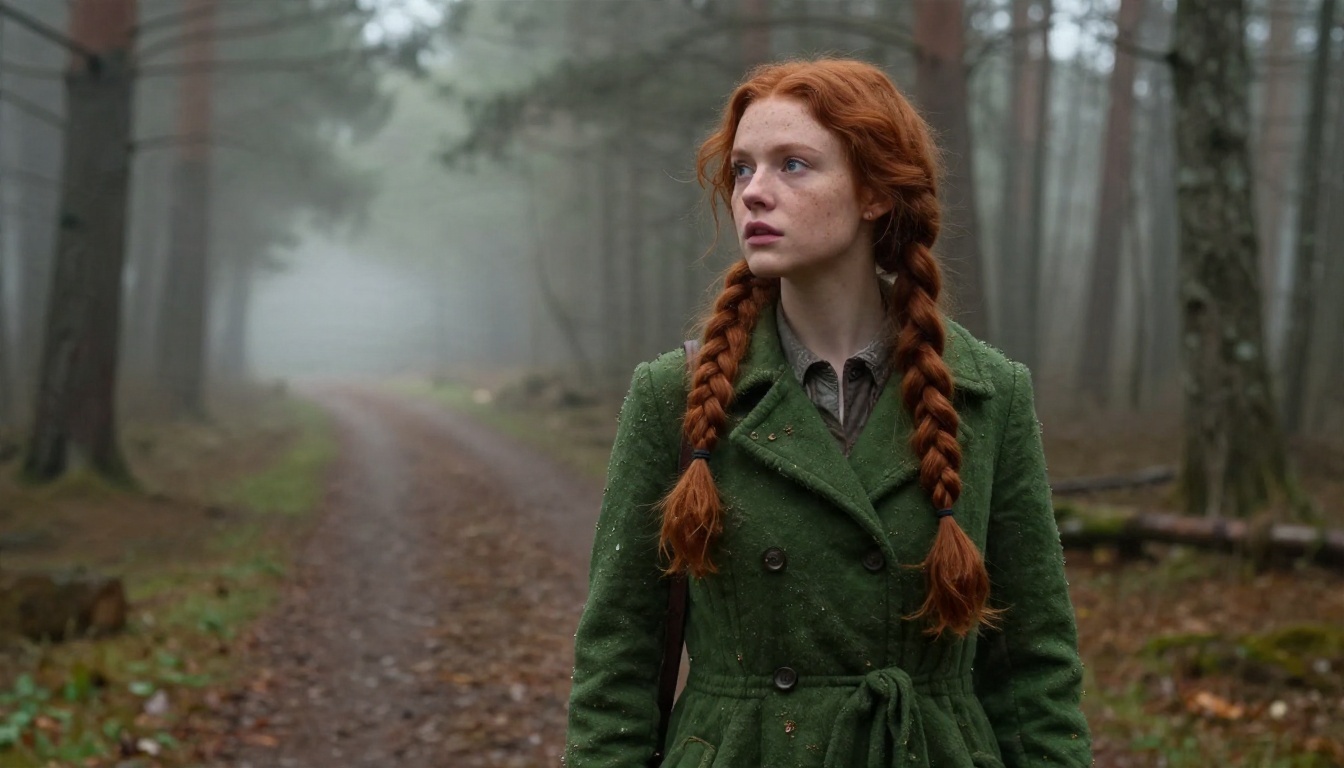
Fantasy characters can slide into costume-party territory. The cure is to treat them like real people from a real place. The heroine with the copper braid wears a worn wool coat, not armour, and the forest is damp and grey. Wet leaves and wool fibres sell the world better than a glowing sword.
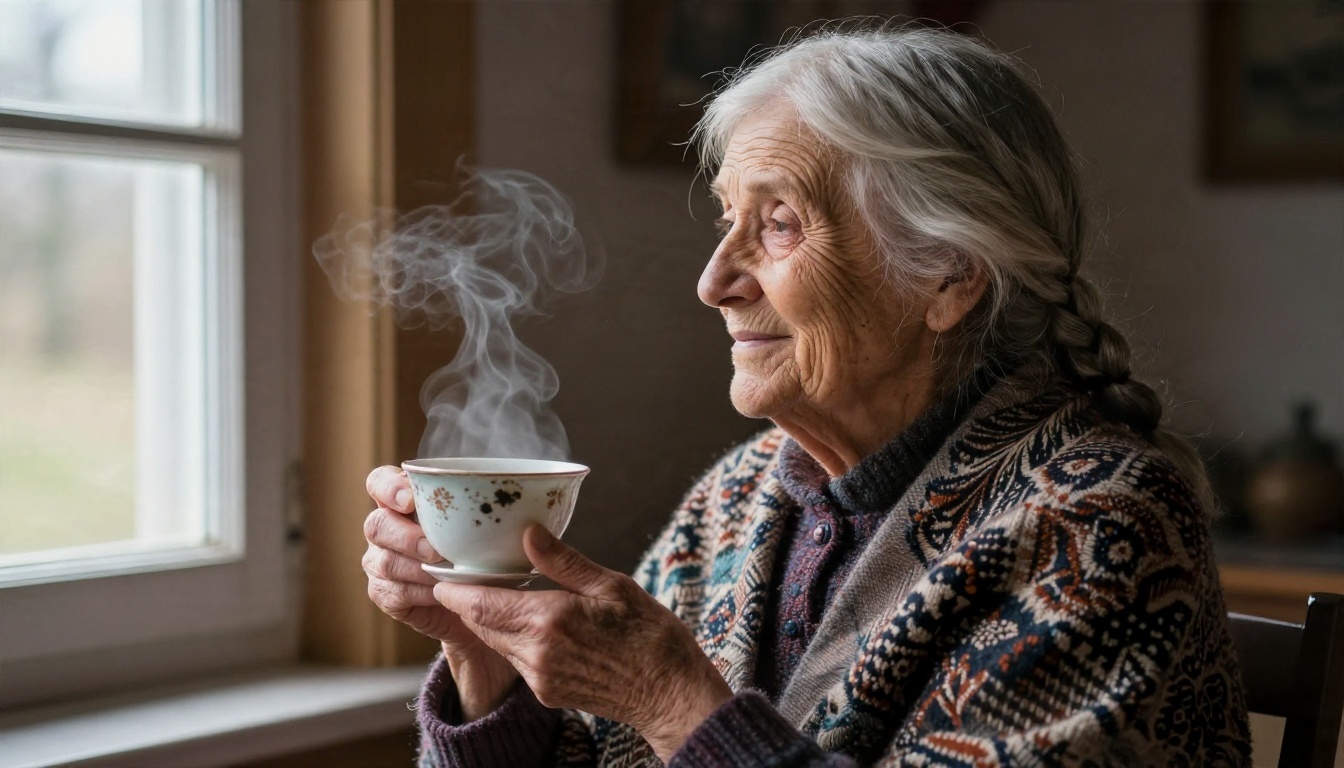
For older characters, ask for specific signs of a life lived: laugh lines, knotted knuckles, a chipped cup used for forty years. Models often smooth older faces unless you name the texture.
Villains and Antagonists
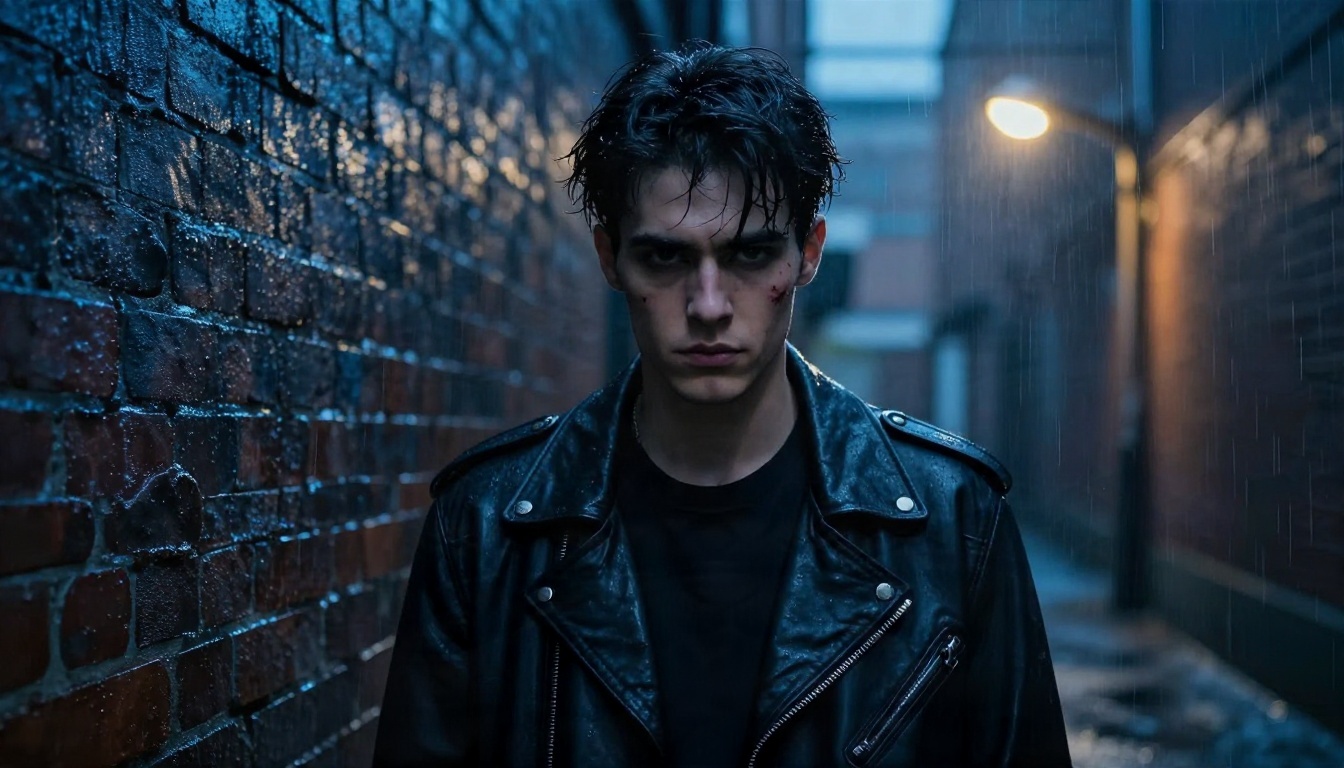
Villains read best when they look ordinary and a single detail is off. The young man in the alley has a thin scar, a leather jacket and an unfriendly gaze, lit by cold ambient light with a warm lamp behind him. Nothing about him is theatrical. That restraint is what makes a reader nervous.
Settings as Characters
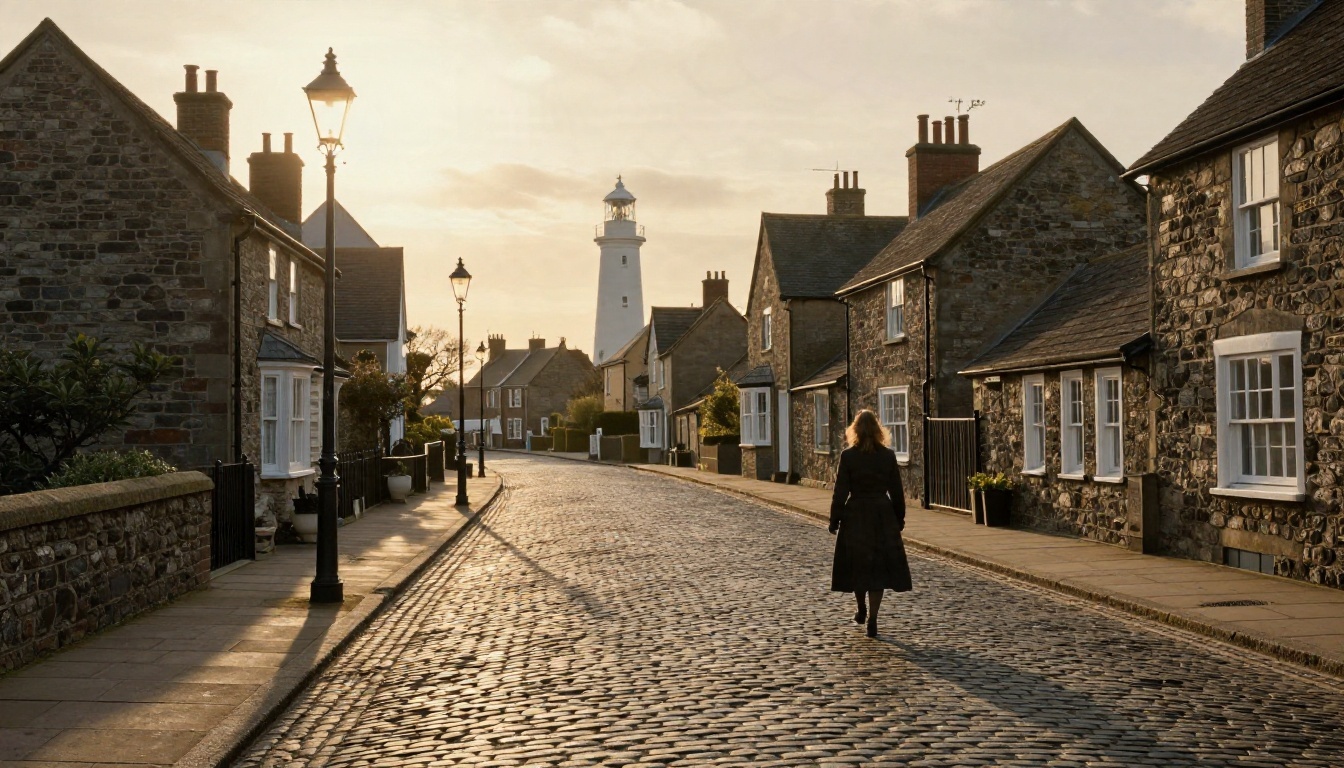
A place can carry as much personality as a person. Generate the street your protagonist walks down before you write the scene. Cobblestones, gas lamps and a distant lighthouse give you sensory detail you would otherwise forget: the damp, the long shadows, the sound of boots on stone.
Mistakes That Waste Your Time
After watching many writers try this, the same errors keep showing up.
- Pasting the whole profile into the image prompt. Image models can't use backstory. Cut it down to what a camera sees.
- Accepting the first description. The first output is the average one. Push back, ban clichés, ask for a flaw.
- Changing the face every scene. If the heroine's jaw changes between portraits, you lose the benefit of a visual reference.
- Using the portrait to replace imagination. If you can no longer picture the character without the image, you have handed over too much.
- Ignoring hands, clothing and background. Readers remember a coat or a habit longer than a cheekbone.
- Copying real people. Don't prompt with a living person's name. Build original faces from features, not from celebrities.
- Skipping the read-aloud test. Whatever the model writes for dialogue, read it out loud. If you wouldn't say it, your character won't either.
💡 Tip: Keep a single document per character with three parts: the profile text, the locked prompt block and the chosen portrait. Future you will be grateful in chapter thirty.
A Simple Weekly Routine
If you want a sustainable habit rather than a one-off burst:
- Monday: Draft or revise two profiles with a language model.
- Tuesday: Convert each to a camera-ready prompt and generate a batch of four.
- Wednesday: Pick one portrait, save the prompt and note what the picture changed in your mind.
- Thursday: Generate one setting that appears in your next scene.
- Friday: Write the scene with the portrait and setting pinned in front of you.
Build Your Cast Today
A character generator won't write your novel, and it shouldn't. What it does well is shorten the distance between a half-formed idea and a person you can see, hear and argue with. Start with one character you already care about. Ask a language model to interview you about her, boil the answers down to what a camera can record, and generate a single portrait.
You can run the whole workflow on PicassoIA: draft the profile with Claude Sonnet 5, render the face with Seedream 4.5, and test a faster variant with Flux Schnell. Pick the character who's been stuck in your head the longest and give her a face today. If you want to see every model available, browse the full model list and try a different one on the same prompt. The differences between them are often the spark for a new detail you hadn't considered.


