A single fashion shoot can eat a week and a few thousand dollars before one garment reaches your product page. You book a model, a photographer, a studio, a stylist, and a retoucher, then hope everyone shows up on the same Tuesday. An AI fashion model generator squeezes most of that into a prompt and a few minutes. You describe the person, the outfit, and the light, and you get back a photograph that looks like it came out of a real studio. Add a video model, and the same still starts to walk, turn, and catch the wind.
This article shows what works right now: which models handle photos, which handle motion, how to write prompts that read as photography instead of illustration, and how to run the whole workflow on Picasso IA starting with free options. Every setting mentioned below comes from the model pages themselves, so you can follow along without guessing.
What Is an AI Fashion Model Generator?
An AI fashion model generator is any image or video model that can produce a believable person wearing believable clothes. That sounds like one job, but it is really three, and mixing them up is the fastest way to waste an afternoon.

How It Replaces the Photoshoot
Each job maps to a different kind of model:
- Text to image invents a model from scratch. You write the face, the outfit, and the setting, and the model renders a new photograph.
- Virtual try-on starts from a real photo of a person and dresses them in garments you upload. The face, pose, and body stay put. Only the clothes change.
- Image to video takes a finished still and adds motion, so a standing model turns, walks, or looks over a shoulder.
Most projects only need one or two of these. A shop with flat-lay product shots needs try-on. A creator who wants a fictional face for a lookbook needs text to image. A label that wants runway-style clips for social needs all three in sequence: invent the model, dress the model, animate the model.
Who Actually Uses It
The people getting real value are not hobbyists chasing a viral image. They are:
- Small e-commerce shops that cannot afford a model day for every drop
- Independent designers who want to see a collection on a body before cutting fabric
- Content creators building a recurring character for a brand or a story
- Agencies mocking up a campaign for a pitch before a budget is approved
If you recognize yourself in that list, the rest of this article works as a plan you can run this week.
Several of the models below are described on their PicassoIA pages as free to use online with no coding. Free tiers and limits change, so check each model page before you plan a big batch. Here is how the options split by job.
Image Models for Model Photos
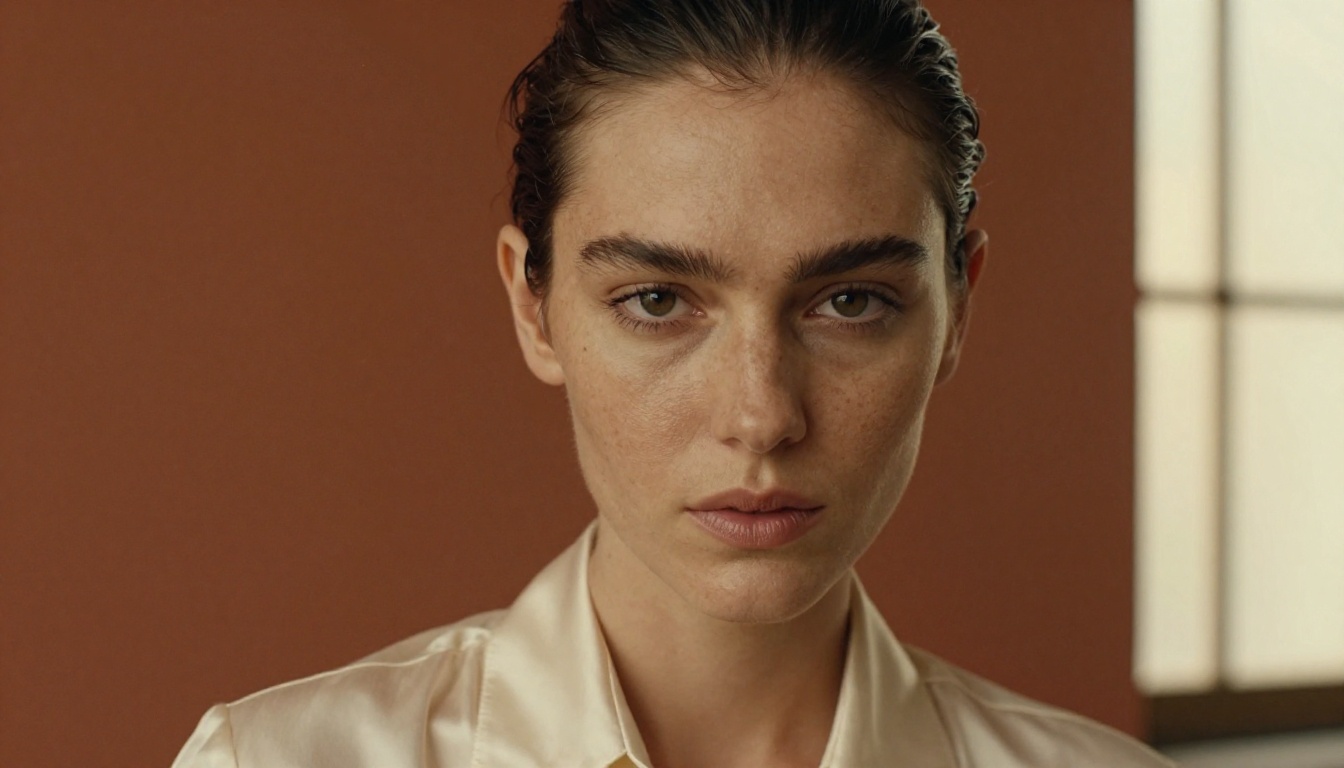
Four text-to-image models handle most fashion work well enough to publish:
| Model | Best for | Reference images | Worth knowing |
|---|
| Seedream 4.5 | Sharp studio portraits at 2K or 4K | Up to 14 | Batch mode makes up to 15 related images in one run |
| Nano Banana Pro | Holding one look across several shots | Up to 14 | 1K, 2K, or 4K output with no watermarks |
| Flux 2 Pro | Texture detail and repeatable results | Up to 8 | Up to 4 MP, plus a seed you can reuse |
| GPT Image 2 | Posters, labels, and readable text | Image input supported | Up to 10 variations per run, transparent backgrounds |
I reach for Seedream 4.5 first because the resolution gives you room to crop a full-length shot down to a detail without losing sharpness. Nano Banana Pro is the better pick when you already have a face you like and want to keep it. GPT Image 2 earns its spot when a garment needs a legible word on it, such as a sweatshirt print or a shopping bag.
Virtual Try-On for Real Garments
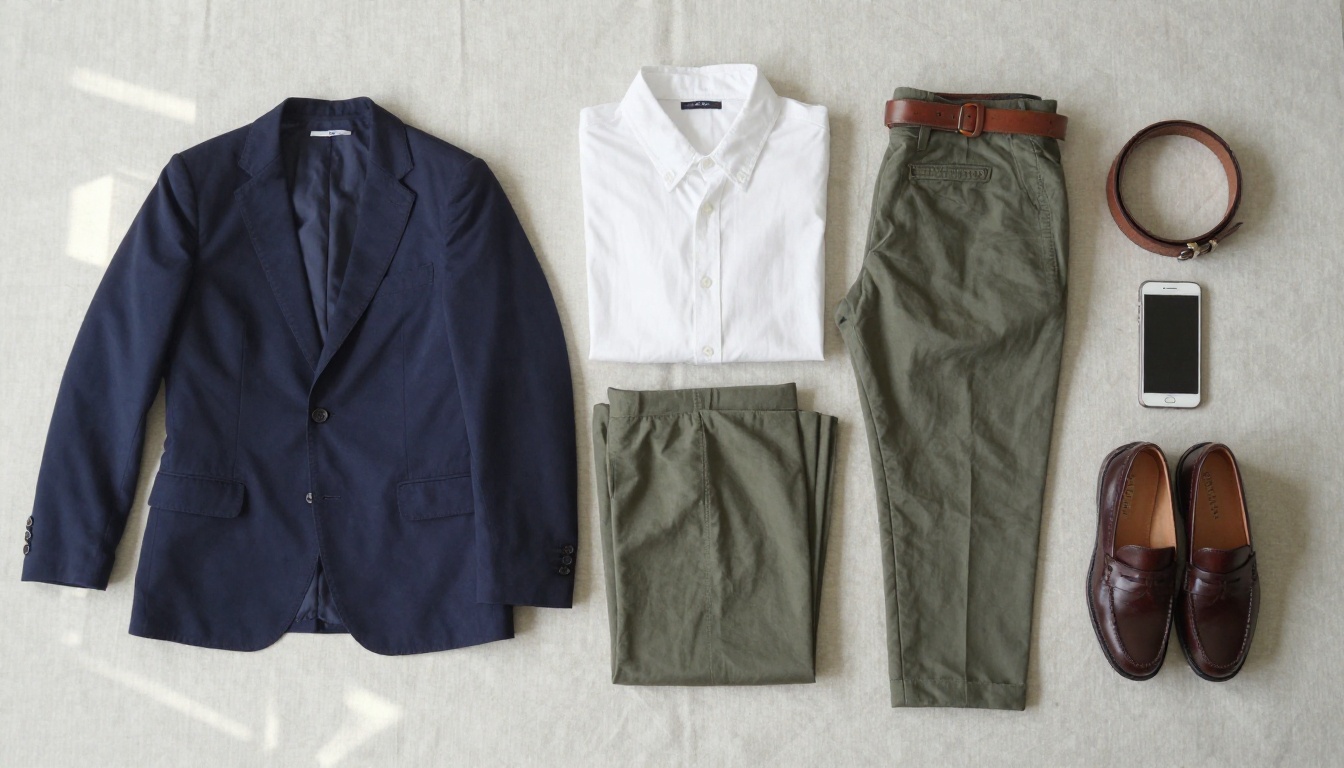
If you already own the clothes, you do not need to invent anything. P Image Try On takes a photo of a person and one or more garment images, then returns the person wearing them at the original resolution. The face, pose, and body shape stay intact. You can mix tops, bottoms, and accessories in a single run, which makes it the closest thing to a free fitting room for a catalog.
Video Models for Runway Clips
For motion, four options are worth testing side by side:
- Kling v3 Video makes clips up to 15 seconds, with multi-shot scripting and native audio.
- Seedance 2.0 generates dialogue, sound effects, and music in the same pass as the picture.
- Veo 3.1 is worth comparing when you want a different motion style from the same still.
- Wan 2.7 I2V is an image-to-video option for quick tests before you commit to a longer render.
Run the same source photo through two of them. The differences in fabric movement and camera behavior show up fast, and they tell you which model fits your brand better than any spec sheet.
Writing Prompts That Look Like Photography
Most AI fashion images look fake because of the prompt, not the model. Words like "stunning," "flawless," and "beautiful model" push generators toward glossy, plastic skin and fabric that looks poured on. Photographers do not describe a shoot that way, and neither should you.
The Five-Part Prompt Formula
Build every prompt from five pieces, in this order:
- Subject and pose: who is in frame and what they are doing
- Environment: the room, street, or backdrop behind them
- Light: direction, softness, and time of day
- Camera: angle, lens, and aperture
- Texture: fabric, skin, and surface details you want to see
The gap between a weak prompt and a strong one is bigger than the gap between most models:
| Weak prompt | Strong prompt |
|---|
| "Beautiful model in a stylish coat, high quality" | "A tall model in a camel wool coat walking past a brick wall, soft overcast light from the left, 85mm lens at f/1.8, visible wool weave and fine flyaway hairs, natural film grain" |
| "Fashion photo of a woman in a dress" | "A woman in a navy silk slip dress seated on a wooden stool, window light from camera right, eye-level 50mm view, fabric folds catching the highlight" |
Lens, Light, and Fabric Details
Three habits do most of the work:
- Name a lens. An 85mm at f/1.8 gives you a flattering portrait with a soft background. A 35mm at f/2.8 keeps a full-length model and the room around them.
- Name the light direction. "Soft window light from camera left" beats "good lighting" every time.
- Name the fabric. Wool twill, washed denim, silk charmeuse, and ribbed cotton all render differently, and the model will follow you if you ask.
💡 Tip: Ask for imperfections on purpose. "Visible skin pores" and "fine flyaway hairs" pull the output away from the airbrushed look that gives AI photos away.
Keeping the Same Face Across Shots
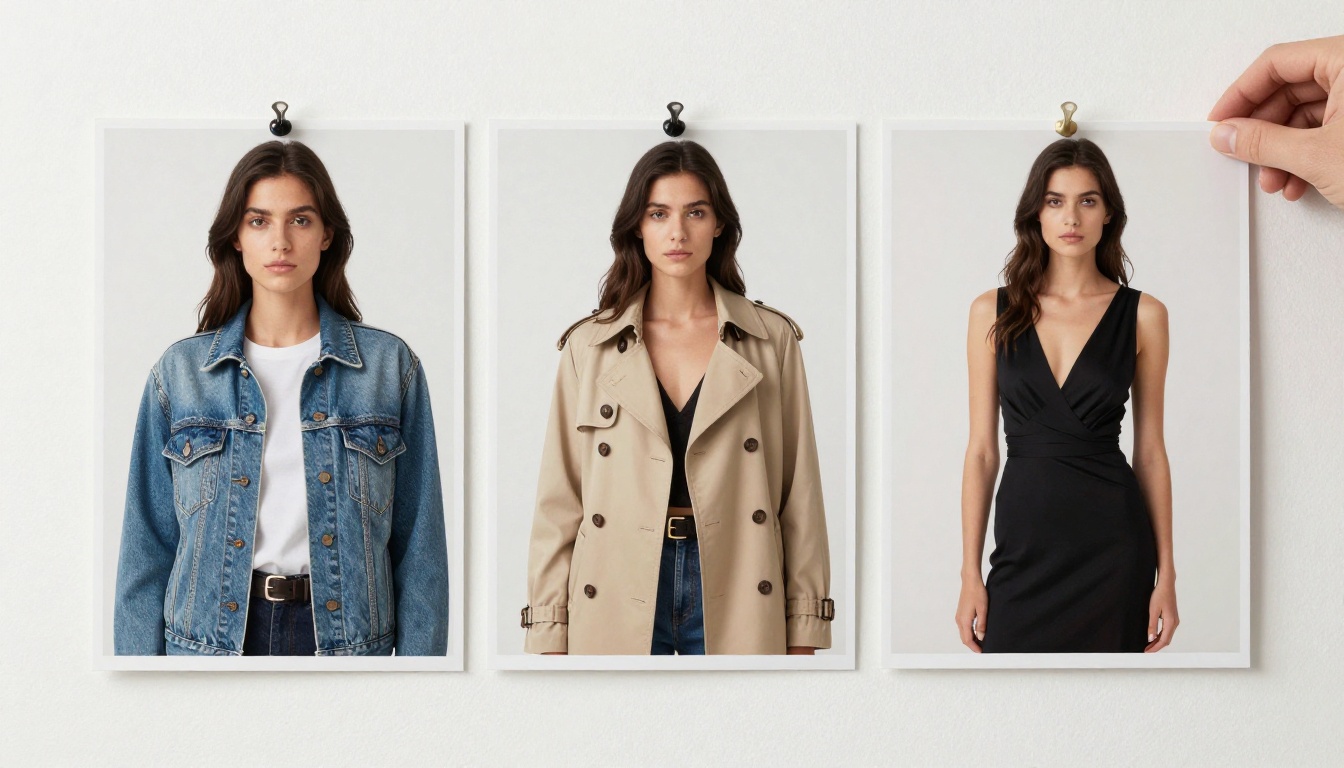
A lookbook falls apart if the model changes faces on page three. The fix is to treat your first strong portrait as a reference and feed it back in. Seedream 4.5 and Nano Banana Pro both accept up to 14 reference images, Flux 2 Pro takes up to 8, and Seedance 2.0 accepts up to 9 reference images to keep faces and outfits stable across separate clips. On Flux 2 Pro you can also reuse a seed to reproduce a result.
A reliable routine: generate one portrait you love, upload it as a reference for each new outfit, and keep the face description word for word identical in every prompt.
How to Use Seedream 4.5 on PicassoIA
Seedream 4.5 is the most practical first stop for model photos, and its settings are short enough to remember.
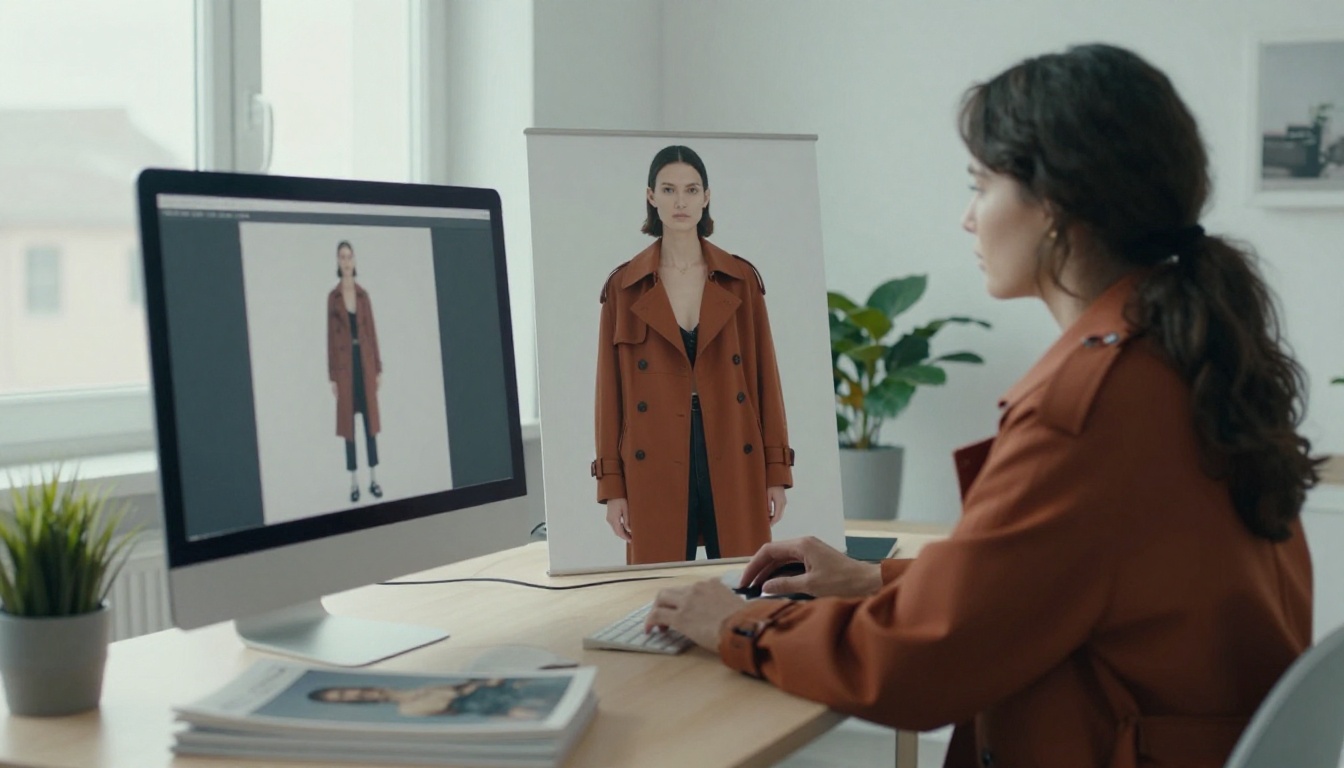
Step by Step Settings
- Open the Seedream 4.5 page on PicassoIA.
- Paste a prompt built from the five-part formula.
- Set size to 2K for web catalogs, or 4K when you plan to crop or print. The 1K option is not supported.
- Pick an aspect ratio: 3:4 or 2:3 for product pages, 9:16 for stories, 16:9 for banners.
- Optionally upload up to 14 reference images to lock in a face or a style.
- Generate, review, and download. The files come without watermarks.
Batch Mode for Lookbooks
Switch sequential image generation to auto and raise max images when you want a set instead of a single frame. Write one prompt that describes the same model in several outfits or scenes, and the model returns a related series in one run, up to 15 images. Input images and generated images together cannot exceed 15, so a run with three references leaves room for twelve new frames.
💡 Tip: Draft the batch at 2K to settle the look and the wording of your prompt, then switch size to 4K for the final run.
How to Use P Image Try On
When the clothes already exist, P Image Try On skips the invention step. Here is the routine:
- Open P Image Try On on PicassoIA.
- Upload a person image. A sharp, front-facing, full-length photo in even light gives the cleanest result.
- Add your garment images, one garment per photo. Up to six are recommended, and up to eleven are supported.
- Turn turbo on when you are using four garments or fewer.
- Choose an output format and leave quality at the default of 95.
- Run it, compare, and swap garments until the outfit works.
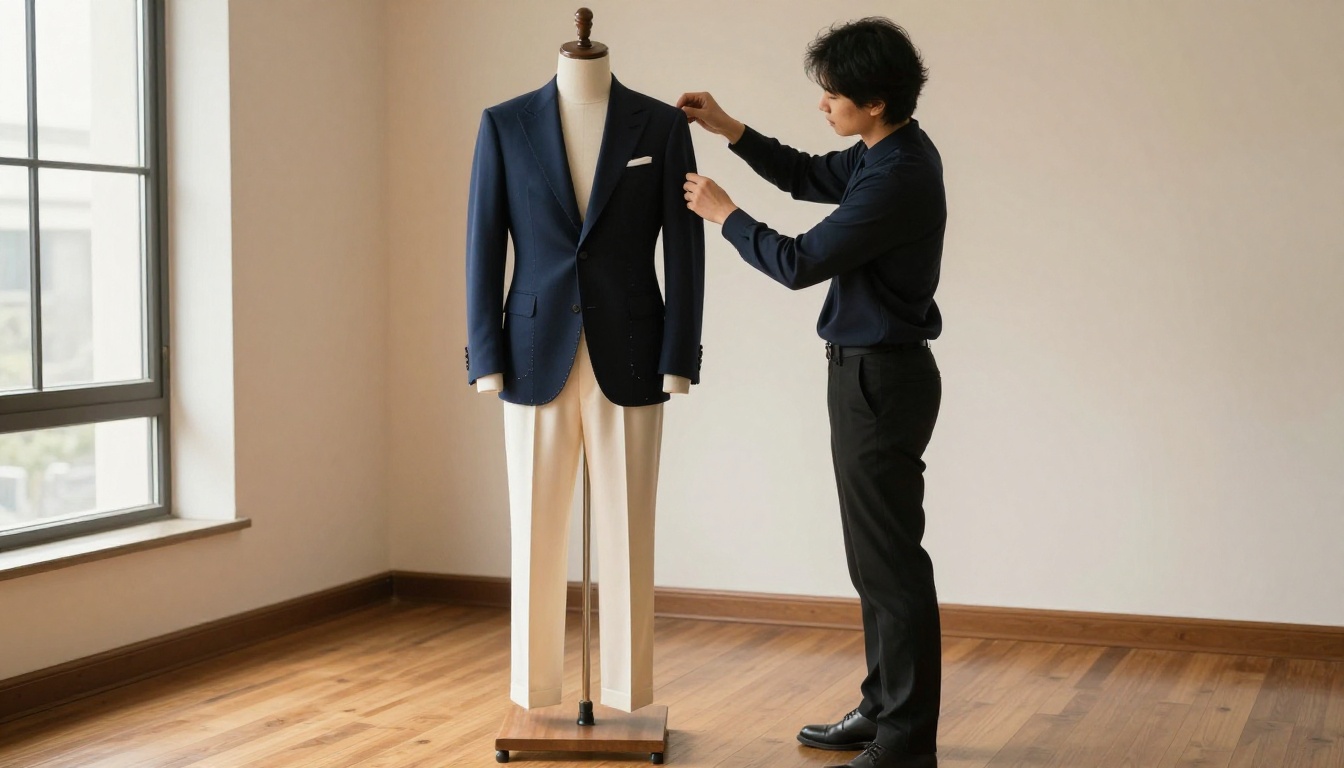
The settings worth knowing:
| Setting | What it does | Recommendation |
|---|
| Person image | The photo that gets dressed | Full-length, front-facing, even light |
| Garment images | Items to place on the person | One garment per image, up to six |
| Turbo | Faster processing | Use with four garments or fewer |
| Prompt (experimental) | Picks one piece from a multi-item photo | Name the piece: "the blue jacket from image 1" |
| Reference pose (experimental) | Repositions the person first | Test it, since it may fail on some seeds |
| Preserve input size | Returns the original resolution | Leave on |
💡 Tip: Use the same person photo for every garment set. Your catalog then looks like one shoot with one model, because as far as the pixels are concerned, it is.
Turning Model Photos Into Video
A still sells a garment. A five-second clip sells how it moves. Kling v3 Video accepts a start image, so the model you just created becomes the first frame, and the prompt only has to describe what happens next.
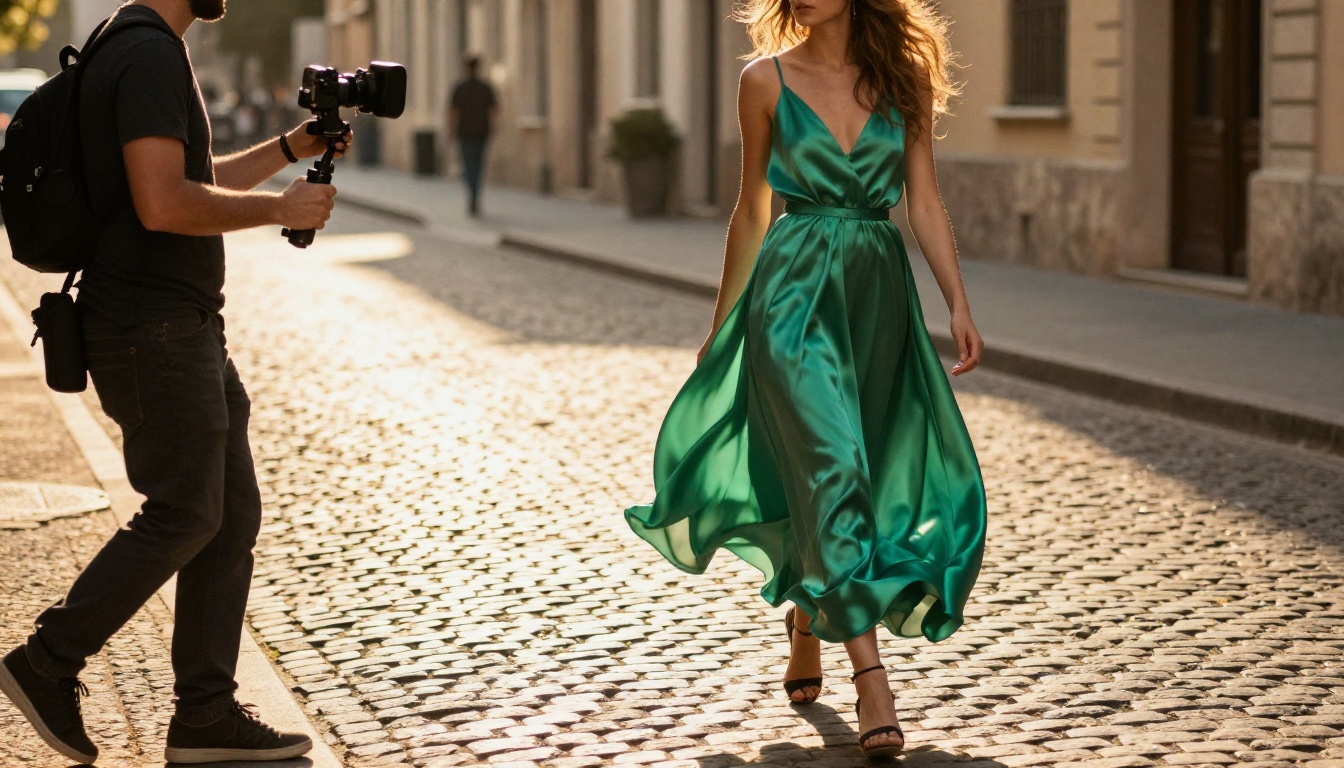
Motion Prompts That Work
Write the clip in the order it happens: starting pose, one movement, one camera move, then the light. For example: "The model stands still in the emerald dress, then takes three slow steps toward camera as the satin sways, handheld camera backing away, warm golden hour backlight."
Keep it to one action per clip. Asking for a turn, a walk, and a hair flip in five seconds is how you get warped limbs. If you want a sequence, Kling v3 Video lets you script up to six shots in a single generation, each with its own prompt and duration.
Vertical Clips for Social
Aspect ratio is the setting people forget. On Kling v3 Video the ratio is ignored when you supply a start image, so frame the still the way you want the video before you animate it. Generate the source photo in 9:16 for stories and reels, or 16:9 for a banner.
| Setting | Kling v3 Video | Seedance 2.0 |
|---|
| Duration | 5 seconds by default, up to 15 | 5 seconds by default, or automatic |
| Resolution | 720p standard, 1080p pro | 720p default |
| Audio | Optional toggle, off by default | On by default |
| Frame control | Start and end image | First and last frame |
| Character references | Not offered | Up to 9 images |
Fixing Common AI Model Flaws
Even strong models leave small tells. Spotting them before a customer does is part of the job.
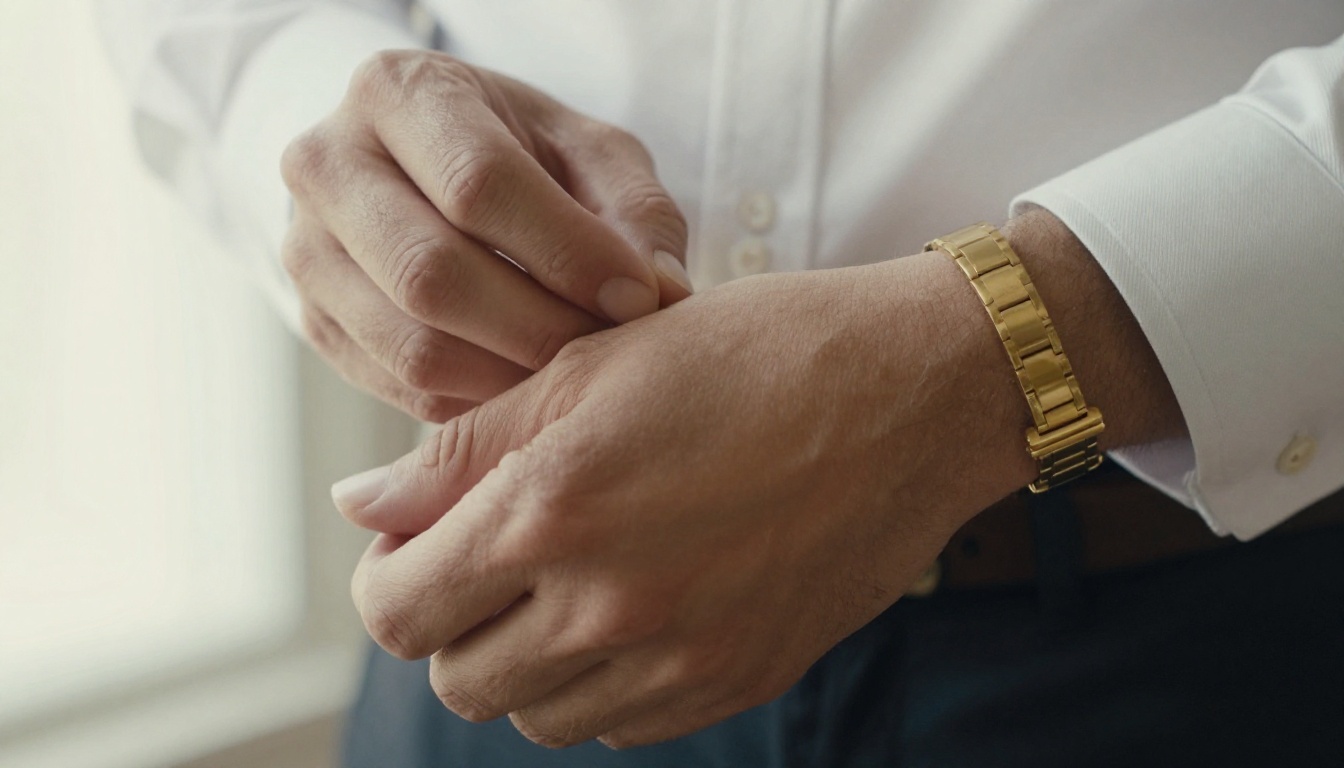
Hands, Fabric, and Plastic Skin
- Hands: Give them a simple job in the prompt, like adjusting a cuff or resting in a pocket. If one still looks wrong, fix that region with Flux Kontext Pro and a plain-language instruction instead of rerolling the whole image.
- Fabric: Name the weave and the way it hangs. "Heavy wool twill with a soft drape" beats "nice coat."
- Skin: Drop words like "flawless" and "perfect." Ask for visible pores and natural texture instead.
Upscaling and Background Cleanup
Final polish happens after generation. Run finished frames through Clarity Pro Upscaler or Topaz Image Upscale when a shop needs larger files than the generator produced. When you need a clean cutout for a marketplace that demands a white background, Bria Remove Background handles it in one step.
💡 Tip: Tell customers when a model is AI-generated, and never build a face from a real person's photos without their permission. Rules on disclosure differ by country and by marketplace, so check the policy of every platform where you sell.
Start Making Your Own Models
You now have the full chain: a text-to-image model to invent the face, a try-on model to dress it, a video model to give it movement, and a few repair tools for the rough edges. The fastest way to find out what works for your brand is to run a small test today.
Open Seedream 4.5, write one prompt with the five-part formula, and generate a single portrait. Then upload a garment photo into P Image Try On and watch the outfit land on a body. When you like what you see, send the still to Kling v3 Video and give it five seconds of motion.
Picasso IA puts these models in one place, so you can compare them on the same prompt without juggling accounts. Browse the full list at picassoia.com/en/all-models, pick a model, and make your first fashion model photo before your coffee gets cold.


