You have a jacket on a hanger, a product photo on your phone, and a deadline. Hiring a model, a photographer and a studio for one garment is a hard sell. AI fashion model try on removes that obstacle: you upload a picture of the clothing, choose a person, and the AI dresses them in it while keeping the face, pose and body shape intact. The result looks like a normal fashion photograph, and you can get it in under a minute.
This article walks through what the technology does, who benefits most, how to run a try on step by step with a dedicated model on PicassoIA, and how to avoid the mistakes that make a result look fake. Whether you sell clothes online, design your own pieces, or simply want to preview an outfit before buying, you will find a workflow you can copy today.
What AI Model Try On Actually Does
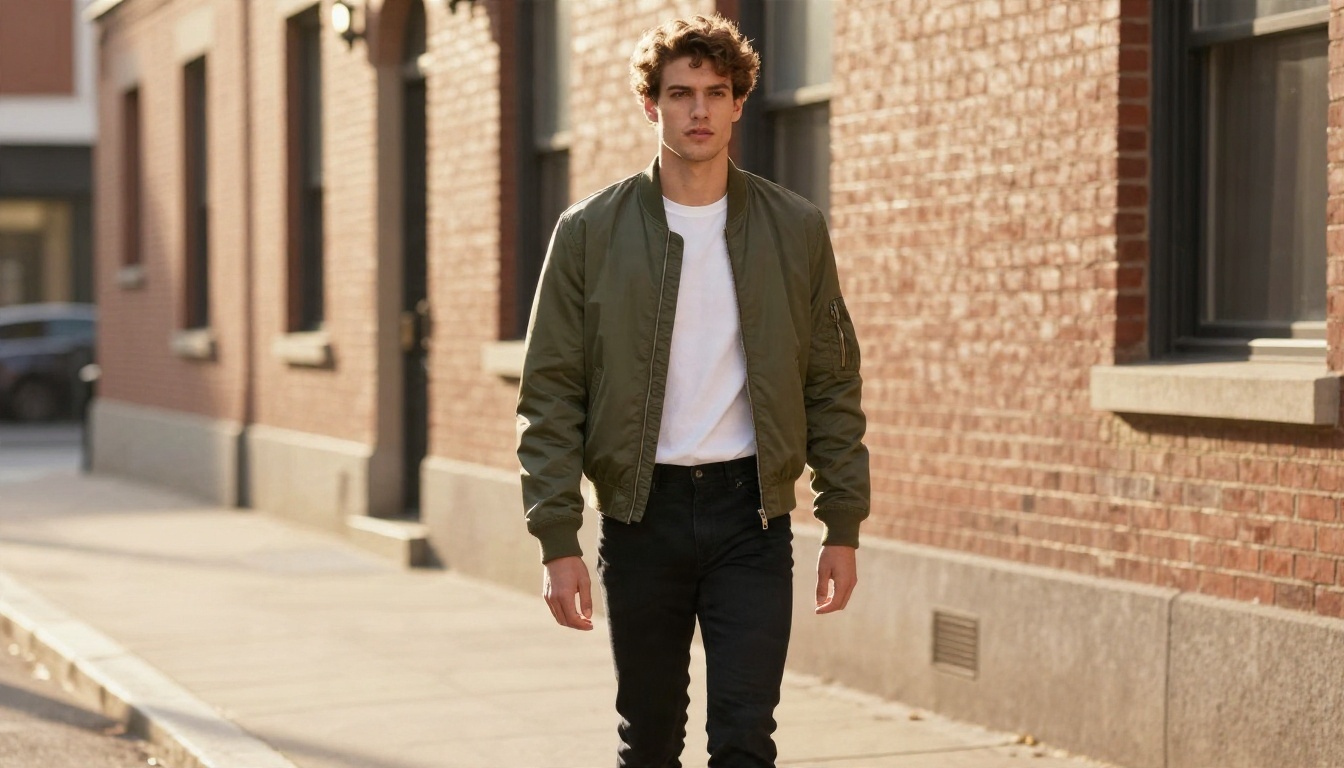
Virtual try on is not a filter pasted over a photo. The AI reads the garment, reads the person, and redraws the clothed area so that fabric follows the body. Folds, shadows and sleeve length are recalculated for the pose in the photo.
Garment Plus Person Equals Photo
Two inputs drive everything:
- A garment image, ideally a flat lay or a clean product shot.
- A person image, the model whose body and pose you want to keep.
The output is a new photograph in which the person wears the garment. Face, hair, hands and background stay the same. Only the clothing changes. That is why the same model photo can be reused to show a whole collection.
Where It Beats a Photoshoot
A traditional shoot is still the right choice for a flagship campaign. For everything else, AI try on wins on speed and cost.
| Factor | Traditional shoot | AI model try on |
|---|
| Time per garment | Hours, plus editing | Seconds to a minute |
| Cost | Model, studio, photographer | Free or near free to test |
| Colorway variants | Reshoot or retouch each one | Swap the garment image |
| Model diversity | Limited by who you hire | Any model photo you have rights to use |
| Consistency | Varies by day and light | Same pose and light every time |
💡 Tip: Treat AI try on as a fast preview and catalog tool. Use it to decide which pieces deserve a real shoot, not to replace the shoot for every item.
Who Gets the Most Out of It
Online Shop Owners
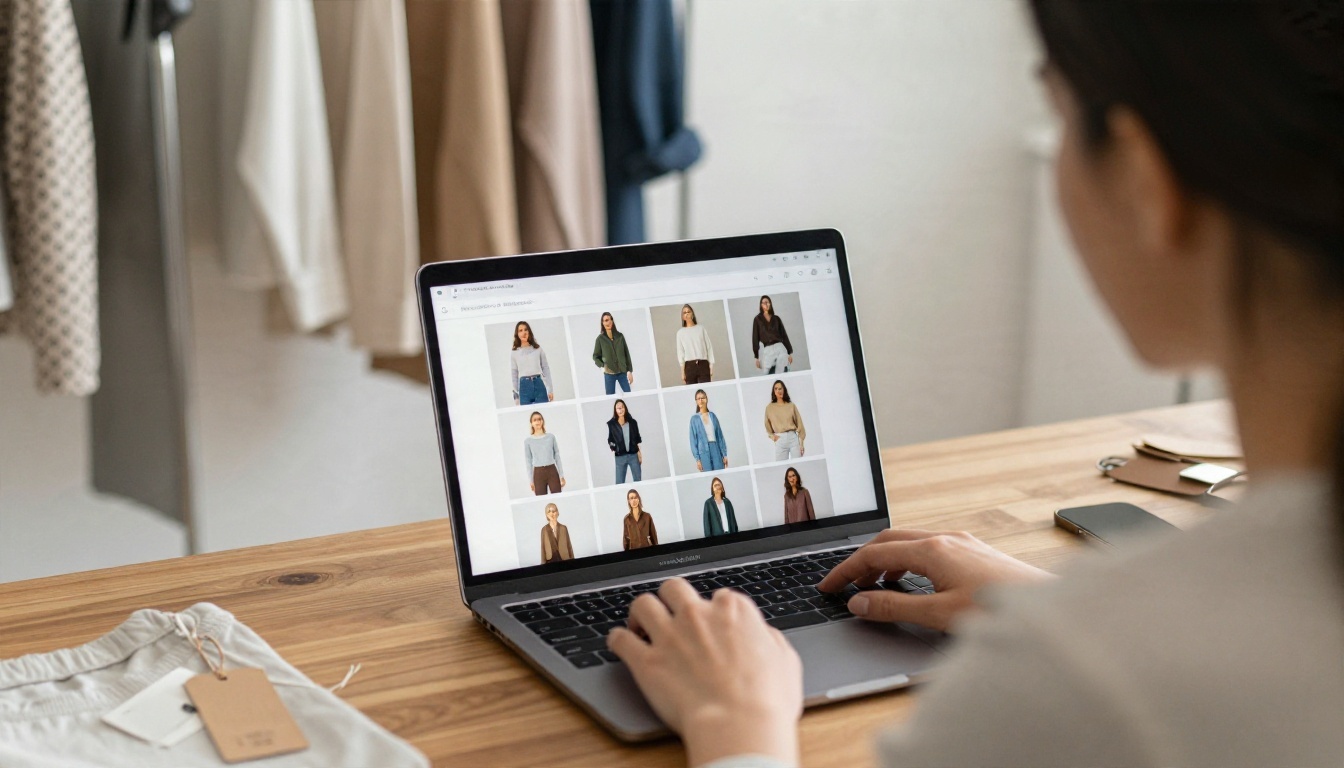
Small brands usually own a handful of samples and no budget for a full production. With one good model photo, a shop owner can dress the model in every top, dress and jacket in the range, then publish a consistent grid. Seasonal drops, new colors and last minute restocks stop being a photography problem.
Shoppers and Stylists
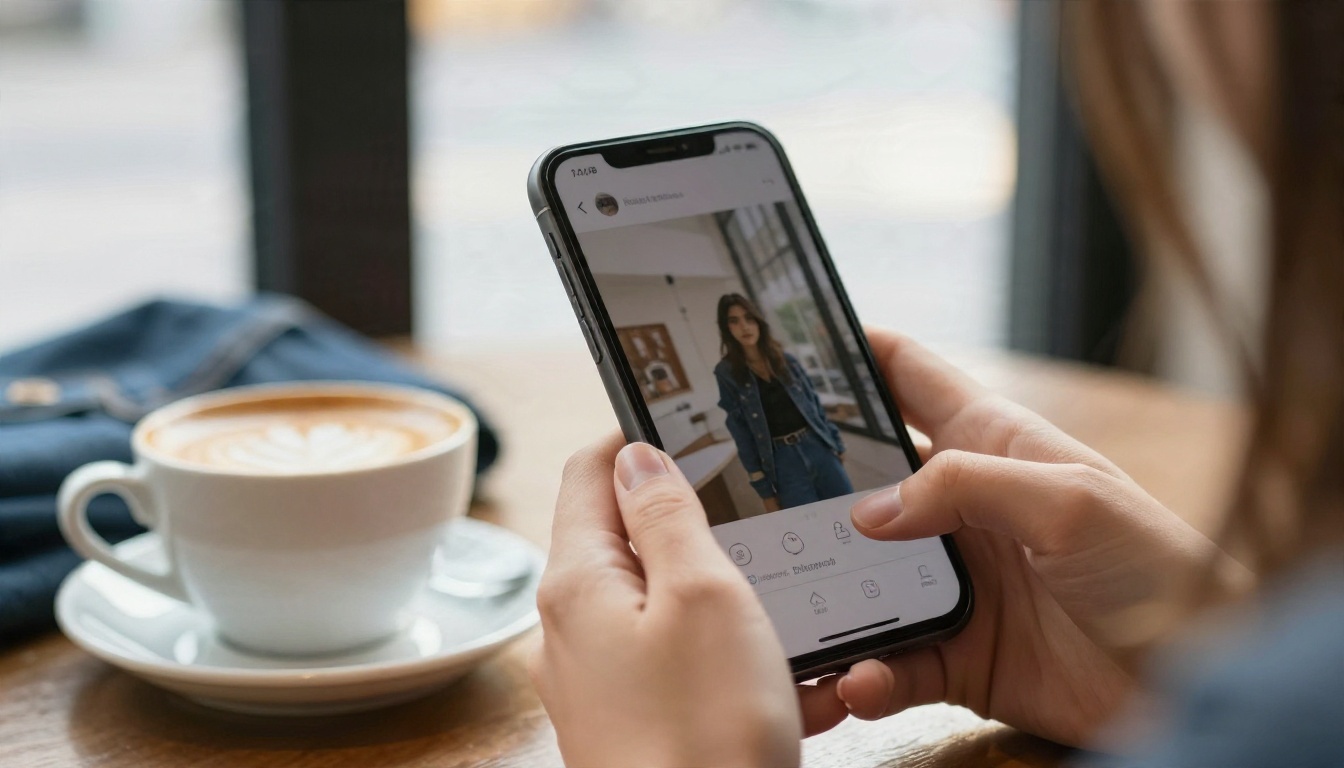
If you are the buyer, the question is simple: will this look good on me? Upload a clear photo of yourself, add the garment you are considering, and compare options side by side before paying. Stylists use the same approach to show a client three outfit directions without carrying three suitcases.
Designers Testing Samples
Designers can drop a sketch photo or a prototype shot onto a model to judge proportions, color and length long before production. It costs nothing to try a cropped version, a longer hem or a different fabric tone, and the feedback loop shrinks from weeks to minutes.
How to Use P Image Try On on PicassoIA
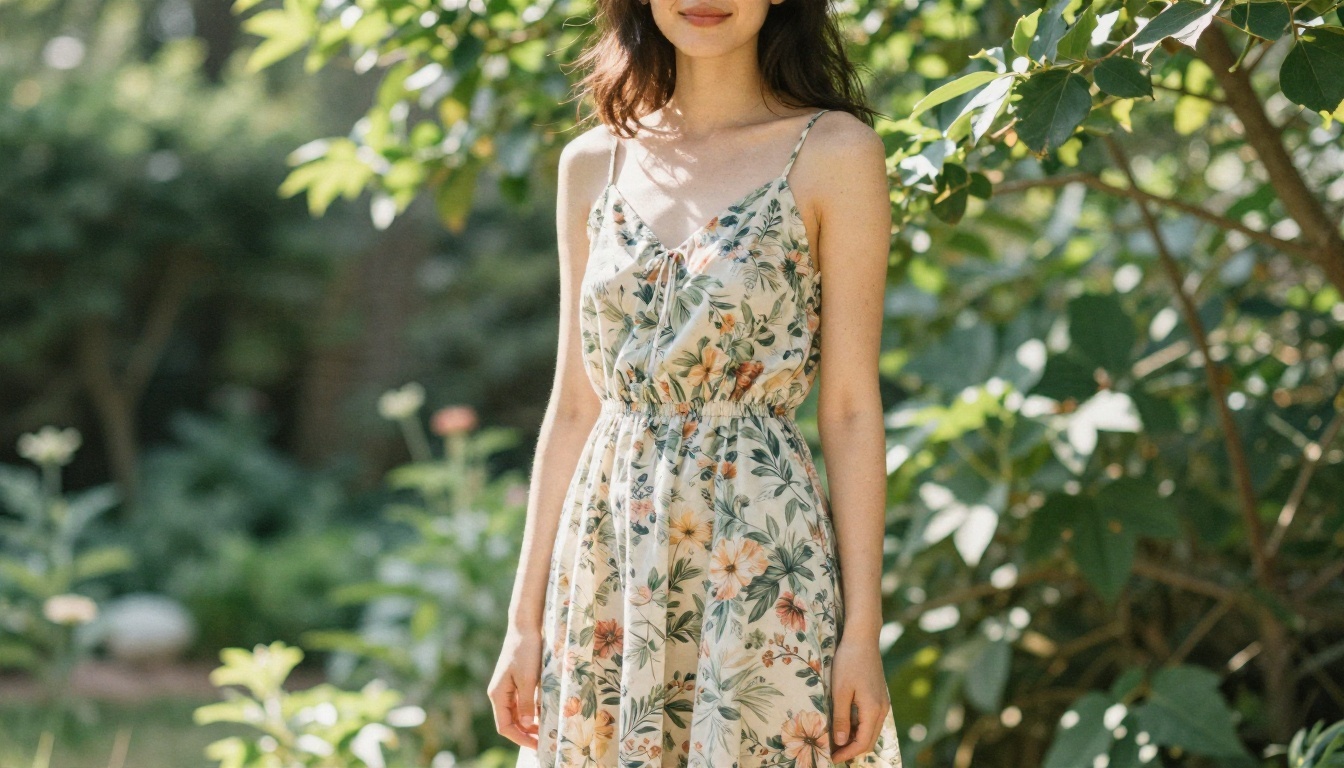
PicassoIA hosts a model built for exactly this job: P Image Try On. It swaps clothing while preserving the original face, pose and body shape, and it supports several garments in a single run.
Step by Step
- Open the model page. Go to P Image Try On on PicassoIA.
- Upload the person image. This is the required
person_image field. Pick a sharp, front facing photo with the body clearly visible.
- Add garment images. Upload up to six references in the
garment_images field. Tops, bottoms and accessories can go in together.
- Write a short prompt if needed. If a garment photo shows more than one item, say which one to use, for example: "the green t-shirt from image 1 and the trousers from image 2."
- Choose the output format. JPG, WebP or PNG, with quality from 0 to 100. The default of 95 is a safe choice.
- Run the model. Wait a few seconds, check the result, and rerun with a different seed if something looks off.
Settings That Matter
| Setting | What it does | When to change it |
|---|
| Turbo | Faster processing | Use with four garments or fewer |
| Preserve input size | Returns the original pixel dimensions | Leave on for catalog consistency |
| Reference pose | Reposes the person before dressing them | Use when you want a standard catalog stance |
| Seed | Fixes the random result | Set it to reproduce a result you liked |
| Output quality | Compression for JPG and WebP | Raise it for print, lower it for web |
💡 Tip: The reference pose option is experimental and may fail on some seeds. If it does, change the seed or run without it, then repose the photo separately with an editing model.
Prepare Your Photos First
Most bad results come from bad inputs. Ten minutes of preparation saves a dozen reruns.
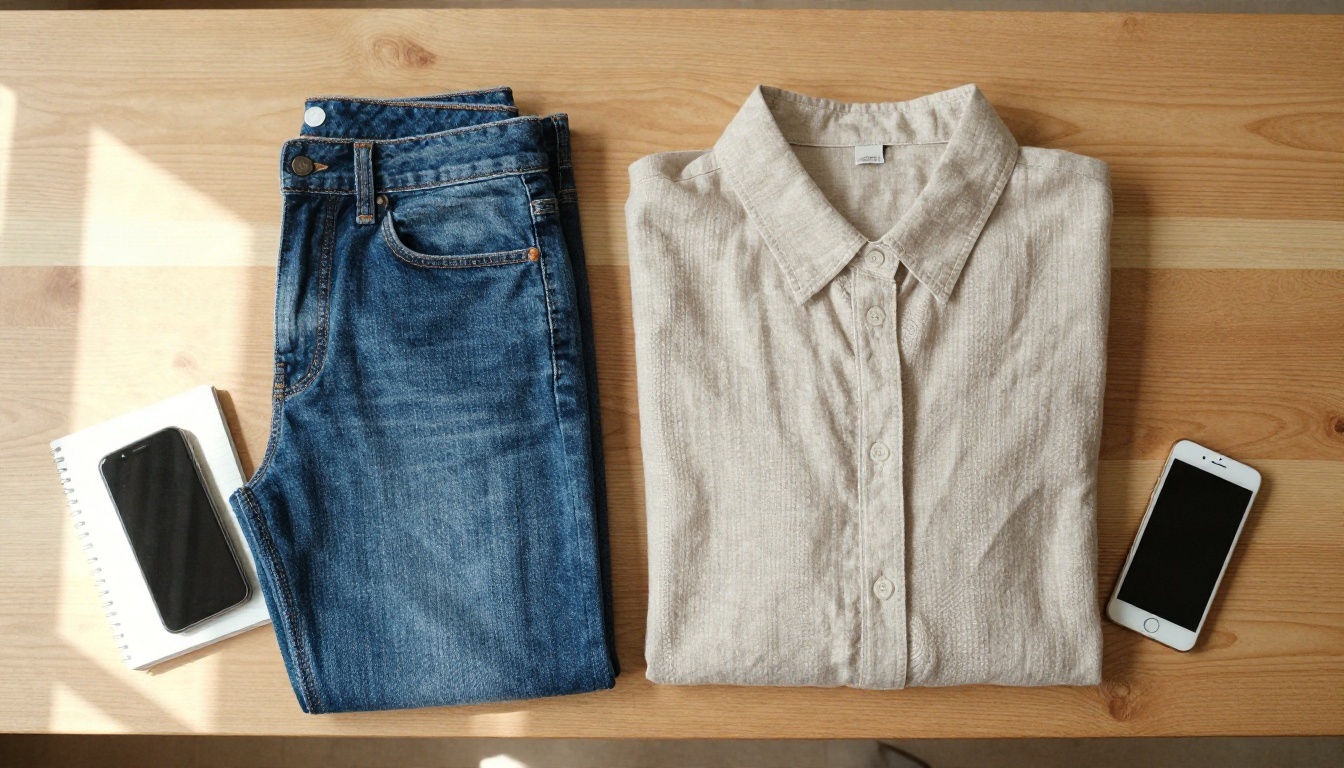
Garment Photo Rules
- Shoot flat and straight from above, or use a clean ghost mannequin image.
- Smooth out wrinkles with a steamer or iron before the photo.
- Use a plain background, white or light gray works best.
- Show the whole garment, including sleeves, hem and neckline.
- Keep the light even, so the real color is visible and not tinted by a warm lamp.
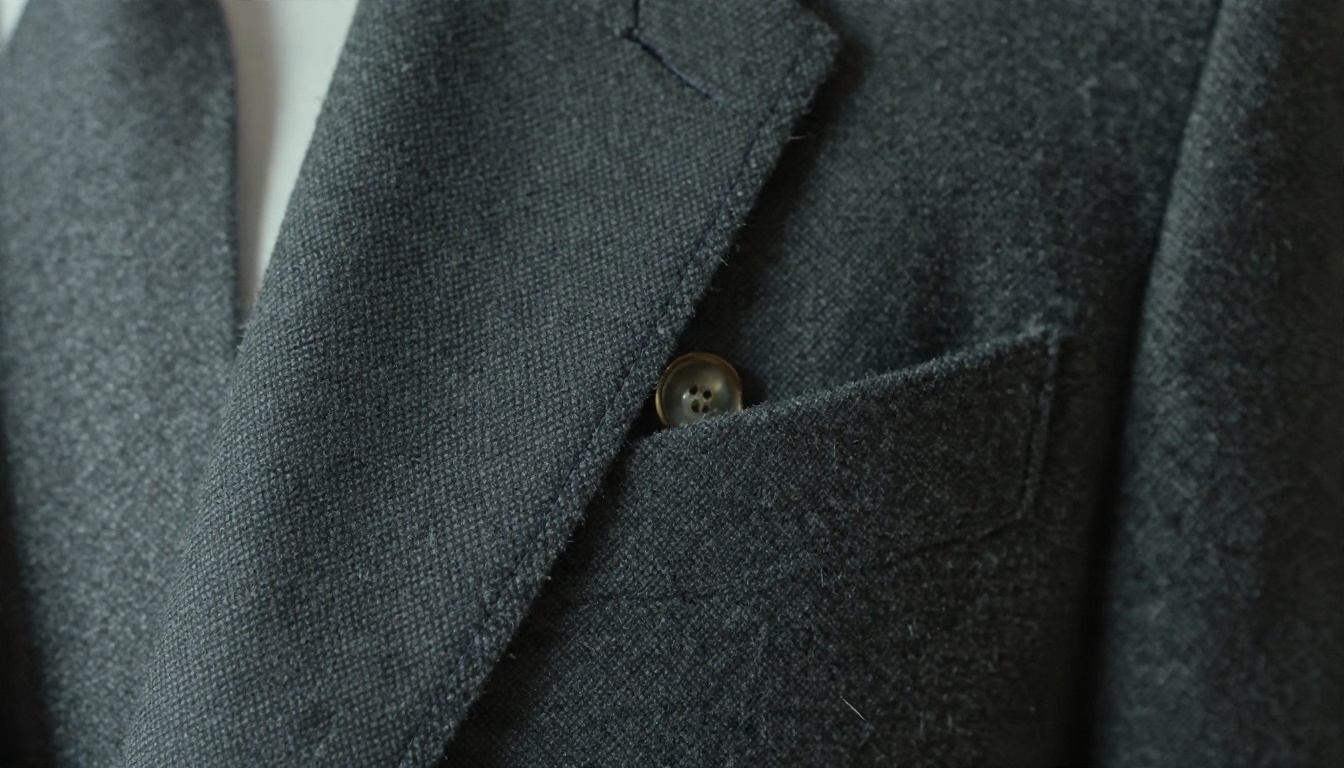
Texture matters too. A wool blazer with visible twill, a knit with chunky stitches, or a silk blouse with a soft sheen all carry information the AI can reuse. A blurry garment photo gives it nothing to work with.
Model Photo Rules
- Choose a neutral pose, arms slightly away from the torso so sleeves have room.
- Avoid heavy layers in the original photo, because bulky clothing under the new garment can leak through.
- Use sharp focus on the torso and legs, with the full body in frame if you are dressing a complete outfit.
- Pick soft, even light so shadows do not fight the new fabric.
- Only use photos you have the right to use. Your own photos, models who consented, or licensed images.
Other Models Worth Trying
P Image Try On is the specialist, but a few general purpose editors on PicassoIA can handle try on tasks when you describe the change in words.
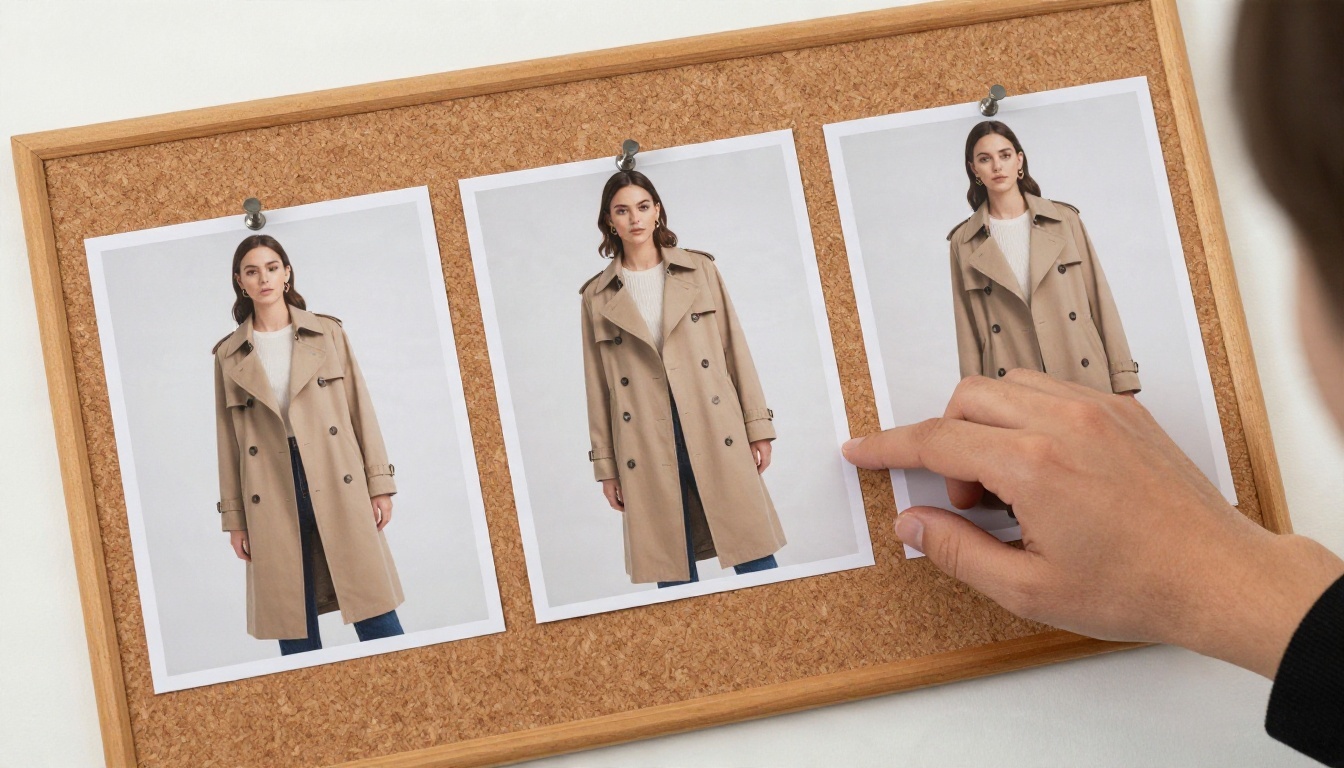
| Model | Best for | Link |
|---|
| P Image Try On | Dedicated garment swaps with multiple items | Open |
| Nano Banana | Quick prompt based edits on a photo | Open |
| Nano Banana Pro | Higher resolution edits and detail | Open |
| Flux Kontext Fast | Fast instruction based photo editing | Open |
| PicassoIA Image Editor Pro | Unlimited generations for repeated edits | Open |
| Seedream 4.5 | Generating a brand new model photo from text | Open |
Nano Banana for Prompt Edits
Nano Banana works well when you want to describe the change instead of uploading a second image. A prompt such as "replace the shirt with a navy linen overshirt, keep the face, pose and background unchanged" often does the job. For finer fabric detail, step up to Nano Banana Pro.
Build a Model From Scratch
No suitable model photo? Generate one with Seedream 4.5 using a prompt like "full body fashion photograph, woman standing against a white studio wall, neutral pose, soft daylight." Then bring that image into the try on step. Use PicassoIA Image Editor Pro for final touch ups such as cleaning a background or adjusting a collar, and Flux Kontext Fast for quick one line edits.
Fix Common Mistakes
Even a good model produces the occasional odd result. These are the problems that come up most and the fastest way to fix each.
Warped Patterns and Logos
Stripes, plaid and prints can bend where fabric would curve. Start with a garment photo that is flat and square to the camera, and rerun with a new seed. For critical logos, retouch afterward or add them in a separate edit.
Wrong Length or Fit
If a dress comes out shorter than the real product, the model photo may be cropped or the pose may hide the legs. Use a full body shot, and add a plain line in the prompt about length, such as "knee length."
Mismatched Lighting
A garment photographed under warm tungsten light will look off on a model lit by cool daylight. Shoot both inputs in similar light, or color balance the garment image first.
Leftover Clothing Showing Through
When the model photo already shows a bulky sweater, edges of it can peek out. Choose a photo with fitted base layers, or one in which the person wears simple, close fitting clothing.
💡 Tip: Keep a short log of seeds that worked. A good seed on one garment often gives a consistent look across a whole collection.
Inclusive Sizes, Honest Results
One of the strongest arguments for AI try on is range. A brand can show the same cardigan on different body types without booking separate shoots. Shoppers get a more realistic idea of how a piece will look on a body like theirs.
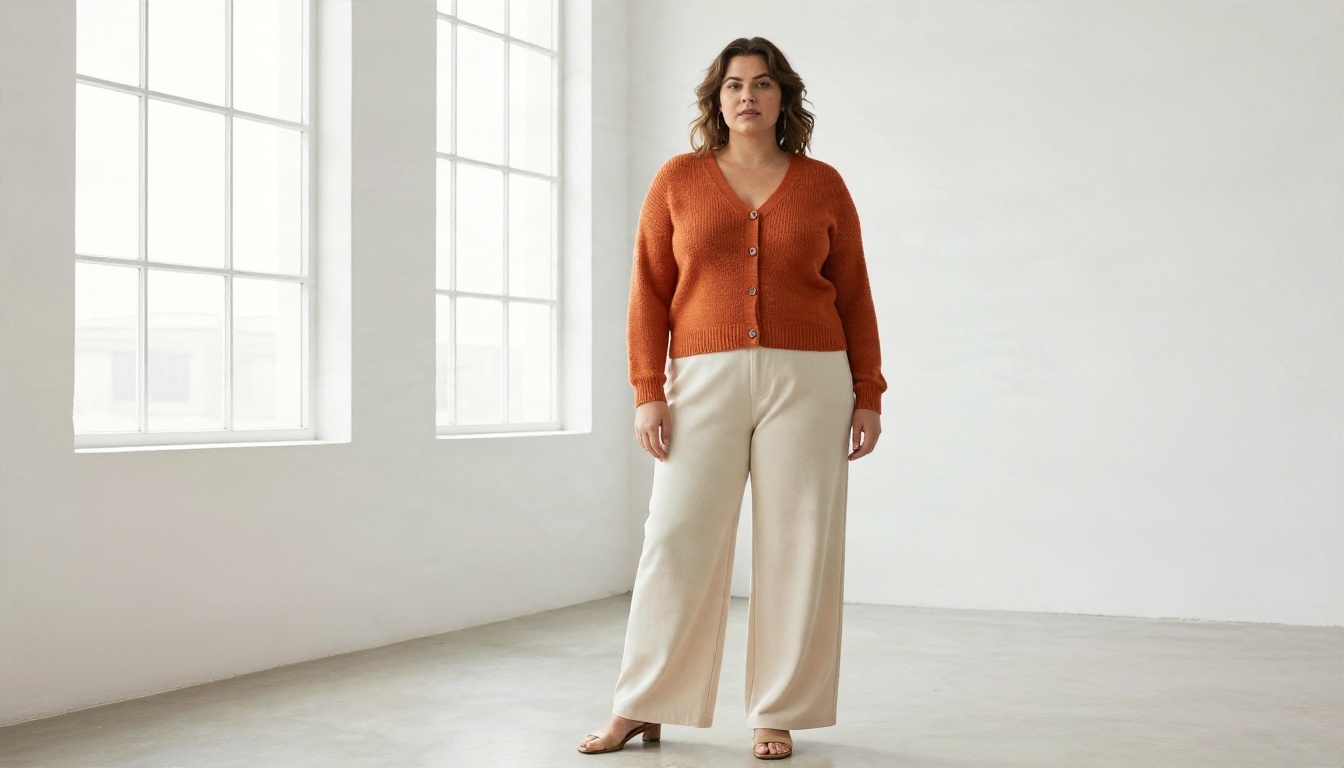
There is a responsibility attached to that. The image should still reflect the real product. If the actual fabric is stiffer, shorter or sheerer than the render, say so in the listing. Do not use try on images to imply a fit the garment does not have, and always use model photos with permission. Honest previews build trust and cut returns, which is the real commercial win.
Outfit Ideas Worth Testing
Once the basic workflow is running, you can use it for more than catalog shots.
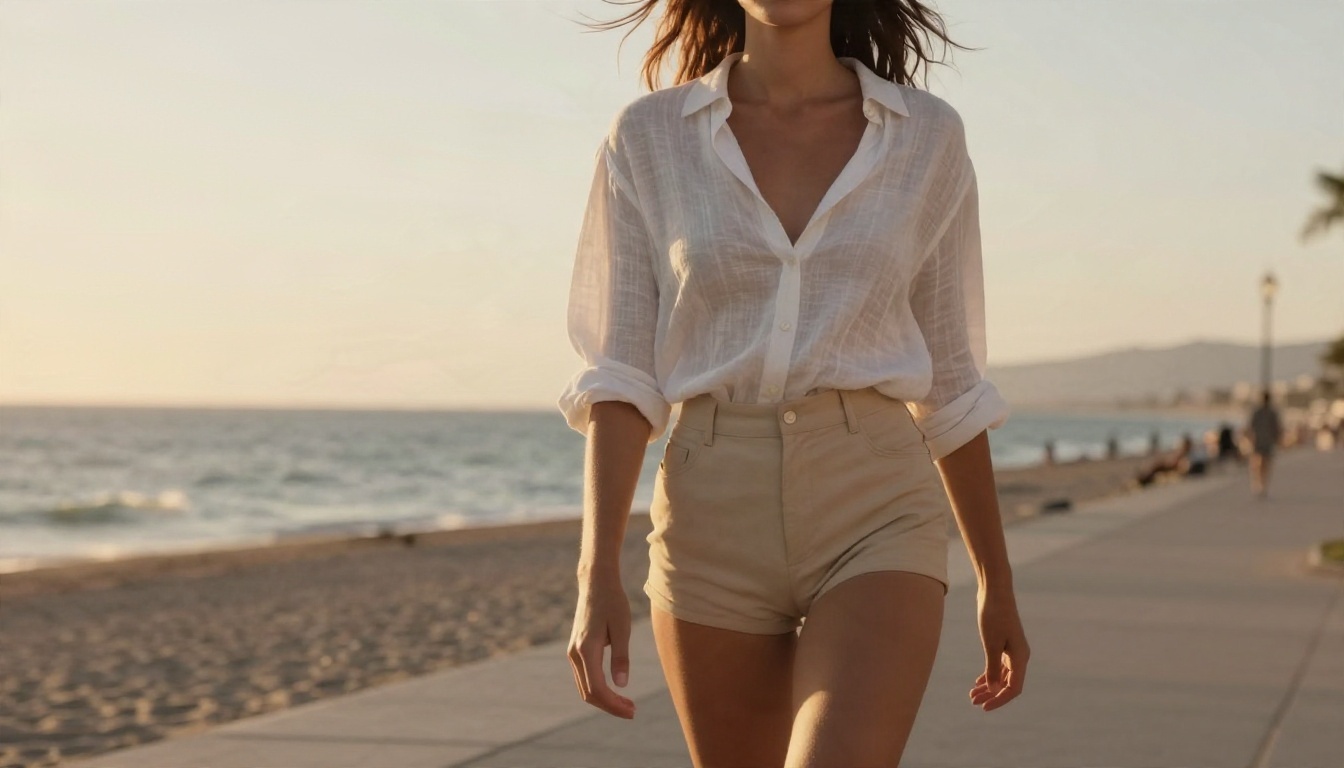
- Seasonal swaps: dress the same model in a summer linen set, then an autumn coat, using one person photo.
- Colorway checks: upload the same shirt in three colors and pick the strongest for the homepage.
- Capsule wardrobes: combine a top, trousers and a jacket in one run with several garment images.
- Social content: produce a week of outfit posts from a single model photo and a rack of products.
- Gift choices: preview a garment on the person you are buying for, using a photo they have shared with you.
A Quick Workflow You Can Reuse
- Photograph garments flat in even light.
- Pick one sharp, neutral model photo.
- Run P Image Try On with one garment first.
- Check seams, length, pattern and hands.
- Rerun with a new seed if needed, then export in your chosen format.
- Polish small flaws in PicassoIA Image Editor Pro.
Try Your Own Outfit Today
You do not need a studio, a model agency or editing skills to see how clothing looks on a person. Pick a garment, pick a photo, and let the AI do the dressing. Start with a single piece, check how fabric, fit and lighting come out, then scale up to a whole collection.
Open P Image Try On on PicassoIA, upload your first garment and model photo, and run it. If you want more control, bring the result into Nano Banana or Image Editor Pro for refinements. Your next lookbook may already be one upload away, so go ahead and put your clothes on a model.


