You have an event on Saturday, a shop that needs foot traffic, or a yard sale nobody knows about yet. What you do not have is a designer. So the question lands fast: do you open Canva and wrestle with templates, or do you describe the flyer to an AI image generator and let it do the heavy lifting? This comparison of AI Flyer vs Canva: Which Is Faster, Cheaper and Easier for Beginners? gives you straight answers, with real time estimates, honest costs and a workflow you can copy today.
💡 Short answer: AI wins on raw speed for the first draft and on custom visuals. Canva wins on exact text control and ready-made layouts. Most beginners get the best result by combining both.
What We Are Actually Comparing
Before the numbers, a quick definition, because "AI flyer" means different things to different people.
What Canva Does Well
Canva is a template-first design editor. You pick a flyer layout from a huge library, swap the photo, change the words and colors, then export a PDF or PNG. It also has its own AI features now, including image generation and text-assisted design, plus a free plan that stays available. Pro pricing has been reported in the range of roughly $15 to $18 a month in the US depending on billing and region, so check the live pricing page before you commit.
What an AI Flyer Workflow Does
An AI flyer workflow starts with a sentence instead of a template. You type what you want ("a warm autumn farmers market poster, pumpkins on a wooden table, bold headline space on top") and an image model produces the artwork. Modern models can also render short headlines inside the picture, which means a usable flyer can come out of a single prompt.
On PicassoIA you can run this with models such as Ideogram v4 Quality, Nano Banana Pro or Seedream 4.5, all from the same browser tab.

Why Beginners Care About Three Things
Beginners rarely ask about vector export or brand kits. They ask three things:
- How fast can I get something I am not embarrassed by?
- How much will this cost me this month?
- Will I get stuck?
The rest of this article answers exactly those three, in that order.
Round One: Speed
Time is where the gap is widest, so let us measure it with a realistic scenario: a bakery owner making a flyer for a weekend pastry sale.
Canva Workflow, Step by Step
A typical first-time Canva session goes like this:
- Sign in or create an account: 2 to 3 minutes
- Search flyer templates and scroll through dozens: 5 to 10 minutes
- Replace photo, edit text, fix spacing and fonts: 15 to 30 minutes
- Export and check the file: 2 to 3 minutes
For a beginner, 25 to 45 minutes is a fair expectation for the first flyer. The second one is quicker because you know where things live.
AI Workflow, Step by Step
With an image generator the flow is shorter:
- Open the model page and write one detailed prompt: 3 to 5 minutes
- Generate: usually seconds per image
- Regenerate two or three times until the composition feels right: 3 to 5 minutes
- Download and add any last text if needed: 2 to 5 minutes
That puts the AI route at roughly 10 to 15 minutes from blank page to a flyer-ready image. The catch is that you are trading layout control for speed, and that matters in the next sections.
Speed Scorecard
| Task | Canva | AI image generator |
|---|
| First draft | 25 to 45 min | 10 to 15 min |
| Changing the photo style | Manual search or swap | Edit the prompt, regenerate |
| Changing one word of text | Instant | Regenerate or edit in an editor |
| Making 5 variations | 1 to 2 hours | 15 to 30 min |
Winner on speed: AI, especially if you need several visual variations. Canva catches up the moment you only need to tweak copy.
Round Two: Cost
Money matters more to a small business or a student than to a design agency, so let us be honest about what each route costs.
What Canva Costs in Practice
The free plan is genuinely useful. You get a large template library and basic exports, which is plenty for a one-off flyer. The catch shows up when you want premium templates, premium stock photos, brand kits, a background remover or heavier AI usage. Those sit behind the Pro plan, which has recently been quoted at about $15 to $18 a month in the US, with discounts on annual billing. Prices have moved more than once in the last couple of years, so treat any number in an article as a snapshot and confirm it on the official page.
What AI Costs in Practice
AI image generation is usually priced per image or through usage credits rather than a flat design subscription. Cheaper, faster models cost less per generation, while the high-fidelity ones cost more. For a single flyer, you might generate five to ten images, which is typically a small spend. If you only make a flyer once or twice a year, you are paying for outputs, not for a monthly seat you barely open.
Hidden Costs Nobody Mentions
- Stock photos: Canva's best photos often need Pro. AI images are generated to your brief, so there is no stock licensing hunt.
- Your time: 40 minutes of fiddling with fonts is not free if you run a business.
- Printing: Both routes end at the same print shop, so this cost is a tie.
- Redo cost: With AI, a bad result means one more generation. With a template, it can mean starting the layout over.
💡 Budget tip: If your flyer is a one-time need, use the free Canva plan for layout and an AI model for the hero image. You pay for neither a subscription nor a stock photo.
Winner on cost: AI for occasional users, Canva free for people who are happy with template photos, and Canva Pro only if you design every week.
Round Three: Ease of Use
Cheap and fast mean nothing if you give up halfway.
The Canva Learning Curve
Canva is friendly, but it still asks you to make dozens of small design decisions: font pairing, spacing, hierarchy, color contrast, alignment. Templates protect you from the worst mistakes, but the moment you change the headline length or swap the photo, the layout can fall apart. Beginners often spend more time fixing small alignment issues than writing the actual offer.
The AI Learning Curve
AI asks you for something different: clear description. If you can explain a scene in two sentences, you can get a usable image. The common beginner mistakes are vague prompts, asking for too much text, and forgetting to leave empty space for the headline. All three are easy to fix once you know them.
Ease Scorecard
| Factor | Canva | AI image generator |
|---|
| Needs design taste | Medium | Low to medium |
| Needs prompt writing | Low | Medium |
| Risk of ugly layout | Low with templates | Medium without a plan |
| Risk of wrong text | Very low | Medium (model dependent) |
| Mobile friendly | Yes | Yes |
Winner on ease: a tie with different personalities. Canva is easier if you like clicking and choosing. AI is easier if you like describing and refining.
Round Four: Quality and Control
Speed and price do not matter if the flyer looks wrong on a wall.
Where AI Looks Better
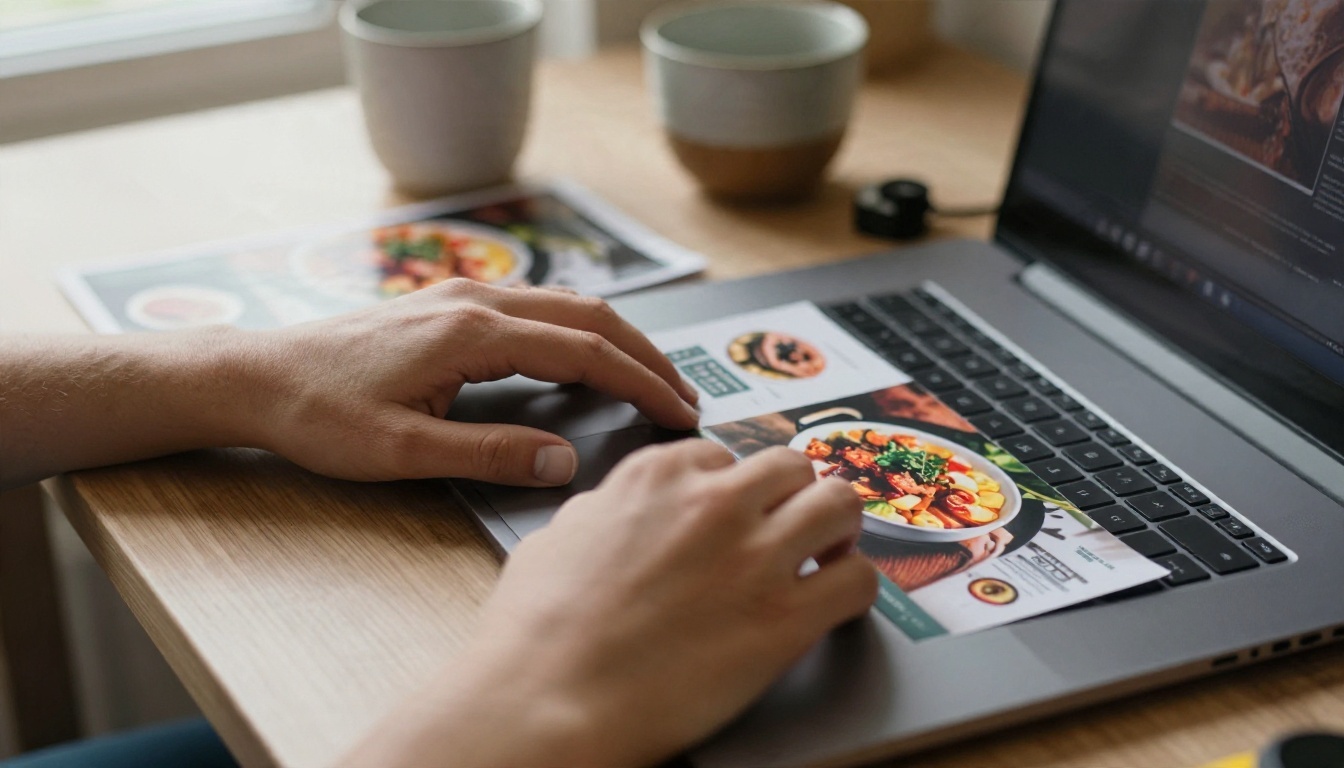
AI shines at the visual. You can ask for a specific food, a specific mood, a specific light, and get an image that no one else has. A bakery flyer with a hand-held croissant in warm morning light looks far more personal than the same stock photo used by ten other shops. Photorealistic models are now good enough that a flyer hero image can pass for a real photoshoot.
Where Canva Looks Better
Canva wins on typography and information layout. Event time, address, price list, QR code, social handles: all of that needs exact, readable placement. A template handles the grid for you. AI models can render short headlines well, especially text-focused ones like Ideogram, but long paragraphs and small print are still risky.
The Honest Weak Spots
| Weak spot | Canva | AI |
|---|
| Looks generic | Common, many people use the same templates | Rare, every image is new |
| Spelling errors in text | Almost never | Possible, always proofread |
| Fine print and addresses | Reliable | Better to add in an editor |
| Print resolution | Good with PDF export | Upscale if the image is small |
💡 Print tip: For a printed A5 or A4 flyer, generate at the highest resolution available and upscale before printing. Blurry flyers get thrown away faster.
Winner on quality: AI for imagery, Canva for text. Which brings us to the best option.
The Hybrid Method Beginners Should Use
This is the part most comparison posts skip. You do not have to choose.
The Three Step Combo
- Generate the artwork with AI. Ask for a clean image with open space where the headline will sit.
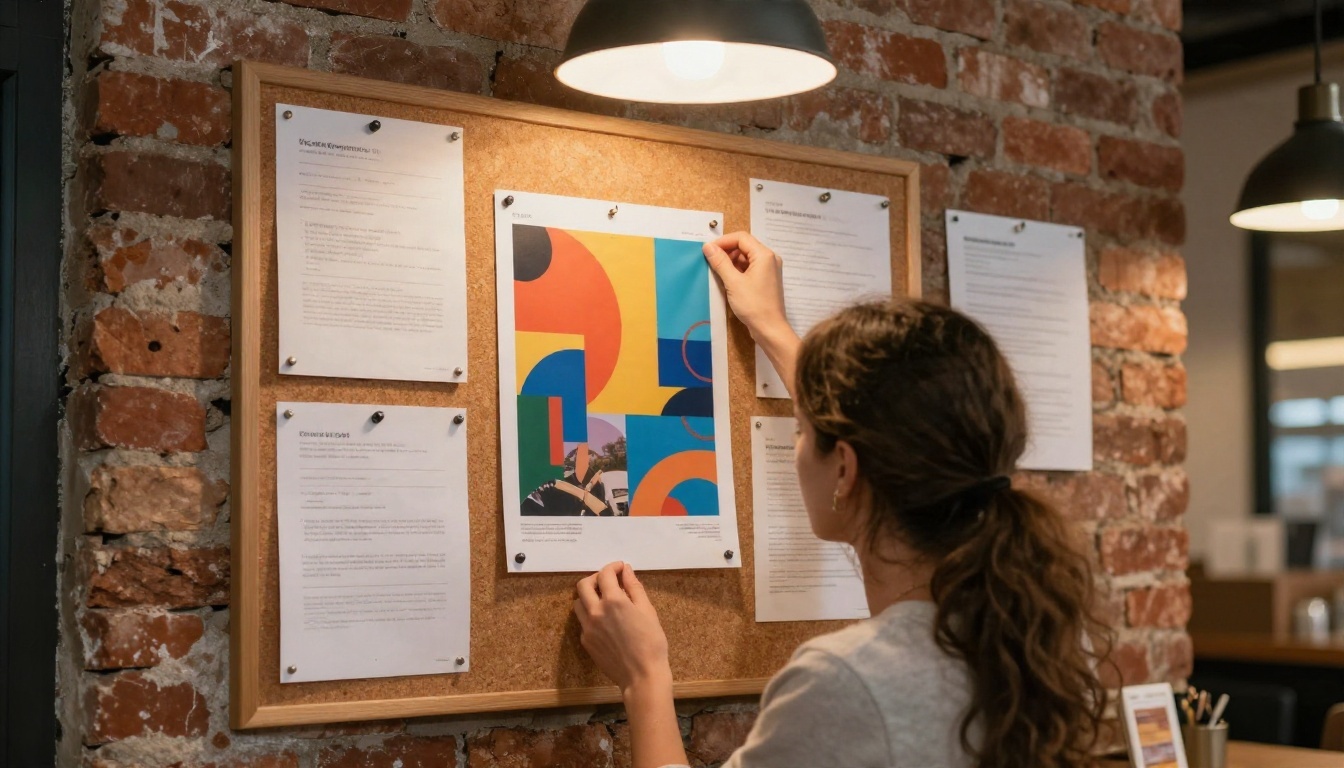
- Drop the image into Canva. Use the free plan, pick a blank flyer size, and set your image as the background.
- Add text with Canva's fonts. Event name, date, address, one call to action. Done.
This gives you the unique visual of AI and the pixel-perfect text of a design editor. It is also the fastest route for anyone worried about misspelled words.
When to Skip Canva Entirely
If your flyer is mostly a picture with a short headline, such as a concert poster, a product teaser or a sale announcement with three words, a text-capable AI model can handle it start to finish. In that case, a design editor is optional.
When to Skip AI Entirely
If you need a rigid information sheet, such as a price list, a schedule, or a menu with twenty lines, use a Canva template. Forcing AI to render that much text is a waste of generations.
How to Make a Flyer on PicassoIA
Here is the simple version of the AI side, using a text-capable model. Ideogram v4 Quality is a strong first pick when you want a short headline inside the image, and Nano Banana Pro is worth trying when you want to edit and refine an image afterwards.
Step by Step
- Open the model page. Pick one of the models above from the PicassoIA text-to-image collection.
- Write the subject first. Example: "autumn farmers market scene, wooden crates of pumpkins and apples, soft morning light, photographic style".
- Reserve space. Add "large empty area at the top for a headline" so the layout stays clean.
- Add short text only if needed. Keep it to a headline of two to four words, written in quotes.
- Pick a wide or portrait ratio. Portrait suits A4 and A5 prints, while a wide ratio fits social posts and banners.
- Generate three versions. Compare them side by side and pick the cleanest one.
- Refine. Change one thing per attempt: light, color, camera angle or the text. Changing everything at once makes it hard to know what helped.
- Download and finish. Add the date, time and address in an editor, or in Canva, so every character is correct.
Prompt Ingredients That Work
- Subject: one clear object or person, not a crowd
- Light: "warm morning window light" or "golden hour"
- Lens feel: "85mm portrait" or "overhead flat lay"
- Space: "empty area at the top" or "clean wall on the left"
- Style: "photorealistic" keeps the result looking like a real photo
💡 Prompt tip: Describe what the viewer should feel, not just what appears. "Cozy, inviting, unhurried Saturday morning" gives better mood than a list of objects.
Which One Fits Your Situation
Different readers need different answers, so here is a quick decision table.
Pick by Scenario
| Your situation | Best choice |
|---|
| One flyer, tight budget, no design skill | Hybrid: AI image plus free Canva |
| Weekly flyers for a business | Canva Pro, plus AI for hero images |
| Concert, party or product teaser | AI only, short headline |
| Menu, price list or schedule | Canva template |
| Need many visual variations fast | AI |
| You hate prompt writing | Canva |
The Bakery Test
Back to our bakery owner. She tried both. Canva gave her a tidy flyer in about 35 minutes, but it looked a lot like the ones on every other cafe window. The AI route took 12 minutes and produced a warm, original image of her actual style of pastry. She added the date and address in Canva, printed 100 copies at a local shop, and the sale sold out by noon.
Common Mistakes With Either Tool
- Too much text. A flyer is read in three seconds. Keep one headline, one detail line, one call to action.
- Low contrast. Light text on a busy photo disappears. Use a darker overlay or an empty area.
- No proofreading. Read every word out loud, especially in AI-rendered text.
- Ignoring print size. A 72 dpi image blown up to A4 looks soft. Upscale first.
- Skipping the test print. Print one copy at home before ordering a hundred.
What Happens After the Design
A beautiful file is only half the job. The flyer has to reach people.
Where to Put It
- Community noticeboards in cafes, gyms and libraries
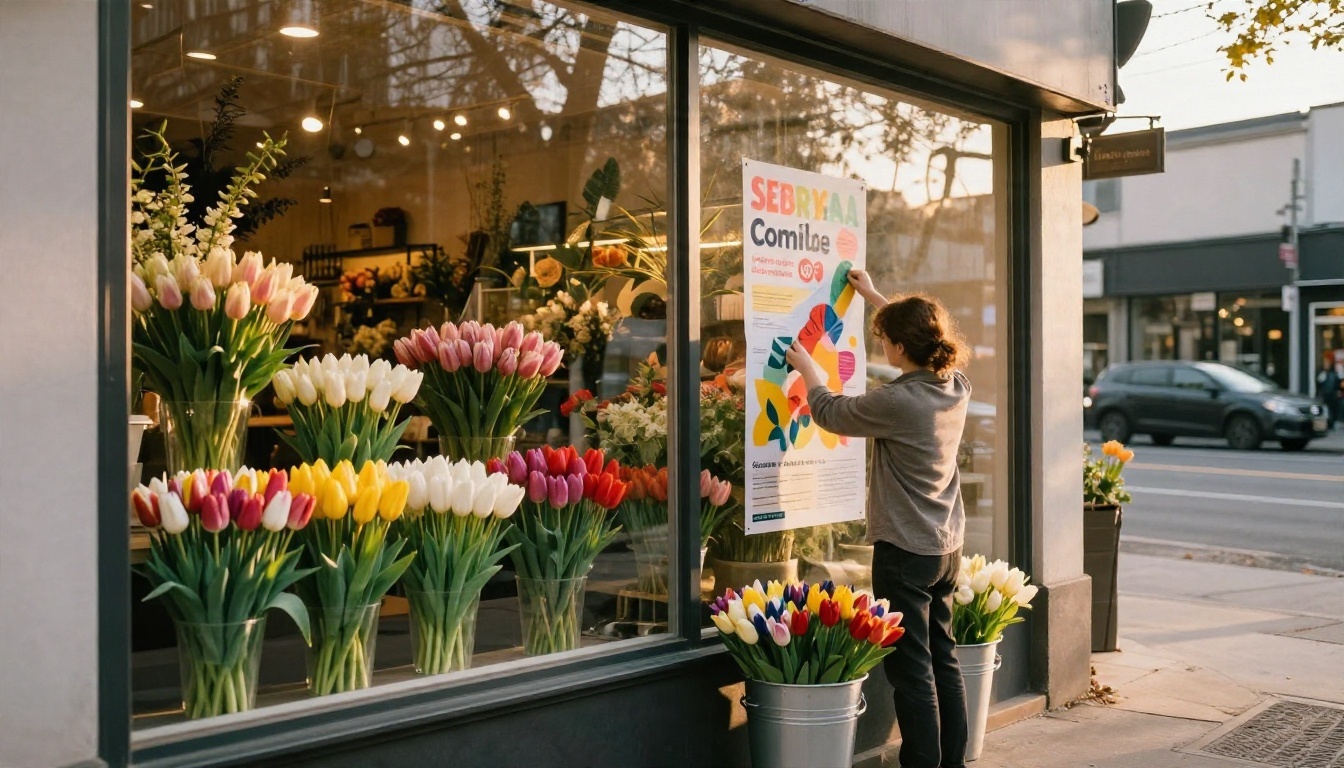
- Shop windows of neighbors who do not compete with you
- Door hangers or handouts at local events
- Social posts using a cropped version of the same image
Reuse the Artwork
One AI image can become a flyer, an Instagram post, a story, a banner and an email header. Generate once, crop several times. This is where the AI workflow quietly saves the most time over a month, because you are not rebuilding a layout for every channel.
Quick Verdict Table
| Category | Winner |
|---|
| Speed to first draft | AI |
| Cost for occasional use | AI |
| Text accuracy | Canva |
| Unique visuals | AI |
| Ready-made layouts | Canva |
| Overall for beginners | Hybrid of both |
Make Your First Flyer Today
The honest verdict: neither tool is a clear loser, but they solve different halves of the problem. AI gives you speed, originality and a lower cost when you only need a few flyers. Canva gives you reliable text and layouts. If you are a beginner, the smartest move is to stop treating them as rivals.
Open PicassoIA, pick a text-to-image model such as Ideogram v4 Quality, Nano Banana Pro or Seedream 4.5, and write a two sentence prompt for your next event. Generate three versions, pick your favorite, and finish the text in whichever editor you like. You can browse every available model at picassoia.com/en/all-models. Try it once, time yourself, and compare the result with your last Canva flyer. The numbers will tell you more than any article can.


