A year ago, getting a dragon figurine onto your build plate meant weeks of sculpting in Blender or a lucky hunt through a model repository. Today you can type a sentence or drop in a photo and have a mesh in minutes. The catch is that a mesh that looks great on screen is not the same thing as a mesh that prints. This article sorts out what AI really does well for 3D printing, which free tools are worth your time, how to prepare inputs and settings so your prints survive the slicer, and where the technology still lets you down.
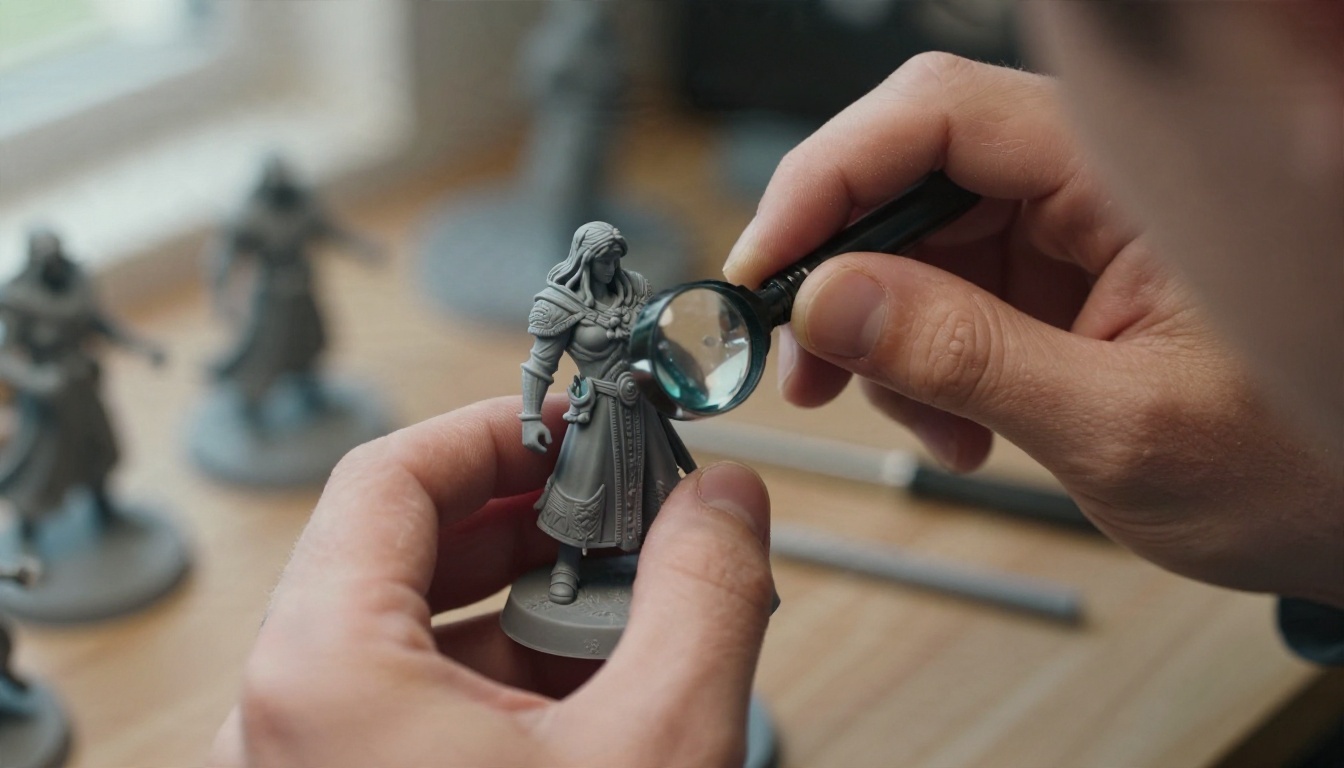
What AI Actually Does for 3D Printing
Most people picture a magic button: describe an object, get a perfect print. Reality is more modest and, honestly, more useful. AI handles the blank-page problem. It produces a first draft of a shape, with plausible geometry and often a texture, that you then check, repair and slice like any other model.
Text to 3D vs image to 3D
Text to 3D takes a written description and builds geometry from it. It is fast for exploring ideas ("a squat owl with big eyes, smooth rounded body") but gives you less control over proportions. Image to 3D starts from a single picture and reconstructs a shape around it. It is usually more predictable because the picture locks down the silhouette, the proportions and the style.
For printing, image to 3D tends to win. You can generate or photograph the reference, fix problems in 2D where they are cheap to fix, and only then commit to a mesh.
💡 Tip: If you want a specific character or part, spend your effort on the input picture. A good reference saves more time than any amount of prompt rewording on the 3D side.
Where AI fits in the pipeline
A typical print workflow has five stages: concept, modeling, repair, slicing and post-processing. AI helps most with the first two and, increasingly, a bit of the third. It does not replace the slicer, your printer calibration or the sanding station.
| Stage | AI helps? | What you still do manually |
|---|
| Concept and reference | Strongly | Pick the best of several variations |
| Modeling | Strongly | Check proportions, scale and symmetry |
| Mesh repair | Partly | Close holes, fix non-manifold edges |
| Slicing | Barely | Orientation, supports, layer height |
| Post-processing | No | Sanding, priming, painting |
The market moves quickly, and free tiers change often, so treat the details below as a snapshot and check each service before you commit to a project.
Cloud generators with free tiers
Several browser-based generators give you a monthly credit allowance at no cost. Meshy is frequently rated the best all-rounder for makers and exports to common formats, with a free tier and a paid plan of roughly twenty dollars a month. Tripo is often described as the fastest option for simple objects, with quick generation and automatic repair of common mesh issues. Hitem3D positions itself around printability. All of these usually cap free generations per month, and some limit free outputs to personal use.
On PicassoIA, Hunyuan 3D 3.1 lets you convert a photo or a written description into a textured 3D model without installing anything, and it includes a geometry-only mode that is handy for printing.
Open-source options
If you have a capable GPU and some patience, Tencent's Hunyuan3D family is available as open-source software that you can run on your own machine. There are no monthly credit limits, but you handle installation, drivers and updates yourself. For many hobbyists the hosted route is simply less hassle.
Licenses and free-tier fine print
This is the part people skip, and then regret.
- Personal vs commercial use: Some free plans allow only personal, non-commercial use. If you sell prints on Etsy or at a market, check the current terms first.
- Attribution: Certain free tiers apply a Creative Commons style license that asks you to credit the service.
- Credits expire: Monthly allowances usually do not roll over, so batch your experiments.
- Reference ownership: If you feed in a copyrighted character, the output is still derived from it. Printing a model of someone else's character for sale is a legal problem no matter which tool made the mesh.
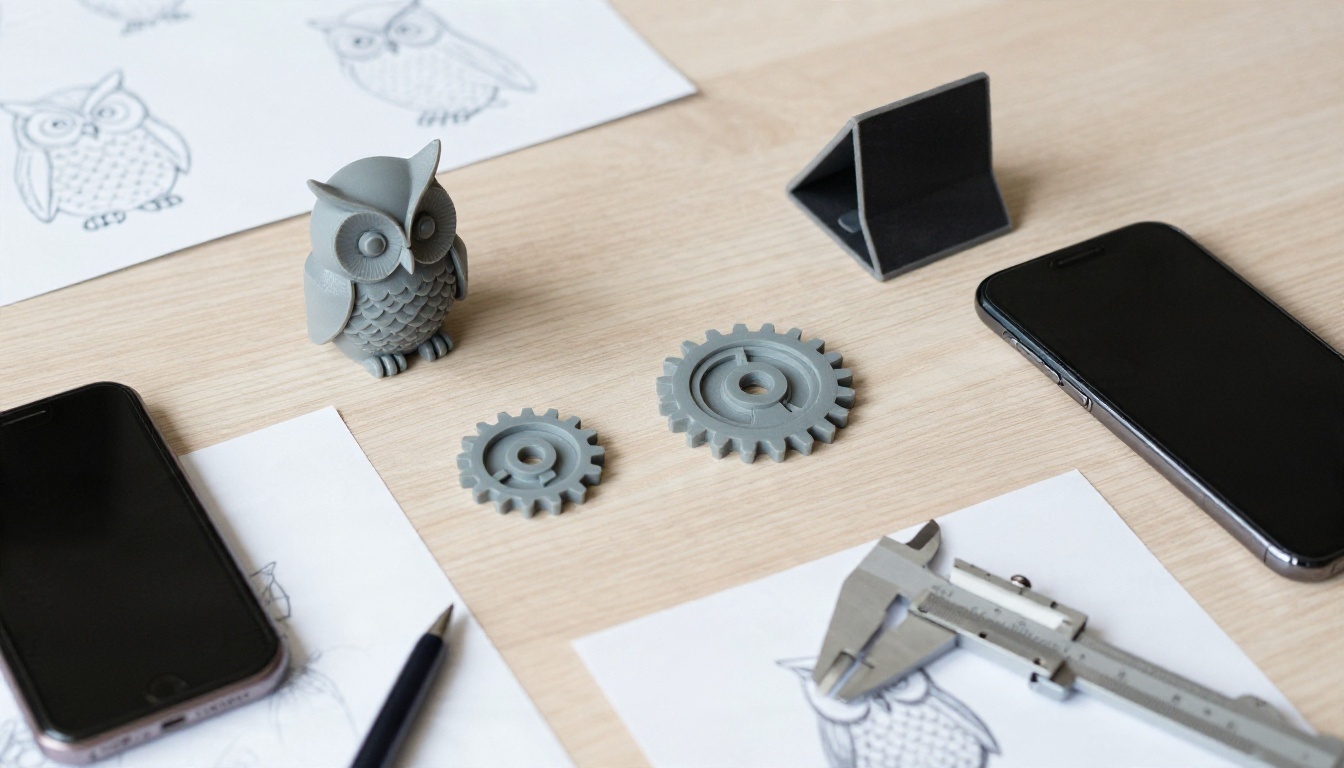
How to Use Hunyuan 3D 3.1 on PicassoIA
Hunyuan 3D 3.1 accepts either an image or a text prompt (one or the other, not both) and returns a 3D model. Here is a workflow that works well for printable objects.
Step by step
- Open the model page on PicassoIA and choose your input. For the most predictable result, use an image.
- Prepare the image. Aim for a single object, a simple background, no text, and the object filling more than half the frame. Supported formats are JPG, PNG and WEBP, from 128 to 5000 pixels per side, up to 6 MB.
- Or write a prompt of up to 1024 characters. Describe one object, its material and its shape. Skip scenery and lighting words, because they add nothing to geometry.
- Set the generation type. Choose Geometry for a plain white mesh without textures, which is ideal when you only want a printable shape. Choose Normal if you also want color and surface maps, for example for full-color printing or rendering.
- Set the face count (the default is 500,000). More faces means finer detail and larger files.
- Run the generation, then download the mesh and check it in your slicer or a mesh editor before printing.
Settings that matter
| Setting | Recommended for printing | Why |
|---|
| Generation type | Geometry | Texture data is useless on a single-color print |
| Face count | 200,000 to 500,000 for figurines | Dense enough for detail without choking the slicer |
| Face count | Lower for simple objects | Flat-sided parts do not need millions of polygons |
| PBR | Off for printing | It only affects material maps used in rendering |
| Input | Single object, plain background | Reduces stray geometry and merged shapes |
💡 Tip: Generate two or three versions from slightly different reference images and keep the best one. Variations cost little, and failed prints cost filament and hours.
If the downloaded file is not in a format your slicer accepts, convert it with a free mesh tool such as Blender or MeshLab. Both can export STL or 3MF.
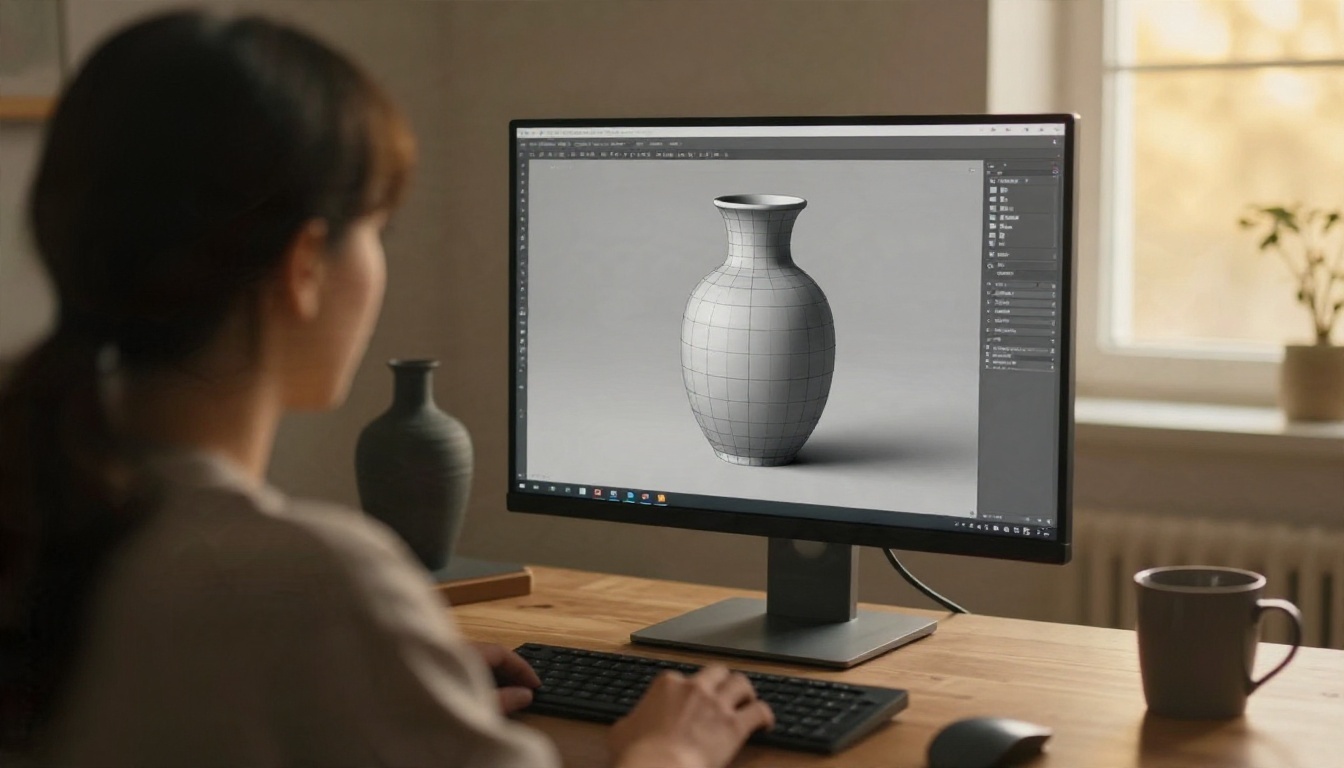
Make a Better Source Image
Since image to 3D wins for printing, your input picture deserves real attention. This is where PicassoIA's image tools earn their place.
Image prompts that work
The ideal reference looks like a product photo: one subject, neutral background, even lighting, a three-quarter view that shows the front and one side. Generate it with an image model such as Nano Banana Pro, Seedream 4.5 or Qwen Image 3. A prompt like this works well:
"A small ceramic-style owl figurine, rounded body, simple feathers, centered, three-quarter view, plain light grey background, soft even studio lighting, no text."
Avoid dramatic shadows, because the 3D model can read dark shadows as actual cavities. Avoid wide poses with thin outstretched limbs, which snap off at the print stage. And avoid scenes with several objects, since the generator will often fuse them together.
Cleaning the background
If your picture has a messy backdrop, strip it before conversion. The Remove Background model gives you a clean cutout in seconds, and if your source is small or soft, run it through Real ESRGAN first to upscale it 4x. A sharper input produces crisper edges on the mesh.
Design Tips for Printable Models
A mesh can look flawless in a viewer and still be unprintable. These are the checks that catch most problems.
Wall thickness and overhangs
AI generators love thin shells, delicate tails and floating details because they look good in renders. Printers do not.
- Minimum wall thickness: For a typical 0.4 mm nozzle, keep walls at 1.2 mm or more. Anything thinner may not print at all or will break when handled.
- Overhangs: Surfaces leaning past roughly 45 degrees need supports. Check the preview in your slicer.
- Thin protrusions: Antennas, whiskers and fingers under about 2 mm thick often snap. Thicken them in a mesh editor or accept a sturdier look.
- Flat bases: Many AI models have rounded bottoms that will not sit on a build plate. Cut a flat base in your editing software.
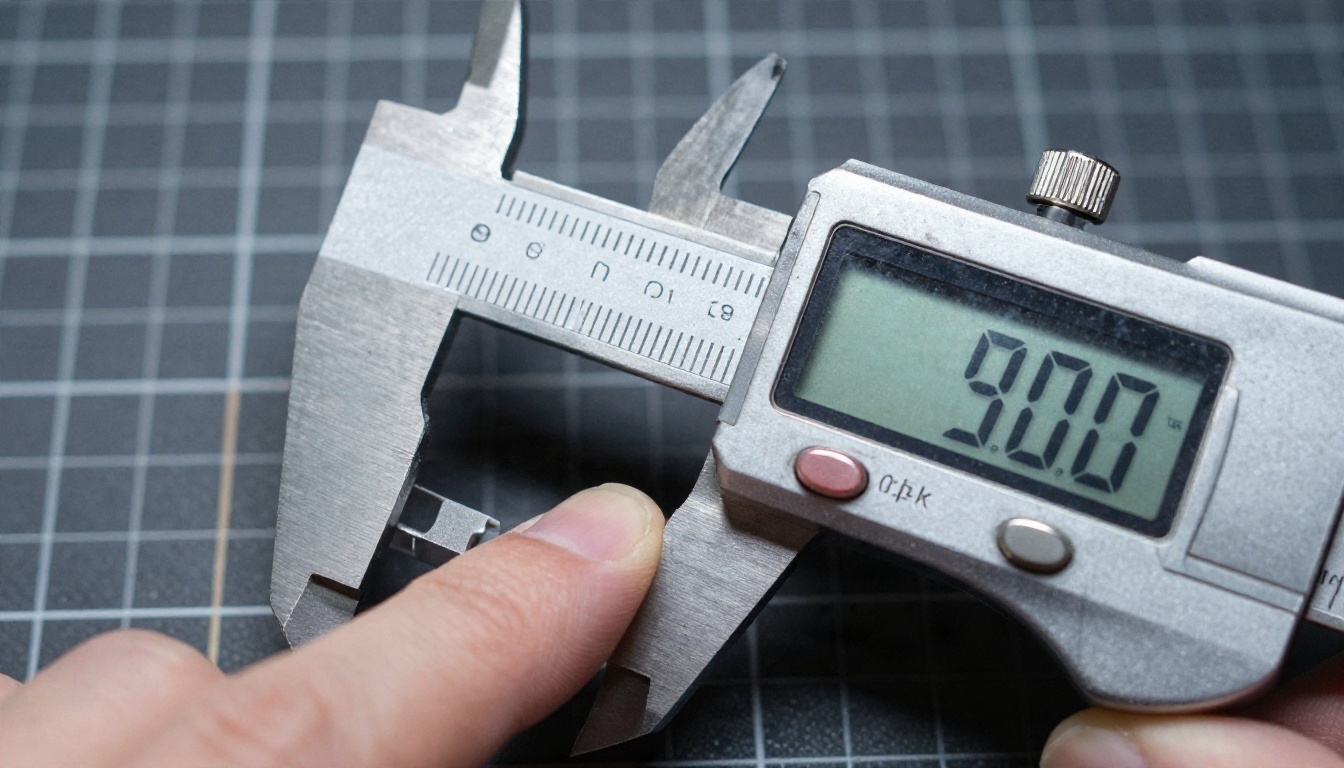
Measure with real calipers on a test print instead of trusting the software. It takes a minute and settles arguments with your own mesh.
Face count and mesh repair
More polygons do not automatically mean a better print. Beyond a certain density, the printer's resolution cannot reproduce the detail, and your slicer just slows down. For a hand-sized figurine, a few hundred thousand faces are plenty. For a simple bracket, far fewer will do.
Before slicing, run a repair pass. Look for:
- Holes in the surface that make the model non-watertight
- Non-manifold edges where three or more faces meet along one edge
- Stray floating fragments that the generator left behind
- Flipped normals that confuse the slicer about inside and outside
Slicers such as Bambu Studio, PrusaSlicer and Cura can fix simple issues automatically, and Blender's 3D Print Toolbox or MeshLab handle harder cases.
Slicing and orientation
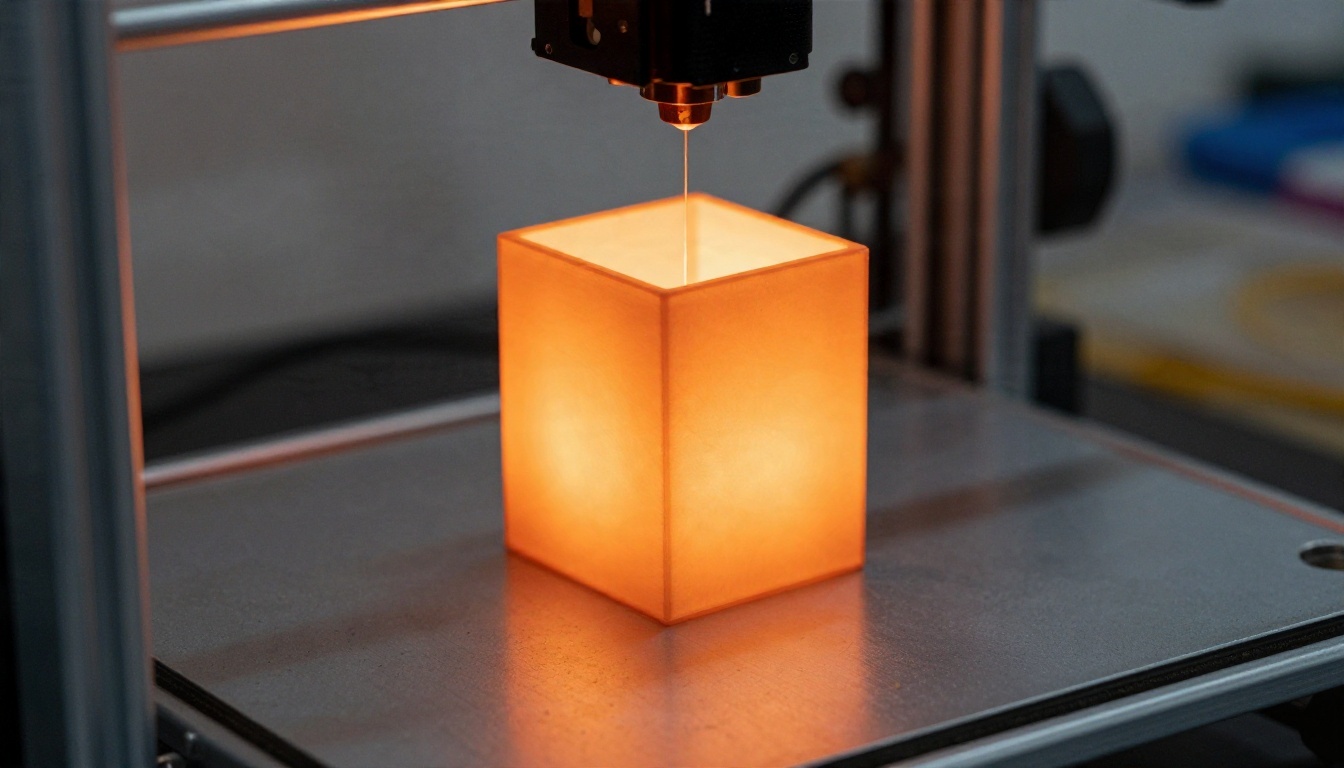
Orientation decides how much support you need, how strong the part is and how good the surface looks. Layers are weakest along the Z axis, so orient the part so that stress does not pull layers apart. For figurines, tilting the model slightly often hides the stair-step effect on curved faces. Use a smaller layer height (0.12 to 0.16 mm) for fine detail and a larger one for draft prints.
The Real Limits of AI Models
Here is the honest part. AI 3D generation is impressive, and it is also unreliable in ways that matter to makers.
Why prints fail
Most failures trace back to three causes.
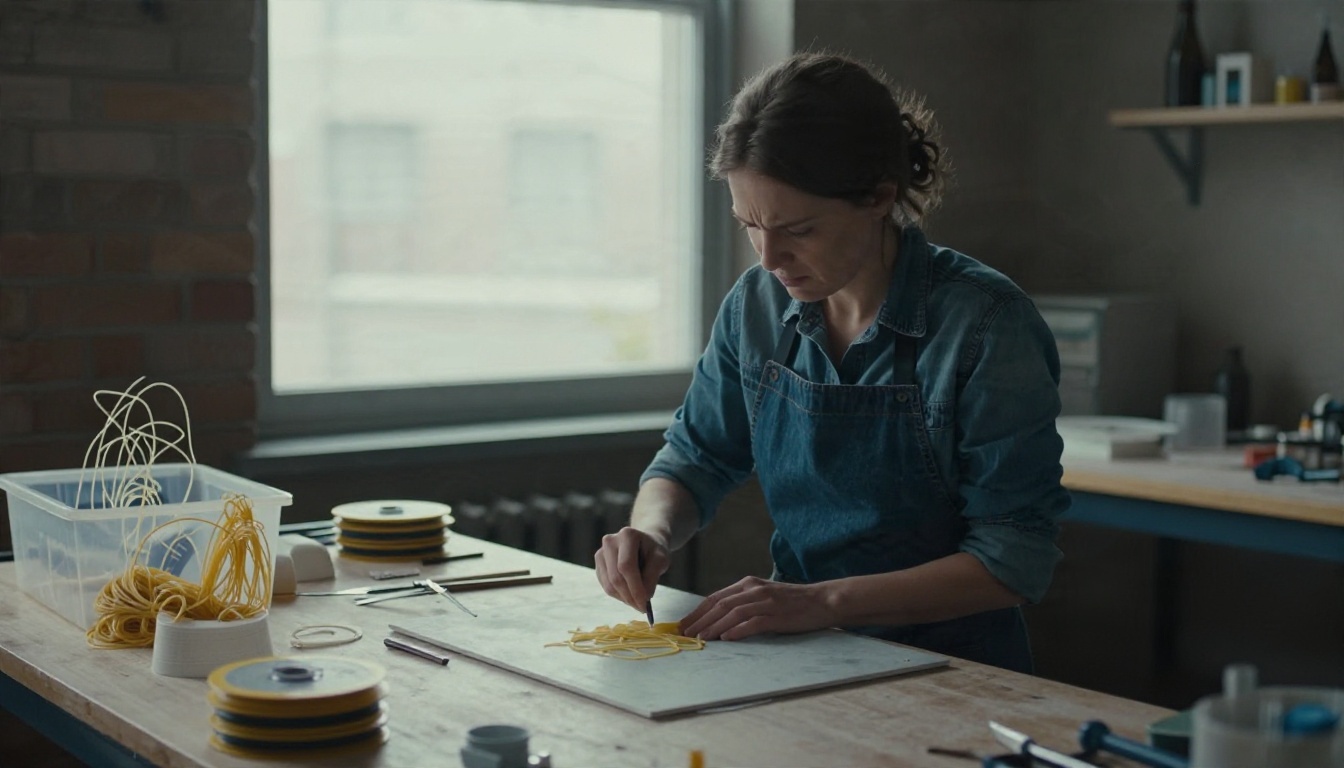
- Hidden geometry problems. The surface looks fine, but there are tiny holes or overlapping shells that confuse the slicer.
- Unrealistic physics. The generator does not know about gravity, so it may produce a heavy head on a pencil-thin neck.
- Lost proportion. A single image gives no information about the back of the object, so the generator guesses, and sometimes guesses badly.
Expect to discard a share of your generations. Treat each one as a draft, not a final file.
Fine detail and scale
AI meshes are strongest on organic, decorative shapes: creatures, busts, vases, toys. They are weakest on functional parts. If you need a bracket that fits a 12.5 mm rod, a hinge with 0.3 mm clearance or threads that mate with a bolt, parametric CAD is still the right tool. AI has no sense of tolerances, and "close enough" does not work when parts must fit together.
| Use case | AI generation | Traditional CAD |
|---|
| Figurines and busts | Excellent | Slow |
| Decorative objects | Very good | Moderate |
| Cosplay props | Good starting point | Good for fit |
| Mechanical parts | Poor | Best |
| Parts with tolerances | Avoid | Best |
| Replacement gears or threads | Avoid | Best |
💡 Tip: A hybrid approach works well. Generate the organic shape with AI, then add mounting holes, flat faces and clearances in CAD or Blender.
A Workflow You Can Repeat
Putting it all together, here is a simple routine that keeps wasted filament low.
- Generate a reference image with Nano Banana Pro or Seedream 4.5. Make three variations.
- Clean it up with Remove Background, and upscale small images with Real ESRGAN.
- Convert to 3D with Hunyuan 3D 3.1 in Geometry mode.
- Repair and check wall thickness, overhangs and a flat base.
- Print a small test at about half scale to check proportions before committing to a full size.
- Post-process: sand, prime and paint.
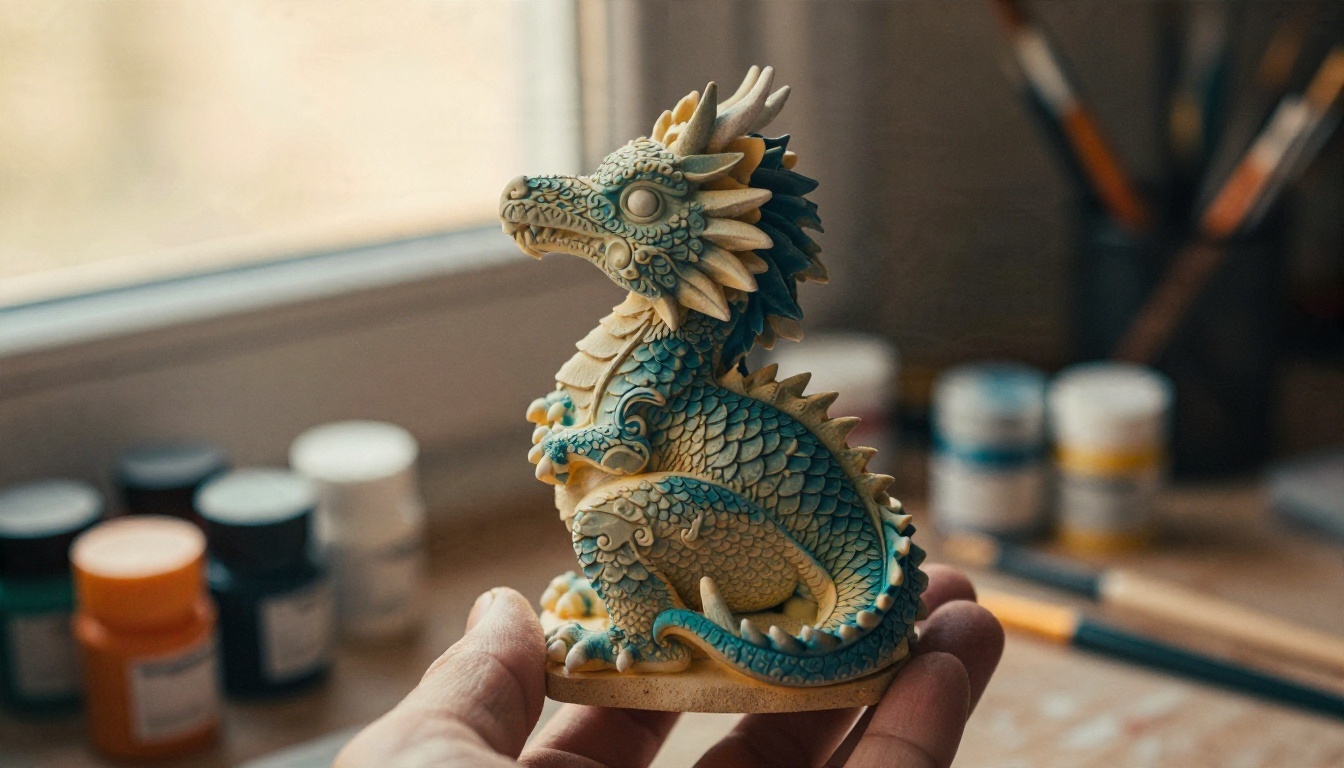
That last step is where a plain grey print becomes something you want to display. Layer lines fade with a few rounds of sanding and a coat of filler primer, and acrylic paint brings out detail the plastic alone cannot show.
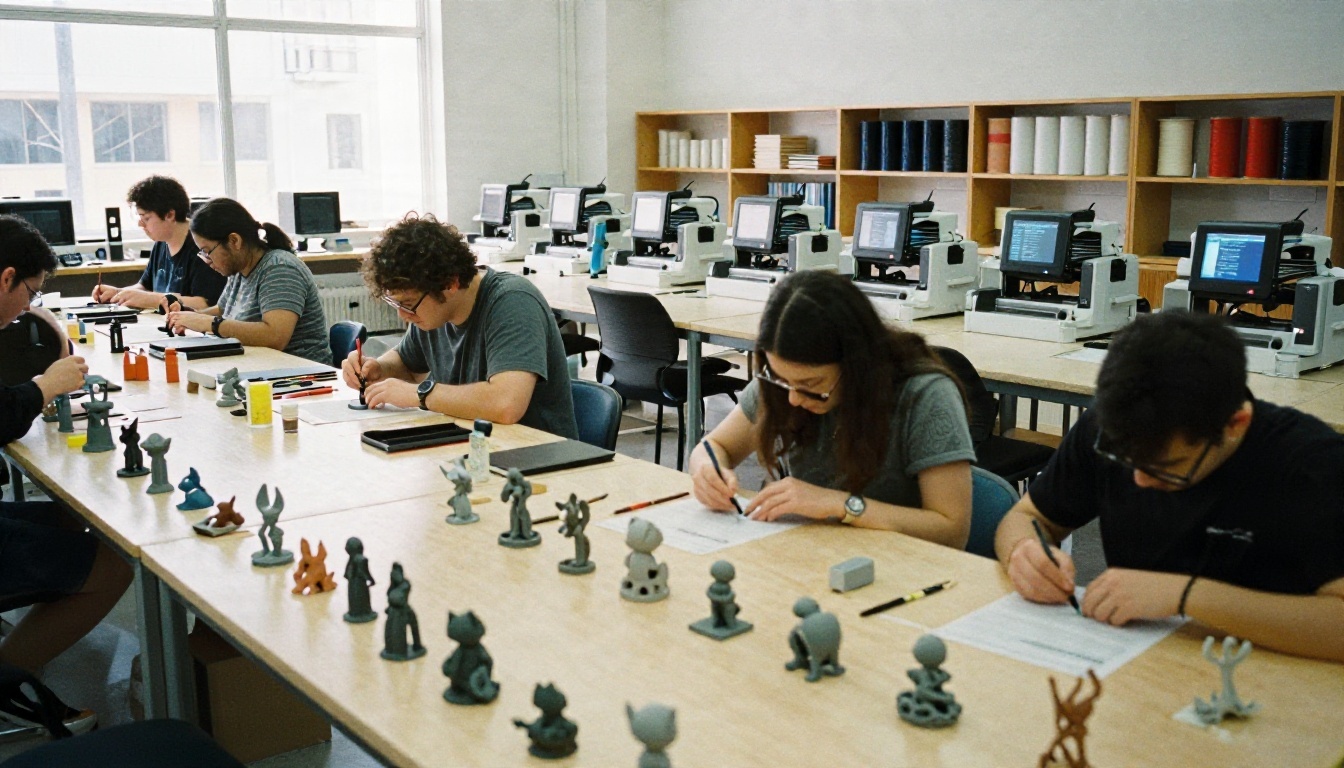
Makerspaces and local print clubs are also worth a visit if you do not own a printer. Many have machines you can use for a small fee, plus people who have already solved the problems you are about to meet.
Try It Yourself
The fastest way to see what AI can do for your prints is to run one experiment this week. Generate a reference image, convert it to a mesh, print a small test and see what breaks. You will learn more from one rough print than from ten articles, and each failure tells you which setting to change next.
PicassoIA puts the whole preparation chain in one place: image generation, background removal, upscaling and 3D conversion. Start with Hunyuan 3D 3.1, try a few reference images, and see how far a single picture can take you. When you want more options, browse every available model at picassoia.com/en/all-models and build your own workflow from there.


