You took the perfect photo, and then you noticed it: a stranger walking through the corner of the frame, a trash can by the doorway, a power line slicing across the sky. A few years ago, fixing that meant a clone stamp, a lot of patience and a headache. Today you can type a sentence like "remove the man in the red jacket" and get a clean result in seconds. An AI object remover with prompt input works like a conversation with an editor who never gets tired. The catch is that the wording you use changes the result more than most people expect.
This article shows you exactly what to type, with copy-ready examples for people, wires, text, clutter and more. It also covers the free options worth your time, a simple step-by-step workflow, and the fixes for the most common problems like smeared patches and repeated textures.

How Prompt-Based Removal Works
Older object removers asked you to paint over the thing you wanted gone with a brush. The tool filled the painted area with something that matched the surroundings. That still works, and it is still useful for tiny spots. Prompt-based removal is different: you describe the target in plain words, and the model finds it, erases it and rebuilds what should have been behind it.
Under the hood, this is a mix of two jobs. First, the model has to locate the object you named. Second, it has to regenerate the hidden area so that lighting, perspective, grain and texture still look believable. Modern image editing models handle both in one pass, which is why a single sentence is enough.
Brush mask vs text prompt
| Method | You do | Best for | Weak spot |
|---|
| Brush mask | Paint over the object | Tiny specks, one precise item | Slow on many objects |
| Text prompt | Type what to remove | Several items, people, text, wires | Vague words hit the wrong thing |
| Prompt plus mask | Paint and describe | Crowded scenes, tricky edges | Takes two steps |
Why wording changes the result
The model reads your sentence as an instruction about the whole image. If you type "remove the thing on the left," it has to guess what "thing" means. If you type "remove the orange traffic cone on the left side of the road," it has a clear target and a clear location. Specific nouns, colors and positions are the three ingredients that work almost every time.
After testing many variations, the pattern that gives the cleanest results is short and boring, which is exactly why it works.
💡 Formula: Remove + [object with color or detail] + [where it is] + and fill with [what should be there].
That last part is the secret weapon. Telling the model what belongs behind the object stops it from inventing something strange. Compare these two:
- Weak: "Remove the person."
- Strong: "Remove the person standing near the fountain and fill the area with the cobblestone pavement and the fountain edge."
Both may work, but the second leaves far less to chance.
Three details to always include
- Identity: a noun plus a visible trait, such as "the woman in the blue coat."
- Position: left, right, background, foreground, next to the tree.
- Replacement: grass, wall, sky, water, wooden floor, or "the same background."
One more line that saves photos
Add a protection sentence at the end: "Keep everything else exactly the same." Editing models sometimes shift colors or soften faces while they work. This one line lowers that risk a lot.

Prompt Examples to Copy
Here are ready-to-use prompts grouped by situation. Swap the details for your own photo.
Removing people from a scene
Crowds are the number one reason people look for this tool. Travel spots, weddings and street photos all have strangers wandering into frame.
- "Remove all the people in the background and fill with the sand and sea. Keep the woman in the white dress exactly as she is."
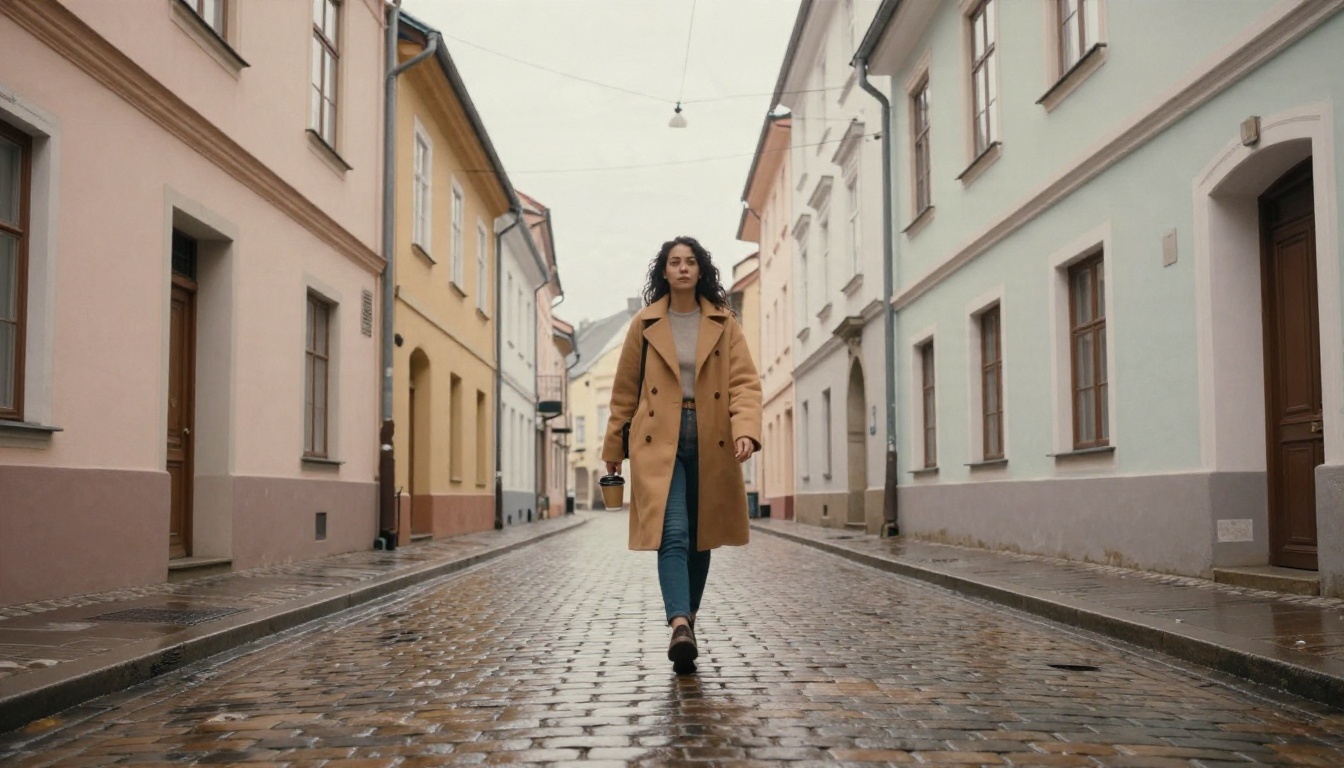
- "Remove the man in the red jacket walking on the right side. Rebuild the pavement and shop window behind him."
- "Remove the group of tourists near the stairs and extend the stone steps naturally."
💡 When you want one person to stay, name them and say they must stay. This avoids the model deleting the wrong subject.
Removing wires, poles and signs
Power lines are tricky because they are thin, long and cross the sky in a straight diagonal. Mention that they cross the sky and what the sky looks like.
- "Remove all the power lines crossing the sky and keep the soft cloudy sky clean."
- "Remove the street sign and the lamp post in front of the yellow building and rebuild the wall."
- "Remove the parked delivery van on the left and fill with the empty road and the curb."
Cleaning up product photos
Sellers use this constantly. Stickers, dust, reflections and a messy table all hurt a listing.
- "Remove the price sticker from the mug and keep the glossy white ceramic surface."
- "Remove the cables and the crumpled paper on the table and keep the wood grain visible."
- "Remove the reflection of the photographer in the glass and keep the product sharp."

Removing text, logos and watermarks on your own images
For text you added yourself or on photos you own, such as a date stamp on a family picture, this works well.
- "Remove the date stamp in the bottom right corner and rebuild the grass behind it."
- "Remove the text on the t-shirt and keep the fabric folds."
- "Remove the logo on the cup and keep the cup color."
💡 Only remove text, logos or watermarks from images you own or have permission to edit. Taking a creator's watermark off their work is not a good idea, legally or otherwise.
Fixing personal photos
- "Remove the photobomber behind the couple on the left side and fill with the green hill and sky."
- "Remove the glare spot on the glasses and keep the eye color natural."
- "Remove the stain on the white shirt and keep the fabric texture."
Free Options Worth Trying
You do not need to pay to remove an object from a photo. The honest picture is that free tools come with trade-offs, so here is how to choose.
What "free" usually means
| Free option type | What you get | Typical limit |
|---|
| Phone gallery erasers | One tap removal on small items | Weak with large areas |
| Browser tools with free tier | A few edits per day | Lower resolution, daily caps |
| Open source models | Full control | You need a strong computer and setup |
| Image editors with free credits | Prompt editing, higher quality | Credits run out |
Google Photos and Samsung and Apple gallery apps all have built-in cleanup features that handle small distractions. They are fast, and they are perfect for a stray bottle on a table. When the object is large, or you want to type a custom instruction, they run out of options.
Free prompt editing on PicassoIA
On PicassoIA, the PicassoIA Image Editor Pro is built for exactly this kind of instruction-based editing, and it offers unlimited generations, which matters a lot when you are iterating on wording. Upload your photo, type your sentence, and refine it as many times as you need without watching a counter.
If you want a tool made purely for erasing, Eraser targets unwanted objects directly and works well when you have a clear item to remove. For removing words from an image, Text Removal is the specialist.

Best Models for the Job
Not every model handles removal the same way. These are the ones worth keeping in your toolbox on PicassoIA.
If you work with moving pictures, Video Erase Object applies the same idea to video clips, removing an object across frames.
💡 A smart habit: run the same prompt on two models and keep the better result. A few seconds of extra work often beats ten minutes of fixing.
A Simple Workflow, Step by Step
Here is how to run a clean edit from start to finish using PicassoIA.
Step 1: Pick the best source file
Use the original, highest-resolution version of the photo. A compressed screenshot already has artifacts, and the model will treat those artifacts as part of the picture.
Step 2: Open an editing model
Open the PicassoIA Image Editor Pro page, or any of the models in the table above, and upload your image.
Step 3: Type one clear instruction
Use the formula: remove, name the object, say where it is, say what to fill with, and add "keep everything else the same." Do not stack five different requests in one sentence at first.
Step 4: Generate and compare
Look at the edges of the removed area. Zoom in to the places where the object touched other things, such as feet on the ground or a hand on a railing. That is where mistakes hide.
Step 5: Repeat for one object at a time
For crowded photos, remove the biggest distraction first, check the result, then go to the next. Multiple small edits give cleaner results than one giant instruction, because each pass has a simple job.
Step 6: Upscale if needed
If the final image looks soft, run it through an upscaler before printing or posting. The edit may add a very slight softness in the repaired zone, and sharpening the whole image makes it blend.
Fixing Messy Results
Sometimes the first try is not perfect. These are the problems you will meet most often and how to solve each.
The patch looks blurry
The model may have filled the area with a smooth guess. Ask for texture explicitly: "fill with the same rough stone texture and the same film grain as the rest of the photo."
The wrong object disappeared
Your description was too loose. Add a color, a position or a neighbor: "the small white dog sitting next to the bench, not the large brown dog."
A repeating pattern appears
Large removed areas sometimes get filled with copies of nearby details, like a row of identical windows. Remove the object in two smaller passes, or mention the pattern: "fill with plain wall, no windows."
Faces or hands changed slightly
Add the protection line: "Keep the faces, hands and clothes exactly the same." Models like Nano Banana tend to be careful here, so switch if another model keeps altering faces.
Shadows are left behind
A removed object can leave its shadow on the ground. Include it in the prompt: "Remove the bench and its shadow on the pavement."
Quick troubleshooting table
| Problem | Likely cause | Fix |
|---|
| Blurry fill | No texture instruction | Name the texture and grain |
| Wrong object removed | Vague wording | Add color, position, neighbor |
| Pattern copies | Large empty area | Split into two passes |
| Face drift | Open-ended prompt | Add "keep faces the same" |
| Leftover shadow | Shadow not named | Add "and its shadow" |
Mistakes That Waste Time
A few habits cause most of the bad edits. Dropping them will save you a lot of retries.
- Using vague words. "Clean it up" tells the model nothing. Name the object.
- Removing too much at once. Five objects in one prompt means five chances to fail in one pass.
- Skipping the replacement. If you do not say what belongs there, the model may paint a new object.
- Editing a tiny, blurry image. Small input means the model has little to work with. Start from the largest file you have.
- Never comparing models. Each one has a different taste. A second try on another model takes seconds.
- Forgetting to check the edges. The center of the repaired spot usually looks fine. The edge is where the seam shows.
Realistic expectations
AI removal is very good, but it is not magic. If an object covers half of a person's face, the model has to imagine that face, and that is a guess. For sensitive memories, like an old family photo, keep the original file and work on a copy.
Where This Skill Pays Off
Once you are comfortable with the formula, you will find uses everywhere.
- Real estate and rentals: remove cables, clutter, a stray car in the driveway.
- Online stores: clean backgrounds, stickers and reflections on product shots.
- Travel photos: empty out a busy landmark so the architecture stands out.
- Portraits: remove a distracting sign behind someone's head, or tidy a flyaway detail.
- Social posts: clean a frame before you post it.
- Family photos: remove the stranger who walked into a graduation picture.
For all of these, the principle stays the same: be specific about the target, describe the replacement, and protect everything else.
Try Your Own Edit Today
The fastest way to get good at this is to pick one photo that bothers you and fix it right now. Take the formula from this article, write one sentence, and see what happens. If the first result is close, adjust a single word and run it again. Within a handful of tries you will have a feel for how each model reads your wording.
Head to PicassoIA and start with the PicassoIA Image Editor Pro for unlimited prompt edits, then compare the same prompt on Nano Banana or Qwen Image Edit Plus. You can also browse every available model at picassoia.com/en/all-models and pick the one that fits your photo. Upload a picture, type what should disappear, and watch the clean version appear.


