AI Old Photo Restoration Prompt: Copy and Paste Examples for Best Results
Ready-to-use AI old photo restoration prompts for scratches, faded prints, torn corners, colorization and blurry faces. See which models fit each job, how to scan properly, and how to upscale the final result.
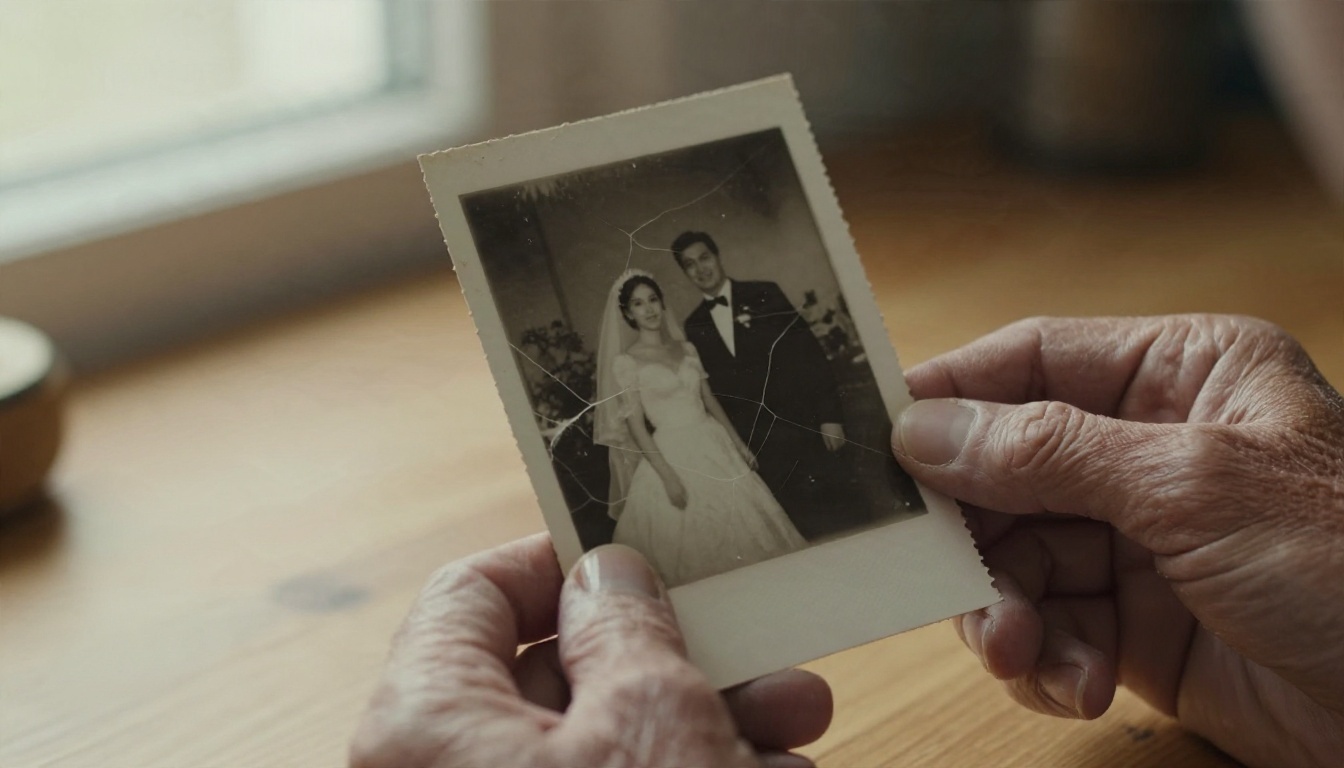
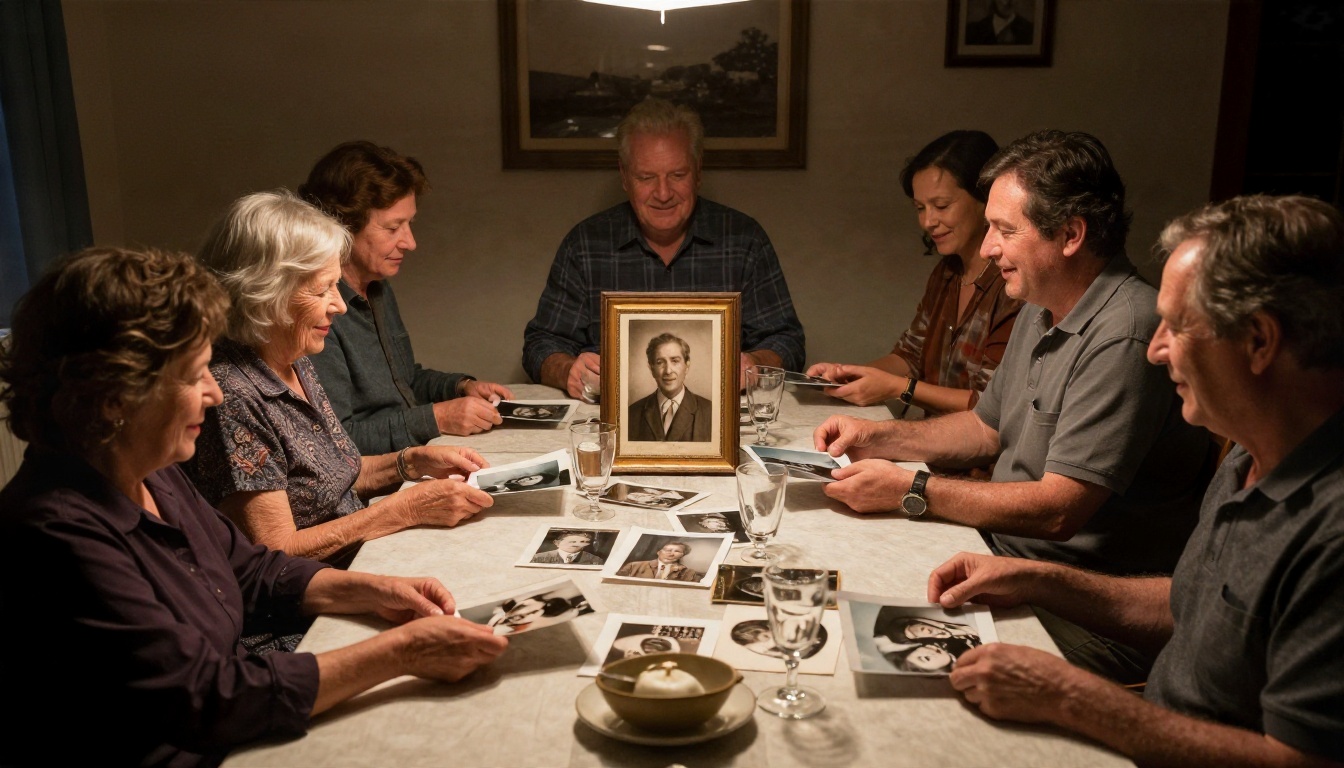
You have a shoebox of family photos, and half of them look like they lost a fight with time. White creases slice through faces, the whites went yellow, one corner is gone. The AI tool is not the problem. In most cases, the prompt is what separates a muddy, plastic-looking result from a restored portrait that still looks like your grandmother. This page gives you tested, copy and paste prompts for each kind of damage, plus the scanning habits and model choices that make them work.
If you only want the prompts, jump to the examples section. If you want results that look natural instead of over-smoothed, read the short sections before it too. They take two minutes and save you a lot of re-runs.
Why Prompts Matter for Old Photos
Restoration models are editing models. They look at your damaged scan and try to follow a written instruction about what to change and, just as important, what to leave alone. A vague prompt like "make this photo better" gives the model permission to invent. It will smooth skin, redraw eyes, and sometimes swap a face for a generic one.
A precise prompt does the opposite. It names the damage, protects identity, and sets a realistic target. That is the whole idea behind every example below.
💡 Rule of thumb: describe the damage you want removed, then describe what must stay exactly the same. Both halves matter.
What a Good Prompt Contains
Every strong restoration prompt has four parts, usually in this order:
The action: restore, repair, clean, colorize.
The damage: scratches, creases, stains, fading, blur, film grain, torn corner.
The protection clause: keep the same faces, pose, clothing, and composition.
The finish: natural skin texture, authentic period look, sharp but not over-processed.
Skip the protection clause and you will see faces drift. Skip the finish and you will get that waxy, airbrushed look people complain about.
The Basic Formula
Here is the template. Replace the brackets with your own details.
Restore this old [black and white / sepia / faded color] photograph. Remove [scratches, creases, dust, stains]. Keep the exact same faces, expressions, pose, clothing and composition. Preserve natural skin texture and fine detail. Result should look like a clean, sharp photo from the same era, not a modern digital portrait.
That single block handles roughly 70 percent of ordinary photos. The rest of this page covers the other 30 percent.
Prepare the Scan First
No prompt can rescue a bad scan. A phone photo with glare across the print, or a scan that crops the edges, will limit every result you get afterwards. Spend a few minutes here.
Clean Before You Scan
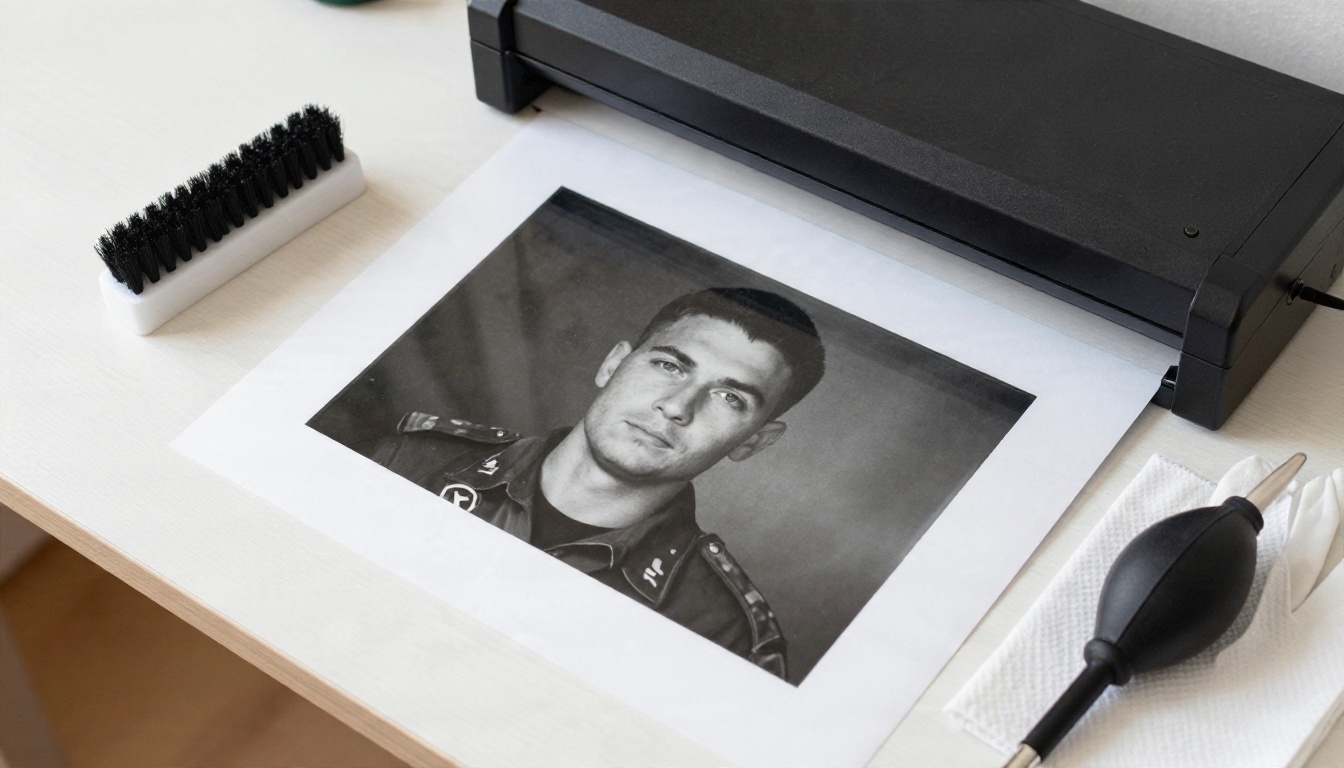
Dust on the glass becomes dust on the photo, and then the AI has to decide whether that speck is part of the picture. Use these basics:
Wear cotton gloves or hold prints by the edges.
Brush the print gently with a soft, dry brush.
Wipe the scanner glass with a microfiber cloth.
Never use water or cleaning spray on the photograph itself.
If a print is stuck to glass in a frame, remove it only if it comes away easily. Otherwise scan through the glass at an angle to avoid reflections.
Scan Settings That Help
Setting
Recommended
Why
Resolution
600 DPI (1200 for small prints)
Gives the model real detail to work with
Color mode
Color, even for black and white prints
Keeps tonal information and paper tint
Format
PNG or TIFF
No compression artifacts added
Cropping
Include the full border
Lets the model see where the damage ends
Auto-fix features
Off
Scanner "dust removal" often softens faces
Phone scans work in a pinch. Shoot in daylight near a window, hold the phone parallel to the print, and keep your own shadow out of the frame.
Copy and Paste Prompt Examples
These are written for editing models that accept an input image plus a text instruction. Paste, swap the details, and run.
Prompt for Scratches and Creases
Folded prints show white lines that cut straight across faces. This is the most common request, and it works best when you name the lines specifically.
Repair this damaged vintage photograph. Remove all white creases, fold lines, scratches and dust spots, especially across the faces. Reconstruct missing detail using surrounding texture. Keep the same people, same expressions, same clothing and same background. Maintain natural film grain and realistic skin texture. Do not smooth or beautify faces.
The last sentence is the one most people skip. "Do not smooth or beautify faces" is a small instruction that stops a lot of plastic skin.
Prompt for Faded and Yellowed Prints
Fading flattens contrast and tints everything amber. You want the tone back without turning the picture into a modern HDR photo.
Restore this faded, yellowed photograph. Correct the color cast and recover natural contrast, deep blacks and clean highlights. Keep the original black and white look [or: keep period-accurate color]. Preserve all faces and details exactly. Add no new objects. Finish should look like a well-preserved original print.
Prompt for Water Damage and Missing Corners
Water stains, mold spots and torn corners need the model to rebuild areas that no longer exist. Tell it what is probably there.
Restore this photograph with water stains, mold spots and a torn bottom-right corner. Remove the stains and rebuild the missing corner by continuing the background naturally, for example [wooden wall / grass / studio backdrop]. Keep all people unchanged. Match the original grain and tone so repairs are invisible.
💡 If the missing area contains a person's hand or part of a face, expect a few attempts. Run it three or four times and pick the version that looks most believable.
Prompt for Colorization
Colorizing is a separate step from repair. Do the repair first, then colorize the clean version. Doing both in one prompt often produces patchy skin tones.
Colorize this restored black and white photograph with natural, historically accurate colors. Skin tones should be realistic and varied, not uniformly orange. Clothing in muted period-appropriate colors. Keep the lighting, faces and composition exactly the same. Subtle color, no oversaturation.
If you know details, add them. "Her dress was dark green" or "the car was red" gives the model real facts instead of guesses, and the output feels far more personal.
Prompt for Blurry Faces
Soft, out-of-focus faces are the hardest case, because the model has to infer detail that was never recorded. The safest approach is to ask for sharpening and not for reinvention.
Sharpen and clarify the faces in this old photograph. Restore fine detail in the eyes, eyebrows, lips and hair strands while keeping each person's identity, age and expression unchanged. Natural skin pores and fine wrinkles, no beauty filter, no smoothing. Keep the rest of the image consistent.
⚠️ Check the result against the original. If the restored face feels like a different person, reduce the instruction to "slightly sharpen" and try again. Faithfulness beats sharpness every time.
Prompt for Group Photos
Group portraits multiply the risk, since the model might fix one face and ruin another. Keep the language simple and general.
Restore this group photograph. Remove scratches, stains and fading across the entire image. Keep every person in the same position with the same face, expression and clothing. Do not add, remove or merge people. Even sharpness across all faces.
Models for Each Job
No single model is best for everything. Match the tool to the damage.
A good order for a badly damaged photo: dust and scratch cleanup first, then a restoration prompt for the remaining damage, then colorization if you want it, then upscaling last. Each step starts from a cleaner image than the one before.
How to Use Restore Image on PicassoIA
If you want one tool that handles most photos without fuss, Restore Image is the easiest place to begin. It is built for exactly this job: repairing damage and bringing color back to old pictures.
Upload your scan. Use the highest-quality file you have, ideally PNG.
Pick the output format you prefer. PNG keeps the most detail.
Run it and compare the result to your original at 100 percent zoom, looking at the eyes and edges first.
If you need more control, move to Flux Kontext Fast and paste one of the prompts from the section above, so you decide exactly what changes.
Save the version you like, then send it to an upscaler.
Settings and Habits That Help
Run several versions. Restoration has some randomness. Three runs usually give you one clear winner.
Fix one problem at a time on difficult prints. Scratches first, color later.
Crop out the scanner bed or album page before uploading so the model does not try to "restore" the table.
Keep your original file untouched. Always save results under a new name.
💡 Dust and heavy scratches? Run Dust And Scratch v2 first, then pass the cleaned file to a prompt-based editor. It gives the second model much less to guess.
Upscale After Restoring
Old prints are small, and scans of them are often soft. Once the damage is fixed, upscaling gives you a file big enough to print at 8x10 or larger without it falling apart.
Always upscale last. If you enlarge first, you also enlarge every scratch, and the restoration step then has to deal with bigger, harder defects.
For a portrait destined for a frame, Crystal Upscaler is a strong first choice. For a landscape or street scene with plenty of fine texture, Clarity Pro tends to hold up better. When in doubt, run both and compare at full size.
Common Mistakes to Avoid
Asking for Too Much at Once
"Restore, colorize, sharpen, upscale, and make it look modern" is four jobs in one sentence. The model will compromise on all of them. Split the work into steps and the quality jumps.
Forgetting the Protection Clause
If your prompt never says to keep the same faces, the model may treat faces as part of the damage. Always include "keep the exact same faces, pose and clothing."
Chasing Perfect Skin
Real 1940s portraits have grain, pores and imperfections. If the result looks like a glossy magazine cover from today, the prompt was too aggressive. Add phrases like "natural skin texture," "authentic film grain," and "no beauty retouching."
Using a Weak Scan
Low resolution, cropped corners and phone glare all limit the outcome. Rescan before you blame the model.
Quick Reference Cheat Sheet
Damage
Add this phrase to your prompt
White fold lines
"Remove all fold lines and creases across faces"
Dust and specks
"Remove dust, spots and small scratches"
Yellow tint
"Correct the yellow color cast, restore neutral tones"
Low contrast
"Restore deep blacks and clean highlights"
Torn edges
"Rebuild missing corner by continuing the background"
Soft faces
"Sharpen eyes and facial detail, keep identity unchanged"
Plastic look
"Natural skin texture, no smoothing, keep film grain"
Wrong colors
"Historically accurate, muted, realistic color"
Copy the row that matches your photo, add it to the basic formula from earlier, and you have a custom prompt in ten seconds.
Try It on Your Own Photos
The best test is a photo you care about. Pick one print from that shoebox, scan it at 600 DPI, paste the basic formula, and see what comes back. Then try the scratch prompt, then colorization, and compare each version side by side. Within a few runs you will know which wording suits your family's photographs.
PicassoIA puts the restoration models, prompt-based editors and upscalers in one place, so you can run the full sequence without switching tools. Start with Restore Image, finish with Real ESRGAN or Crystal Upscaler, and print the result for the person who has been waiting to see that photograph again. Upload your first scan today and bring the faces back.