A shoebox of faded prints can feel silent. Then someone uploads one portrait, presses a button, and a great-grandmother who has been still for eighty years blinks, tilts her head and almost smiles. That moment is why AI old picture animation has gone from novelty to a regular family ritual. The tools are cheap or free, the clips take under a minute, and the results can be genuinely moving. They can also go badly wrong: melted faces, rubbery shoulders, a stare that looks nothing like the person in the photo.
This article shows what works. You will find the free tools worth your time, a repair routine that gives the animation model a clean starting frame, a step-by-step walkthrough on PicassoIA, and the exact prompt and motion settings that keep faces believable.
Why Old Photos Move Better Than You Think
What the Motion Really Is
When you animate a still, the model does not "find" hidden movement. It predicts what the next frames would look like based on millions of videos it has seen. It reads the face, the pose, the fabric, the background depth, then invents plausible motion: a blink, a breath, a slight head turn, wind in the hair.
That is why a sharp, well-lit portrait animates beautifully and a blurry, scratched one produces mush. The model can only guess as well as it can see.
💡 Tip: Think of the source photo as the first frame of a film. Every flaw in that frame gets carried into all 120 frames that follow.
Who Uses It and Why
The most common use is personal: a grandparent's wedding portrait, a school photo, a soldier in uniform. Genealogy hobbyists use short clips in family tree presentations. Local historians animate archive street scenes for museum screens. Funeral homes and memorial pages use gentle, slow motion for tribute slideshows.
In almost every case, the goal is the same: subtle, respectful motion. Nobody wants a dancing ancestor. They want a blink and a breath.
Free tools fall into two camps. Face-only animators are fast and safe but limited. Full-scene image-to-video models are more flexible and demand better prompts.
Face-Only Animators
MyHeritage Deep Nostalgia popularized this style years ago. You upload a portrait and it applies pre-recorded head and eye movements to the face. It works well on frontal portraits, but it cannot animate a hand, a horse or a flag behind the sitter. Free use is typically capped at a small number of photos, so check the current limit before you plan a big batch.
Other apps in this group, including LivePortrait style projects and phone apps such as Remini, focus on the face and can add speech or expression changes. They are good for a single close-up and weak for group shots.
Full-Scene Image-to-Video Models
The newer generation animates the whole frame. A fishing boat rocks, a curtain moves, steam rises from a cup, and the person blinks. Models such as Pika and Hailuo offer free tiers with daily limits, watermarks or short clip lengths, so read the terms before relying on them for anything you plan to share.
On PicassoIA, several image-to-video models are available in one place:
💡 Tip: Free does not have to mean limited. Start with the free options, find a prompt that works, and only move to a heavier model for the one or two photos that matter most.
Restore the Photo Before You Animate
This is the step most beginners skip, and it is the biggest quality jump you will see. A restored frame gives the animation model clean information about eyes, mouth and clothing edges.
Scan It Properly
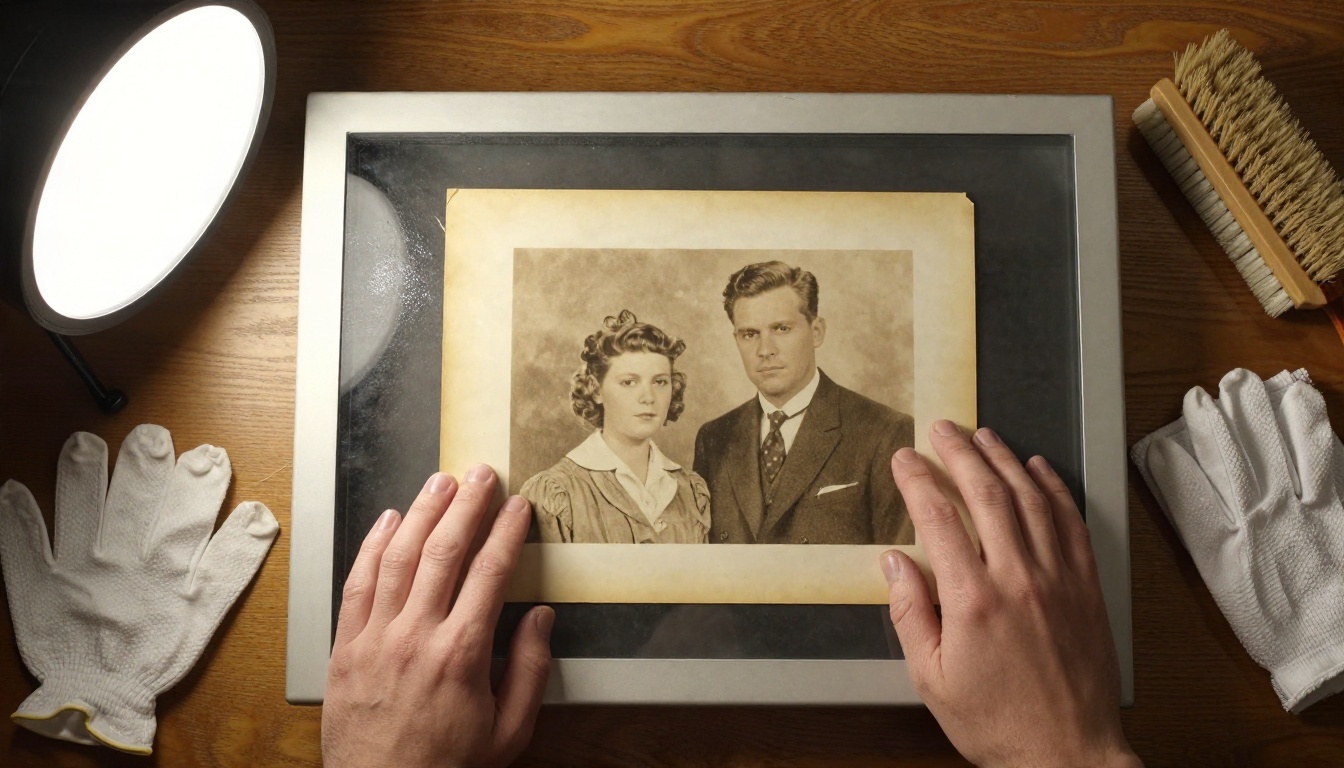
If you have the physical print, scan it rather than photographing it with a phone. Use at least 600 dpi for small prints, wipe the glass, and handle the paper by the edges with cotton gloves or clean dry hands. A scan avoids glare, perspective distortion and the soft focus that phone cameras add in dim rooms.
If you only have a photo of a photo, shoot it near a window with indirect light, parallel to the print, with the flash off.
Fix Scratches and Dust
Cracks, creases and white specks look like facial features to an animation model. It may animate a scratch across the cheek as if it were a scar or a moving shadow.
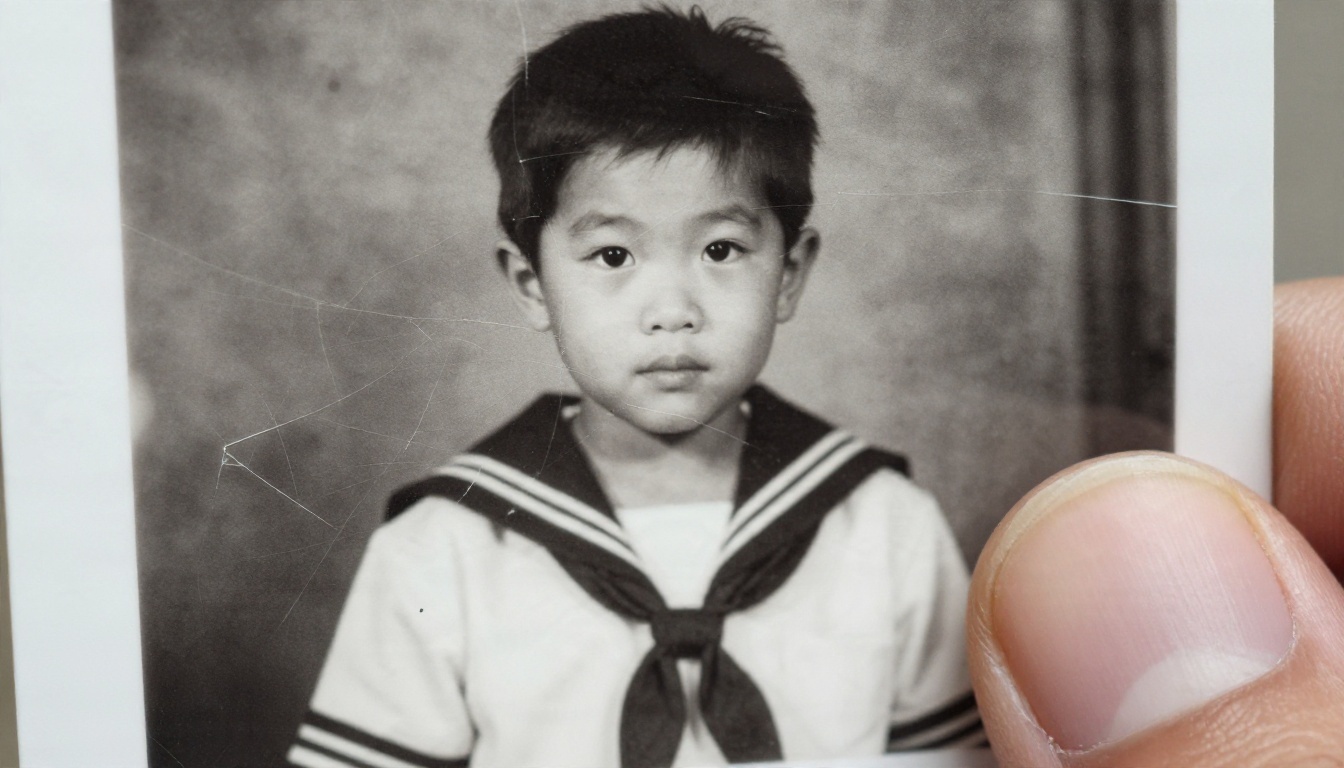
Dust And Scratch v2 is built for exactly this job. For softer repairs, such as a torn corner or a water stain, an editing model like PicassoIA Image Editor Pro or Qwen Image Edit Plus can repair the damage with a simple instruction such as "remove the crease and stains, keep the face unchanged".
Add Color Only If It Helps
Colorizing is optional. It can make a person feel closer, but it also invents skin tones, uniform colors and eye colors that nobody can verify. Image Colorization gives believable results on portraits, and many families prefer to keep the original black and white for the animated version.
If you do colorize, keep both versions. Animate the one that looks most like the person you remember.
Upscale to a Clean Source
Small scans produce blocky motion. Upscaling to around 2000 pixels on the long edge gives the model more detail to hold on to. Real ESRGAN is a quick free option, and Clarity Pro Upscaler adds more natural texture to skin and fabric.
💡 Tip: Do not over-sharpen. Faces that look plastic after upscaling will look worse once they start moving.
How to Animate an Old Photo on PicassoIA
Here is the workflow using Wan 2.5 I2V Fast for a quick preview. The same steps apply to Wan 2.7 I2V, Kling v2.5 Turbo Pro and Hailuo 2.3 Fast.
Step by Step
- Prepare the image. Use your restored, upscaled scan. Crop away black scanner borders and keep the subject centered with some breathing room around the head.
- Open the model page. Pick the model from the table above and choose the image-to-video input.
- Upload the photo as the first frame.
- Write a short motion prompt. Describe only what should move, for example: "The woman blinks slowly and gives a faint smile, her head tilts slightly toward the camera, soft natural light, camera holds still."
- Choose resolution and length. Start with the lowest resolution and the shortest duration your model offers, then repeat the best version at higher quality.
- Generate and review. Watch the first two seconds closely. If the face drifts, shorten the prompt and try again.
- Polish the result. Run the final clip through Real ESRGAN Video if you need a sharper export for a screen or a printed memorial slideshow.
Which Model for Which Photo
- Single studio portrait: P Video Animate or Wan 2.5 I2V Fast. Both handle gentle face motion without drama.
- Group photo or street scene: Wan 2.7 I2V or Kling v2.5 Turbo Pro. They keep several people and the background consistent.
- Photo you want to hear speak: try Omni Human 1.5, which creates realistic lipsync video from a photo and an audio track. Only use it with permission from relatives and with a voice recording you have the right to use.
- Unlimited free testing: Seedance 2.5 Lite and PicassoIA Video.
Settings That Actually Work
Most failed animations come from asking for too much. Old photographs have limited information, so the best clips are modest.
Prompts That Keep Faces Stable
Use a three-part prompt: subject action, camera, light. Keep it under 40 words.
- Good: "The man in the uniform blinks, breathes gently and gives a small nod. Camera is locked. Soft window light."
- Risky: "The man walks forward, laughs, waves, and the camera zooms in while the background changes."
Words that help: blinks, breathes, subtle, gentle, slowly, locked camera, still background. Words that cause trouble: dance, run, turn around, spin, dramatic, cinematic zoom.
A negative instruction such as "no morphing, no change of face, no extra people" also helps on models that accept one.
Motion Strength and Duration
Where a model gives you a motion or creativity slider, set it low to medium. High values invent too much and the face begins to drift. A 5 second clip is the sweet spot: long enough to feel alive, short enough to avoid identity drift in the last seconds.
| Setting | Recommended | Why |
|---|
| Duration | 3 to 5 seconds | Less drift, loops well |
| Motion strength | Low to medium | Keeps the person recognizable |
| Camera | Static or very slow push-in | Prevents warped edges |
| Prompt length | 20 to 40 words | Fewer conflicting instructions |
| Resolution | Preview low, final 720p or higher | Saves time and free credits |
| Seeds | Try 3 to 4 variations | Eye motion varies a lot |
💡 Tip: Generate three versions of the same photo and pick the best blink. Small differences in eye movement decide whether the result feels warm or eerie.
Real Examples and What They Show
Studio Portrait
A 1920s studio portrait with a plain backdrop is the easiest case. The face is large in the frame, lighting is even and there is no background to confuse the model. A prompt about a slow blink and a faint smile typically produces a usable result on the first or second try. This is the photo to use when you test a new model.
Group Shot Outdoors
A harbor group photo from the 1950s is harder. Many small faces, wind, water and rigging all compete for motion. Ask for environmental movement rather than facial acting: "Waves move gently, gulls drift, the men stand still and breathe, camera locked." Small faces in the distance will not become expressive, and that is fine.
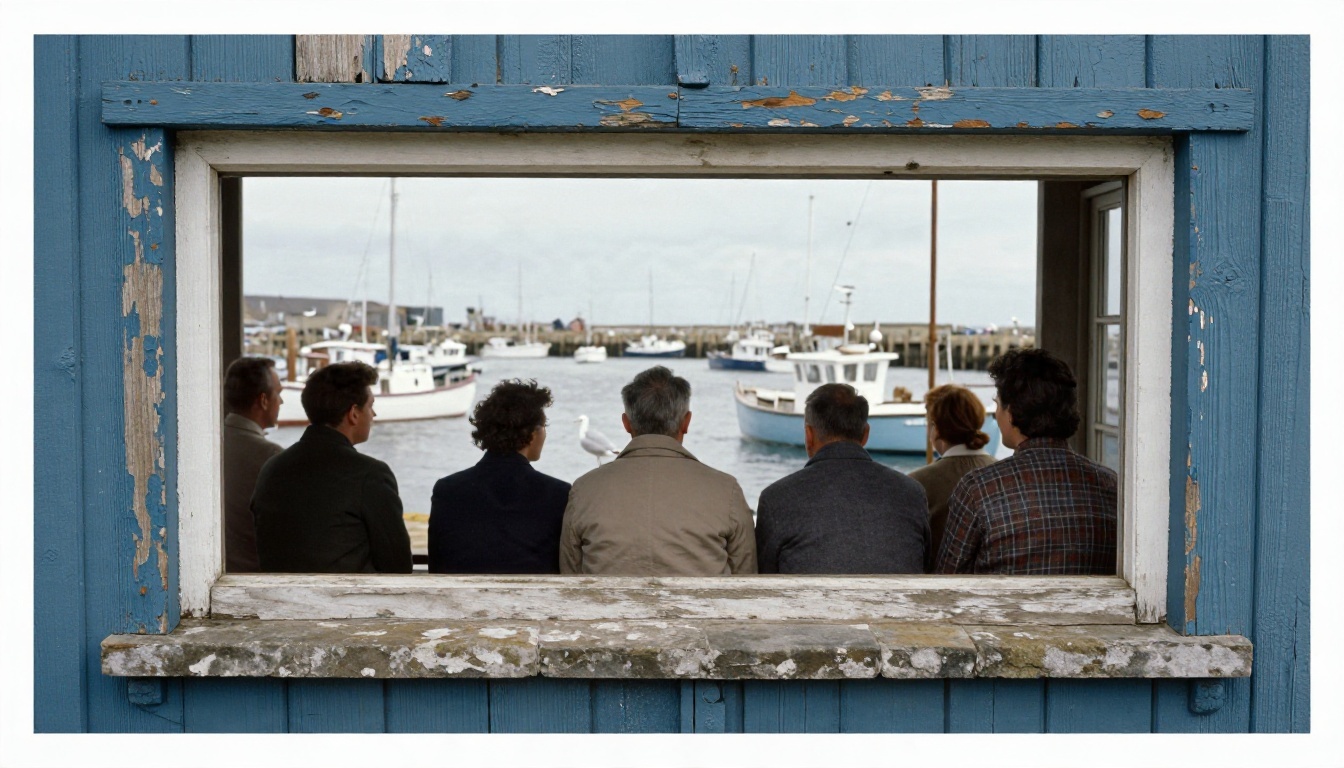
For scenes like this, Wan 2.7 I2V and Kling v2.5 Turbo Pro tend to handle scene consistency well.
Damaged Child Portrait
A creased photo of a child in a sailor suit shows why restoration matters. Without repair, the crack across the forehead can flicker like a lightning bolt. After a pass through a scratch remover and a light upscale, the same prompt gives a calm, clean clip. Restoring first typically saves you several wasted generations.
Common Mistakes to Avoid
Animating the Raw Scan
Skipping restoration is the number one reason for creepy clips. Spend two minutes on cleanup and the animation improves more than any prompt change could achieve.
Asking for Big Expressions
Real people in old photographs were often told to hold still and not smile. Forcing a broad grin on a stern face creates a stranger. Aim for a micro-expression and let the viewer fill in the emotion.
Ignoring Likeness Checks
Always show the finished clip to a relative who knew the person. If someone says "that is not her", discard it. A clip that looks slightly off can replace the true memory in people's minds, which is worse than having no animation at all.
Skipping Consent and Labeling
Be open about what the clip is. Label it as an AI animation when you share it, ask relatives before posting a living person's image, and keep the original photograph untouched. Animating deceased relatives for private remembrance is common, but if a family member finds it uncomfortable, respect that.
Quick Workflow You Can Copy
Here is the repeatable routine in six lines:
- Scan at 600 dpi or shoot near a window.
- Remove scratches with Dust And Scratch v2.
- Upscale with Real ESRGAN or Clarity Pro Upscaler.
- Optionally colorize and keep both versions.
- Animate with a 20 to 40 word prompt, 5 seconds, locked camera.
- Review three seeds, share the best, and label it as AI generated.
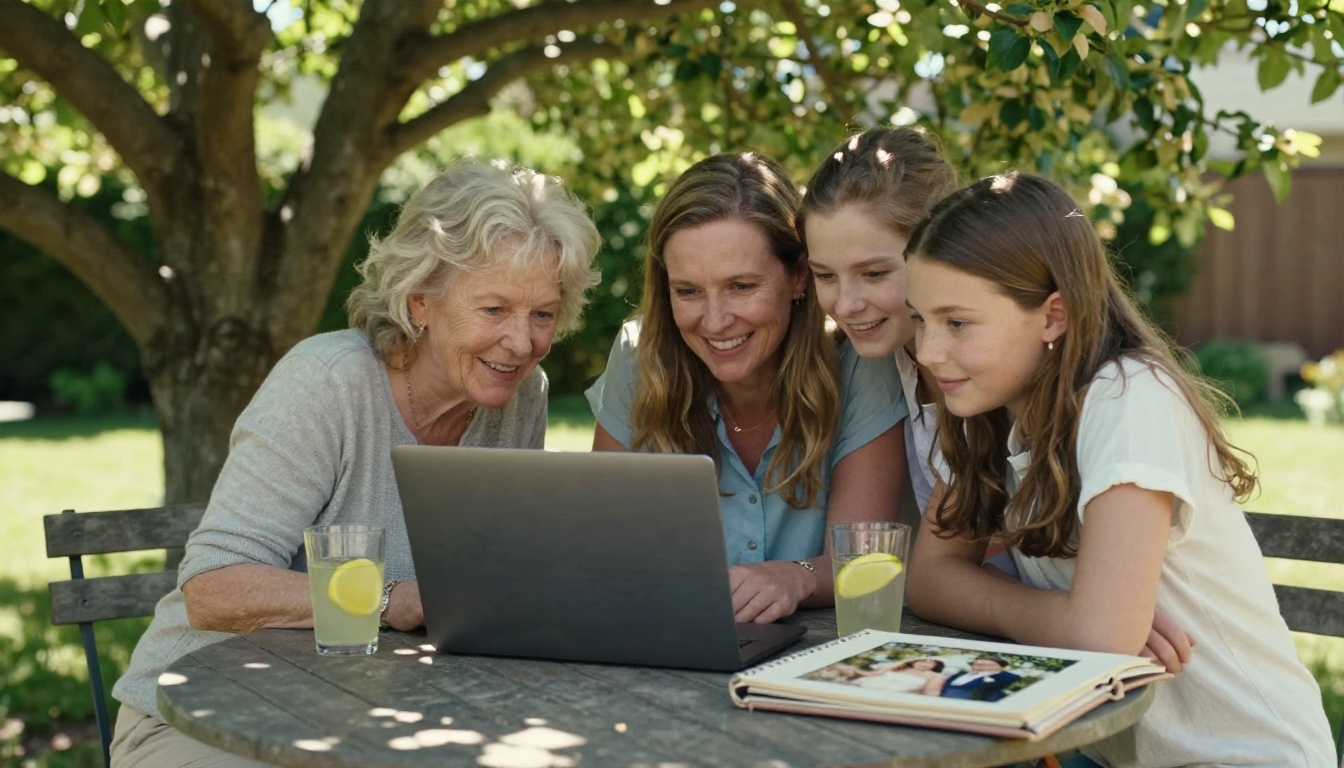
Try It on Your Own Family Photos
You do not need a studio or a budget to see someone you love move again. Pick one clear portrait, clean it up, and run it through a free model on PicassoIA. Start with Seedance 2.5 Lite or PicassoIA Video for unlimited experiments, then move to Wan 2.7 I2V or Kling v2.5 Turbo Pro when you find a photo worth a polished render.
Try three prompts, compare the blinks, and share the best version with the relatives who will recognize it first. Browse every available model at picassoia.com/en/all-models and build your own family archive, one frame at a time.


