You can open a print on demand shop this week without buying a single shirt, a printer or a box of mugs. The catch is that the first design you upload will probably be rejected, look soft on a hoodie, or cost you more than you expected. The reasons are almost always the same three things: the wrong tool, a file that is too small, and a price that ignores the platform's cut. This article walks through all three with real numbers, so your first AI-made design prints sharp and still leaves you a profit.
How AI Print on Demand Works
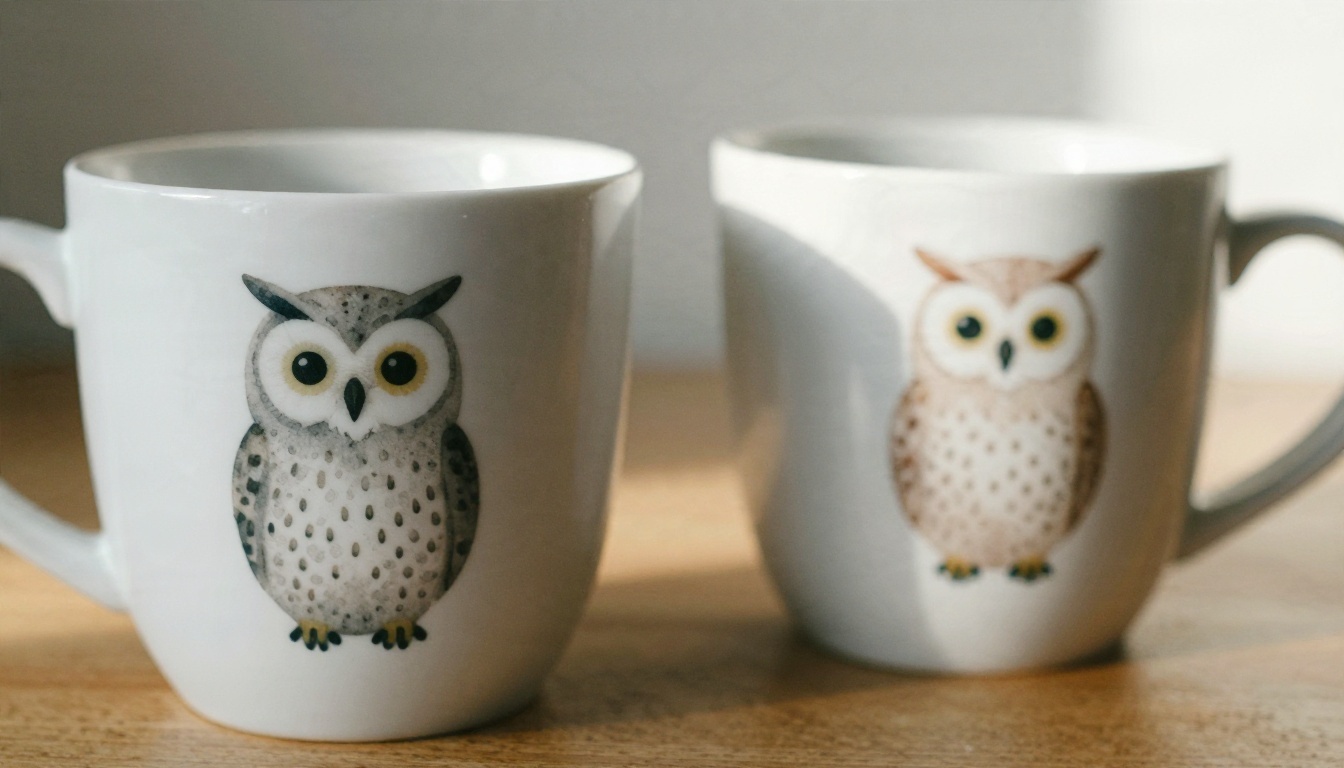
Print on demand means you upload artwork, a platform prints it on a product only after someone orders it, and the same platform ships it to the buyer. You never hold stock. AI changes the first step: instead of drawing every design yourself or paying a freelancer, you generate artwork from a text prompt in seconds.
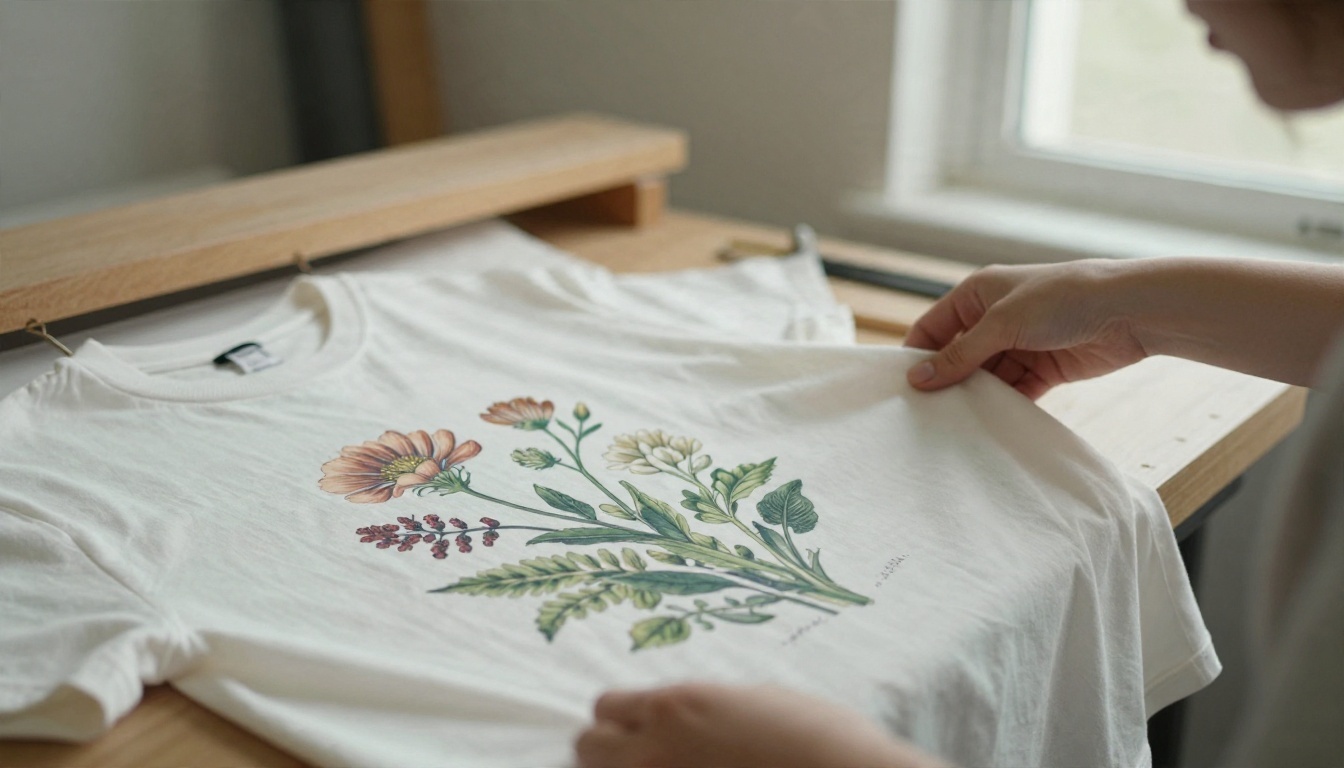
The basic workflow
Almost every beginner shop follows the same five steps:
- Generate a design with an AI image model.
- Fix the size, resolution and background so the file meets the product's print area.
- Upload it to a print provider and attach it to a product such as a t-shirt, mug, tote or poster.
- Connect the product to a storefront, for example Etsy, Shopify or the provider's own store builder.
- Price the item, publish it and wait for the first order.
Steps 2 and 5 are where most newcomers lose time and money, so they get the most space below.
What AI actually changes
AI removes the bottleneck of making artwork, not the bottleneck of selling. A good generator gives you dozens of options per hour, which lets you test ideas cheaply. It does not give you an audience, a niche or a sense of what people will wear. The best results come from a narrow theme (hiking, cats, vintage botanicals, a specific hobby) and a repeatable visual style, not from uploading every pretty image you generate.
💡 Tip: Treat AI output as a first draft. A design that looks great on screen at 1,000 pixels can fall apart at 4,500 pixels. Check it zoomed in before you upload.
"Free" in this niche comes in three flavors: free to try, free with a daily limit, and free forever with fewer features. All three are useful when you are testing a niche. Just check the commercial-use terms of whatever you pick before you sell anything.
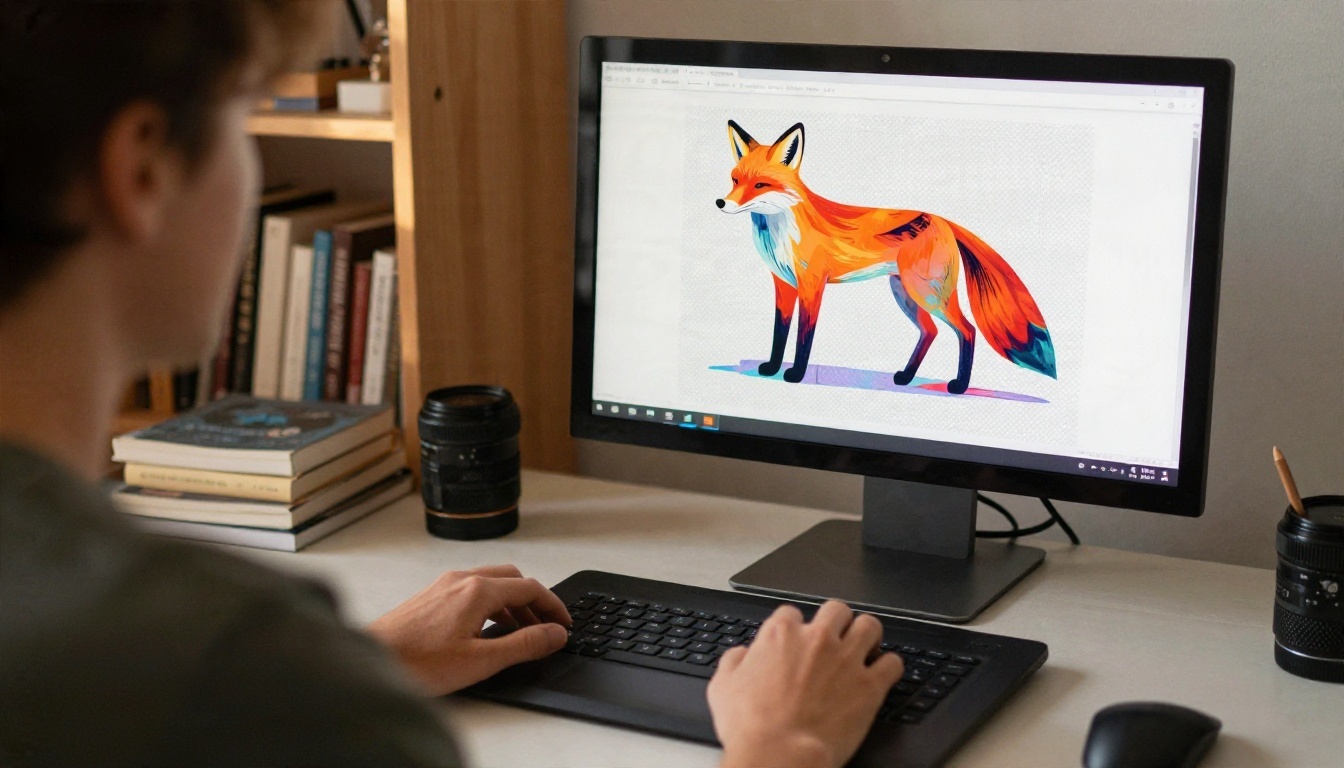
Free image generators
For artwork that survives printing, you want a model that makes clean edges, accurate colors and large output. These are good starting points on PicassoIA:
| Model | Best for | Why it suits print |
|---|
| Seedream 4.5 | Detailed illustrations, posters | Outputs up to 4K, which gives you more pixels to work with |
| Nano Banana Pro | Designs with short text, edits | 4K output and strong prompt following |
| Qwen Image 3 | Photorealistic scenes, wall art | Natural textures that print well on paper and canvas |
| Flux 2 Klein 4B Base | Fast drafts and style tests | Quick iterations when you are still choosing a look |
| Nano Banana | Editing a design you already like | Change colors, props or backgrounds without starting over |
Start with one model and one style. Switching tools for every design produces a shop that looks like five different people made it.
Free upscalers
Most generators output somewhere between 1 and 4 megapixels. That is fine for a phone screen and often too small for a poster or a full-chest shirt print. An upscaler adds pixels and sharpens detail so the file reaches the size a provider asks for. These are worth testing:
Free mockups and editors
Most print providers include a free mockup generator inside their product creator, and that is usually enough for your first listings. For background removal, cropping or small color fixes, any free image editor does the job. You do not need paid design software to publish your first ten products.
Image Size Limits Explained
This is the section that saves you the most rejected uploads. Three numbers matter: pixel dimensions, DPI and file weight.
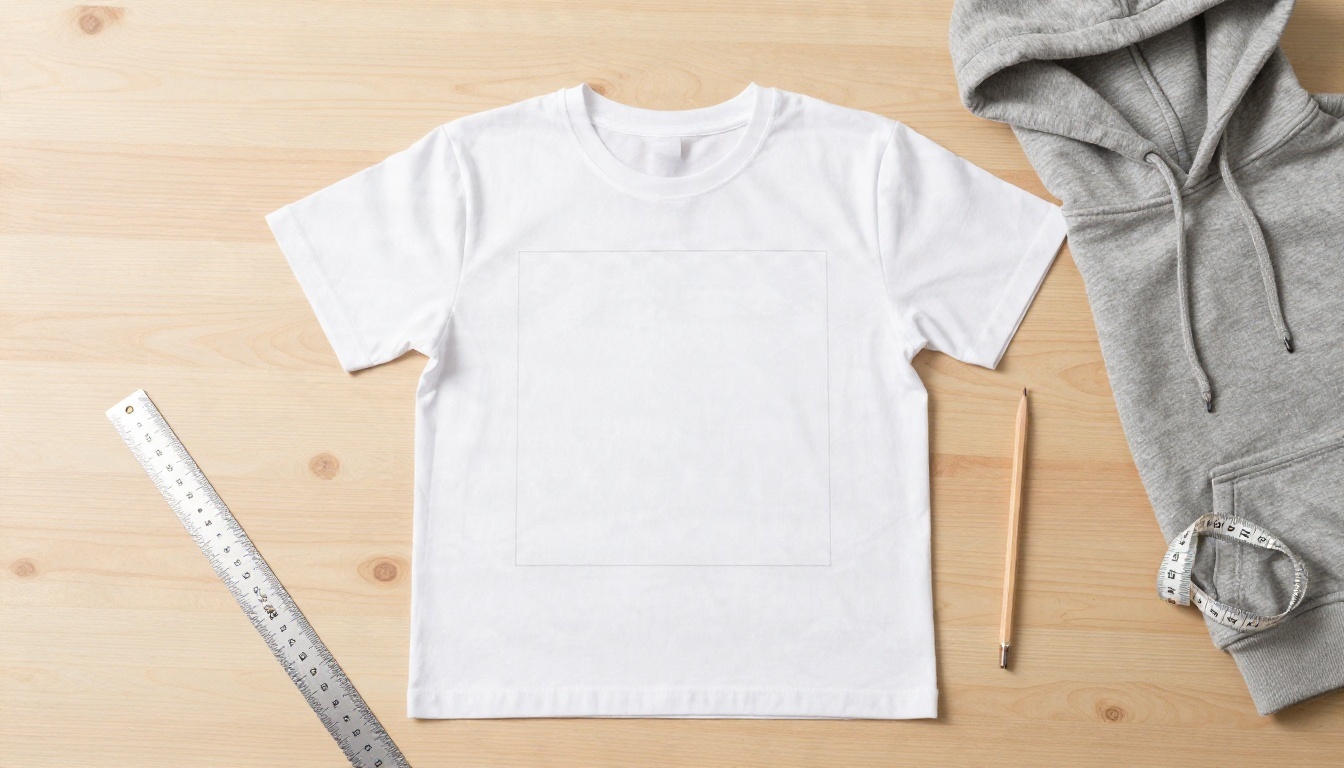
Pixels, DPI and print area
The formula is simple:
Pixels = print area in inches × DPI
DPI means dots per inch, the density of the print. Printful's own advice is to aim for about 300 DPI for paper products and about 150 DPI for most other items, and not to go much above 300. Printify typically asks for around 300 DPI as well. So a 12 × 16 inch chest print at 300 DPI needs a file of 3,600 × 4,800 pixels. Gelato's default t-shirt template is larger, at 4,500 × 5,400 pixels, which is more than most providers need but never hurts.
💡 Tip: If you cannot tell what a provider wants, build the file at 300 DPI for the largest print area on the product. You can always downsize, but you can never add real detail back.
Typical sizes by product
The table below is plain arithmetic from common print areas. Always confirm against the product's own template, because every provider and every product has its own dimensions.
| Product | Print area (approx.) | At 150 DPI | At 300 DPI |
|---|
| T-shirt front | 12 × 16 in | 1,800 × 2,400 px | 3,600 × 4,800 px |
| Tote bag | 12 × 12 in | 1,800 × 1,800 px | 3,600 × 3,600 px |
| Poster | 18 × 24 in | 2,700 × 3,600 px | 5,400 × 7,200 px |
| Framed print | 12 × 16 in | 1,800 × 2,400 px | 3,600 × 4,800 px |
| Mug wrap | roughly 9 × 3.5 in | 1,350 × 525 px | 2,700 × 1,050 px |
Notice how fast posters grow. A 1,024 × 1,024 image is a thumbnail next to a 5,400 × 7,200 poster file. This is why upscaling is a normal part of the workflow and not a rescue step.
File format and weight limits
Use PNG for designs with transparent backgrounds, which is what you want for apparel, and JPEG for full-bleed artwork such as posters. SVG works for vector logos but not for AI images, which are raster files. Printful's help pages list a maximum of around 100 MB for PNG and JPEG uploads and around 20 MB for SVG, though another of its pages mentions a higher limit inside its design maker, so treat these as ballpark figures and check the upload screen. A 5,400 × 7,200 PNG usually lands well below that limit, but a huge file with lots of fine texture can get close. If an upload fails, export a slightly smaller PNG or switch the artwork to a high-quality JPEG.
💡 Tip: Keep an originals folder with the generated image, the upscaled version and the final transparent PNG. When a provider changes a template, you can re-export in a minute.
Fix a Small File in 4 Steps
Say your generator gave you a 2,048 × 2,048 pixel image and the shirt template wants 3,600 × 4,800. Here is a clean fix.
Generate big in the first place
Pick a model that supports high output, such as Seedream 4.5 or Nano Banana Pro from the table above, and ask for a high-resolution result. Starting with more pixels always beats fixing a small file later. Describe the subject, the style and the background clearly, and add something like "isolated on a plain background" when you plan to cut the design out for apparel.
Upscale with the right model
Open Real ESRGAN for general artwork or Recraft Crisp Upscale for flat graphics with hard edges. Upload your image, choose a 2x or 4x scale and run it. A 2,048 pixel image at 2x becomes 4,096 pixels, which already clears most t-shirt templates.
Check the result at 100%
Zoom in on edges, faces and text-like shapes. Look for smeared textures, halos around outlines and invented details that do not match the original. If the result looks too smooth, try a detail-oriented model such as Clarity Pro Upscaler. If it looks too busy, go back to a sharper, cleaner option.
Export for the product
Save a PNG with a transparent background for shirts and totes, or a JPEG for posters. Name the file after the product and size, for example "tee-front-3600x4800", so you can find it later. Then upload it to the provider's product creator and confirm the preview shows the design inside the print area with no blurry warning.
Pricing for Beginners
Pricing has two layers: what the platform charges you, and what you charge your customer. Both change often, and several third-party sites disagree on exact figures, so check each provider's official pricing page before you commit.
Platform plans
| Platform | Free plan | Paid tier (as listed by most sources) |
|---|
| Printful | Yes, with Etsy and other store integrations | Growth plan, listed around $24.99 per month |
| Printify | Yes, with multiple stores per account | Premium plan, listed anywhere from $24.99 to $39 per month |
| Gelato | Yes | Paid plans with product discounts |
The free plans are enough for a beginner. A paid tier only makes sense once your monthly orders are high enough that the discount on production costs is bigger than the subscription fee. Printify is often reported as cheaper per item because it routes orders through many print providers, while Printful is usually described as stronger on consistency and quality control.
Per-item cost and margin
Your margin is simple:
Profit = selling price − production cost − shipping you absorb − marketplace and payment fees
Production cost is what the provider charges to print and pack a single item. Marketplace and payment fees come out of every sale, and they are easy to forget. A rough example for a t-shirt that costs about $12 to produce and sells for $28:
- Selling price: $28.00
- Production cost: $12.00
- Marketplace and payment fees: around $3 to $4
- Profit: roughly $12 to $13 before any advertising
Those numbers are illustrative, not a promise, but the structure holds. If the price you want leaves less than $5 of profit per order, either raise the price, choose a cheaper product or find a niche where customers pay more.
Hidden costs to plan for
- Sample orders: Order at least one of each product to check print quality and color. This is the cheapest way to avoid refunds.
- Shipping: Customers expect low shipping. Decide whether you absorb it or add it to the price.
- Returns and reprints: Plan for a small share of orders to need a replacement.
- Advertising: Organic traffic is slow. Even a small ad budget can eat the margin of your first sales.
- Image tools: Most generation and upscaling can be done on free tiers while you test, but heavy use may need a paid plan later.
Prompts That Print Well
A beautiful image and a printable image are not always the same thing. The images that sell on apparel and mugs share a few traits: strong silhouettes, limited colors, a clear focal point and room to breathe.
Subjects that survive printing
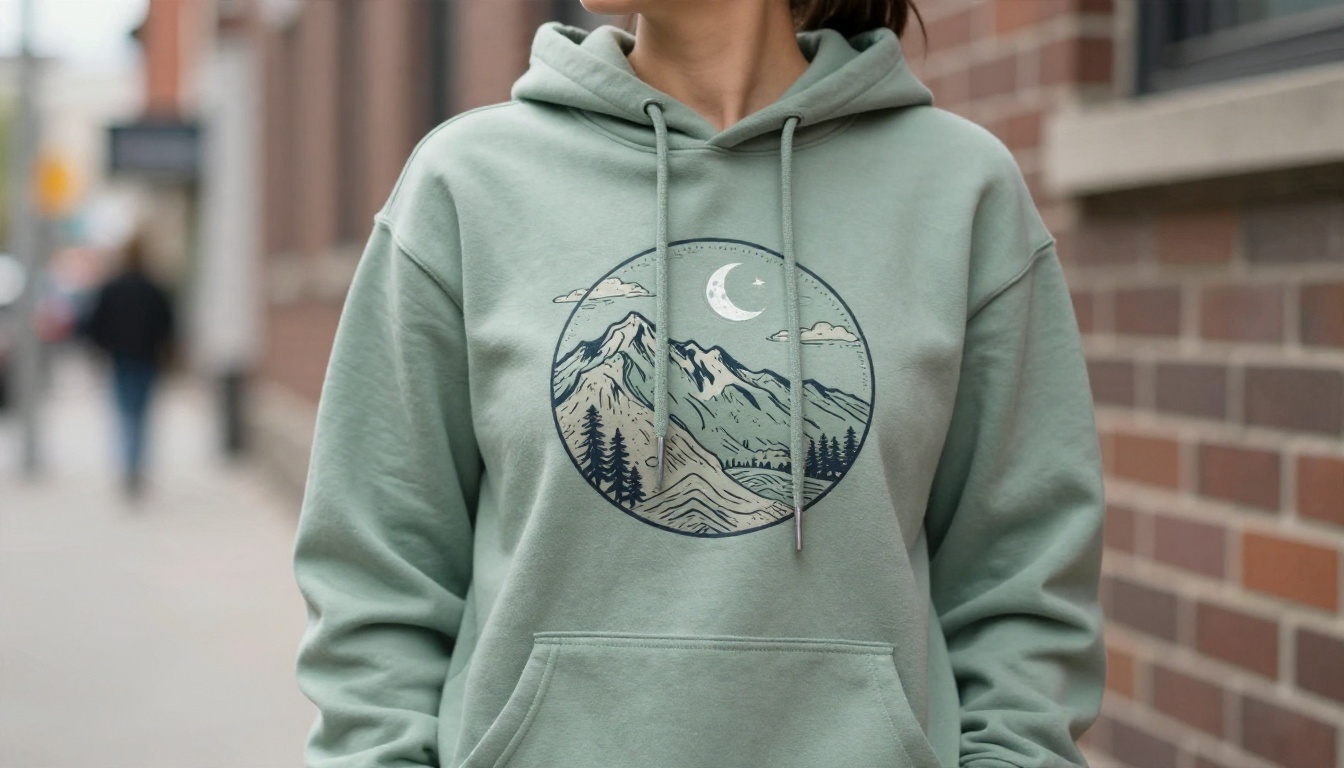
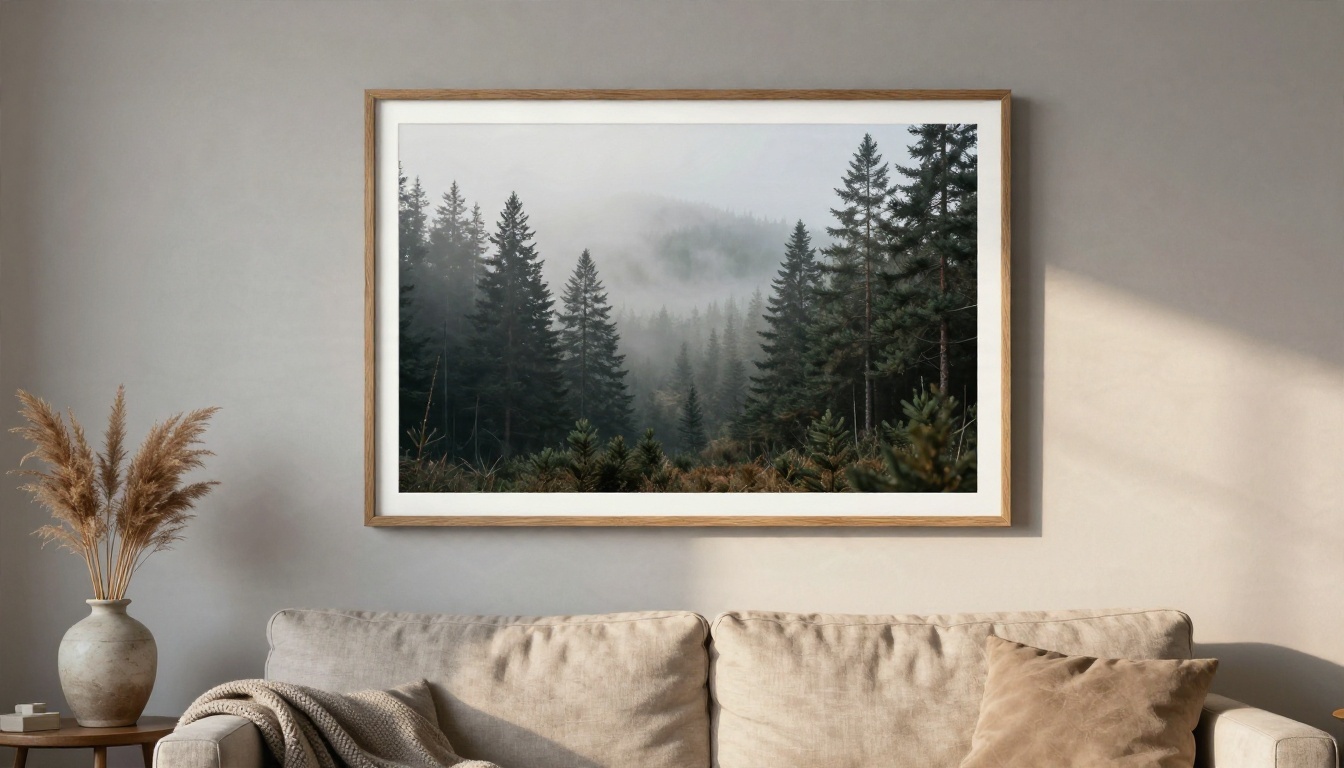
Simple, bold subjects translate best to fabric: animals, mountains, botanical drawings, retro suns, hobby icons and short quotes. A prompt such as "vintage botanical illustration of wild poppies, flat colors, centered, isolated on a plain white background" gives you something you can cut out and place on a shirt. For wall art, richer scenes work well, like a misty pine forest or a quiet coastline, because paper and canvas handle gradients and fine texture better than cotton does.
Mistakes to avoid
- Long text in the image: AI models still make spelling errors. Add words later in an editor, or keep text to one or two short words.
- Busy backgrounds on shirts: Fabric printing works best with a transparent background. Ask for a plain background and remove it before export.
- Gradients and tiny details on dark shirts: They can print muddy. Test a sample first.
- Famous characters and brands: Do not use protected names, logos or characters. Platforms remove those listings and can suspend accounts.
- Skipping the zoom check: Always inspect the file at 100% before you upload.
Your First Week Plan
You do not need a large catalog to start. A realistic week looks like this:
- Day 1: Pick one niche and one visual style. Write down five design ideas.
- Day 2: Generate 20 to 30 candidates with one model, then keep the best five.
- Day 3: Upscale and export each design to the product's recommended size.
- Day 4: Create a free account with a print provider and build three products: a shirt, a mug and a poster.
- Day 5: Order samples of the two products you are least sure about.
- Day 6: Write simple, honest titles and descriptions, then set prices using the margin formula.
- Day 7: Publish, share with a few real people and watch which design gets attention.
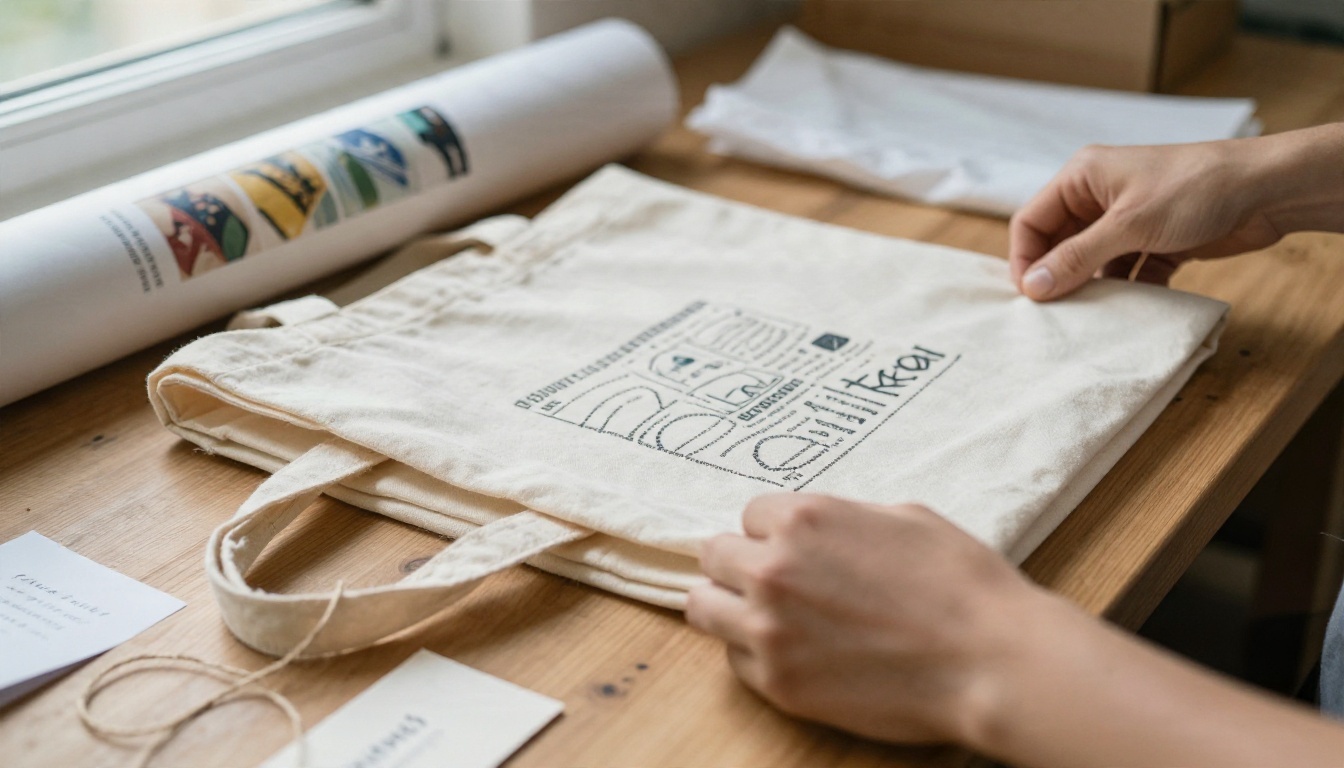
The goal of week one is not revenue. It is a tested pipeline: a design that generates cleanly, upscales without artifacts, passes the upload check, prints well on a sample and still leaves a margin. Once that pipeline works for one product, repeating it for a second niche is mostly copy and paste.
Make Your First Print-Ready Design
Everything above comes down to one habit: generate big, upscale carefully, and check the file before you publish. You can do all of it in one place. Open Picasso IA, try Seedream 4.5 or Nano Banana Pro for your first design, then run it through Real ESRGAN or Recraft Crisp Upscale to reach the size your product needs.
Pick one product from the size table, generate three versions of one idea and compare them zoomed in. You will see the difference between a file that is ready for print and one that is not within minutes. If you want to try more options, browse the full catalog at picassoia.com/en/all-models and build the first design for your shop today.


