AI Product Photoshoot: Free Generator With Models and Prompts
A practical walkthrough of the AI product photoshoot: which free generators to use, the exact settings that matter, a five part prompt formula, copy and paste prompts for white background, lifestyle and flat lay shots, and how to add AI models to your images.
You have a product, a phone, and a deadline. What you don't have is a studio, a lighting kit, a model, or a photographer's day rate. An AI product photoshoot closes that gap: you describe the scene, attach a photo of your item if you have one, and the generator returns clean, catalog ready images in about a minute. This page shows which free generators are worth your time, the exact settings to use, a prompt formula you can reuse, and how to add AI models to your shots without the plastic skin that gives fake photos away.
Everything below runs in the browser on PicassoIA, so there is nothing to install and no code to write. Open a model page, type a prompt, compare the results, and keep the one that looks like a real photograph.
What an AI Product Photoshoot Replaces
A traditional shoot has a long checklist: a location or studio, a backdrop, lights, props, a stylist, a model, a photographer, and hours of retouching. An AI shoot folds that checklist into one text box. You write the pedestal, the light, the lens and the mood, and the generator builds the scene around your product.
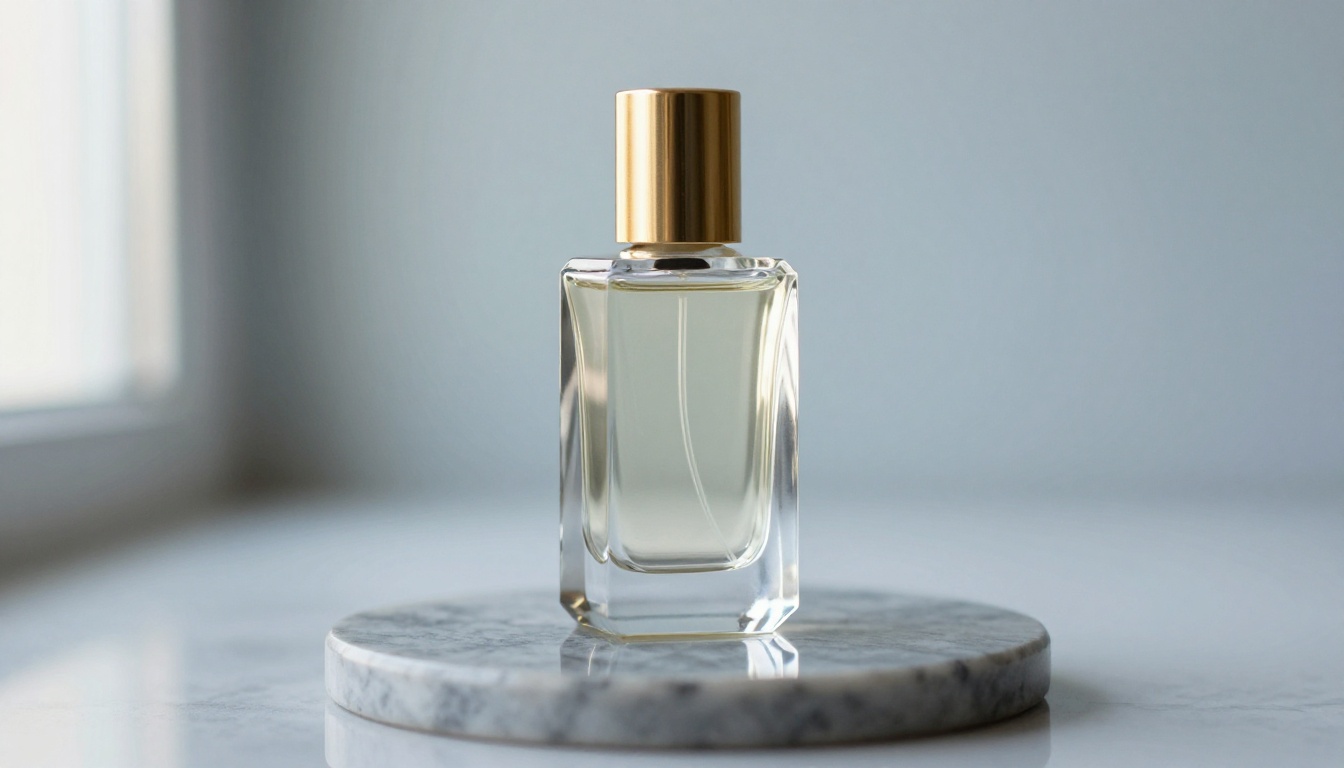
The image above came from a single prompt: low camera angle, honed marble pedestal, pale blue grey backdrop, window light from the left. No softbox, no tripod, no reflector card. The same thinking applies to any product, from sneakers to serum bottles, and it is the reason a free AI product photo generator can now produce work that sits next to a paid studio shoot.
Studio Setup vs Prompt Setup
Every piece of studio gear has a prompt equivalent. Once you see the mapping, writing prompts gets much faster.
Studio element
What you write in the prompt
Seamless paper backdrop
"pale blue grey seamless backdrop"
Softbox or window light
"soft window light from the left"
Lens choice
"85mm f/1.8" for portraits, "100mm macro" for details
Pedestal and props
"honed grey marble pedestal, one dried eucalyptus branch"
Casting a model
Age, wardrobe, pose and expression, or a reference photo
Retouching
A second pass in an image editor model
Where AI Still Needs You
AI is excellent at mood, lighting and surfaces. It is weaker at anything that must be exact:
Labels and small print. Tiny text on packaging can drift or turn into gibberish.
Product proportions. A bottle can come out slightly taller, or a cap can change shape.
Platform rules. Some marketplaces set rules for the main listing image, so check yours before you publish.
💡 Tip: Generate the scene, not the label. If your packaging has fine print, attach a photo of the real product as a reference and zoom to 100% before you approve a result.
Free Generators Worth Trying
Four models on PicassoIA handle nearly every product photoshoot need, and each one runs in the browser with no install.
Nano Banana Pro is the best first stop when you already own the product. Feed it up to 14 reference images, describe the scene, and it builds a new photo around your item. You can render at 1K, 2K or 4K, choose from 11 aspect ratio presets, and export JPG or PNG with no watermark added. The 4K option matters for hero banners and anything headed to print.
Sharp Mockups and Clean Cutouts
Seedream 5 Pro accepts long, detailed prompts and blends up to 10 reference photos, which suits mockups where you want to spell out lighting and composition. GPT Image 2 brings two things catalogs love: a transparent background option and clean rendering of short text, handy for a sale badge or a poster mockup. It also returns up to 10 variations in one run, which is the fastest way to pick a winner.
Quick Scene Swaps
Already have a decent product photo on a messy desk? PicassoIA Image Editor Pro edits it with plain language. Upload up to three images, refer to them as "image 1", "image 2" and "image 3", and describe the change. Because edits are unlimited, you can run dozens of background variations on the same shot without watching a quota.
A good first edit: "Place the perfume bottle on a polished black marble surface with warm golden hour lighting and a softly blurred velvet background."
Upload your product photo in Image Input. Add more angles or a style reference if you have them, up to 14 in total.
Paste your prompt. The formula in the next section gives you a starting point.
Set aspect_ratio. Use 1:1 or 4:5 for marketplace and feed posts, 16:9 for banners, and 9:16 for stories. Leave it on match_input_image to keep the framing of your upload.
Set resolution. Start at 1K for drafts, then rerun the winner at 2K or 4K.
Choose output_format: PNG if you will edit the file later, JPG for fast web delivery.
Generate, then change one thing at a time: the light, the angle or the background, never all three.
Settings That Matter
Setting
Recommended value
Why it helps
resolution
1K for drafts, 2K for finals, 4K for hero images
Fast exploration, sharp final files
aspect_ratio
1:1, 4:5, 16:9 or 9:16
Matches the platform, no cropping later
output_format
PNG to edit, JPG to publish
Keeps editing quality or keeps files light
image_input
Product photo plus one style reference
Locks the product look
safety_filter_level
Default
Works for most product scenes; pick a stricter level if your platform requires it
💡 Tip: Keep a "winner" folder. When a result nails the light, reuse that exact prompt and the same reference images for the rest of the collection. Reusing prompts and references is how you hold a consistent brand look across 20 products.
A Prompt Formula That Works
The Five Part Formula
Strong product prompts follow the same order every time:
Subject and action: what the product is and how it sits or moves.
Surface and environment: pedestal, table, street steps, kitchen counter.
Light: direction, quality and time of day.
Camera: angle, lens and aperture.
Texture and mood: film grain, material detail, colour palette.
Put together, it reads like this: "A frosted amber dropper bottle on a cream travertine pedestal, seamless beige backdrop, soft window light from the left, 85mm lens at f/1.8, visible stone pores, fine film grain."
💡 Tip: Name the light direction and the lens. Those two phrases do more for realism than any other words in the prompt.
Before you generate anything, build a short shot list: one white background packshot, one lifestyle scene, one detail close up, and one image with a model. Four images tell the whole story of a product and fill a listing, an ad set and a social grid.
Copy and Paste Prompts
Four starting points. Swap your product in place of the brackets.
White background packshot
Straight-on front view of [product] centered on a pure white seamless studio floor, soft even light from two large softboxes, gentle contact shadow, visible material texture, 70mm lens at f/8, neutral colours, no props, no text
Lifestyle scene
Three quarter view of [product] on a rustic oak table in a sunlit living room, warm evening window light from the right, softly blurred background, 50mm lens at f/2, fine film grain
Flat lay
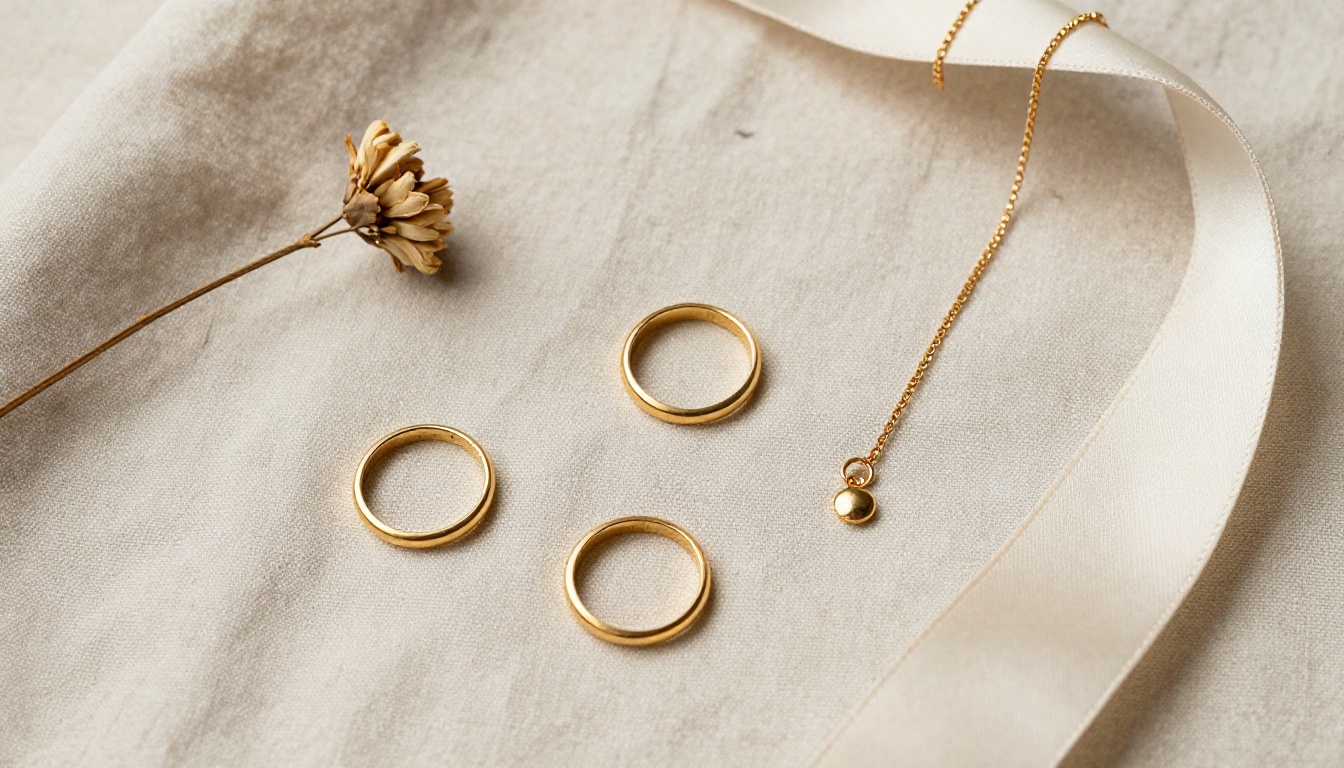
Overhead flat lay of [product] on natural linen with one dried flower stem, diffused daylight from above left, gentle shadows, visible fabric weave, 60mm macro lens at f/4
Outdoor hero shot
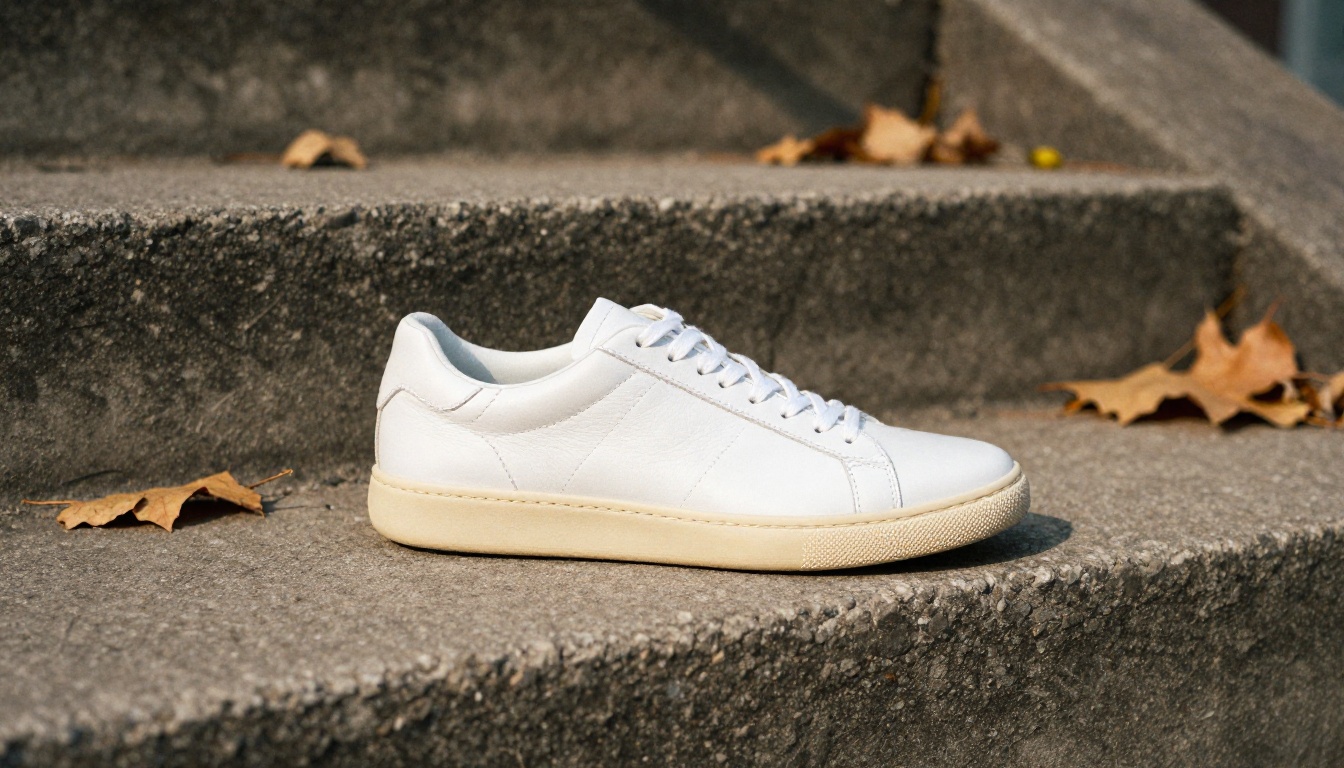
High angle view of [product] on weathered concrete steps, hard late afternoon sun from the right, crisp diagonal shadow, visible stitching and surface wear, 35mm lens at f/2.8
The outdoor hero prompt applied to a white leather sneaker: the diagonal shadow and the scuffed concrete do the storytelling.
The flat lay prompt on small jewelry. Linen weave and tiny scratches in the metal keep it believable.
Adding AI Models to Your Shots
A product on a pedestal sells the object. A product on a person sells the life around it. This is where many AI shoots fall apart, so three habits matter.
Hands, Wrists and Faces
Start with a crop. Close shots of hands and wrists are easier to get right than full faces, and they still show scale and fit.
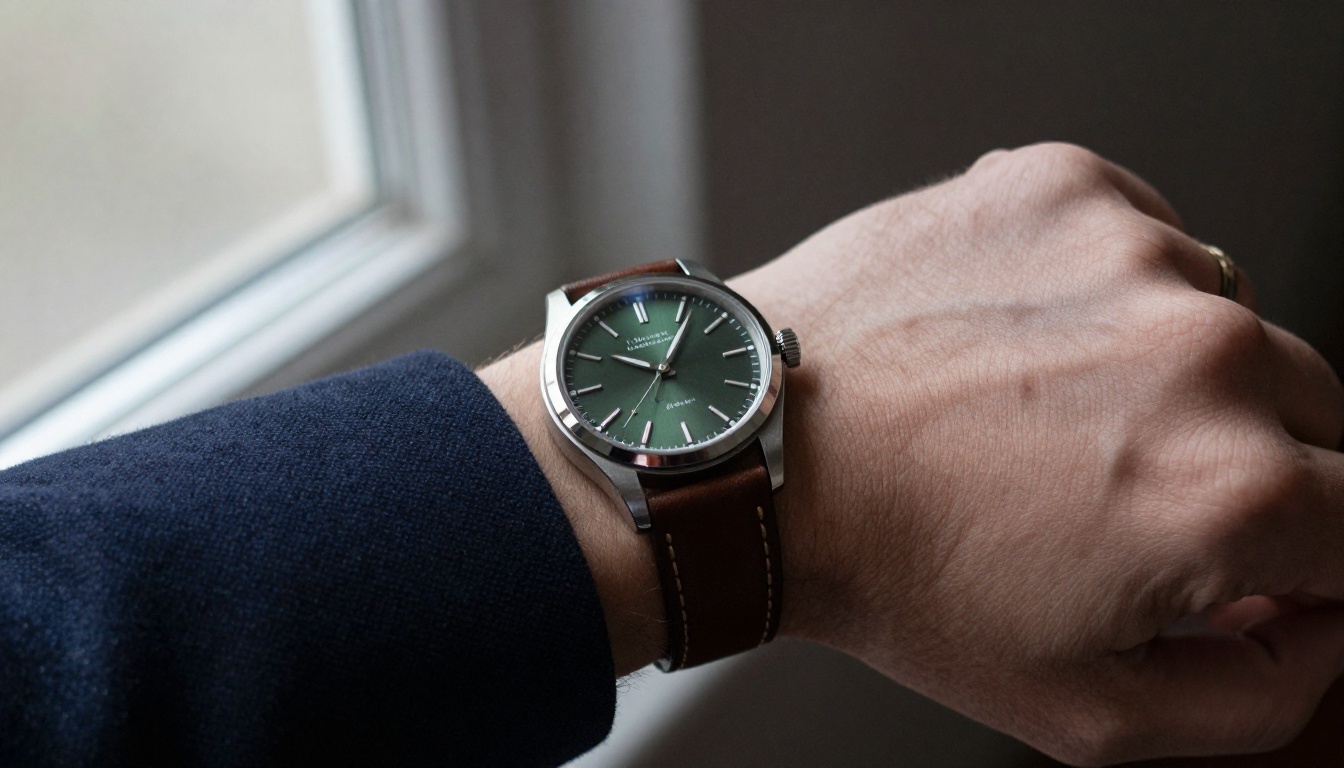
Describe skin the way a photographer would: "visible skin pores, fine hair on the wrist, soft reflections on the crystal". Skip "perfect skin", because it pushes the render toward a waxy finish.
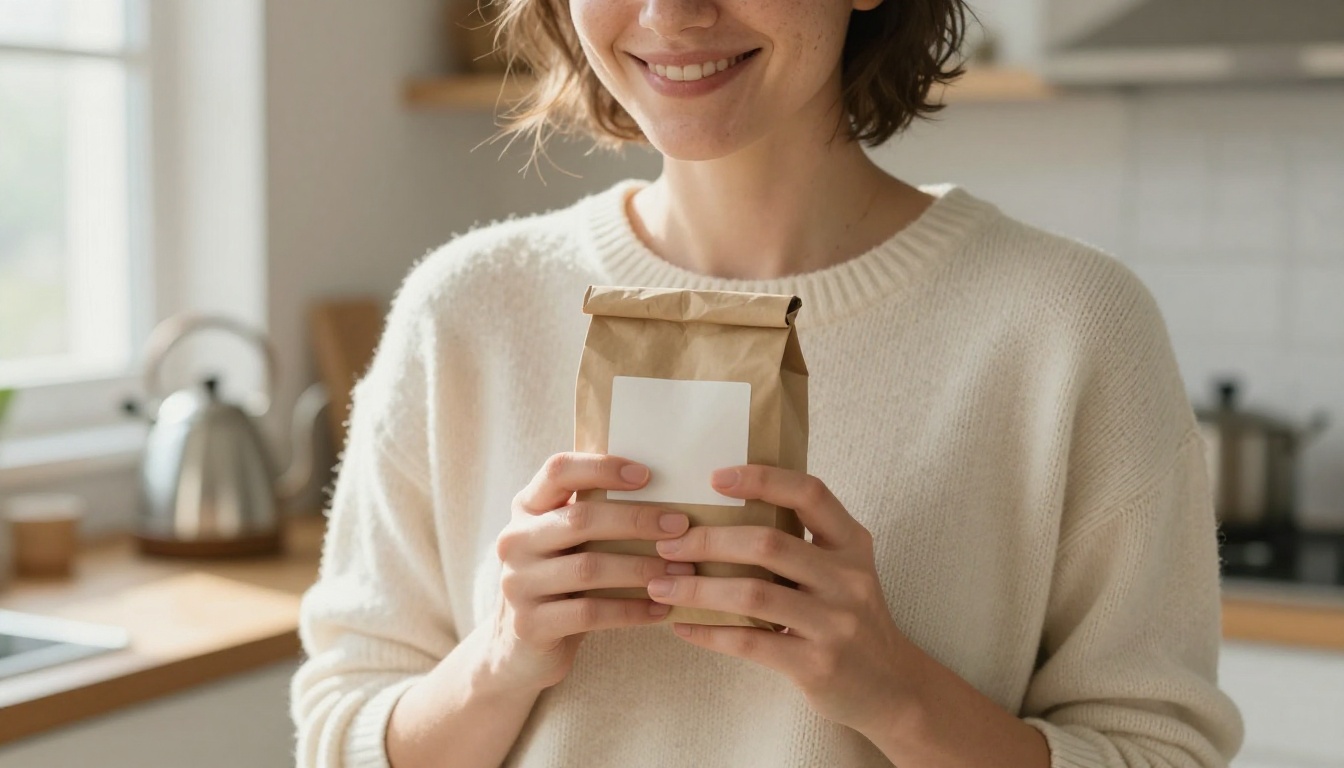
For a lifestyle portrait, name the age, expression, wardrobe and setting, then keep the product at chest height where it reads clearly. Details like "flyaway hairs" and "light freckles" push the result toward a candid photo instead of a stock render.
Full Body Fashion Shots
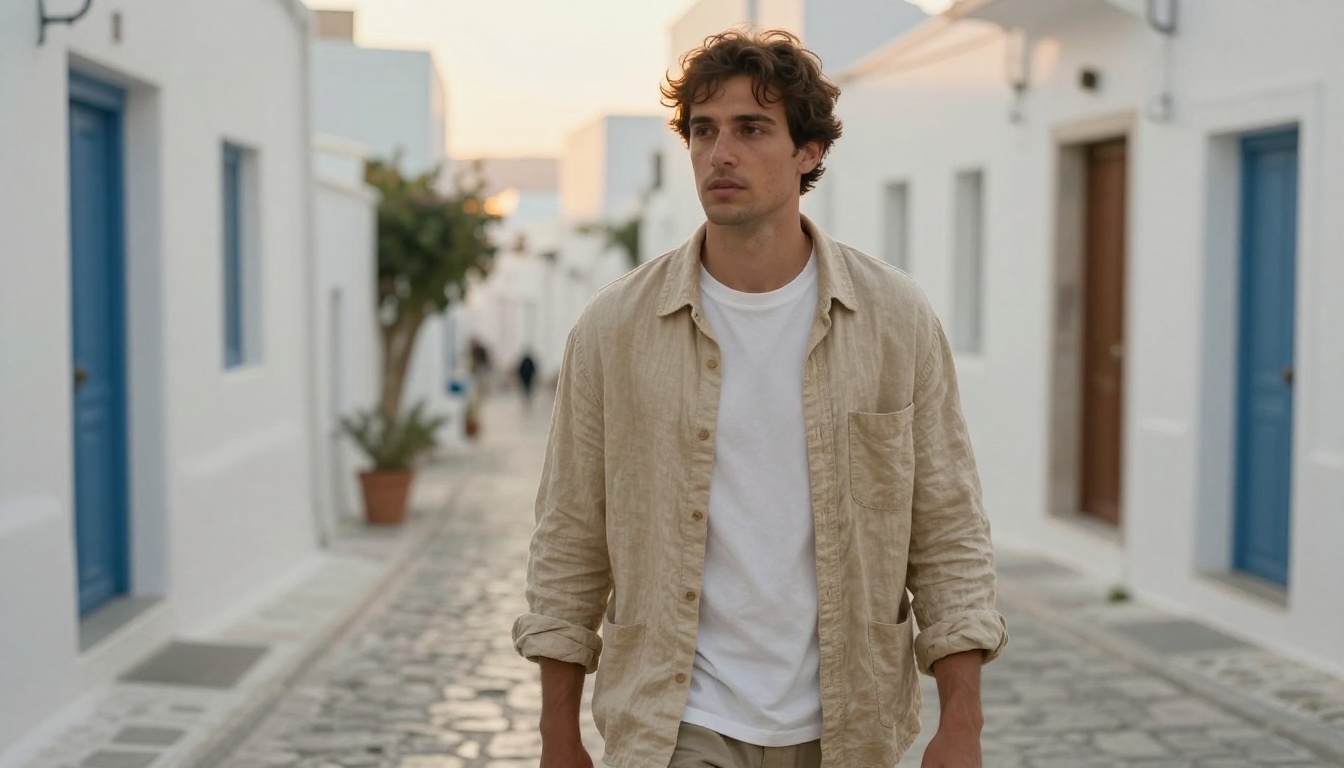
Wide shots need three things in the prompt: what the model wears, how the fabric behaves, and where the light hits. Fabric folds and wrinkles sell realism better than any quality tag.
For clothing brands, P Image Try On is built to put outfits on a person from a reference, which pairs well with a catalog of flat garment photos.
Keeping the Same Model Across Shots
Brands need the same face and body in every image. Two reliable routes:
Attach the same reference photos to Nano Banana Pro on every run, up to 14 of them.
In PicassoIA Image Editor Pro, lock a seed and keep the same base image to recreate an edit with the same inputs.
💡 Tip: If you use a photo of a real person as a reference, get their written permission first. It protects you and keeps the project clean.
Shot Types for Every Product
White Background Marketplace Shots
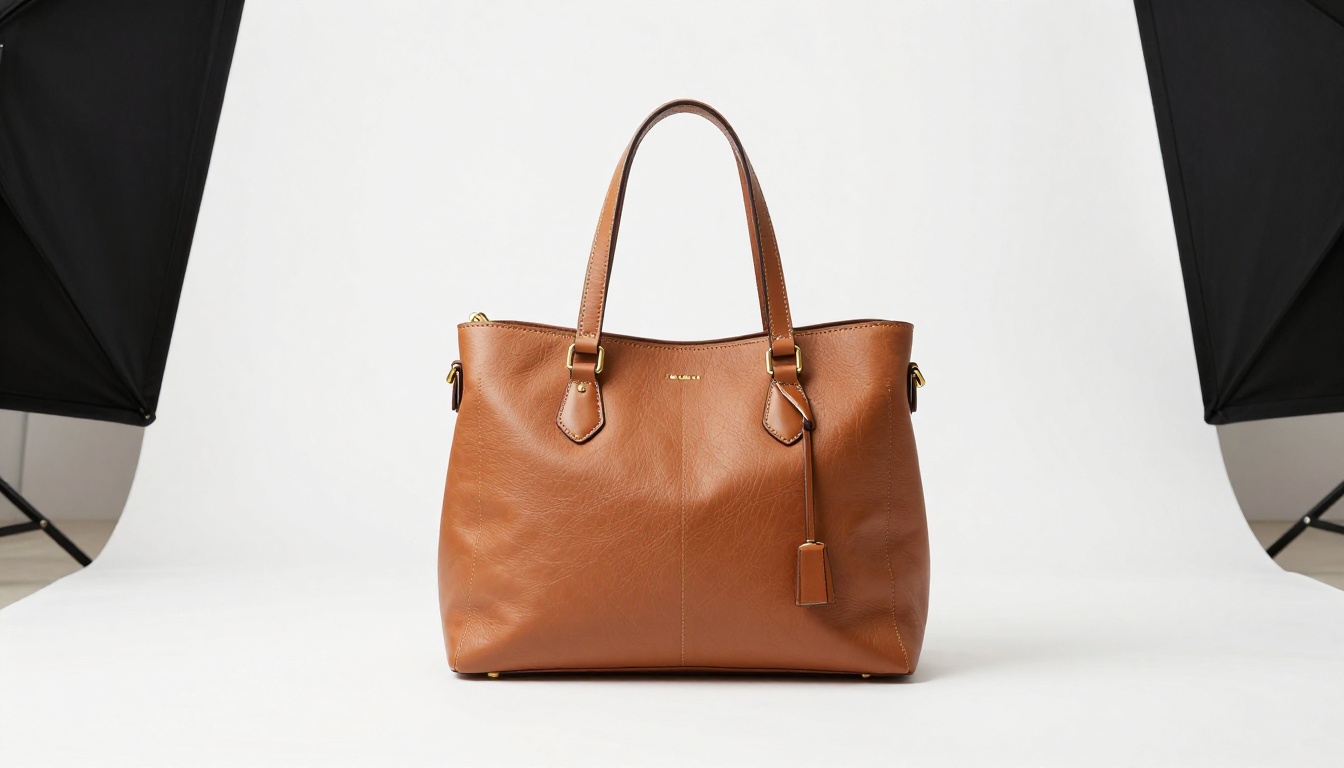
Marketplace listings usually lead with a clean white background. You have two routes. Generate it directly with the packshot prompt above, or take an existing photo and cut the subject out with Recraft Remove Background, then place it on white. When you need a transparent PNG, GPT Image 2 can output a transparent background directly.
Notice the soft contact shadow under the bag. Without it, the product floats. Always ask for a "gentle contact shadow" and name the surface.
Lifestyle Scenes
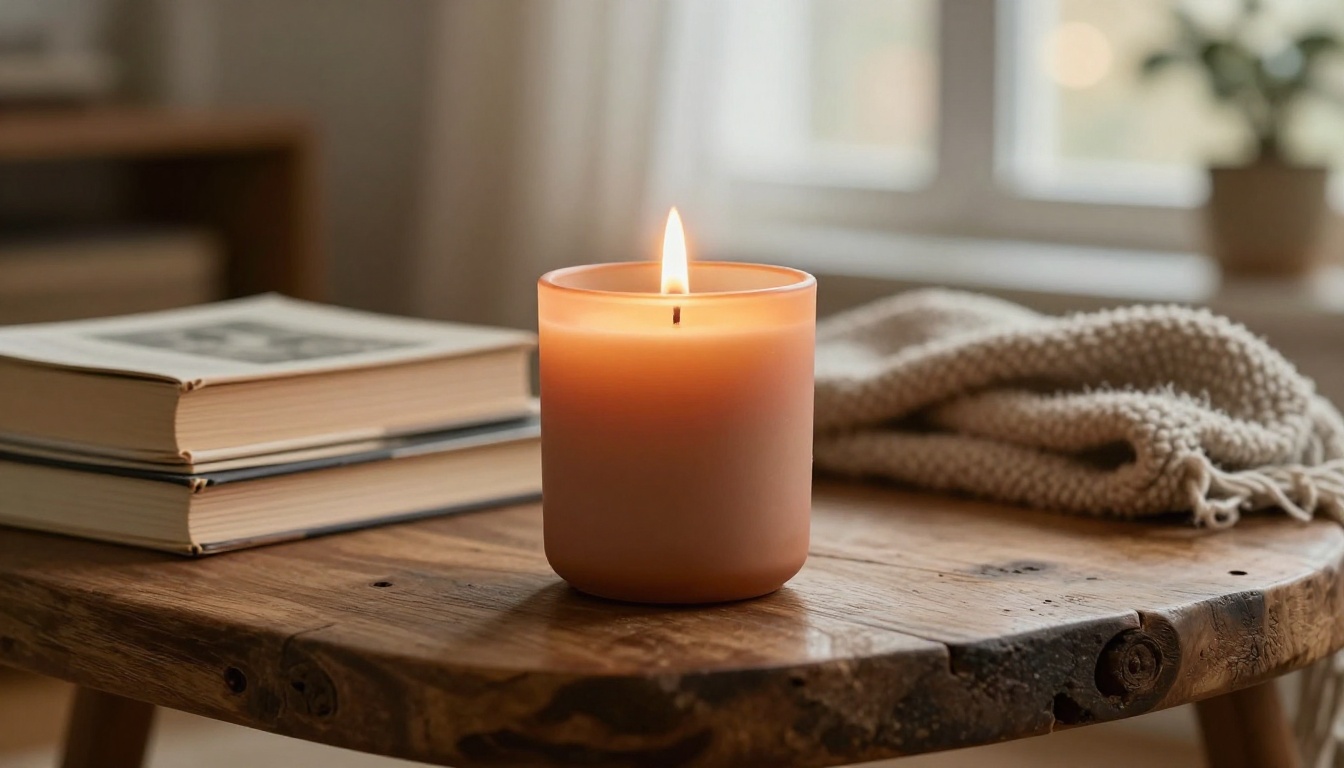
Lifestyle shots show the product in use, and warm light does most of the work. Pick props that match the buyer: books and a wool blanket for a candle, a pair of boots by the door for a jacket.
Keep props to three or fewer so the product stays the hero. A shallow depth of field, such as 50mm at f/2, melts the room into soft bokeh and leaves only the candle flame sharp.
Mistakes That Make Photos Look Fake
Common Problems and Fixes
Problem
Why it happens
Fix
Plastic, waxy skin
The prompt asks for "perfect" skin
Ask for pores, freckles, flyaway hairs and film grain
Floating product
No shadow described
Add "gentle contact shadow" and name the surface
Garbled label
Small text is hard to render
Use a reference photo and keep text out of the prompt
Flat lighting
No light direction given
Name the direction and the time of day
Every image looks the same
Same angle in every prompt
Change the angle, distance and lens each time
Over glossy, rendered look
Words like "ultra" and "hyper"
Use photographic language: lens, aperture, film stock
Final Check Before Publishing
Zoom to 100% and inspect hands, edges, text and reflections.
Compare the product with the real one: colour, shape and proportions.
Make sure the picture matches what the customer will actually receive.
Check the marketplace rules for AI generated images.
Export at the right size: 4K for hero banners, 2K for product pages.
Run Your First Shoot Today
Pick one product and one scene. Open Nano Banana Pro, upload a photo, paste the white background prompt and generate at 1K. Then change one variable: the light, the angle or the surface. By the fifth run you will have a feel for the process and a handful of images ready to use.
For a second pass, send your favourite result to PicassoIA Image Editor Pro and try three different backgrounds. When you want to compare other generators, browse all PicassoIA models.
Grab a product, open Picasso IA and start creating your own AI product photos today. Your first set of images is one prompt away.