Every film that looks effortless on screen was argued over on paper first. Where does the camera sit? How close is the lens? Does the cut land on the glance or on the slammed door? An AI storyboard generator for film lets you ask those questions in an afternoon instead of a month, and see the answers as actual frames instead of vague notes. You type a scene, you get a shot list, you refine camera angles, and you turn each shot into a sketch prompt that produces a clean visual. This article walks through that loop in the order a working director would use it, with prompts you can copy, tables you can adapt and the models on PicassoIA that handle each stage.
Why Storyboards Still Matter
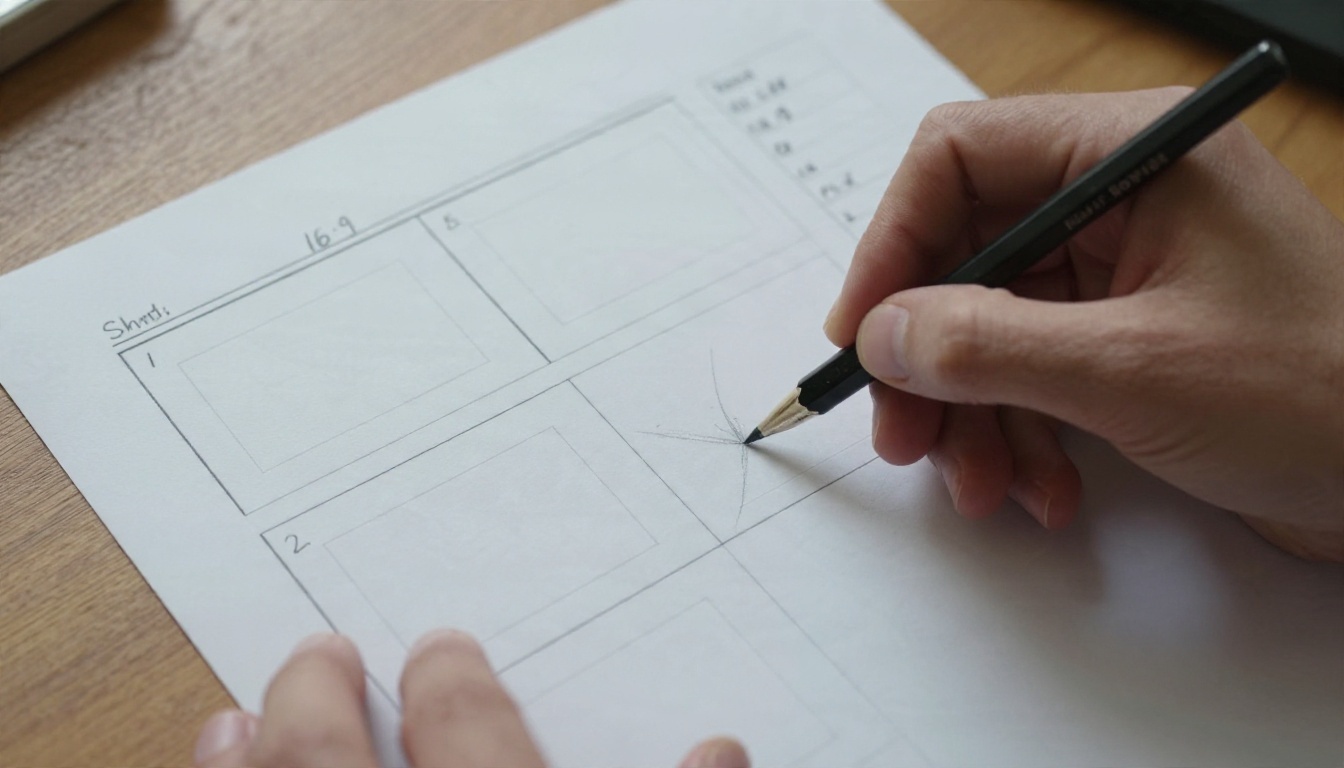
Directors have been drawing their movies before shooting them since the 1930s, and the reason has not changed. Shooting time is the most expensive thing on any production. A storyboard moves decisions from the set, where a crew of forty waits on you, to a desk, where the only cost is a pencil and some patience.
What a Frame Actually Does
A storyboard panel is not a pretty picture. It answers four practical questions at a glance:
- Framing: how much of the subject and the room is visible.
- Blocking: where actors stand and how they move through the shot.
- Eyeline and screen direction: who looks left, who looks right, and whether the cut will confuse the viewer.
- Camera behavior: static, pushing in, tracking sideways or handheld.
If a panel answers those four, it is doing its job, even if the drawing is rough. That is good news for AI generation, because the tools are strongest when you describe function instead of decoration.
Where AI Fits the Process
Traditional storyboarding needs either drawing skill or a paid artist. Many independent directors have neither on a tight schedule. An AI workflow fills three gaps:
- Speed: a sequence of twelve frames can exist before lunch.
- Iteration: changing a lens from 35mm to 85mm is a one-line edit, not a redraw.
- Shared language: producers, cinematographers and the art department all look at the same frames and react to them.
💡 Tip: Treat AI frames as a conversation starter with your crew, not a final contract. The point is to find disagreements early, while they are cheap.
Build the Shot List First
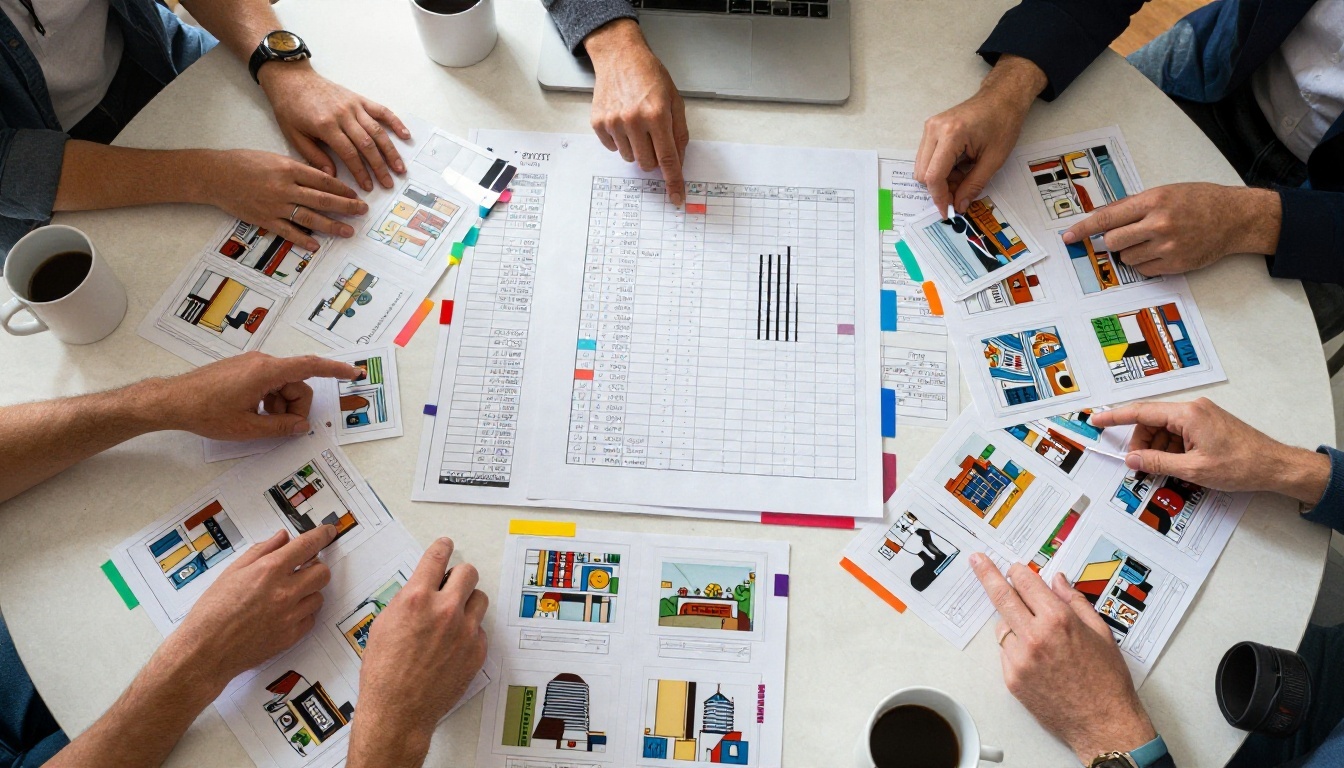
Many people open an image generator and type "cinematic scene of a detective in the rain." That produces one nice picture and no sequence. A storyboard starts one step earlier, with the shot list.
Break Scenes Into Beats
A beat is a single change in the scene: a character enters, a lie is told, a phone rings, someone leaves. Read your scene and mark every beat. Most scenes have between four and ten. Each beat usually needs one to three shots.
A language model is useful here. Paste your scene into GPT 5.6 Terra and ask for a beat breakdown. A prompt that works well:
"Here is a one-page scene. List every story beat in order. For each beat, suggest one to three shots with shot size, camera angle, lens in millimeters and camera movement. Keep the screen direction consistent and note any 180 degree line risks."
You will get a draft. Do not accept it blindly. Read it as if a nervous first assistant director handed it to you, then rewrite whatever feels wrong.
Turn Beats Into a Table
Keep the shot list in a table so it is easy to scan and easy to paste back into a prompt later. Here is a sample for a short scene where a woman waits for a train at night:
| Shot | Size | Angle | Lens | Movement | Purpose |
|---|
| 1A | Wide | Eye level | 24mm | Static | Show empty platform and isolation |
| 1B | Medium | Slightly low | 35mm | Slow push in | Introduce her, tense posture |
| 1C | Close-up | Eye level | 85mm | Static | Her glance at the clock |
| 1D | Insert | Overhead | 50mm | Static | Ticket crumpled in her fist |
| 1E | Wide | High angle | 28mm | Slow pull back | She looks small as the train arrives |
Every row becomes one sketch prompt later. If a row cannot be turned into a prompt, the shot is not clear enough yet.
Number Shots Like a Pro
Use the classic scene number plus letter system (1A, 1B, 1C). When the AI generates a frame, put the number in the file name. Three weeks later, when the editor asks which frame belongs to the doorway shot, you will not be guessing.
Camera Angles in Plain Language
Image models do not know your shorthand. They know descriptive language. The trick is to translate film vocabulary into words the model has seen paired with pictures.
Angle and Lens Vocabulary
| Film term | What to write in the prompt | Emotional effect |
|---|
| Eye level | "shot at eye level, neutral perspective" | Honest, observational |
| Low angle | "low-angle shot looking up at the subject" | Power, threat, heroism |
| High angle | "high-angle shot looking down" | Vulnerability, smallness |
| Dutch angle | "tilted camera, horizon at a diagonal" | Unease, instability |
| Overhead | "top-down view directly above" | Detachment, pattern |
| Over the shoulder | "over-the-shoulder shot, foreground shoulder blurred" | Connection, conversation |
| Wide lens | "24mm wide-angle lens, deep space" | Context, distortion near edges |
| Long lens | "85mm lens, shallow depth of field, compressed background" | Intimacy, isolation |
Lens numbers matter more than you might expect. Models respond well to "35mm," "50mm" and "85mm" because photographs tagged with those lenses are everywhere in training data. A 24mm prompt tends to stretch space and push the background away. An 85mm prompt flattens the background and softens it into bokeh.
Movement Words That Work
A still frame cannot move, but you can imply motion and annotate it. Describe the starting position and add an arrow note on your board. For example: "medium shot, subject centered, camera will slowly push in, slight motion blur on the left edge of the frame." Later, when you animate the frame, the same wording carries over.
💡 Tip: Name the light too. "Soft window light from the left" or "hard sidelight from a single lamp" does more for mood than any adjective about the character's feelings.
Respect the 180 Degree Line
Imagine a line running between two characters in conversation. Keep the camera on one side of it, and screen direction stays consistent. AI generators have no memory of this rule, so you enforce it yourself: state "subject faces screen right" or "subject faces screen left" in every prompt of the sequence. It takes five seconds and saves a confusing cut.
Writing Sketch Prompts That Hold Up
The shot list gives you the skeleton. The sketch prompt gives it a body. A reliable structure is the same one cinematographers use when they talk through a frame.
A Prompt Formula
Use this order:
- Shot size and angle: "Medium close-up, low angle"
- Subject and action: "a woman in a gray wool coat gripping a crumpled ticket"
- Setting: "empty subway platform at night, tiled wall, a flickering overhead tube"
- Light: "cold fluorescent top light, warm glow from a vending machine on the right"
- Lens and depth: "35mm lens, shallow depth of field"
- Medium: "black and white pencil storyboard sketch" or "photorealistic film still"
Put together: "Medium close-up, low angle, a woman in a gray wool coat gripping a crumpled ticket, empty subway platform at night with a tiled wall and flickering tube light, cold fluorescent top light with a warm glow from a vending machine on the right, 35mm lens, shallow depth of field, black and white pencil storyboard sketch, loose graphite lines."
Keeping Characters Consistent
Consistency is the biggest complaint about AI storyboards, and it has practical fixes:
- Write a character sheet line and paste it into every prompt. Example: "Mara, 34, short black hair, gray wool coat, red scarf, small scar over left eyebrow."
- Use the same location line word for word across shots in the same scene.
- Use image editing models that accept a reference. Nano Banana Pro and Nano Banana can take an existing frame and produce the next angle of the same person and place.
- Lock a seed where the model allows it, then change only the camera words.
Pencil Look or Photoreal Frames
Both have a place. A rough pencil look keeps conversations focused on composition, and nobody argues about the actor's cheekbones. Photoreal frames help when you pitch to financiers or want to test color and lighting. Many directors generate both: pencil for the shot list review, photoreal for the look book.
How to Use Seedream 4.5 on PicassoIA
Seedream 4.5 is a dependable choice for storyboard frames because it follows composition instructions closely and handles lighting and lens language well. Here is a simple routine.
- Open the model page. Go to the Seedream 4.5 page on PicassoIA and choose the text-to-image input.
- Set the aspect ratio to 16:9. This matches most film formats. For a scope look, crop later to 2.39:1.
- Paste your character sheet line first, then the shot description from your table. Keep one shot per prompt.
- Choose the style words. Add "black and white pencil storyboard sketch" for a drawn look, or "photorealistic film still, 35mm, natural light" for a photographic one.
- Generate three variations per shot. Pick the frame whose composition matches your intent, even if the face is not perfect.
- Name the file with its shot number, such as
1C_closeup_clock.png, and drop it into your board layout.
- Edit instead of regenerating when one detail is wrong. If the coat color drifted, use an image editing model and describe only the change.
Need alternatives? Seedream 5 Pro gives sharp 2K frames for look development, and Flux 2 Klein 9B Base LoRA is a flexible option when you want a styled, consistent drawn look across a full board.
From Still Frames to Moving Previews
A storyboard shows composition. An animatic shows timing. Directors have long cut their boards together with temporary sound to check pacing, and AI video makes that step far more convincing.
Animatics With Video Models
Take your approved frame and use it as the first frame of a short clip. Kling v3 Video and Veo 3.1 Fast both turn text and image input into short cinematic motion. Describe the move in the order it happens:
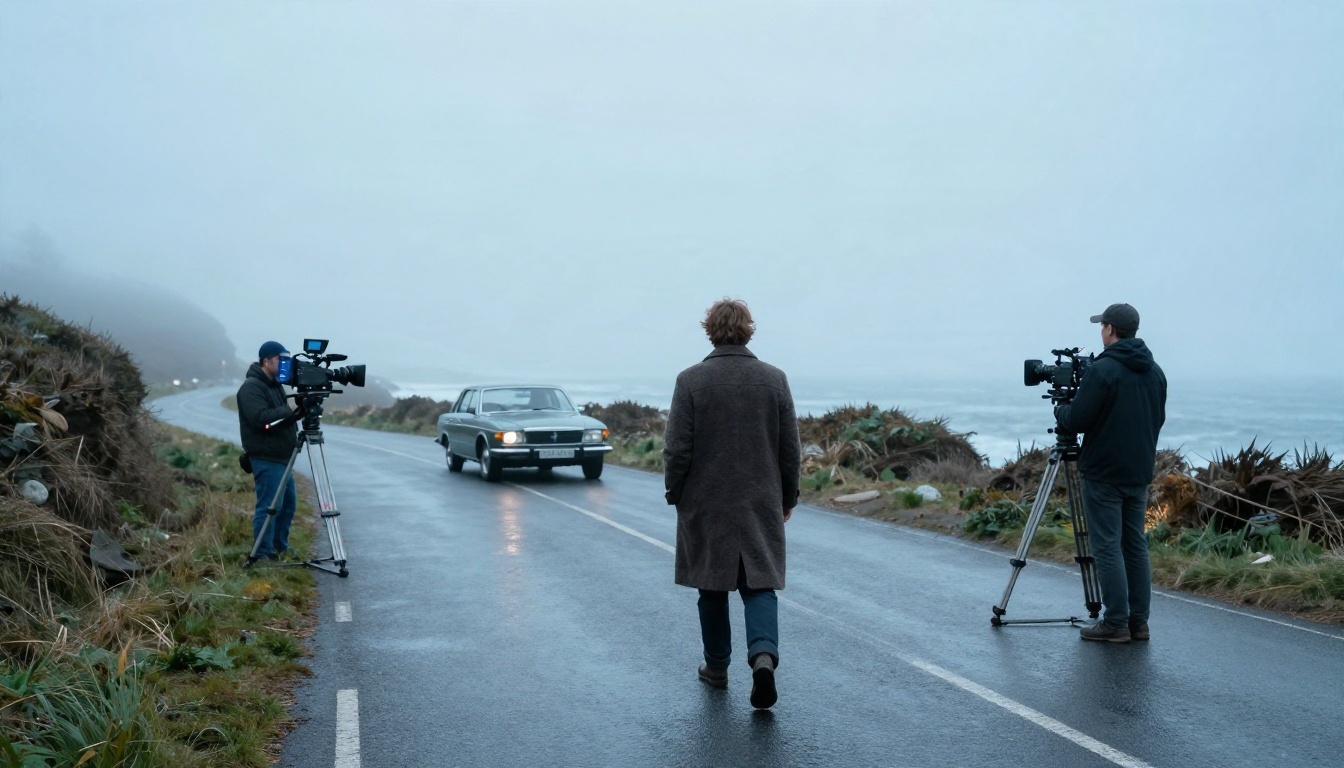
"Wide shot on a foggy coastal road. The actor in the long coat walks slowly toward the parked car. The camera begins static, then drifts forward in a slow dolly push. Soft overcast light, wet asphalt, quiet wind."
Check three things in the result: does the camera move the way your shot list says, does the action fit inside the planned duration, and does the end of the clip hand off cleanly to the start of the next shot?
Sound and Timing
Some video models generate native audio, which is handy for rough ambience. For dialogue timing, record a scratch track with a text-to-speech model and lay it over the animatic. You will quickly see which shots hold too long and which cut too fast. A scene that reads fine on paper often drags by ten percent once you hear it.
💡 Tip: Keep each preview clip short. Five seconds is plenty to judge a camera move. Longer clips only invite the model to invent things you did not plan.
Matching Frames to Real Locations
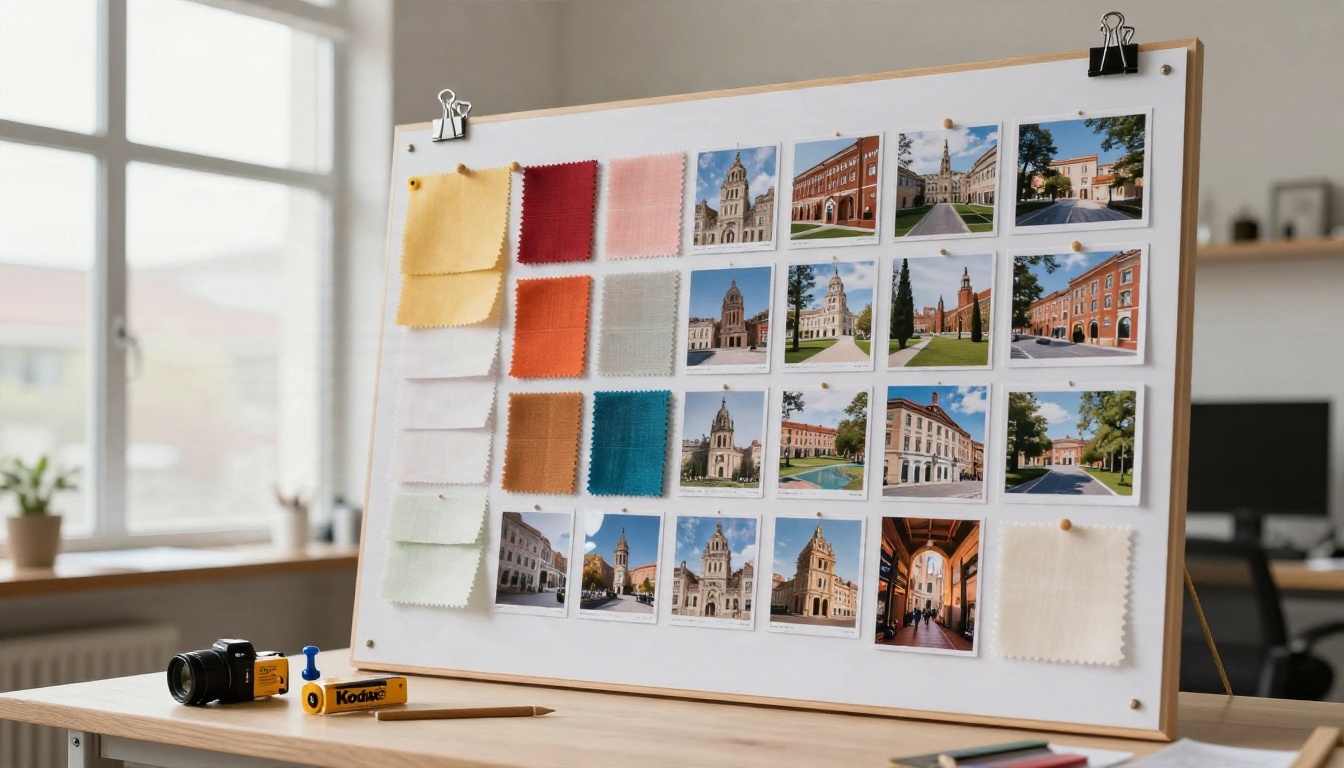
A board is most useful when it matches what you can actually shoot. Before you fall in love with an impossible crane shot in a closet-sized apartment, compare frames against your real location photos.
Use Reference Photos
Upload a location snapshot to an editing model and ask it to place your character inside that room from a new angle. You will see right away whether the doorway is wide enough for your tracking shot or whether the ceiling will show lights.
Plan Lighting and Color
Feed your look book colors into prompts: "warm tungsten practical lamps, teal shadows, muted greens." The production designer and the director of photography can then react to a visual instead of a paragraph. It also tells the art department what to buy or paint.
Plan Coverage With Your Crew
Show the board to your first assistant director. They will quickly see how many setups the day needs and where you can combine shots. A board that fits the schedule is better than a perfect board that blows the budget.
Common Mistakes and Quick Fixes
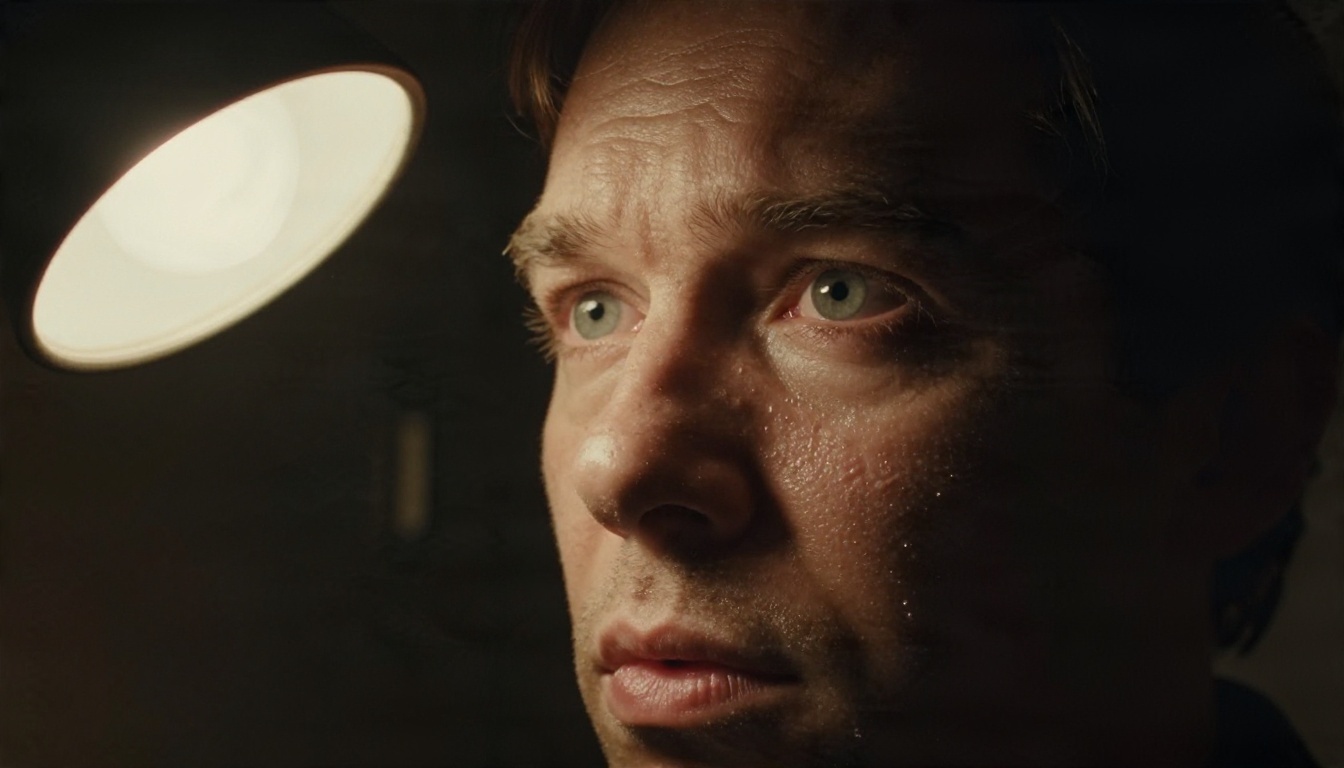
Most bad AI storyboards fail for the same handful of reasons.
Prompts That Describe Too Much
A prompt with twenty ideas gives you none of them. Keep one subject, one action and one camera setup per frame. If you need more, make another frame.
Ignoring Screen Direction
Without direction words, characters flip sides between shots and the edit feels broken. Add "facing screen left" to every prompt in the sequence.
Chasing Perfect Faces
Faces are not what a storyboard is for. If the composition, angle and light are right, move on. Spend your energy on the next shot.
Skipping the Shot Purpose
Write one line for why each shot exists. If you cannot, cut it. This is the quickest way to trim a bloated board before it becomes a bloated shooting day.
Forgetting the Edit
Look at pairs of frames side by side. Does shot 1B to 1C feel like a natural cut? Does the size jump make sense? Two frames that look great alone can be awkward together.
| Mistake | Symptom | Quick fix |
|---|
| Overloaded prompt | Cluttered, confused frame | One subject, one action per prompt |
| No screen direction | Characters swap sides | Add facing left or right to every prompt |
| Changing wording across shots | Different room each time | Reuse the same location line |
| Photoreal everywhere | Debates about faces | Switch to loose pencil style for reviews |
| No lens information | Flat, generic framing | Add millimeters and depth of field |
Draw Your First Sequence Today
You do not need a film budget to start thinking like a director. Pick one scene from your script, write the beats, build a five-row shot list and turn each row into a sketch prompt. Generate the frames with Seedream 4.5, adjust angles with Nano Banana Pro, then bring your favorite frame to life with Kling v3 Video.
Within an hour you will have a board you can show a cinematographer, a producer or a friend who has never read your script. Try different lenses, flip the angle from low to high, and see how the same moment changes meaning. Open PicassoIA, create your own storyboard frames and see how fast a rough idea becomes a sequence worth shooting. For more options, browse every model at picassoia.com/en/all-models.


