Most tattoo generators assume you are a blank canvas. You type "wolf, forearm, blackwork," and you get a wolf floating on a white background, nowhere near your actual arm. That is a problem if you already have ink. Your next piece has to sit beside the old one, respect its line weight, and not crowd a sleeve you spent two years building. An AI tattoo generator with existing tattoo support solves exactly that: you give it a real photo of your skin, and it adds, redesigns or previews a design while keeping the ink you already have.
This article walks through how that works, what to put in your prompts, which models handle photo editing best on PicassoIA, and where the technology still falls short. If you have a faded piece you hate, a half-finished sleeve, or a blank gap you keep staring at in the mirror, this is for you.
Why Existing Tattoos Change Everything
A first tattoo is a design problem. A fifth tattoo is a composition problem. You are no longer asking "what do I like?" but "what fits?"
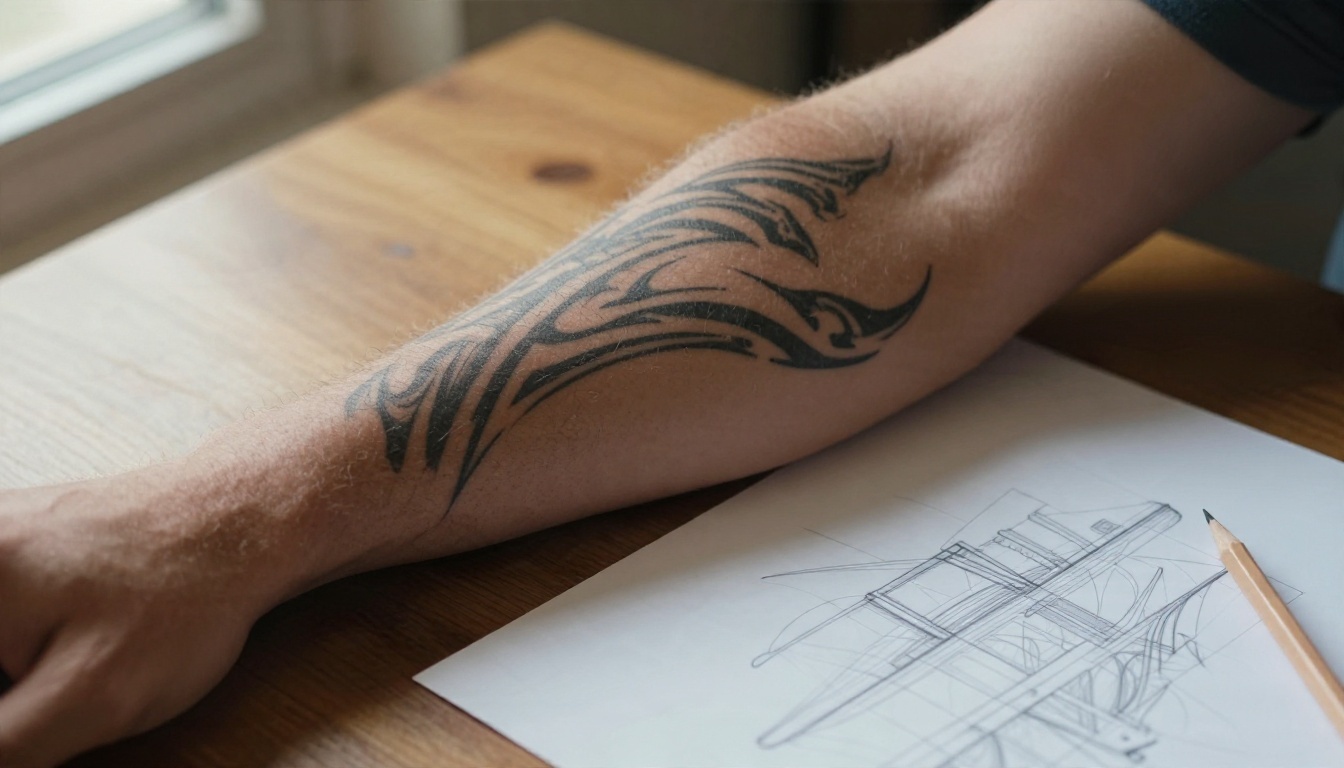
The blank canvas problem
Standard text-to-image tools invent skin. They generate an arm, a shoulder, a back, and put a tattoo on it. The anatomy is fake, the lighting is fake, and none of it tells you how the design will look on your body. Skin tone changes how ink reads. A fine-line rose looks crisp on pale skin and quieter on deep skin. Muscle shape bends a straight line. A tattoo preview is only useful when it uses your photo.
What an existing tattoo adds
Old ink gives the AI real information to work with:
- Line weight: thin lines beside thick lines look like two different artists. The model can match what is already there.
- Color saturation: a healed tattoo is softer than a fresh one. A new piece in full saturation can look pasted on.
- Spacing: negative space is part of the design. Existing ink tells the model where it cannot go.
- Flow: limbs have natural lines. A good placement follows the direction of your old piece.
💡 Tip: Before you generate anything, decide whether the new piece should match the old one or deliberately contrast with it. Both are valid, but the prompt changes completely.
Three Jobs for One Photo
"Existing tattoo" means different things to different people. In practice, there are three jobs, and each one needs a different approach.
| Job | What you want | Typical prompt focus | Difficulty |
|---|
| Add | A new piece beside or near old ink | Placement, matching style, spacing | Medium |
| Redesign | Rework or refresh an old tattoo | Keep the subject, change the execution | Hard |
| Preview | See any design on your real skin | Realistic scale, skin texture, lighting | Easy |
Adding a new piece
This is the most common request. You have a forearm with one botanical tattoo and you want something beside it. The AI needs to see the full limb, understand where the open space is, and place the new design so it does not touch or overlap what is there.
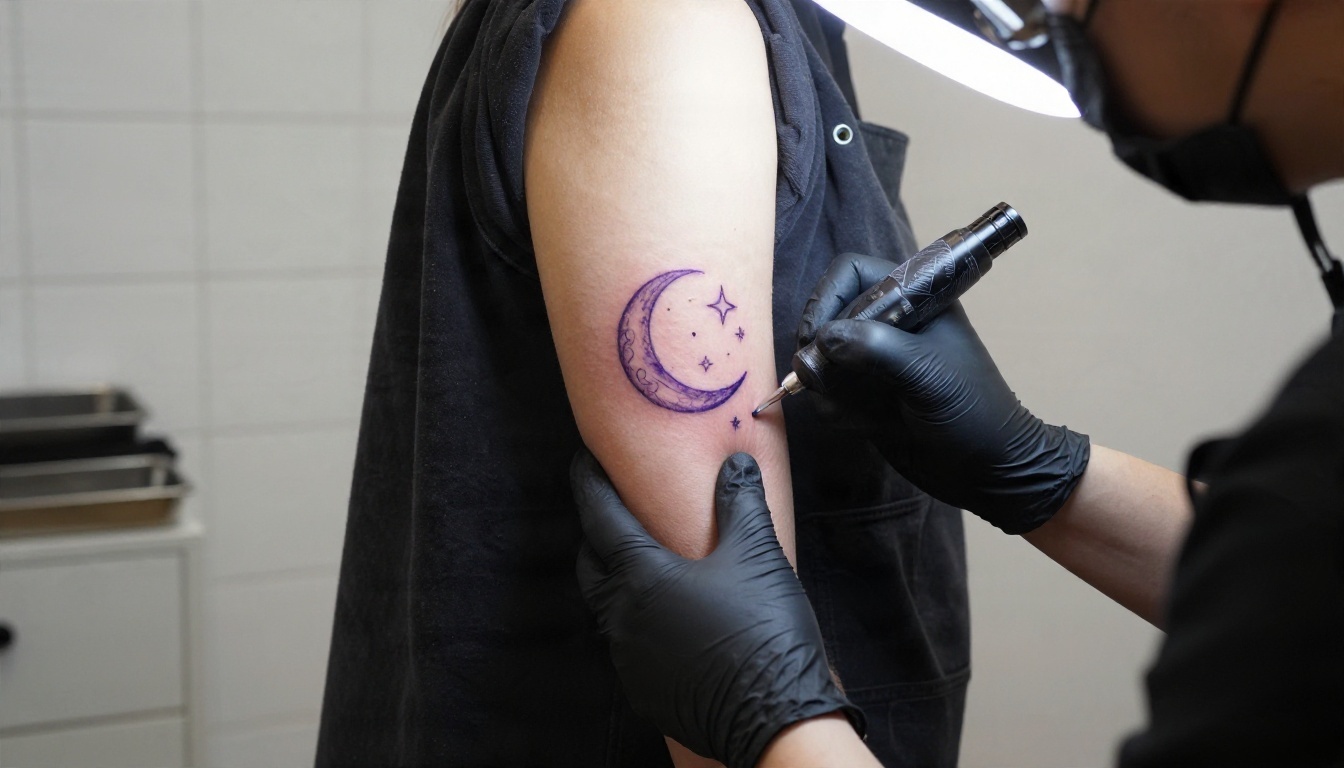
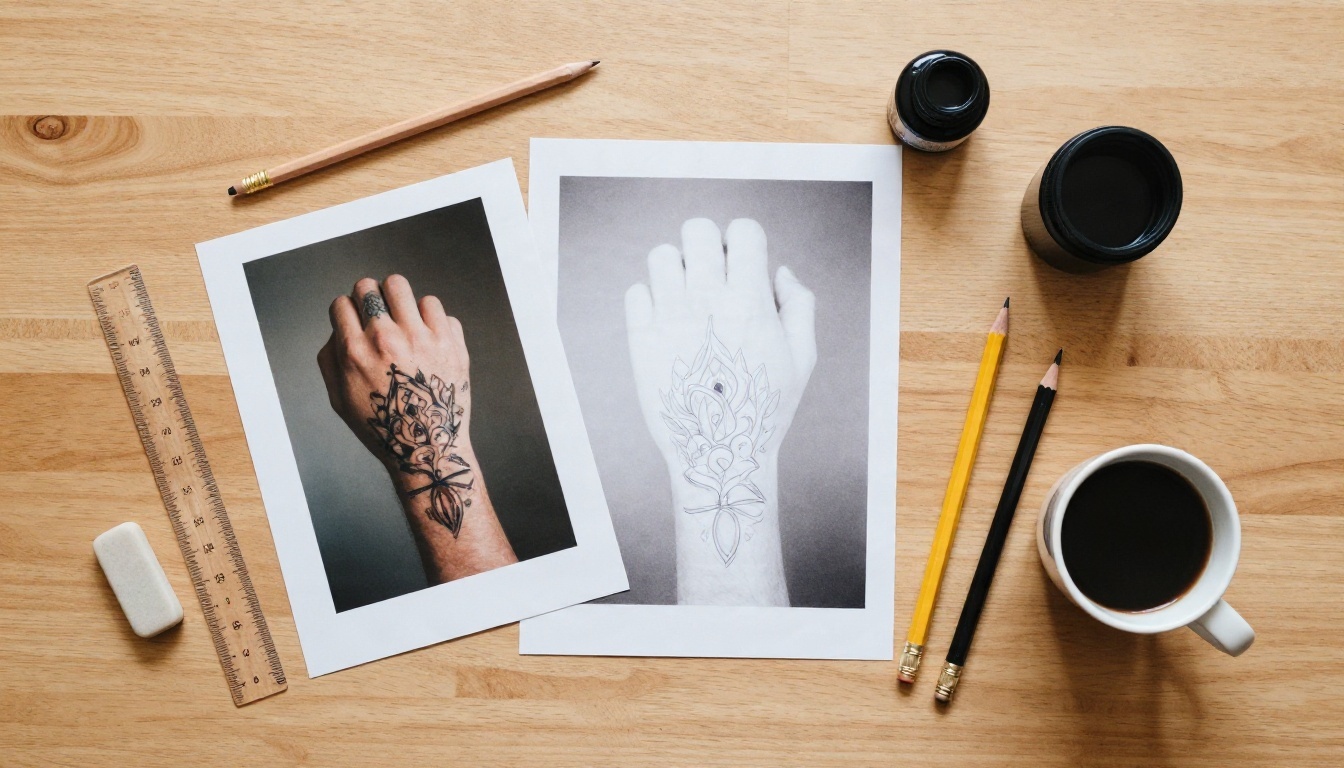
Artists do this with stencils. The AI version is the same idea with fewer steps: a placement test you can run twenty times in ten minutes.
Redesigning a faded or poor tattoo
Some tattoos age badly. Lines blur, black turns blue-gray, and a bird you loved at nineteen looks like a smudge at thirty-five. Redesign means keeping the idea but changing the execution, or building a bigger piece around the old one.
Here the AI gives you options. Generate three versions: a cleaner repeat of the same subject, a larger reworked version, and a design that absorbs the old shape into something new. Then take those to your artist. A skilled artist will tell you quickly which one the skin can actually carry.
Previewing a design on skin
Preview is the simplest job and the one most people start with. You already have a design, from an artist or from your own sketch, and you want to see it on your arm at real scale. The model composites the artwork onto your photo and adjusts for skin tone, curvature and light.
How the Technology Actually Works
You do not need to know the math, but a rough picture of the process helps you write better prompts.
Image editing, not image generation
The models that work best here are image editors. They take your photo as an input, keep most of it, and change only what you describe. Instead of inventing a whole arm, they leave your arm alone and edit a region. That is why the result still looks like you.
Why photo quality matters
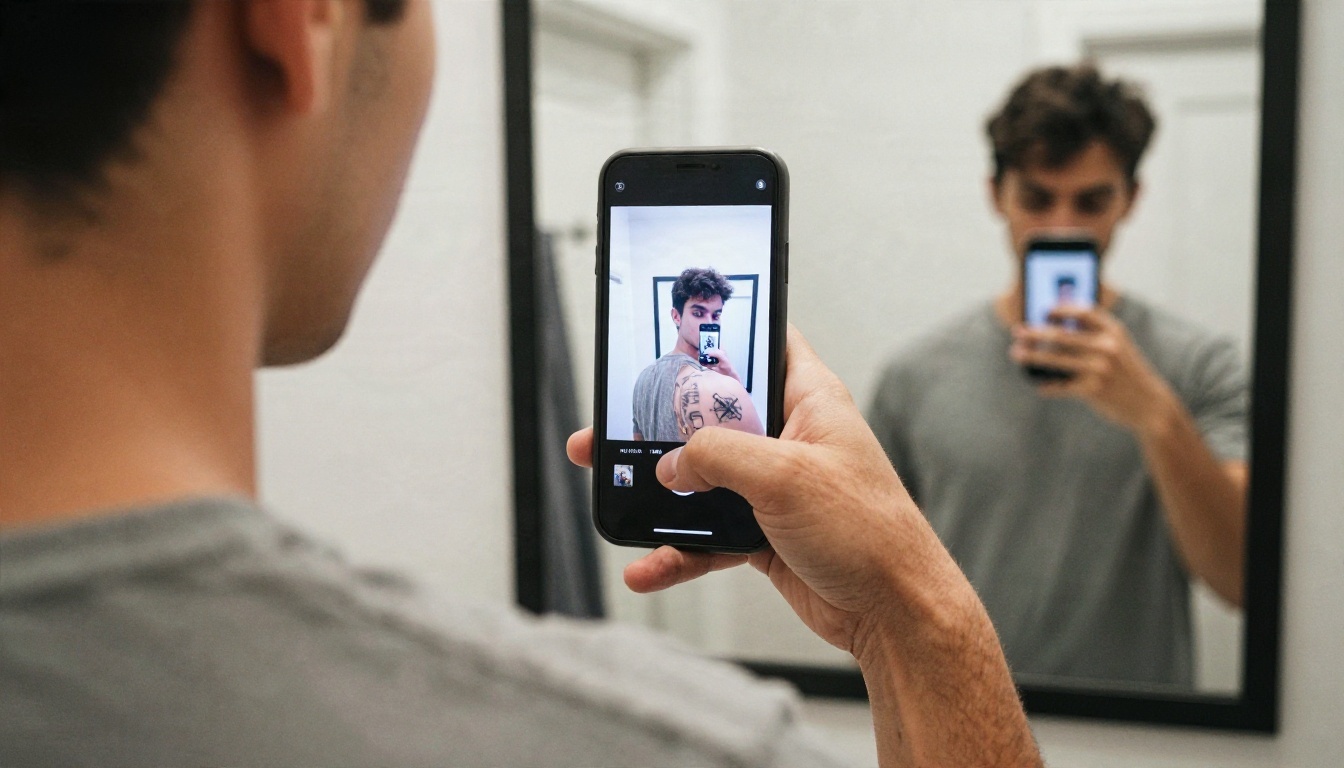
The AI can only edit what it can see. A blurry mirror selfie with a flash glare will give you a blurry, glossy tattoo. A sharp photo in daylight gives the model real skin texture to match.
Good input photos share a few traits:
- Even daylight: a window to one side works better than overhead bulbs.
- Flat angle: shoot straight at the limb, not from below or above.
- Full context: include the whole area, the old tattoo and a margin of bare skin.
- No filters: skip beauty modes, since they smooth the very skin texture you need.
- Relaxed pose: a tensed muscle bends the design in ways it will not at rest.
What the model gets right and wrong
Current models are very good at skin tone, shadow, and the soft edge of healed ink. They are less reliable at exact text, tiny symmetrical details, and anatomically precise portraits. If your tattoo includes a name, a date or a coordinate, add it yourself later. Treat the AI output as a placement and style preview, not a final stencil.
Which Models Work Best on PicassoIA
Several models on PicassoIA can edit a photo from a text instruction. They are not interchangeable, so here is how I would use each.
| Model | Best for | Strength | Watch out for |
|---|
| Nano Banana Pro | Adding a design while keeping old ink untouched | Strong subject consistency | Needs a clear placement instruction |
| Nano Banana | Quick placement tests | Fast, forgiving | Less fine detail on big pieces |
| Seedream 4.5 | High-resolution realistic skin | Sharp pores and texture | Can over-polish skin |
| Flux Kontext Fast | Small edits in few seconds | Quick iterations | Keep prompts short |
| GPT Image 2 | Designs that include short text | Better lettering | Slower than the quick models |
| PicassoIA Image Editor Pro | Unlimited back-to-back edits | Many tries without worrying | Quality depends on your prompt |
Nano Banana Pro for adding ink
For the "add a piece beside my old tattoo" job, Nano Banana Pro is a strong first choice. It tends to preserve what is already in the photo, including old ink, freckles and scars, while adding the new element with consistent lighting.
Seedream 4.5 for realism
When the goal is a convincing preview you might show your artist, Seedream 4.5 gives very sharp output. Use it for the final candidate after you have settled on placement.
Image Editor Pro for volume
Tattoo planning is a numbers game. You will want to try a design at three sizes, in two places, with and without color. PicassoIA Image Editor Pro offers unlimited generations, so you can iterate without counting.
How to Use Nano Banana on PicassoIA
Here is a workflow that works for most arm, leg and shoulder photos. It uses Nano Banana, but the same steps apply to Nano Banana Pro and Flux Kontext Fast.
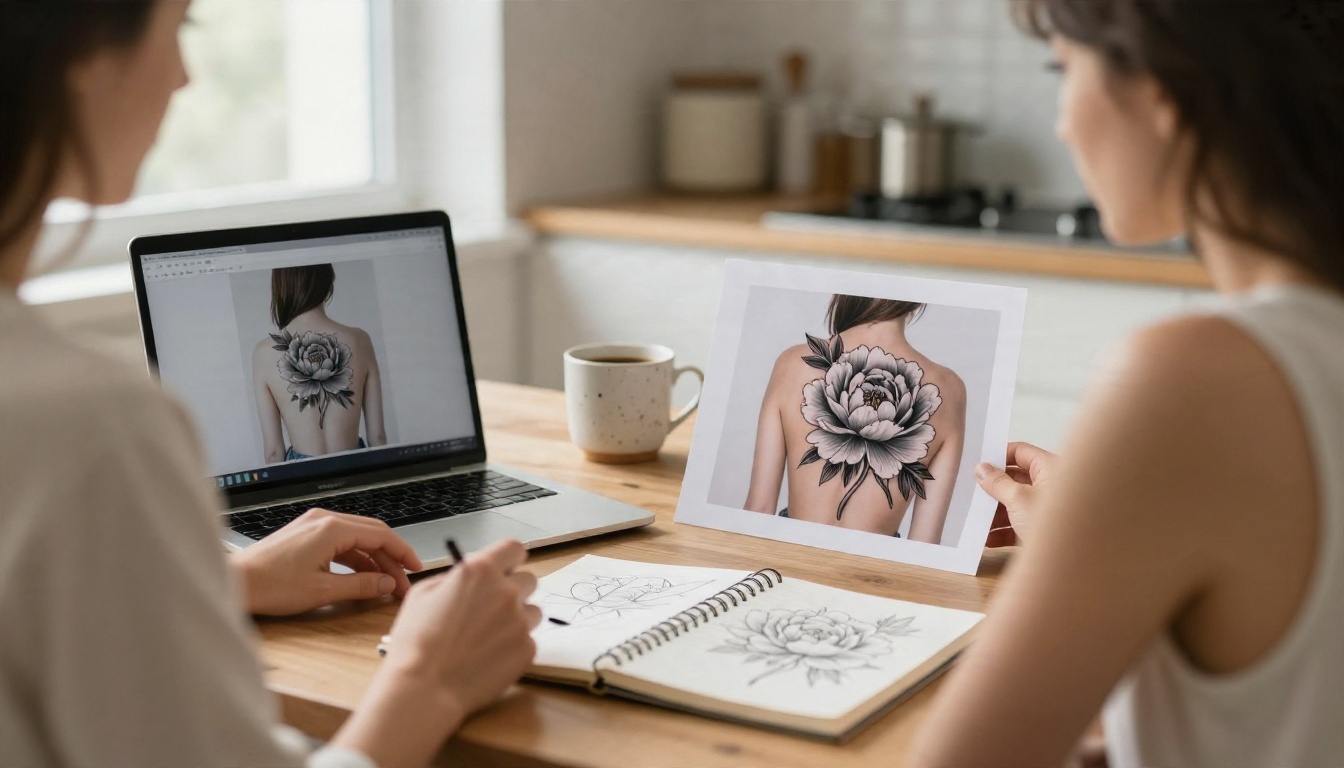
Step 1: Prepare your photo
Shoot your limb in even daylight against a plain wall. Keep the old tattoo in the center and leave a margin of bare skin where you imagine the new piece. Save the photo as a JPG or PNG.
Step 2: Open the model and upload
Open the Nano Banana page, upload your photo as the input image, and write your instruction in the prompt box.
Step 3: Write a placement prompt
Be specific about where, what, and what to keep. Here is a template:
Keep the existing tattoo exactly as it is. Add a small fine-line black ink peony on the inner forearm, three centimeters below the existing eucalyptus branch. Match the line weight of the old tattoo. Natural skin texture, realistic healed ink, same lighting as the photo.
Step 4: Adjust and repeat
If the new design is too big, say so: "make the peony half the size." If it overlaps the old tattoo, say so: "move it further from the eucalyptus branch." Change one thing per run, so you can tell what helped.
Step 5: Compare and save
Generate four to six versions and put them side by side. Save the best two, and write down what you liked about each. Those notes are useful when you talk to your artist.
💡 Tip: Add the phrase "healed tattoo, soft edges, not freshly inked" to your prompt. Without it, many models draw a brand new, glossy, high-contrast tattoo that looks pasted on top of old ink.
Prompts That Actually Work
Prompts for tattoo editing are different from prompts for general images. You are giving instructions to an editor, not describing a scene.
Prompts for adding
Start with what must not change, then say what to add:
- "Keep all existing tattoos unchanged. Add a small black ink crescent moon on the outer wrist, matching the line weight of the nearby tattoo."
- "Leave the sleeve as it is. Fill the blank area above the elbow with a botanical design in the same blackwork style."
- "Add a minimalist date in Roman numerals below the existing tattoo, small, healed ink."
Prompts for redesigning
For rework, say what the old tattoo was and what you want it to become:
- "The existing tattoo is a small blurry bird. Redraw it as a larger, cleaner swallow in fine-line black ink, same position, extending upward along the calf."
- "Keep the shape of the old tattoo but surround it with a floral frame in the same line style."
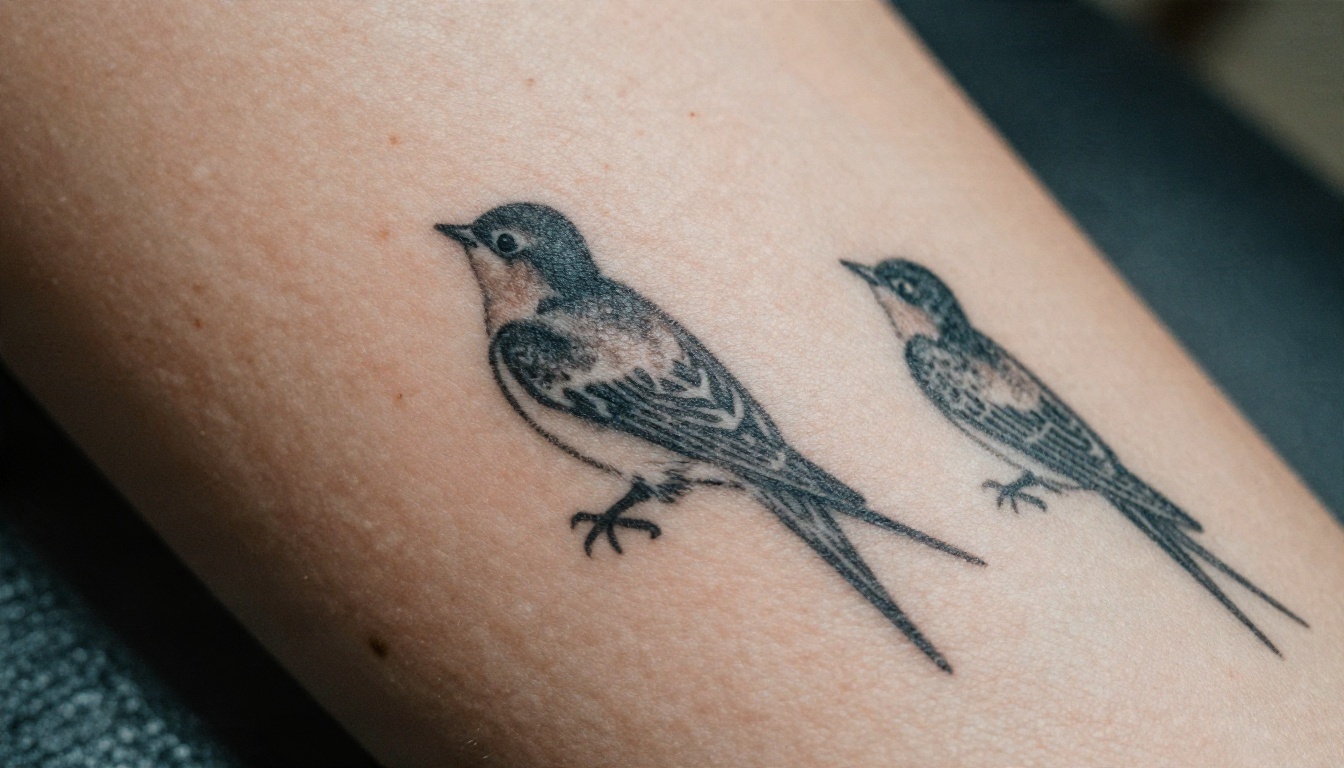
💡 Tip: Dark, dense ink hides old tattoos best. If your redesign is a light fine-line piece, expect the old blur to show through in real life. Ask your artist, since AI previews tend to be more optimistic than skin.
Prompts for previewing
For a preview of a design you already have, describe the artwork and how it should sit:
- "Place a small geometric mountain range tattoo on the inner bicep, black ink, 6 cm wide, following the curve of the arm."
- "Show a sleeve of botanical illustrations in black and gray, fading toward the wrist, realistic skin shadows."
Words that help, words that hurt
| Helpful | Harmful |
|---|
| healed ink, soft edges | glowing, vibrant, neon |
| matches existing line weight | decorative, fancy |
| realistic skin texture | smooth, flawless skin |
| 5 cm wide, inner forearm | big, somewhere on the arm |
| same lighting as photo | dramatic lighting |
Placement, Scale and Flow
A design can be beautiful and still sit wrong. The AI makes this problem visible fast, which is the best thing about the process.
Test scale before style
Most people choose style first and discover scale last. Reverse that. Ask the AI for the same simple shape at three sizes: small, medium and large. You will often find the medium option you never considered.
Follow the limb
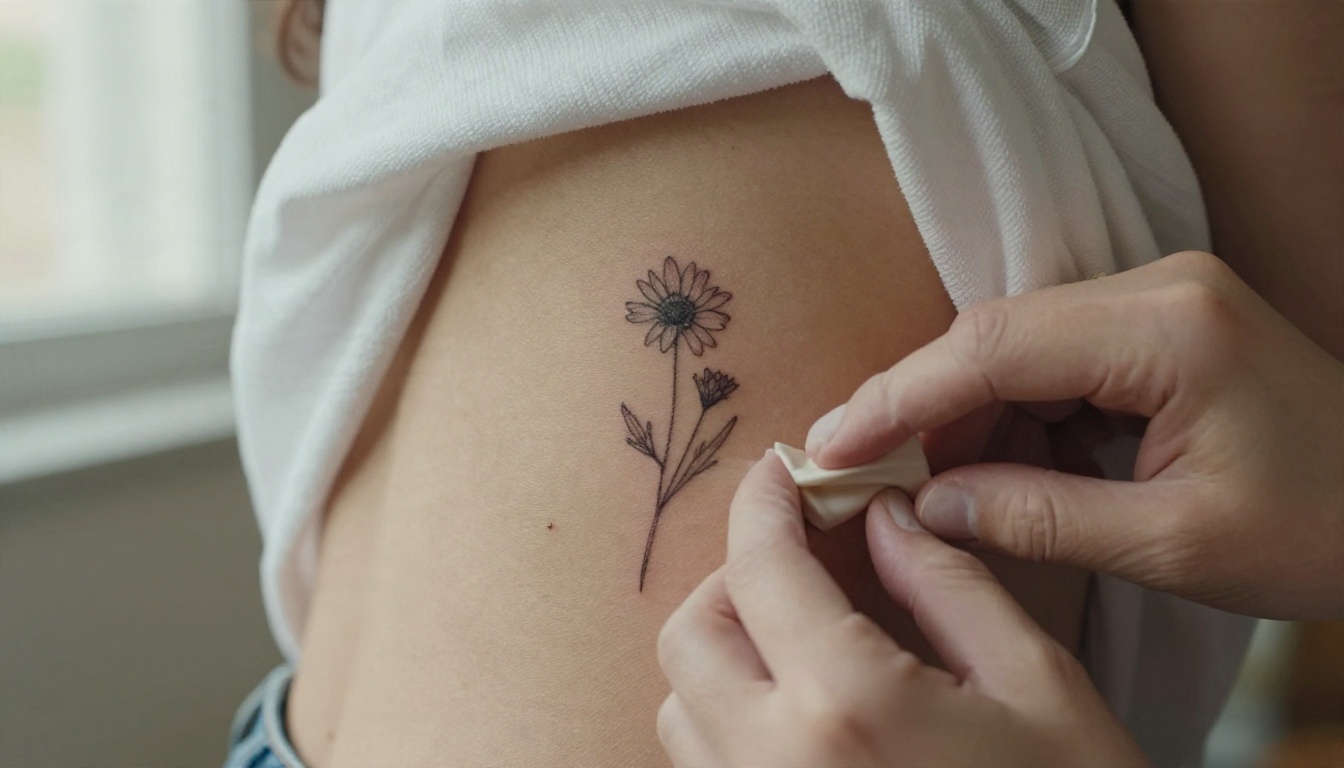
Designs that follow the long axis of a limb look intentional. Designs that fight the muscle line look stuck on. If your preview looks awkward, try rotating the design ten or fifteen degrees in your prompt.
Check it with a real stencil
An AI image is not a stencil. Once you like a preview, print the design at the size shown, make a temporary transfer, and wear it for a day. Look at it in a mirror, in a photo, and when you move. This single step has saved more people from regret than any software.
Taking the Result to Your Artist
AI is a conversation starter, not a replacement for the person holding the machine.
What to bring to the consultation
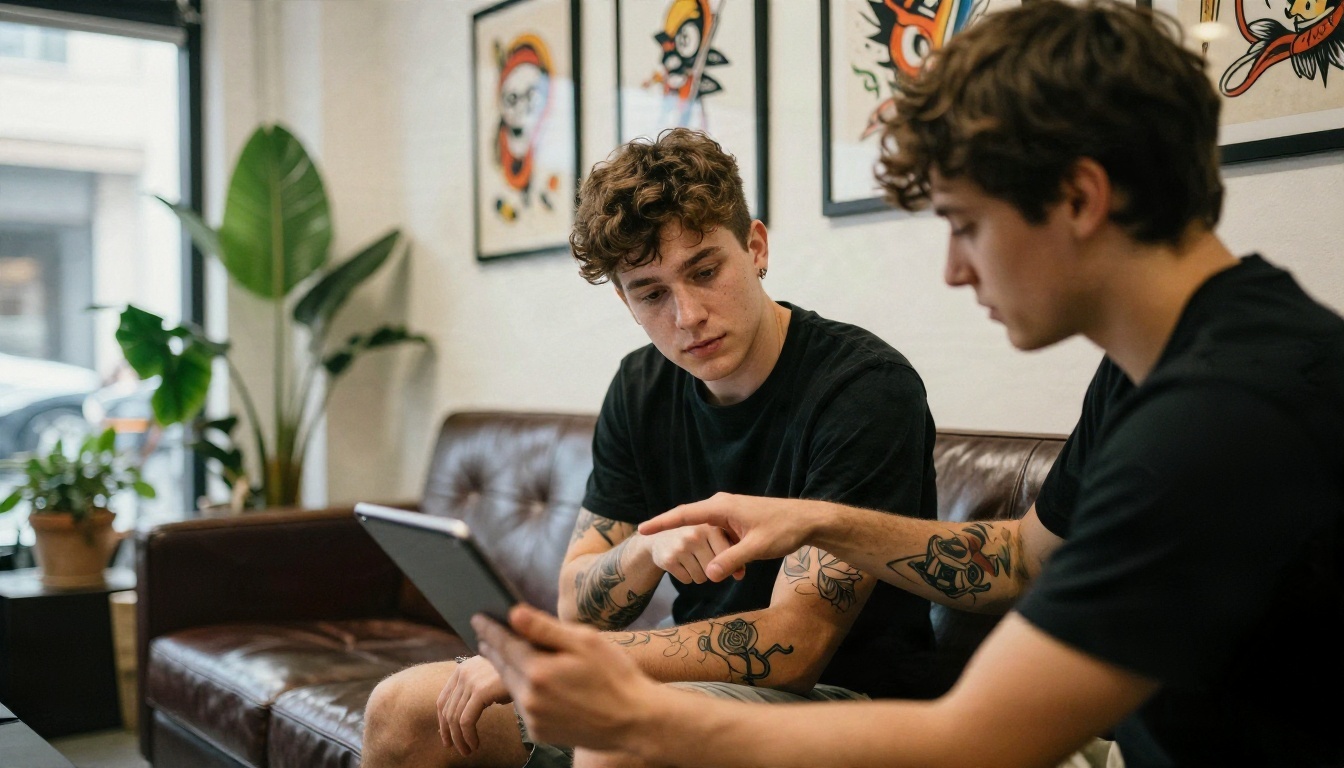
Bring three things: your original photo, the two or three previews you like best, and a short note on what you want to keep or change. That is far clearer than saying "something like a flower, but not too big."
Respect the artist's work
If your existing tattoo was done by another artist, be honest about it. Many artists are happy to build around or refresh someone else's work, but they appreciate knowing the history. If an artist has a distinct style, do not ask them to copy an AI render line for line. Ask what they would change.
Where AI previews mislead
Be ready for a few honest differences between the image and the real result:
- Fine detail: tiny lines may not hold on skin over years.
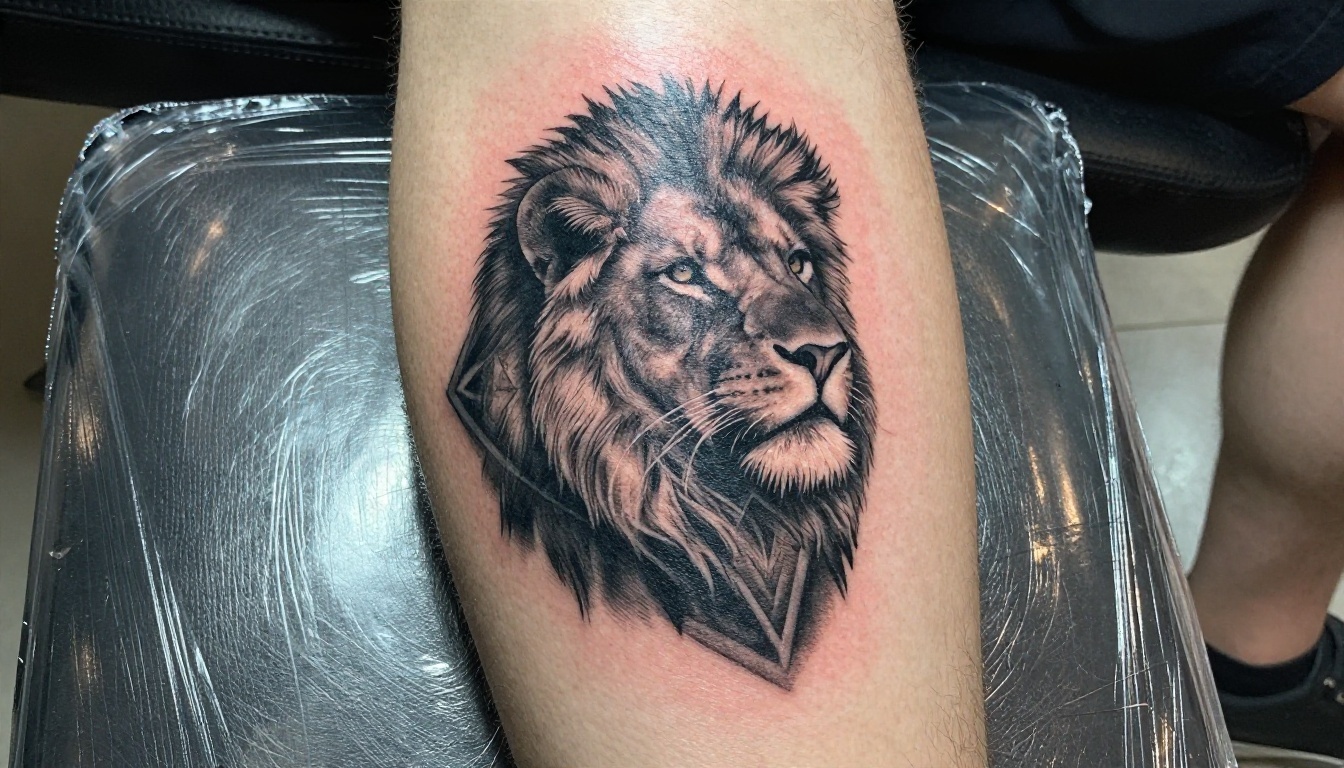
- Contrast: AI images often show cleaner, darker ink than real healed tattoos.
- Old ink: blurry ink shows through new light ink in ways a preview rarely captures.
- Placement over scars or moles: the model may ignore them, an artist cannot.
Common Mistakes to Avoid
After running dozens of these edits, the same errors keep showing up.
Using a heavily edited photo
Filters, skin smoothing and extreme contrast all confuse the model. If your photo already looks unnatural, the preview will look worse.
Asking for too much at once
"Add a dragon, a rose, a quote and a skull" is a recipe for a messy result. Add one element, check it, then add the next. It is easier to build a sleeve in layers than in one prompt.
Ignoring the old tattoo's style
A hyper-realistic portrait next to a traditional American rose is not a bold choice, it is usually a clash. If you want mixed styles, plan a transition: a shared color, a shared border, or a background of smoke or dotwork.
Trusting the first result
The first image is rarely the best. Generate several, change one detail at a time, and trust the pattern, not the single lucky image.
A Simple Planning Routine
If you want a repeatable process, use this one. It takes about an hour and spares you weeks of second thoughts.
- Photograph the area in daylight, from three angles.
- Decide the job: add, redesign or preview.
- Generate six placements with Nano Banana Pro or Flux Kontext Fast.
- Refine the best two with Seedream 4.5 for realistic skin.
- Print a temporary stencil at real size and wear it for a day.
- Book a consultation with your photos and notes.
💡 Tip: Wait a week after choosing a favorite. If you still like it on day eight, you probably will in ten years.
Try It on Your Own Skin
You do not need a tattoo studio visit to start. Take a photo of the arm, leg or shoulder you have been thinking about, open PicassoIA Image Editor Pro for unlimited experiments, and write your first placement prompt. Try the same design at three sizes. Move it two centimeters. Change it from black to black and gray. Within an hour, you will know far more about what you want than you did this morning.
When you are ready to compare more tools, Nano Banana Pro, Seedream 4.5 and GPT Image 2 each handle skin and ink a little differently. Browse the full list at picassoia.com/en/all-models, pick two, and run the same prompt through both. The tattoo you book afterward will be one you have actually seen on your own body.


