You have a shoebox of tapes, a VCR that still works (for now), and a nagging fear that the magnetic coating is flaking a little more every year. The good news: AI VHS restoration has reached the point where a washed-out 1996 birthday video can look clean, stable and watchable on a modern TV. The bad news: it will never look like it was shot on a phone last week, and anyone who promises "4K from VHS" is selling you a very nice-looking guess.
This article walks through what the technology can fix, which free tools and online options are worth your time, the settings that change the result, and where the quality ceiling sits. No hype, just what actually happens when 240 lines of analog signal meet a neural network.
💡 Quick answer: Capture the tape digitally first, deinterlace, upscale 2x to 1080p, keep the original frame rate, and run a short test clip before you commit hours of processing to a whole tape.
What AI Can Actually Fix
Noise, Blur and Color Bleed
A VHS recording is a low-bandwidth analog signal. Luminance (brightness) gets roughly 240 lines of horizontal detail, and color information is squeezed even harder, which is why reds smear into neighboring areas and edges look soft. Tape adds its own problems: grain, dropouts, tracking wobble and the faint rainbow shimmer around fine patterns.
Modern restoration models are trained on pairs of clean and degraded video, so they learn to recognize those patterns and rebuild plausible detail. In practice they do well on:
- Random noise and tape hiss in the picture, which smooth out without turning skin to wax (when settings are sensible).
- Soft edges, which sharpen into readable outlines.
- Resolution, since 480i or 576i footage gets rebuilt at 720p or 1080p with cleaner lines.
- Mild color bleed, which improves when the model sees consistent shapes across frames.

What It Cannot Invent
Here is the part vendor pages skip. A model cannot add information that was never recorded. If a face on tape is twelve blurry pixels wide, the AI will draw a face that fits those pixels. It might resemble your uncle. It might resemble a stranger with your uncle's haircut.
The same goes for text on a shirt, a license plate, or the pattern on wallpaper. Upscalers fill these with convincing but invented texture. For family archives that is usually acceptable. For anything where accuracy matters, such as evidence or documentary work, keep the untouched capture as the master and treat the restored version as a viewing copy.
Prepare the Tape First
Clean and Inspect the Cassette
Software cannot fix a tape that physically misbehaves. Before you play anything:
- Look through the window for mold, white powder or a loose, sagging tape pack.
- Wipe the outer shell and gently remove dust with a dry microfiber cloth.
- Check that the leader is intact and the tape is not stretched near the start.
- If it smells musty or shows fuzzy growth, stop. That tape needs a professional.
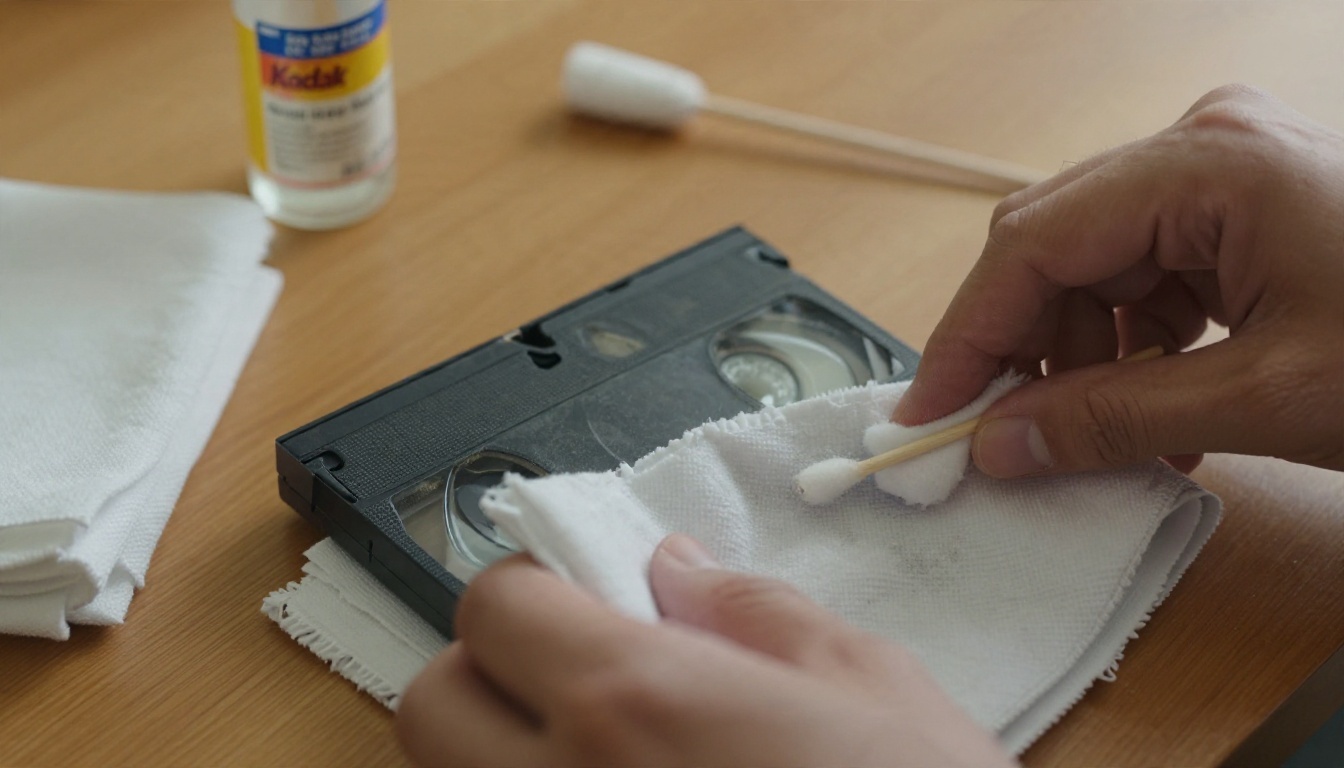
A worn VCR head can ruin more footage than any AI can repair. If the picture is streaky or rolls constantly during playback, try a different deck before blaming the tape.
Pick a Decent Capture Setup
The usual home chain is simple: VCR, composite or S-Video cable, a USB capture device, and recording software on your computer. Two habits make a measurable difference:
- Use S-Video if your VCR supports it. It keeps brightness and color on separate lines, so there is less color smear to repair later.
- Capture in a high-quality, lightly compressed format, not a tiny MP4. Compression artifacts get magnified by upscalers.
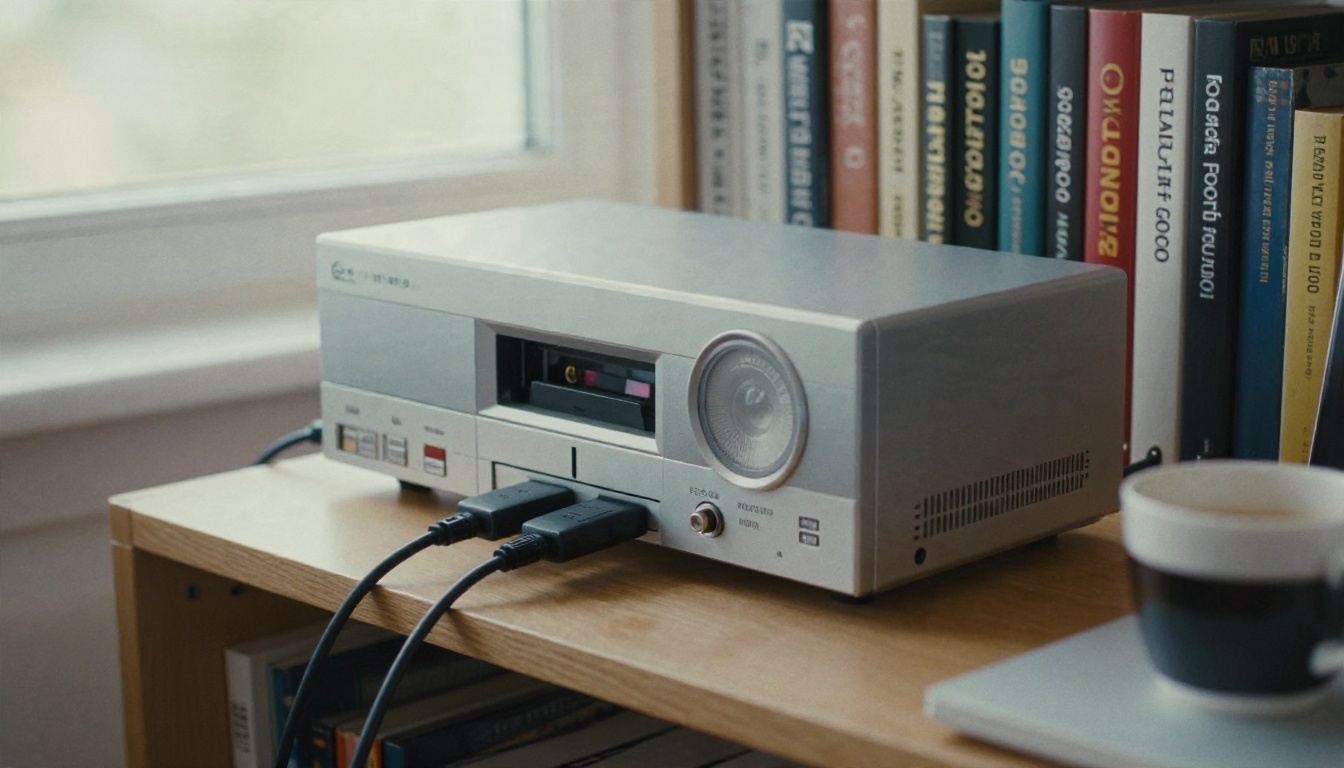
Record each tape as one continuous file with a few seconds of buffer at each end. You can trim later, and having the raw capture saved gives you the freedom to redo the restoration when better models arrive.
💡 VHS-C and camcorder tapes: Small VHS-C cassettes usually need an adapter shell to play in a normal VCR. Handle the adapter gently, because the tiny tape inside is thinner and more fragile than a full-size cassette.
Desktop Options
If you are comfortable with a little setup, the free desktop route gives you the most control and no upload limits:
- Video2X is an open-source project that wraps Real-ESRGAN and similar models. It costs nothing, but speed depends entirely on your graphics card, and a long tape can take hours.
- DaVinci Resolve has a free edition that is excellent for trimming, color correction and cropping the black head-switching noise at the bottom of VHS frames. It does not restore detail the way a dedicated upscaler does, but it is a very good companion.
- Paid tools with trials, such as VideoProc Converter AI and UniFab, bundle denoising, deinterlacing and upscaling in one interface. Their free trials let you test on a short clip, though trial terms change, so check the current offer before relying on it.
Free Tiers and Daily Credits
Several browser services run on daily credits. Vmake, for example, advertises free daily credits for old video restoration, and Krea offers limited daily upscales to signed-in free users. These offers shift often, so treat any specific number as something to verify on the day you use it.
| Option | Cost | Best for | Main catch |
|---|
| Video2X (desktop) | Free, open source | Full control, long tapes | Needs a capable GPU and patience |
| DaVinci Resolve (free) | Free | Trimming, color, cropping edges | Not a true AI restorer |
| Daily-credit web tools | Free tier, limited | Testing one short clip | Caps on length, resolution, count |
| Paid desktop suites | Trial, then paid | One-window workflow | Cost, large installs |
| Browser upscalers on PicassoIA | Free to try | Quick results, no install | Upload size and clip length limits |
Online Options Compared
Browser Upscalers
An online restorer removes the biggest barrier: you do not need a gaming PC. You upload, wait, download. On PicassoIA there are several models that handle this job from the browser:
- Video Upscale outputs 720p, 1080p or 4K and can also set a target frame rate.
- Real ESRGAN Video offers FHD, 2K and 4K, with a photorealistic model for real footage and anime variants for cartoons.
- Upscale v1 is another video upscaler worth testing on the same clip for comparison.
- Video Increase Resolution is a simple option when you only want a bigger picture without many controls.
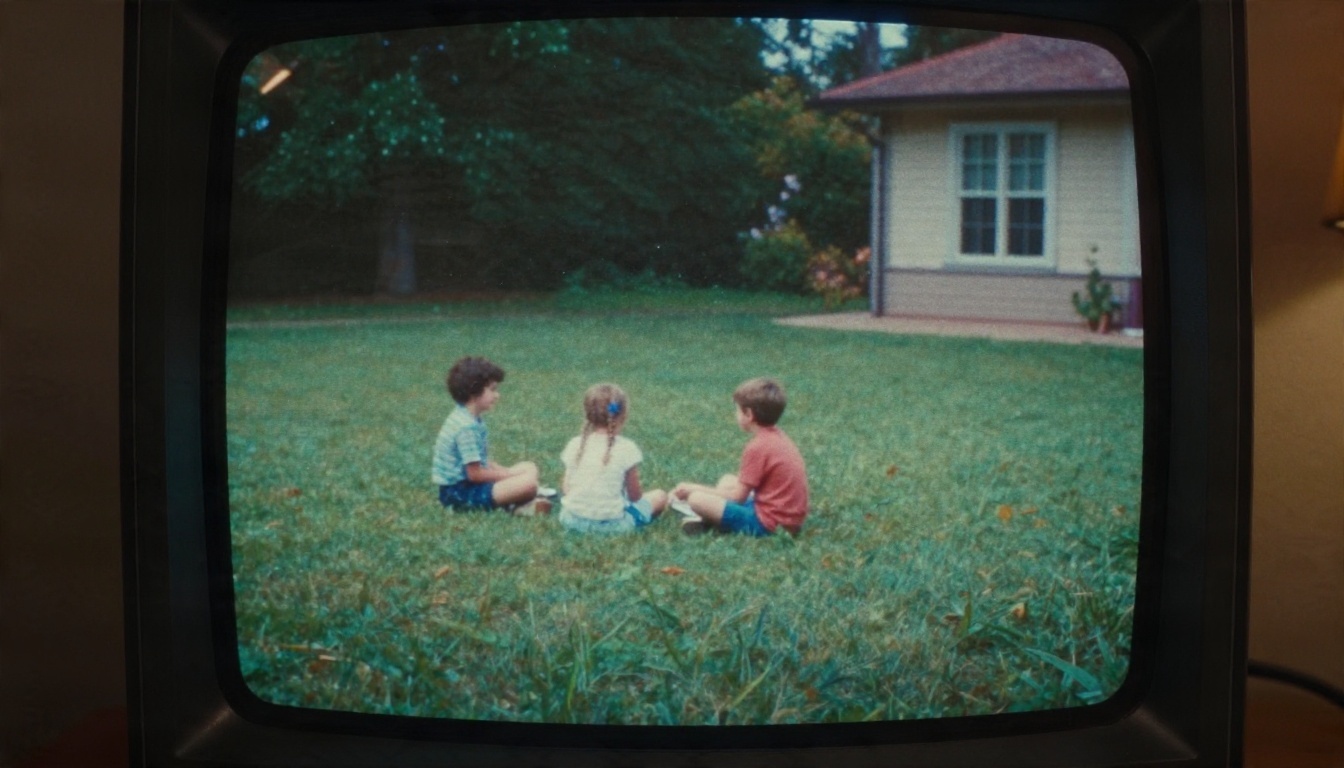
The smart approach is to run the same 15-second clip through two models and compare skin tones, edges and motion. Differences between models are larger than differences between most settings.
Privacy and File Size Limits
Uploading means your family footage leaves your computer. Read the retention policy of any service you use, and avoid uploading anything sensitive to tools that do not state how long files are stored. Also expect practical limits: maximum file size, clip duration and daily usage. If a tape is two hours long, split it into scenes of a few minutes each. That also makes it easy to redo one bad segment without paying for the whole tape again.
Settings That Matter Most
Deinterlace Before Anything Else
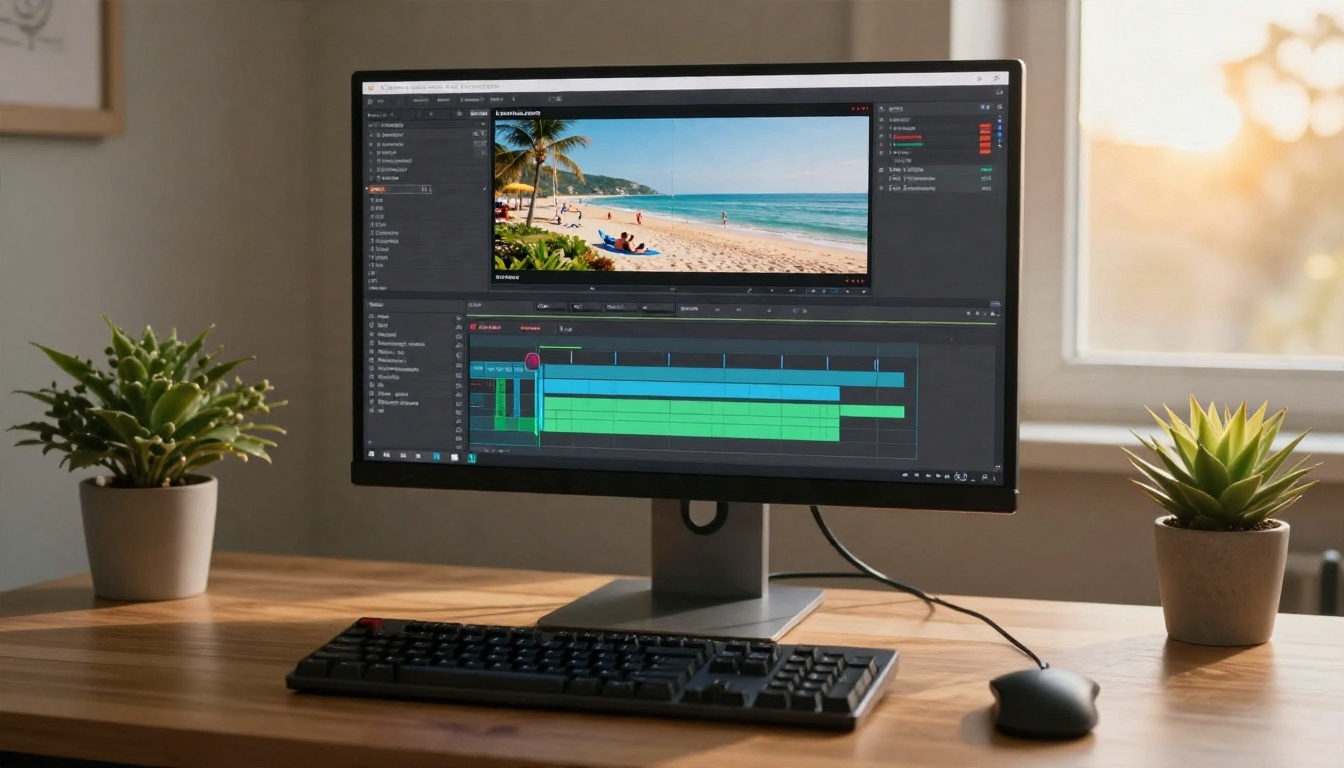
VHS is interlaced: each frame is made of two half-pictures (fields) captured a moment apart. If you upscale interlaced footage without deinterlacing, the model treats the comb-like lines on moving objects as real detail and sharpens them. The result looks like jagged teeth around every moving arm.
Deinterlace first, ideally in your capture or editing software. Choose double-rate output (about 60 frames per second from NTSC, 50 from PAL) if you want the smoothest motion, or single-rate (about 30 or 25) if you want the original look with fewer frames to process. Single-rate is the safer choice for most home videos.
Scale Factor and Target Resolution
NTSC VHS is 480 lines and PAL is 576. A clean 2x jump lands near 1080p, which is a sensible target. Going to 4K means the model must invent roughly eight times the pixel count of a 1080p result's source detail, so you get a bigger file and more risk of plasticky textures, not more real information.
| Source | Sensible target | Why |
|---|
| NTSC VHS (480i) | 1080p | About 2x, natural-looking result |
| PAL VHS (576i) | 1080p | Slightly less stretching than NTSC |
| Poor-quality or VHS-C | 720p to 1080p | Less detail to rebuild, so stay modest |
| Archive for big screens | 4K (optional) | Only if you will really watch it on a large display |
Frame Rate and Denoise
Two settings tempt people into overdoing it:
- Frame interpolation. Pushing a 30fps home video to 60 or 120fps can make it look like a soap opera. Match the source (24, 25 or 30) unless you have a reason to change it.
- Denoise strength. Strong denoising wipes away grain and also pores, hair and fabric texture. Start low or medium, then raise it only if noise is still distracting.
💡 Rule of thumb: If the restored clip looks "too clean" next to the original, you went too far. Aim for believable, not spotless.
How to Use Video Upscale on PicassoIA
Video Upscale is a straightforward way to run a captured tape through an AI upscaler without installing anything. Here is the workflow I would use.
- Prepare the clip. Capture the tape, deinterlace it in your editor, and export a short test segment (10 to 20 seconds with faces and movement).
- Open the model page. Go to the Video Upscale page on PicassoIA and upload your video file.
- Set the target resolution. The options are 720p, 1080p and 4K, with 4K as the default. For VHS, pick 1080p first.
- Set the target FPS. The default is 30, and the range runs from 15 to 120. Choose the frame rate of your source: 30 for NTSC, 25 for PAL. Leave higher values alone for now.
- Run it and compare. Watch the result next to the original, paying attention to faces, hands and any fine patterns.
- Try an alternative model. Run the same clip through Real ESRGAN Video with the standard photorealistic model and FHD output. Anime variants are meant for cartoons, so skip them for family footage.
- Process the full tape in segments. Once you like a result, repeat the same settings on each scene, so tone and sharpness stay consistent.
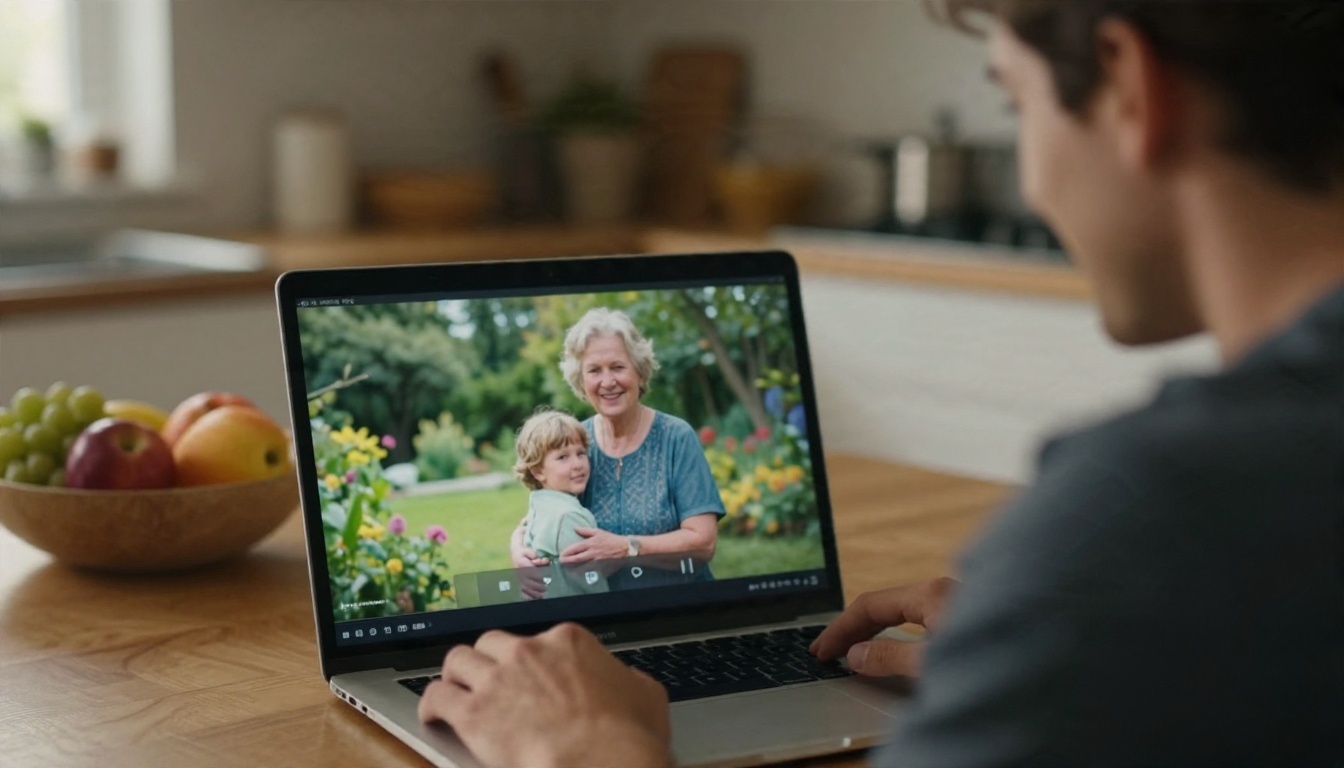
💡 Still frames from tape: If you want a photograph from a favorite moment, pause on a sharp frame and export it. Image upscalers such as Real ESRGAN, Image Upscale and Crystal Upscaler work well for portraits, and Clarity Pro Upscaler is another option for photorealistic detail.
Quality Limits to Expect
Faces, Text and Hallucinated Detail
Faces are where upscaling goes wrong in the most upsetting way. Small, distant faces can come back subtly altered, with different eye spacing or smoother skin. Check any clip that features people you know well, and compare a paused frame with the original. If the face feels off, lower the scale, reduce denoise, or try another model.
Text and fine patterns (striped shirts, brick walls, blinds) may flicker between frames because the model redraws them slightly differently each time. Light flicker in these areas is normal. Heavy shimmer means the setting is too aggressive or the source was too soft.
When to Stop at 1080p
A tape that was recorded off a weak broadcast signal, dubbed several times, or stored in a hot attic has lost information that no model can bring back. For those tapes, aim for a clean 720p or 1080p, fix the obvious distractions, and accept the character of the source. Grain and softness are part of how those memories looked and felt.
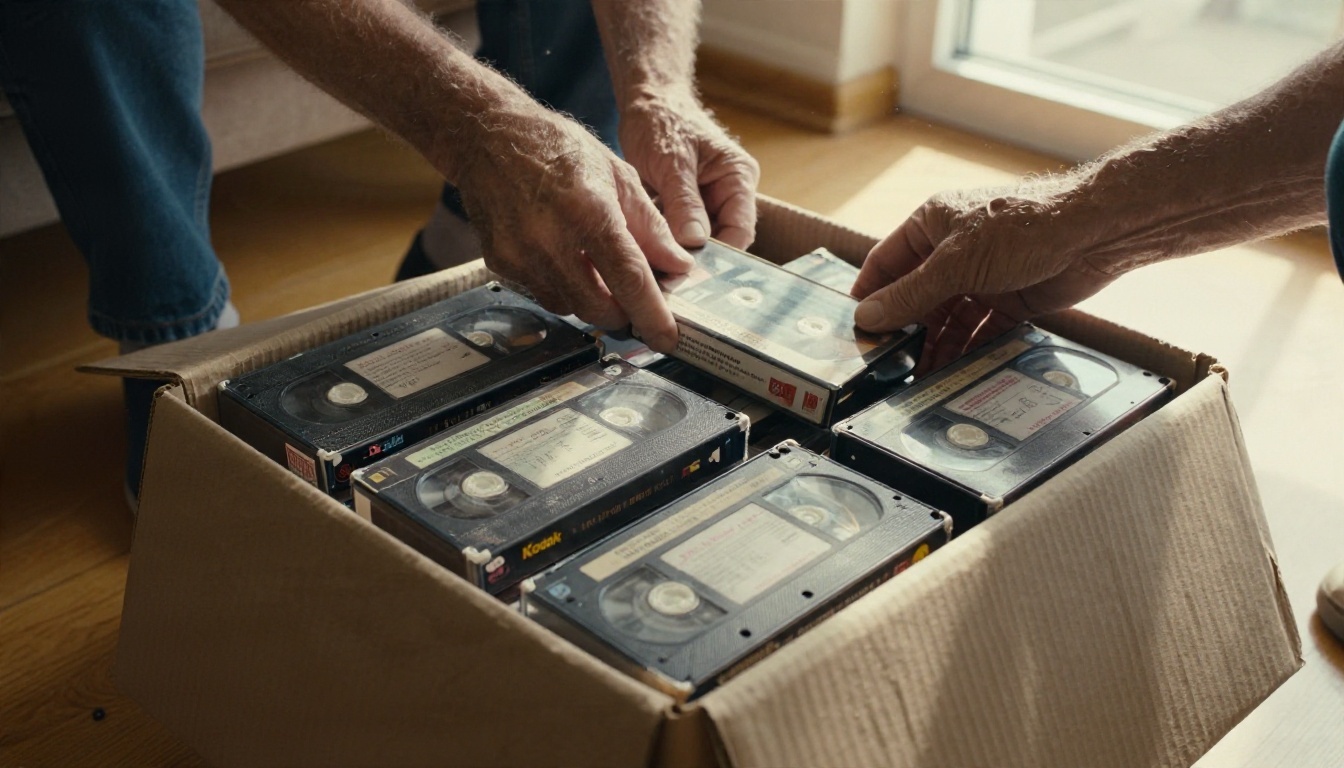
Here is a realistic expectation chart:
| Tape condition | Realistic result |
|---|
| First-generation, good tape, S-Video capture | Clean, stable 1080p that looks natural |
| Average home recording | Noticeably sharper and cleaner, still clearly analog |
| Dubbed copy, worn tape | Less noise, some softness remains, faces need checking |
| Damaged or moldy tape | Professional cleaning first, AI second |
Back Up Before You Celebrate
Whichever tool you pick, protect your work in three steps:
- Keep the raw capture untouched on one drive.
- Keep the restored version on a second drive with a clear name and date.
- Keep a third copy off site or in cloud storage.
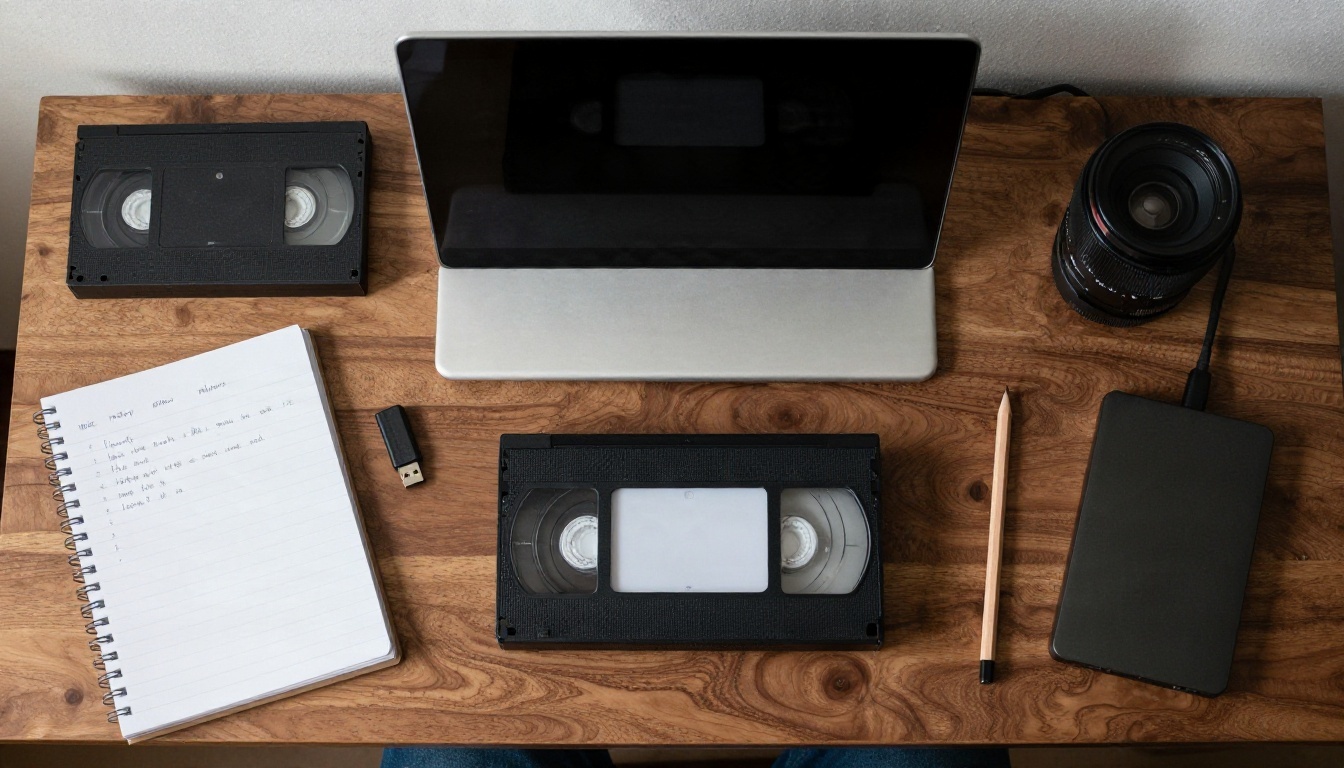
The raw capture matters most. Models improve every year, and the version you restore in a few years may beat today's by a wide margin. The tape itself will only get worse.
Try It on Your Own Tapes
Pick one tape, the one you would be saddest to lose, and capture ten minutes of it. Deinterlace, cut a 15-second test clip, and run it through Video Upscale at 1080p. Then run the same clip through Real ESRGAN Video and compare the two. Within an hour you will know which look you prefer and how far you want to push it.
Picasso IA lets you try these models right in the browser, so there is nothing to install and nothing to lose by experimenting. Start with that one tape, and your family archive may be watchable again by the weekend. For more models that sharpen, upscale and restore, browse picassoia.com/en/all-models.


