You open your dashboard, see a video with a great title, and a thumbnail that looks like a stranger made it. Generic stock faces, random gradients, a font that fights the picture. Now picture the same video with your own face, a clear expression, a clean background and a bold focal point. That second version is what an AI thumbnail generator with image upload can give you in a few minutes, and a surprising number of tools do it for free.
This article sorts through the options: free online tools, phone apps, and a more flexible workflow built on image models. You will see what each approach is good at, where the free tiers get annoying, how to shoot a source photo the AI can actually use, and how to run a full thumbnail workflow on PicassoIA from upload to export.
Why Your Own Face Wins Clicks
Viewers decide in a fraction of a second. On a crowded home feed, the human brain locks onto faces and emotion before it reads any title. That is why so many successful channels, from cooking to finance to gaming, put a real person front and center.
Faces Beat Stock Images
A stock photo can never carry your personality. Your own portrait tells the viewer who they are about to spend ten minutes with. It builds recognition across videos, and recognition builds habit. When someone scrolls past three thumbnails and sees your face again, it feels familiar, and familiar gets clicked.
The Problem With Pure Text Prompts
Many generators only accept a text description. You type "excited man pointing at a laptop" and you get a different excited man every time. Great for a mood board, useless for a personal brand. Using your own photo as the input solves the identity problem: the AI works around your face instead of inventing one.
💡 Tip: If a tool never asks for an upload, it is a text-to-image generator, not a thumbnail generator with image input. Check for words like "reference image", "upload photo" or "face" before you invest time.
What "Generator With Image" Really Means
The phrase covers three different jobs, and mixing them up leads to disappointment. Tools tend to specialize in one.
Reference Photo Mode
You upload a portrait, write a short prompt, and the model builds a scene around you: a dramatic background, a new outfit color, a prop in your hand. The face stays recognizable. This is the closest thing to a true AI thumbnail generator with your photo.
Cutout and Background Swap
Simpler tools remove the background from your photo and place you over a template. It is fast and predictable. You do not get new scenes, but you do get clean edges and a lot of speed. A dedicated model such as Remove Background handles the cutout step on its own, so you can drop the result into any layout.
Edit by Prompt
Here you keep the photo but change parts of it with plain language: "make the sky sunset orange", "remove the cup on the desk", "add a soft rim light". Editing models like P Image Edit and Nano Banana are built for this.
| Approach | You provide | You get | Best for |
|---|
| Reference photo mode | Portrait and prompt | New scene around your face | Story style thumbnails |
| Cutout and swap | Portrait | You on a new background | Consistent channel branding |
| Edit by prompt | Photo and instruction | Targeted changes | Quick fixes and variations |
Free Online Options Compared
Plenty of browser tools let you upload your own picture. The landscape shifts constantly, so treat anything below as a snapshot and confirm current limits on each site before you build a routine around it.
What Free Usually Means
Based on what these tools currently advertise, free tends to land in one of these buckets:
- No account needed for the first few results. vidIQ's thumbnail maker works this way, with a free sign-up needed for HD downloads and reference-image features.
- Free account, then limited downloads. Piktochart asks for an account before you can use the generator and download your design.
- Upload, edit, export. Pixelbin accepts JPG and PNG files up to a stated size limit and advertises downloads without a watermark. insMind lets you upload a photo, add text or stickers and swap the background.
- Link and portrait tricks. Overchat can pull in an existing video thumbnail and let you insert a photo of yourself.
- Template and asset tools. Reliablesoft's generator accepts your own photos, screenshots or logos as starting material.
Canva and Photoshop Express also sit in this space with their own free tiers, though they lean on templates and manual layout more than generation.
Watermarks and Download Limits
The pattern worth watching is simple: the preview is free, the clean export is where the paywall hides. Before you spend half an hour on a design, test the download with a throwaway image. Check three things:
- Is there a watermark on the exported file?
- Is the resolution at least 1280 x 720, the standard YouTube thumbnail size?
- Is the file under 2 MB, the upload cap for YouTube thumbnails?
💡 Tip: If you only need one or two thumbnails a week, a free tier is fine. If you publish daily or manage several channels, a model-based workflow costs less time per image once you have a repeatable prompt.
App Options for Phone Creators
Not everyone edits on a desktop. Plenty of creators shoot, cut and publish from a phone, so the thumbnail has to happen there too.
Phone Editors
Mobile editors cover cutouts, text placement and simple color adjustments. Their weakness is control. Fine edge cleanup on hair, for instance, is hard on a small screen. They shine when you need a thumbnail right now and your face is already in the camera roll.
When a Browser Works Better
A browser based generator on your phone avoids installing yet another app, and you keep access to bigger models. Open the site, upload from your gallery, write one sentence, and export. For occasional use, that beats juggling subscriptions.
A practical split many creators land on:
- Phone app: last-minute fixes, cropping, adding a simple text label.
- Browser model workflow: the main thumbnail, new backgrounds, expression changes, variations.
- Desktop editor: final polish when you need pixel level control.
How to Use Nano Banana on PicassoIA
For a flexible, photo-first workflow, Nano Banana is a strong starting point because it accepts a reference image and edits it from plain language. Faster siblings like Nano Banana 2 Lite suit quick drafts, and Nano Banana Pro targets higher resolution output.
Step by Step
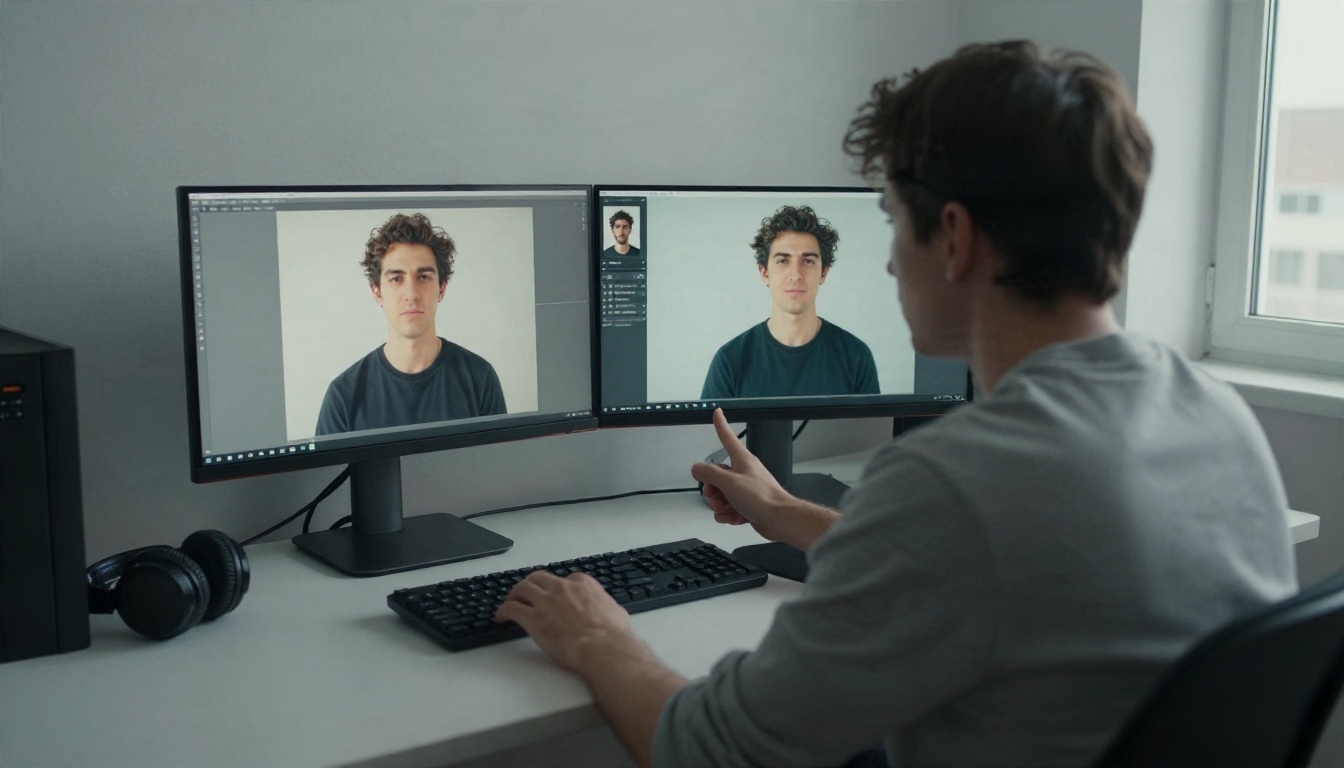
- Open the model page. Go to the Nano Banana page on PicassoIA and choose the image input option.
- Upload your portrait. Pick a sharp, evenly lit photo where your face fills a good part of the frame.
- Write the scene prompt. Describe the new background, the lighting and the mood. Keep your face unchanged by saying so.
- Set a 16:9 ratio. Thumbnails are widescreen, so choose 16:9 if the option is offered.
- Generate three or four variations. Do not settle for the first one.
- Pick, upscale, export. Send the winner through Real ESRGAN for a clean 4x upscale if the output is smaller than you need.
Prompt Formulas That Work
Short, concrete prompts beat poetic ones. Try patterns like these:
- "Keep my face and expression exactly the same. Place me in front of a busy night market, warm street light from the left, shallow depth of field."
- "Same person, same pose, bright kitchen background, soft window light, wearing a red apron."
- "Keep my face unchanged. Add a large stack of coins on the desk in front of me, natural daylight."
Notice what is missing: no long list of style adjectives. Describe the place, the light and one prop, and let the model do the rest.
Fixing Common Problems
| Problem | Likely cause | Fix |
|---|
| Face looks slightly different | Prompt allows too much change | Add "keep my face and expression unchanged" |
| Hair edges look messy | Busy original background | Cut out first with Remove Background |
| Output looks soft | Low source resolution | Upscale with Real ESRGAN |
| Colors clash with the title | Background too saturated | Ask for a muted or darker backdrop |
| Hands look odd | Hands in the source were blurry | Reshoot with hands out of frame or use P Image Edit to fix them |
Other Models Worth Trying
If you want a background built from scratch rather than edited around you, text-to-image models help. Seedream 4.5 handles detailed scenes and sharp 4K results. Qwen Image 3 leans toward natural, photographic looks. Flux 2 Klein 4B Base is a good pick for fast iterations. GPT Image 2.5 Sunburst is useful when your prompt includes precise instructions about objects and placement. A common trick: generate an empty background with one of these, cut out your portrait, and place yourself on top.
Shoot a Photo the AI Can Use
The output is only as good as the input. Five minutes of shooting saves thirty minutes of fixing.
Light and Background
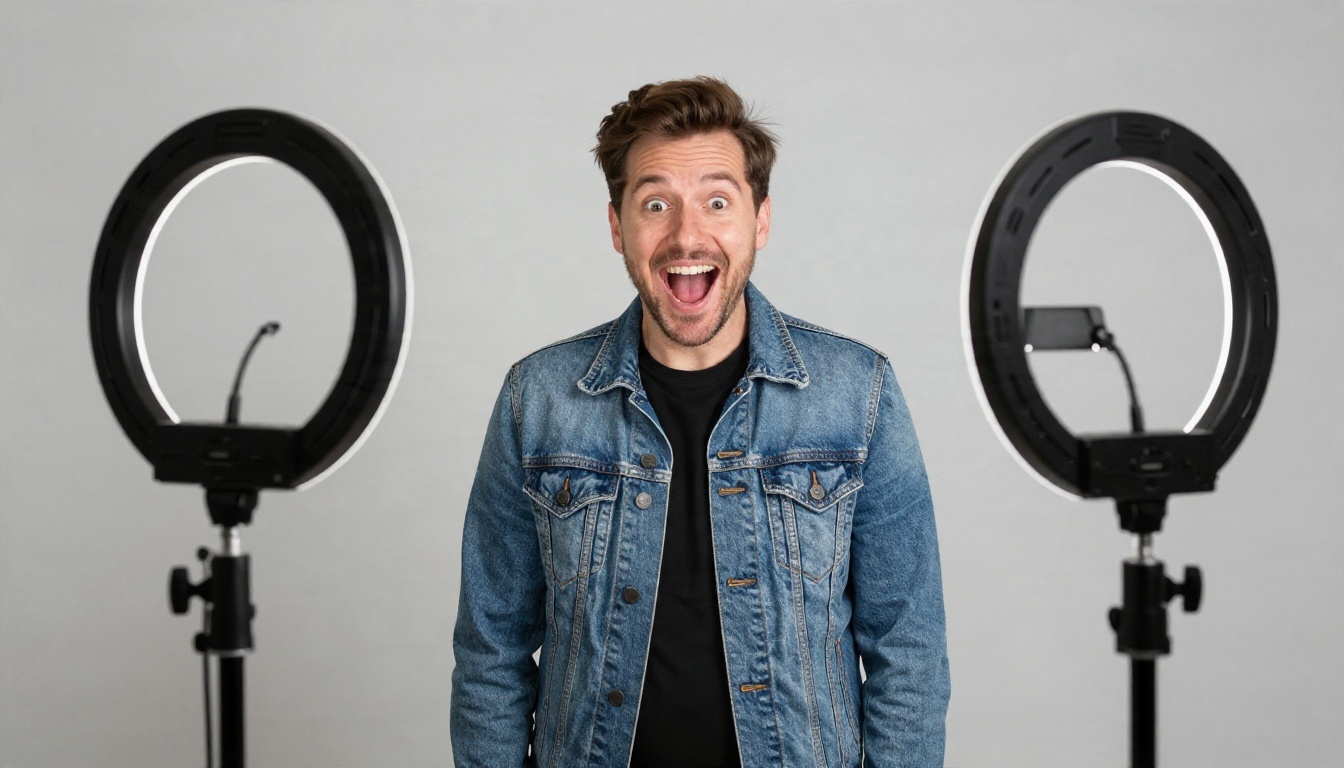
Face a window and let daylight hit you from the front or slightly from the side. Avoid overhead lights that dig shadows under your eyes. Stand in front of a plain wall, because a simple background gives the cutout clean edges. If you own a ring light or softbox, great, but a bright window is enough.
- Shoot at eye level or slightly above, never from below your chin.
- Keep your phone steady, ideally on a tripod or a stack of books.
- Use the rear camera, not the selfie camera, for better detail.
- Leave some space around your head and shoulders so the AI has room to work.
Expressions That Read Small
A thumbnail is often viewed at roughly the size of a postage stamp. Subtle expressions disappear. Exaggerate a little more than feels natural: wide eyes, open mouth, raised eyebrows, a genuine grin. Take twenty frames of each emotion you might need: surprise, doubt, excitement, serious focus. Build a small library once, and reuse it for months of videos.
Build a Photo Library
Shoot a set in different outfits and angles on the same day. Front view, three quarter left, three quarter right, hands holding something, arms crossed. With a library like this, each new thumbnail starts from a ready source image instead of a fresh shoot.
💡 Tip: Wear a solid color that contrasts with your usual thumbnail background. A mustard sweater pops against deep blue. A white tee disappears against a bright sky.
Thumbnail Layout Rules That Hold Up
AI handles the image. You still decide the layout, and a few habits separate thumbnails that get clicked from those that get ignored.
Size, Text and Contrast
- Dimensions: 1280 x 720 pixels, 16:9, under 2 MB.
- Text: three words at most. If the title already says it, the thumbnail should add curiosity, not repeat it.
- Contrast: your face and the background should differ clearly in brightness. Squint at the image. If you can still tell what is going on, it works.
- One focal point: your face, plus one object at most. Anything more becomes noise.
- Safe zones: the video length badge sits in the bottom right corner, so keep important details away from it.
Test Variations
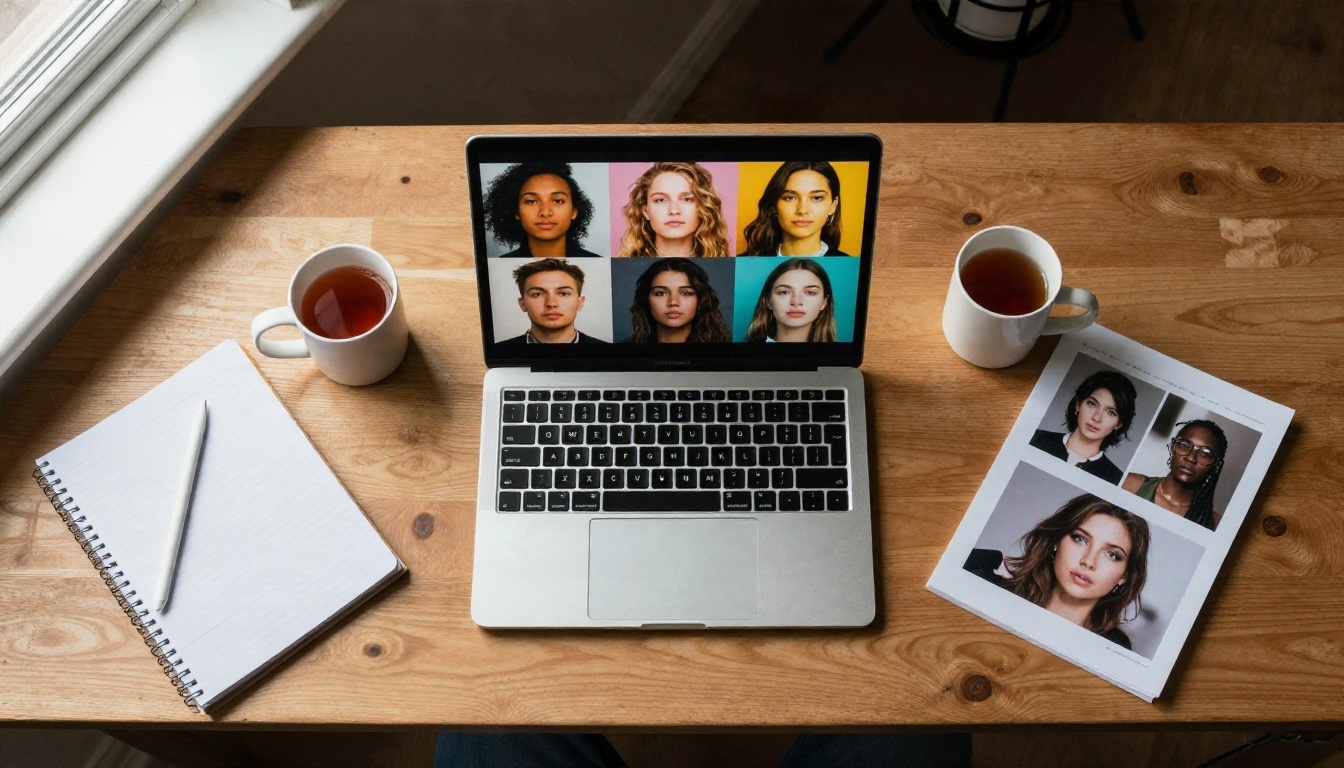
Make two or three versions of every thumbnail: a different expression, a different background color, a different crop. Compare them side by side at small size. On platforms that support thumbnail testing, you can let real viewers decide. Elsewhere, swap the thumbnail after a few days and compare the click rate yourself.
Stay Consistent Across Videos
Pick two or three recurring choices: a consistent background hue, the same text font, your face on the same side of the frame. Over time the channel develops a look that people recognize before they read a single word.
Mistakes That Waste Your Time
Most disappointing results trace back to a short list of errors.
- Using a dark, blurry selfie as the source. The AI cannot invent detail you never captured.
- Writing a 200 word prompt. Long prompts dilute the important instruction. Keep it short.
- Letting the model change your face. Always say what must stay the same.
- Ignoring the thumbnail size at small scale. Preview at roughly 200 pixels wide before you export.
- Using other people's photos or footage without permission. Stick to your own portraits, or get consent from anyone who appears in the frame. Some vendors also warn that uploading material you do not own may raise copyright problems.
Know When to Stop
Perfectionism eats hours. Once the face reads clearly, the contrast is strong and the text is short, publish. A good thumbnail uploaded today beats a perfect one next week.
Make Your First Thumbnail Today
Here is a workflow you can finish in about twenty minutes:
- Shoot ten photos by a window with different expressions.
- Choose the sharpest one and, if the wall behind you is busy, cut it out with Remove Background.
- Open Nano Banana, upload the portrait, and prompt a new scene while keeping your face unchanged.
- Fix small flaws with P Image Edit.
- Upscale with Real ESRGAN if you need extra sharpness.
- Add three words of text in your favorite editor and export at 1280 x 720.
Free online tools and phone apps are perfectly good for a first try, and some will carry you a long way. When you want more control over the scene, the lighting and the final resolution, a model-based workflow gives you room to grow without paying for yet another template subscription.
Ready to see your own face on a thumbnail that stops the scroll? Upload a portrait to PicassoIA, try a few prompts with Nano Banana, and compare the variations side by side. Browse every available model at picassoia.com/en/all-models and build the look that fits your channel.


