A ten-slide deck should take an afternoon. The narration takes the rest of the week. You record slide 3, a dog barks, you record it again, then you spot a mispronounced product name on slide 7 and the tone of slides 1 through 6 no longer matches. AI voiceover for PowerPoint, Premiere Pro and DaVinci Resolve removes that loop: you write the script once, generate clean audio for each slide or scene, and drop the files into the editor you already use.
This article follows the whole path. You will pick a voice model, write a script that sounds spoken instead of read, run it on PicassoIA, and then wire the audio into PowerPoint, Premiere Pro and DaVinci Resolve with specific menu paths and settings. The result is a repeatable workflow for training decks, YouTube videos, product demos and client presentations, and none of it needs a microphone.
Pick the Right Voice Model
Not every text to speech model suits every job. A voice that sounds perfect on a calm product walkthrough can feel flat on a punchy 30 second promo. PicassoIA lists 24 text to speech models, so the useful question is which two or three you actually need.

Models Side by Side
Here is how the most useful options compare for slide and video narration:
| Model | Best for | Standout trait |
|---|
| Speech 2.8 HD | Slide narration, tutorials, long scripts | Ten emotion styles, WAV and FLAC export, inline pause markers, 40+ languages |
| Speech 2.8 Turbo | Fast draft passes and quick rewrites | Speed first, same family as 2.8 HD |
| ElevenLabs V3 | Expressive narration and character reads | 25+ voice personas, style and stability sliders |
| ElevenLabs v2 Multilingual | One script in many languages | 30+ languages |
| Gemini 3.1 Flash TTS | Global rollouts | 30 voices, 70+ languages |
| Qwen3 TTS | Custom or cloned voices | Clone a voice or design a new one |
Pick one model per project and stay with it. Mixing three different voices across one deck makes viewers notice the audio instead of the message.
💡 Tip: Generate the same 20 second paragraph with three models, play them back to back on headphones, and choose before you touch the real script. Five minutes here saves a full re-render later.
Cloning Your Own Voice
If the deck must sound like you, or like your company's spokesperson, Voice Cloning builds a custom voice you can reuse. The voice ID it returns plugs straight into Speech 2.8 HD, so every later slide keeps the same sound. Qwen3 TTS offers a similar route if you prefer to design a voice from a description. Only clone voices you own or have written permission to use.

Write a Script That Sounds Spoken
Text to speech reads exactly what you give it. A script written for the eye produces stiff narration, so edit for the ear before you generate anything.

Numbers, Acronyms and Pauses
A few habits fix most robotic moments:
- Keep sentences short. Aim for 15 to 20 words. If you run out of breath reading it aloud, the model will sound rushed too.
- Spell tricky terms the way they sound. Write "S Q L" if you want letters, "sequel" if you want a word.
- Turn on English Normalization in Speech 2.8 HD when the script has dates, prices or large numbers.
- Add pause markers. Typing
<#0.5#> inserts a half second of silence, which is perfect right after a slide change.
- Read it aloud once yourself. Anything that makes you stumble will make the model stumble.
Narration runs at roughly 150 words per minute, or about 2.5 words per second. Use this table to size each slide before you write it:
| Slide or scene length | Target word count |
|---|
| 10 seconds | About 25 words |
| 20 seconds | About 50 words |
| 30 seconds | About 75 words |
| 60 seconds | About 150 words |
One File per Slide or Scene
Generate each slide as its own audio file and name them in order: slide-01.wav, slide-02.wav, and so on. When a client changes the wording of slide 6, you regenerate one file instead of re-rendering the whole narration, and every other slide keeps its exact timing. The same rule applies to video: one file per scene, matching the order of your timeline.
Use Speech 2.8 HD on PicassoIA
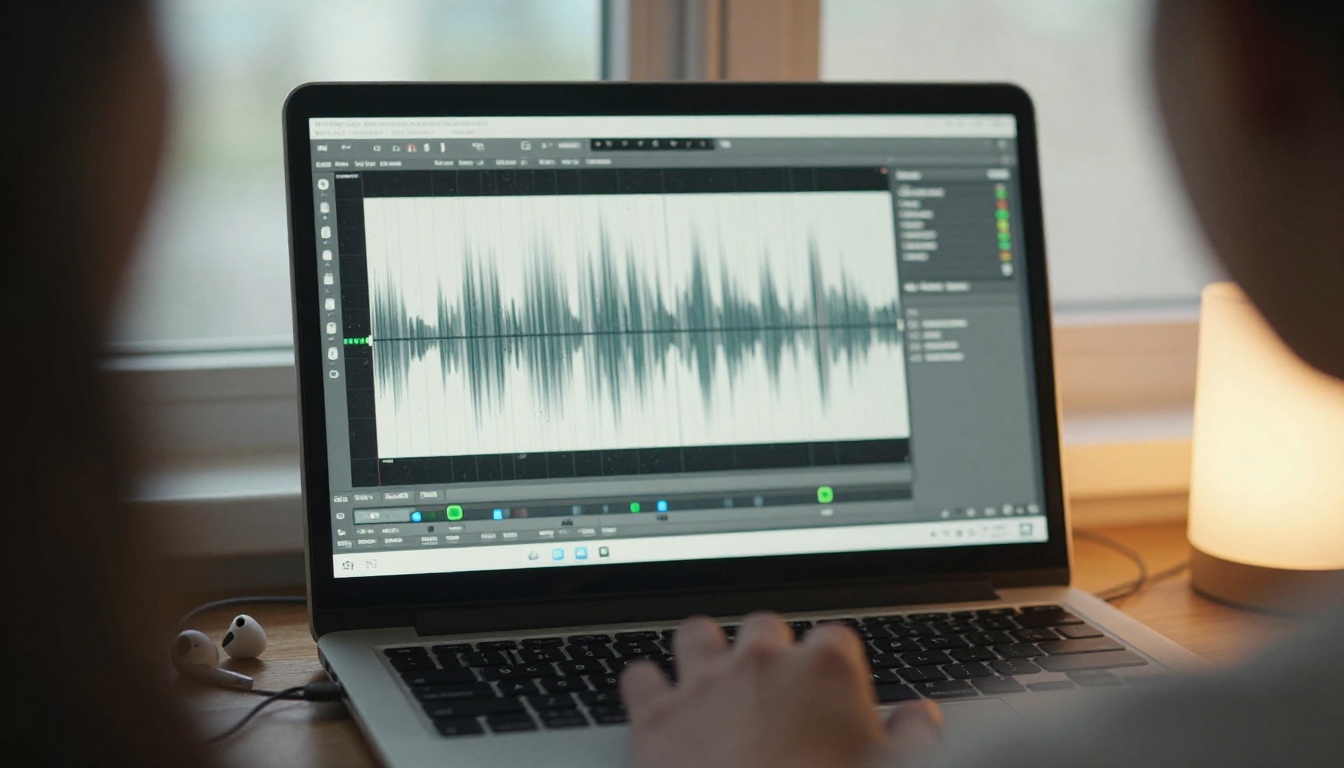
Speech 2.8 HD is the workhorse for this workflow because it exports lossless audio, takes inline pauses and gives you direct control over emotion and speed.
Step 1: Paste Your Script
Open the model page and paste the narration for one slide into the Text field. One run accepts up to 10,000 characters, far more than any single slide needs. Add your pause markers now.
Step 2: Set Voice, Emotion and Speed
These are the settings that matter for editor-ready audio:
| Setting | Recommended value | Why |
|---|
| Voice ID | Wise_Woman (default) or an explainer voice such as English_Explanatory_Man | Clear, steady delivery |
| Emotion | calm or neutral for training, auto for marketing | Keeps the tone consistent |
| Speed | 0.95 to 1.05 | The allowed range is 0.5 to 2.0, but small changes sound natural |
| Pitch | 0 | Range is minus 12 to plus 12 semitones |
| Language boost | English or Automatic | Helps with names and foreign terms |
| English normalization | On for numbers and dates | Adds a little latency |
| Audio format | WAV | Lossless, accepted by every editor |
| Sample rate | 44100 | The highest option offered |
| Channel | mono | One voice needs one channel |
| Subtitle enable | On if you want captions | Returns sentence level timestamps |
Step 3: Generate, Listen, Download
Run the model, then listen on headphones. Change one setting at a time: if the line sounds too eager, switch the emotion before you touch the speed. When it sounds right, download the file and rename it to match its slide.
Three mistakes show up again and again. Generating a whole deck as one long file makes later edits painful. Pushing Speed to 1.3 to fit a tight slide makes the voice sound hurried, so cut words instead. And skipping a listen on headphones lets small pronunciation slips reach the final export. Spend the extra minute per slide and the editor stage stays smooth.
💡 Tip for ElevenLabs V3: ElevenLabs V3 has Previous Text and Next Text fields. Paste the slide before and the slide after, and the model adjusts intonation at the boundaries so the voice flows from slide to slide.
AI Voiceover for PowerPoint
PowerPoint is the fastest place to see the payoff. A narrated deck can be shared as a video, played at a kiosk or sent to people who will never join a live call.

Attach Audio to Each Slide
- Select the first slide in the thumbnail pane.
- Choose Insert, then Audio, then Audio on My PC and pick
slide-01.wav.
- On the Playback tab, set Start to Automatically and tick Hide During Show so no speaker icon appears.
- Click Trim Audio to read the exact duration of the clip.
- On the Transitions tab, tick After under Advance Slide and type that duration, plus half a second of breathing room.
- Repeat for every slide.
The audio now starts by itself, and the slide moves on when the sentence ends. No clicking required during playback. If a slide has animations, set them to Start: After Previous so the build sequence runs along with the voice instead of waiting for a click.
💡 Tip: For decks that travel by email, export the narration from Speech 2.8 HD as MP3 at 128 kbps instead of WAV. The file stays small and nobody can hear the difference on a laptop speaker.
Export a Narrated Video
Go to File, then Export, then Create a Video. Choose Full HD (1080p), keep Use Recorded Timings and Narrations selected and click Create Video. PowerPoint respects the advance timings you typed, so the video matches the audio second for second.
AI Voiceover in Premiere Pro
In a video edit the voice is your anchor. AI audio never drifts in pace between takes, so you can lock the narration first and cut the pictures to match it.
Import and Sync to the Timeline
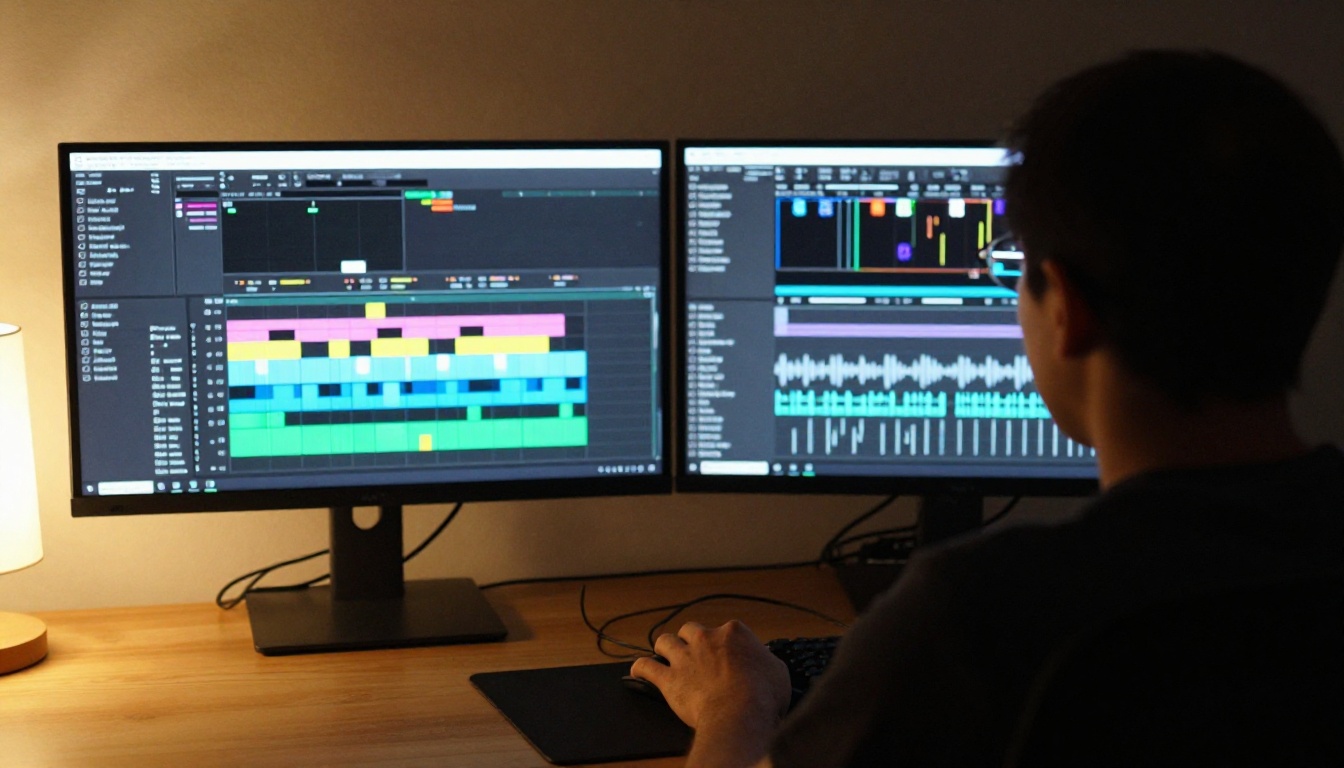
- Press Ctrl+I (Cmd+I on Mac) and import every voice file into a bin named VO.
- Drag
scene-01.wav onto A1 at the start of the sequence, then place the next files one after another.
- Use the Razor tool (C) and ripple delete to tighten any gap longer than you want.
- Press M on the exact words where a visual should change, then cut your footage to those markers.
Premiere conforms the 44.1 kHz files to the 48 kHz sequence automatically, so you do not need to resample anything by hand.
Clean Up With Essential Sound
Open Window, then Essential Sound, select the voice clips and click Dialogue. Under Loudness, press Auto-Match. Put music on its own track, tag it as Music, and switch on Ducking against dialogue clips so the soundtrack dips whenever the voice speaks. If any S sound feels sharp, add the DeEsser effect to the voice track.
| Track | Content | Target |
|---|
| A1 | AI voiceover | Tagged as Dialogue, Auto-Match |
| A2 | Music | Tagged as Music, ducked under A1 |
| A3 | Sound effects | Low in the mix, never louder than the voice |
| Final mix | Whole sequence | Around minus 14 LUFS for web video |
💡 Tip: If one line sounds wrong, do not repair it with plugins. Edit the text, regenerate that single file with identical settings and swap it on the timeline. It takes less time than fixing it by ear.
AI Voiceover in DaVinci Resolve
Resolve rewards the same approach. Lock the voice, then build everything else around it. The free version of Resolve is enough for every step below.
Build the Edit on the Edit Page
- Press Ctrl+I or drag your voice files into the Media Pool.
- On the Edit page, drop each file onto Audio 1 in scene order.
- Press B for the Blade tool to trim silence at the start and end of each clip, then close the gaps with a ripple delete.
- Press M to drop timeline markers at the words where the picture should change.
Resolve resamples the 44.1 kHz files to the 48 kHz timeline on its own.
Balance Levels in Fairlight
Switch to the Fairlight page. Right click the voice clips and choose Normalize Audio Levels so every scene lands at the same loudness. Check the result on the loudness meter and adjust the Main 1 bus until the finished timeline sits near minus 14 LUFS for web delivery. For music, either ride the volume by hand with automation or use a compressor on the music track with the voice as its side-chain.
Here is how the three tools line up on the same tasks:
| Task | PowerPoint | Premiere Pro | DaVinci Resolve |
|---|
| Import audio | Insert, Audio, Audio on My PC | File, Import | File, Import, Media |
| Best file format | MP3 at 128 kbps | WAV | WAV |
| Timing method | Advance Slide, After | Razor tool and ripple delete | Blade tool and ripple delete |
| Level matching | Playback volume | Essential Sound, Auto-Match | Normalize Audio Levels in Fairlight |
| Export | Create a Video | Export (Ctrl+M) | Deliver page |
Captions, Dubbing and Visuals
A voiceover is only part of the finished piece. The same script feeds captions, translations and the pictures on screen.

Captions and Dubbing From One Script
For captions, switch on subtitle metadata in Speech 2.8 HD to get sentence level timestamps, or run the finished audio through GPT-4o Transcribe to get a transcript, then burn captions into an exported clip with Autocaption.
For other languages, you have two clean routes:
To attach a new voice track to an existing MP4 without opening an editor, Video Audio Merge replaces or mixes the soundtrack.
Slide Visuals and B-Roll Stills
Great narration over weak pictures still loses the audience. Generate photographic stills for your slides and cutaways with a text to image model: P Image is quick for drafts, while Seedream 4.5 and FLUX.2 Pro suit hero images. Describe the lens, the light and the surface textures, and set the ratio to 16:9 so the image fills a slide or a timeline frame without cropping.
Try It on Your Next Project
Pick the one deck or video you have been putting off recording. Paste its first slide into Speech 2.8 HD on Picasso IA, press run, and drop the file into PowerPoint, Premiere Pro or DaVinci Resolve. Then generate the next slide with a different voice and compare. By the third file you will know which voice fits your content and which settings you never need to touch again.
Everything in this workflow lives in one place: voices, transcription, captions, dubbing and image generation. Browse the full catalog at picassoia.com/en/all-models, test two or three voices on your own script, and let your next deck narrate itself.


