The prompt box is just a text field. How hard can it be? You type what you want, hit generate, and expect a sharp, usable image in seconds. That is what Nano Banana Pro promises, and it delivers, but only when you give it something to work with. The common mistakes people make with Nano Banana Pro prompts are not random. They follow predictable patterns, and every single one of them has a straightforward fix.
This article covers the specific mistakes that waste your time and degrade your output quality, from the embarrassingly simple ones (yes, "make something cool" is a real prompt people submit) to the more technical traps around resolution, reference images, and safety filters that catch even experienced creators off guard.
What Nano Banana Pro Actually Does
Before fixing what goes wrong, it helps to know what the model is actually doing with your text. Nano Banana Pro is a text-to-image model that renders images at resolutions up to 4K. It accepts a text prompt plus up to 14 reference images alongside it. The model weighs your words and your reference images together to produce a result.
The inputs that matter:
| Input | What It Does |
|---|
prompt | Describes what you want to see |
image_input | Up to 14 reference images to guide style and composition |
aspect_ratio | Sets the canvas shape (16:9, 9:16, 1:1, and 8 more presets) |
resolution | Output quality: 1K, 2K, or 4K |
output_format | JPG or PNG |
safety_filter_level | Controls content filtering strictness |
Getting any of these wrong produces results that feel off, even if your prompt text seems fine. The good news: all six are easy to configure once you know what each one actually does.
Mistake 1: Prompts That Say Nothing
The single most common failure. People type short, vague descriptions and expect the model to fill in everything they imagined but did not write. It cannot. The model has no access to what is in your head.
What this looks like:
- "a nice landscape"
- "a person in a city"
- "cool product shot"
- "make something beautiful"
Every one of these could produce a thousand different images. The model picks one interpretation, and it almost certainly is not yours.
The fix: Describe the subject, the environment, the lighting, and the mood in one connected sentence. A workable prompt for Nano Banana Pro gives the model enough specific information that there are very few ways to interpret it wrong.
💡 Prompt structure that works: [Subject + specific action or pose] + [Environment with specific details] + [Lighting direction and quality] + [Camera angle and lens] + [Atmosphere or mood]
Compare these two:
| Weak Prompt | Strong Prompt |
|---|
| "a woman in a café" | "A woman in her 30s reading a book at a wooden café table, a half-drunk espresso beside her, overcast daylight from a large window to her left, 50mm f/1.8 shallow depth of field, warm interior tones" |
| "a mountain" | "Snow-capped granite mountain peak at golden hour, long directional shadows across the rocky face, aerial perspective looking up from below, 24mm wide angle, crisp alpine air atmosphere" |
| "a product shot" | "White ceramic mug on a white marble surface, studio softbox light from upper left, close-up 100mm macro lens, clean minimal background, slight water condensation on the mug surface" |
The longer prompt takes thirty more seconds to write. The image quality is completely different.
Mistake 2: Skipping Reference Images
Nano Banana Pro accepts up to 14 reference images alongside your prompt. Most people never use this feature. They write a text prompt, get a result that is close but not quite right in style, and keep rewriting the same prompt hoping words alone will fix it.
Words describe things. Images show things. If you have a specific visual style, color palette, composition, or subject appearance in mind, a reference image communicates it in ways text cannot match.
When to use reference images:
- You want a specific person, character, or face consistency across multiple outputs
- You need a particular art style or color palette that is hard to describe in words
- You have a product with specific visual details the model has not seen
- You want the composition to match something that already exists
How to use them well: Feed 2 to 5 images that represent different aspects of what you want. Do not dump 14 unrelated images in hoping for better results. The model averages the visual signals it receives. Noise in, noise out.
Mistake 3: Wrong Aspect Ratio for the Use Case
This one sounds mechanical, but it causes real problems in production. People generate a 1:1 square image for a website banner, then spend time in an editing tool trying to extend it. Or they create a 16:9 landscape image for an Instagram story that gets cropped to something unrecognizable.
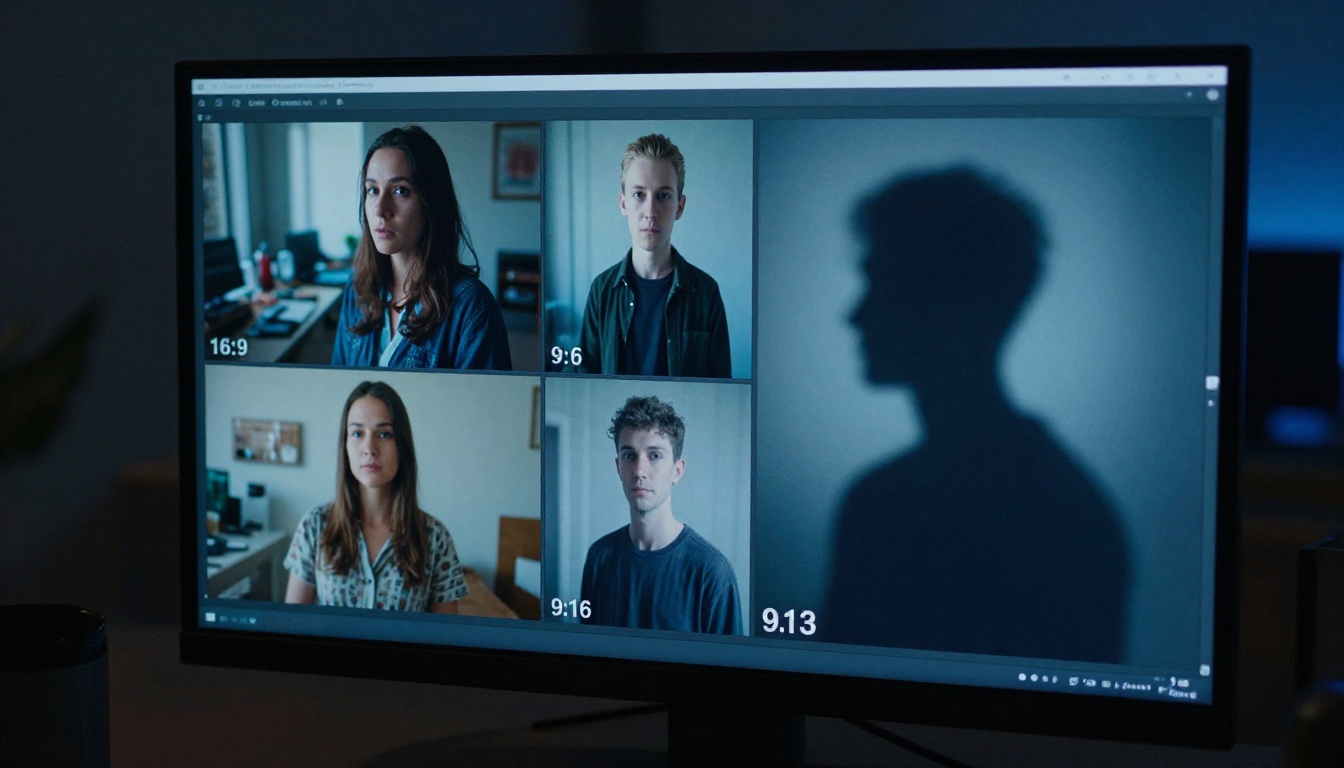
Nano Banana Pro supports 11 aspect ratio presets. Pick the right one before you generate, not after.
| Use Case | Aspect Ratio |
|---|
| YouTube thumbnails, website banners | 16:9 |
| Instagram stories, TikTok content | 9:16 |
| Instagram posts, profile visuals | 1:1 |
| Print posters in portrait | 3:4 |
| Print posters in landscape | 4:3 |
| Product cards and editorial layouts | 3:2 |
| Ultra-wide website headers | 21:9 |
The match_input_image default only makes sense when you are feeding a reference image and want the output canvas to match it. When working from pure text prompts, always set the ratio manually.
💡 Pro tip: Before you start, write down: "Where will this image actually be used?" The answer determines your aspect ratio. Do this once per session, not after generating ten images in the wrong shape.
Mistake 4: Ignoring the Safety Filter Settings
The safety filter in Nano Banana Pro has three levels:
block_low_and_above — strictest, blocks the widest range of contentblock_medium_and_above — moderate, blocks some promptsblock_only_high — most permissive, still blocks some content at the model level
The mistake happens in both directions. Some people leave the default setting and get blocks on prompts that are completely benign but happen to contain words the filter catches. Others set it to maximum permissiveness and then get confused when certain prompts are still blocked regardless of the setting.

The practical fix: Start with block_only_high (the default) for most creative work. If you are producing content for a platform or audience with stricter requirements, move to block_medium_and_above. If a completely benign creative prompt gets blocked at block_only_high, try rephrasing the specific descriptor causing the issue rather than only adjusting the filter level.
Changing the safety filter is a tool for adjusting where the threshold sits for legitimate creative projects. It is not a bypass for content that violates platform terms.
Mistake 5: Staying at Low Resolution for Final Output
The default resolution in Nano Banana Pro is 2K. It is reasonable for quick drafts and prototyping. But many creators keep generating at 2K even for final output and then wonder why the image looks soft when printed or displayed at large sizes.
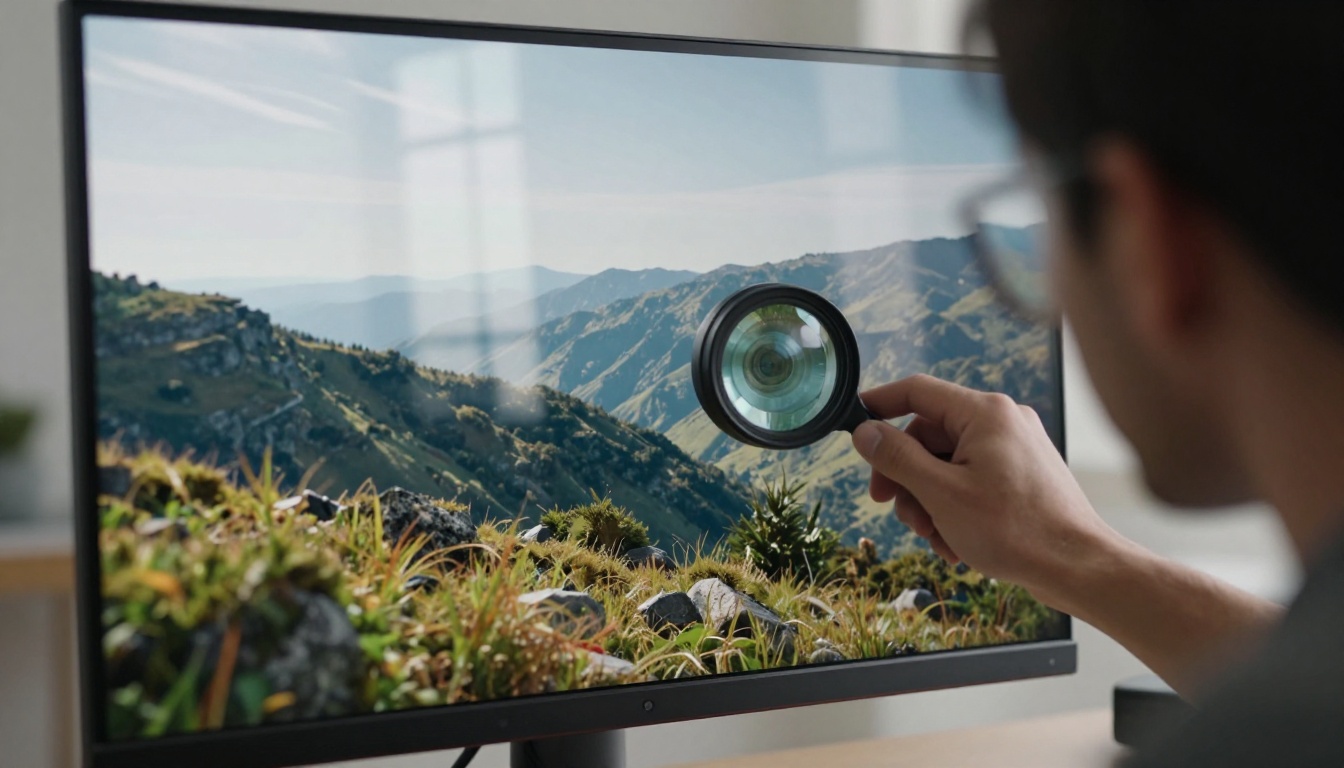
The model outputs at 1K, 2K, and 4K. The difference is significant at any size above a social media thumbnail.
| Resolution | Best For |
|---|
| 1K | Quick concept drafts, reference images, rapid iteration |
| 2K | Social media posts, web graphics, email headers |
| 4K | Print materials, large-format displays, high-detail product shots |
The fix: Use 1K when iterating and exploring prompt directions. Once you have a prompt that produces the right result, switch to 4K for the final output. Generating everything at 4K from the start is slower and wastes time on directions you will not use. Generating final deliverables at 1K is a waste of a strong prompt.
Mistake 6: Contradictory Instructions in the Same Prompt
This one is subtle. People write prompts where different parts of the description fight each other. The model produces something that represents the average of the contradiction rather than what either part intended.
Common contradictions:
- "dark moody atmosphere" paired with "bright sunlit outdoor scene"
- "minimalist clean composition" paired with "crowded busy background"
- "photorealistic RAW photo" paired with "illustrated storybook style"
- "intimate close-up portrait" paired with "full body standing shot in a wide environment"
The model does not know which part of your prompt you care about more. It tries to satisfy all of it. When two elements are mutually exclusive, the result satisfies neither cleanly.
The fix: Before submitting, read your prompt back and ask: "Does any part of this contradict another part?" If yes, decide which detail matters more and remove the conflicting one. Every descriptor in the prompt should push the output in the same direction.
Mistake 7: One-Shot Prompting Without Iteration
This is the mindset mistake that sits behind most of the others. People write one prompt, see a result they do not love, and either give up or write an entirely different prompt. They treat each generation as an isolated shot rather than a step in a sequence.
Strong results from Nano Banana Pro usually come from a short iteration loop:
- Start with a clear structural prompt covering subject, setting, light, and camera angle
- Generate at 1K to check direction fast
- Identify the specific element that is wrong: composition, lighting, subject detail?
- Change only that one element in the prompt
- Generate again and compare
- Once the prompt produces reliably good results, switch to 4K for final output
The critical discipline: change one variable at a time. When you rewrite the entire prompt between generations, you lose track of what was working. Systematic iteration sounds slow but is faster than random rewriting.
💡 Workflow tip: Keep a simple text file open alongside Nano Banana Pro. Paste your current working prompt there, make edits, copy-paste into the model. This creates a short revision history so you can return to a version that was closer to what you wanted.
Mistake 8: Expecting the Model to Access Things It Cannot
Nano Banana Pro is a visual synthesis model. It generates images from description and visual reference. Some users prompt it as if it has access to live data, current events, or proprietary brand assets it has never seen.
Examples of prompts that will not work as intended:
- "Show the current weather forecast for New York City" (no internet access)
- "Generate our brand logo in a campaign banner" without providing the logo as a reference image
- "Recreate the latest product launch announcement image" for a product released after training cutoff
The model has no internet connection and no knowledge of content outside its training data. If you need it to render a specific brand asset, logo, or visual identity, feed that asset as one of the 14 reference images. The model can then incorporate it into your generated output.
How to Use Nano Banana Pro on PicassoIA
Nano Banana Pro is available on PicassoIA with no coding required. Here is how to run it effectively from start to finish.
Step 1: Open the model
Go to picassoia.com/en/collection/text-to-image/google-nano-banana-pro. The input fields load immediately with no account setup required to start generating.
Step 2: Write your prompt
Use the structure from Mistake 1: subject, environment, lighting, camera angle. Be specific. Aim for 30 to 80 words in the prompt field. Shorter if you are using reference images that carry the visual context.
Step 3: Add reference images (optional but powerful)
If you have photos that represent the style, subject, or composition you want, upload up to 14 of them via the image_input field. The model uses them to steer the result toward your visual target.
Step 4: Set your parameters deliberately
aspect_ratio: Choose based on where the image will actually be usedresolution: Use 1K for drafts, 4K for finalsoutput_format: PNG for transparency-preserving assets, JPG for photos and social mediasafety_filter_level: Leave at block_only_high unless your project has specific requirements
Step 5: Generate, evaluate, and iterate
Look at the result and identify the one element that most needs to change. Edit only that element in the prompt. Generate again. Repeat until the output matches what you need, then export at 4K.
Comparing Nano Banana Pro to Other Text-to-Image Models
PicassoIA hosts multiple text-to-image models, each suited to different workflows. Knowing the options helps you pick the right tool for the right job.
| Model | Strength | Best For |
|---|
| Nano Banana Pro | 4K output, 14 reference images, 11 aspect ratios | High-res finals, reference-guided generation |
| Flux Schnell | Extremely fast, unlimited generations, no credit caps | Rapid iteration, bulk concept drafting |
| Stable Diffusion | Negative prompts, scheduler control, batch output | Fine-tuned style control, exclusion-based prompting |
The mistakes described in this article apply to all of them in varying degrees. Vague prompts, wrong aspect ratios, and one-shot thinking hurt output quality across every text-to-image model on the platform.
The Pre-Generation Checklist
Before hitting generate on Nano Banana Pro, run through this list:
Eight questions. Takes under a minute. Prevents most of the mistakes in this article.
Start Generating
Every mistake covered here is fixable, and none of them require technical knowledge. They require being deliberate about what you are asking the model to do. Write a specific prompt, feed it visual context if you have it, pick the right canvas shape and resolution, and iterate one element at a time.
Nano Banana Pro is available on PicassoIA right now, free, with no coding required. Open it, apply the checklist above to your first prompt, and see what specificity does to your results. If you want to see the full range of text-to-image and other AI models available, browse the complete collection at picassoia.com/en/all-models.


