Earth Zoom Out AI Video: Free Prompt and Effect Tutorial
A free Earth zoom out prompt you can paste today, plus the six zoom stages that make the shot believable, exact Seedance 2.5 Lite settings for first and last frames, common mistakes to avoid, and variations from an eye or a phone screen to the whole planet.
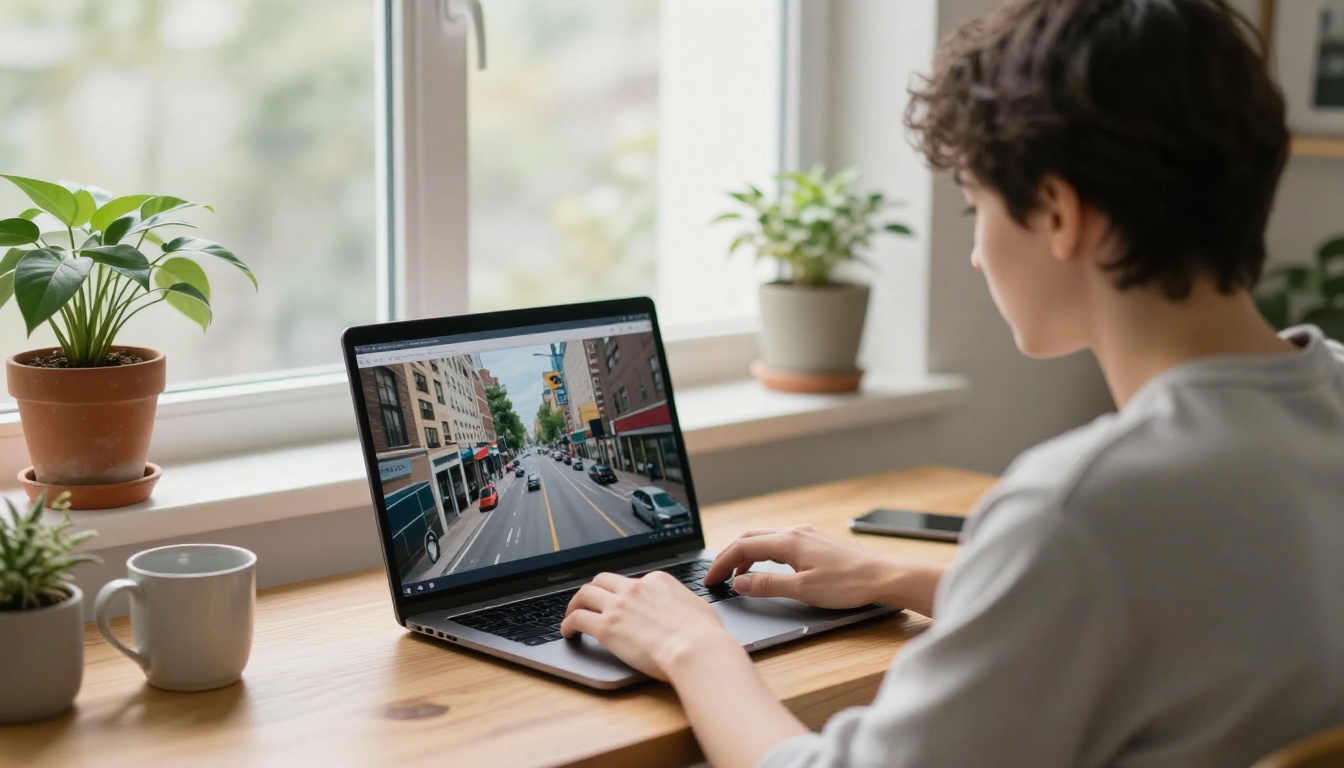
You have seen the shot a hundred times. A hand holds a phone, or a window frames a quiet street, and then the camera starts pulling back. The street becomes a neighborhood, the neighborhood becomes a city, the city melts into a coastline, and a few seconds later the whole planet hangs in the black. That is the Earth zoom out, and until recently it took hours in mapping software and a compositing app. Today an image-to-video model can build the move from two pictures and one well-written paragraph. This article gives you a free Earth zoom out prompt you can paste right away, explains the zoom stages that make the shot believable, and walks through the whole process on PicassoIA, step by step.
💡 Short on time? Jump to the base prompt in the third section, paste it into Seedance 2.5 Lite, add your own first frame, and press generate.
What Earth Zoom Out Really Is
The Earth zoom out is one continuous camera move that begins at human scale and ends on a full view of the planet. There are no cuts. What fools the brain is the speed curve: the move starts slowly so the viewer can read the first scene, accelerates through the city, and eases out as the globe settles into the frame. That rhythm is what makes it feel like a real ascent instead of a slideshow of satellite pictures.
Where the Trend Started
Early versions were built by hand. Editors took satellite imagery from mapping tools such as Google Earth Studio, stacked it into a layered zoom inside a compositing app, and masked a real photo or a person into the first layer so the shot began on something personal. It worked, but each version needed dozens of layers, careful scale matching, and a lot of patience. The shot spread on short video apps because the payoff is instant: an ordinary place, then the entire planet, in five to ten seconds. Play the same move backward and you get the classic Earth zoom in, a dive from orbit into one chosen street.
Why AI Changed the Workflow
An image-to-video model replaces the layer stack. You supply a first frame (the starting scene), optionally a last frame (the planet), and describe the pull back. The model invents the in-between frames: roads shrinking, clouds sliding past, the horizon bending. You trade pixel-perfect satellite accuracy for speed. A shot that used to take an afternoon now takes a few minutes, and the cost of each attempt drops to almost nothing on models listed as free and unlimited, which matters because you will want several takes.
💡 Accuracy warning: the in-between geography is invented. If the exact country or city must be correct in the final globe, supply that globe image yourself as the last frame.
The Six Zoom Stages
A convincing zoom out is really six small shots chained together. Write each stage into your prompt and the model has a route to follow.
Stage
Approx. altitude
What the viewer sees
Prompt phrase
1. Street
2 to 10 m
Pavement, people, a doorway
"close, eye-level start"
2. Rooftop
50 to 150 m
Roofs, intersections, cars
"rising above the rooftops"
3. City
1 to 5 km
The full street grid, a river, parks
"the whole city spreads out"
4. Coast
10 to 50 km
Coastline, haze, cloud tops
"coastline and open sea appear"
5. Edge of space
about 100 km
Curved horizon, darkening sky
"the sky fades from blue to black"
6. Orbit
400 km and beyond
The whole globe
"full planet, thin blue atmosphere"
Each stage roughly multiplies the altitude, so a zoom that looks steady has to travel farther per second as it climbs. Give the first two stages the most screen time, move evenly through the city and the coast, and save the fast part for the final stretch.
Street to Rooftop
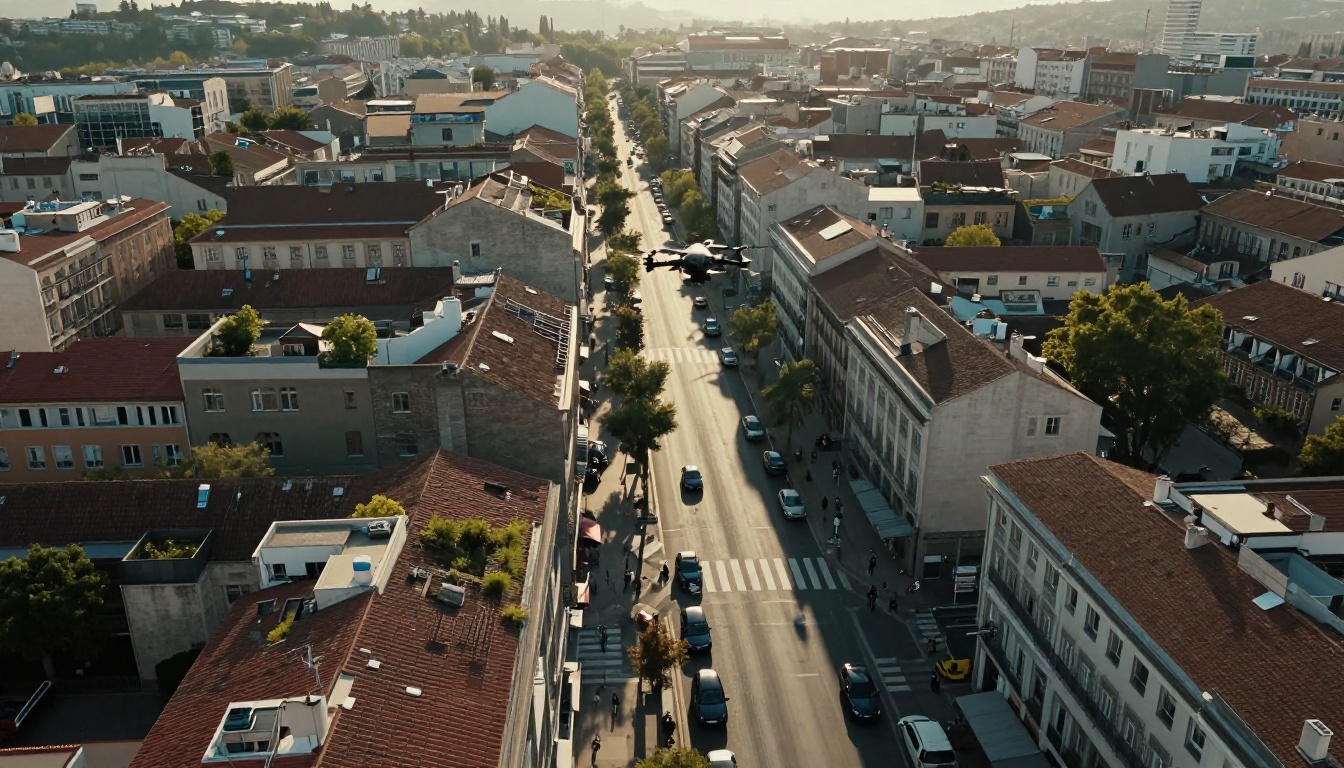
The first two seconds decide whether the viewer believes the shot. Start close, on a subject with texture: a cobbled lane, a balcony railing, a hand holding a phone. Then let the camera rise at an almost lazy speed. Straight-down views work best from stage two onward, because the model keeps the road grid consistent as it shrinks.
City to Coastline
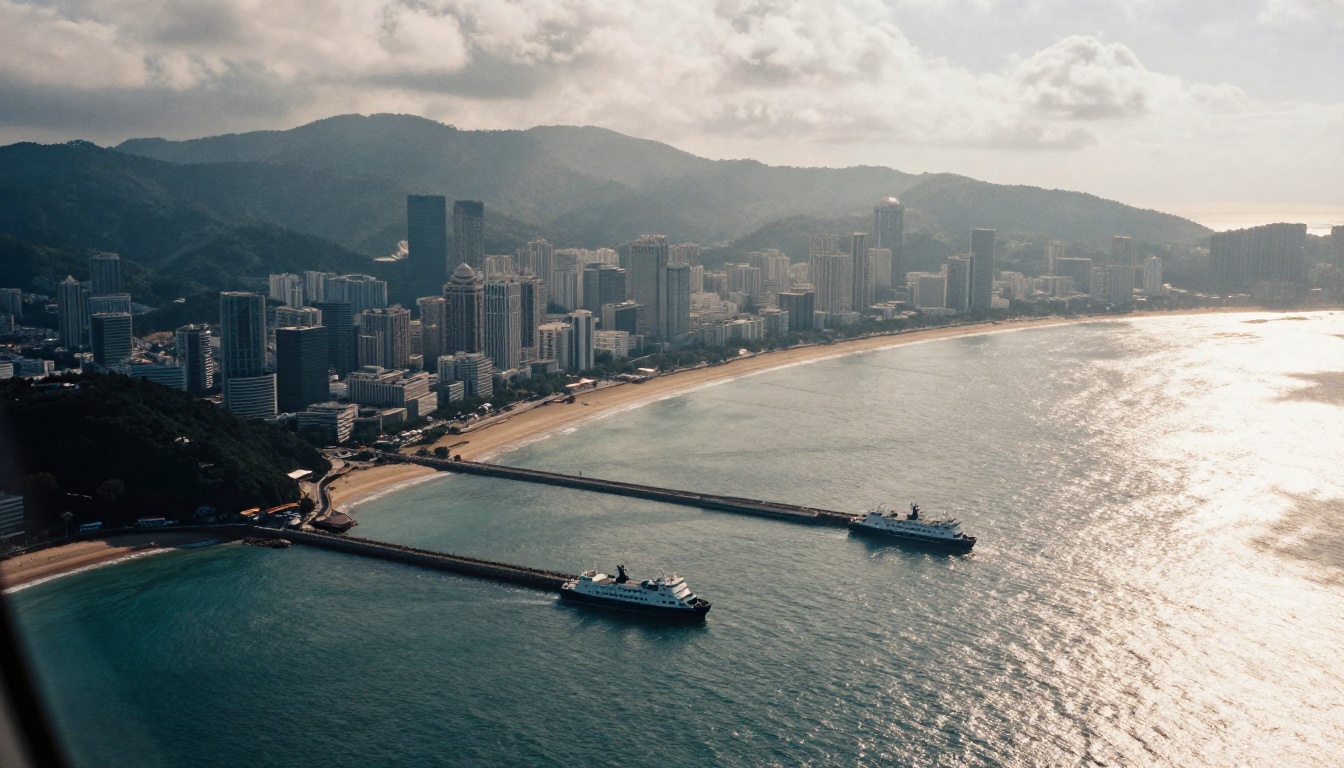
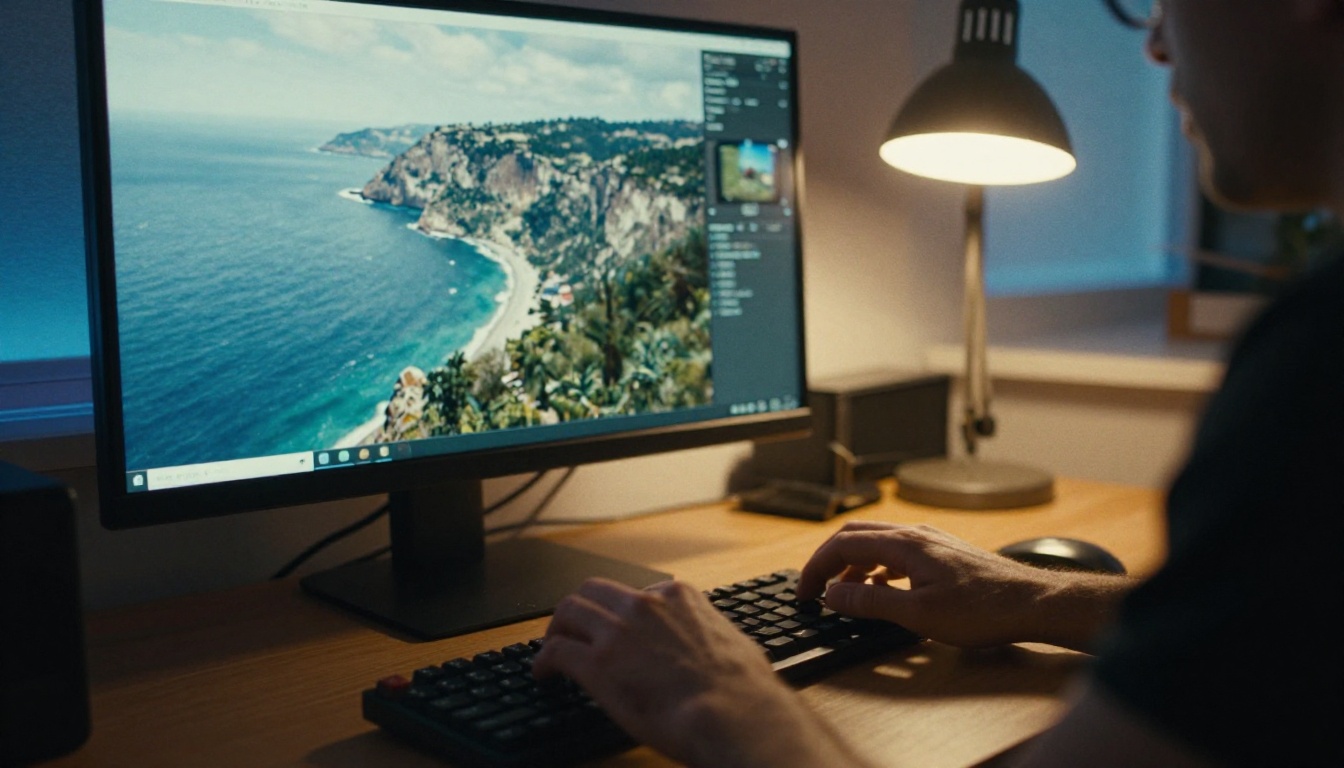
Cities beside water hand the model an easy landmark to track. A harbor, a river mouth, or a long beach stays readable as it shrinks, and the light haze in the photo above gives the eye a sense of rising altitude. Pick a start location near a coast and your zoom out will look cleaner than one that begins in the middle of a continent.
Atmosphere to Orbit
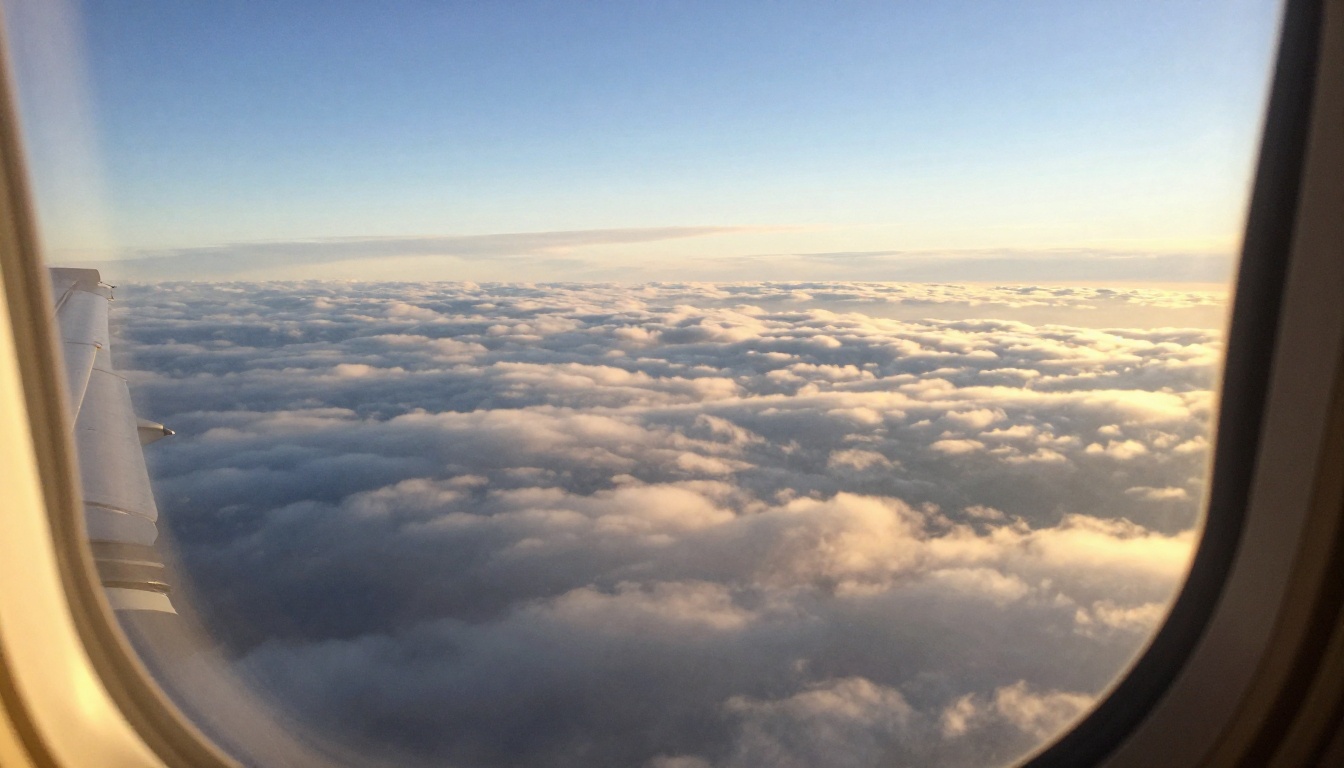
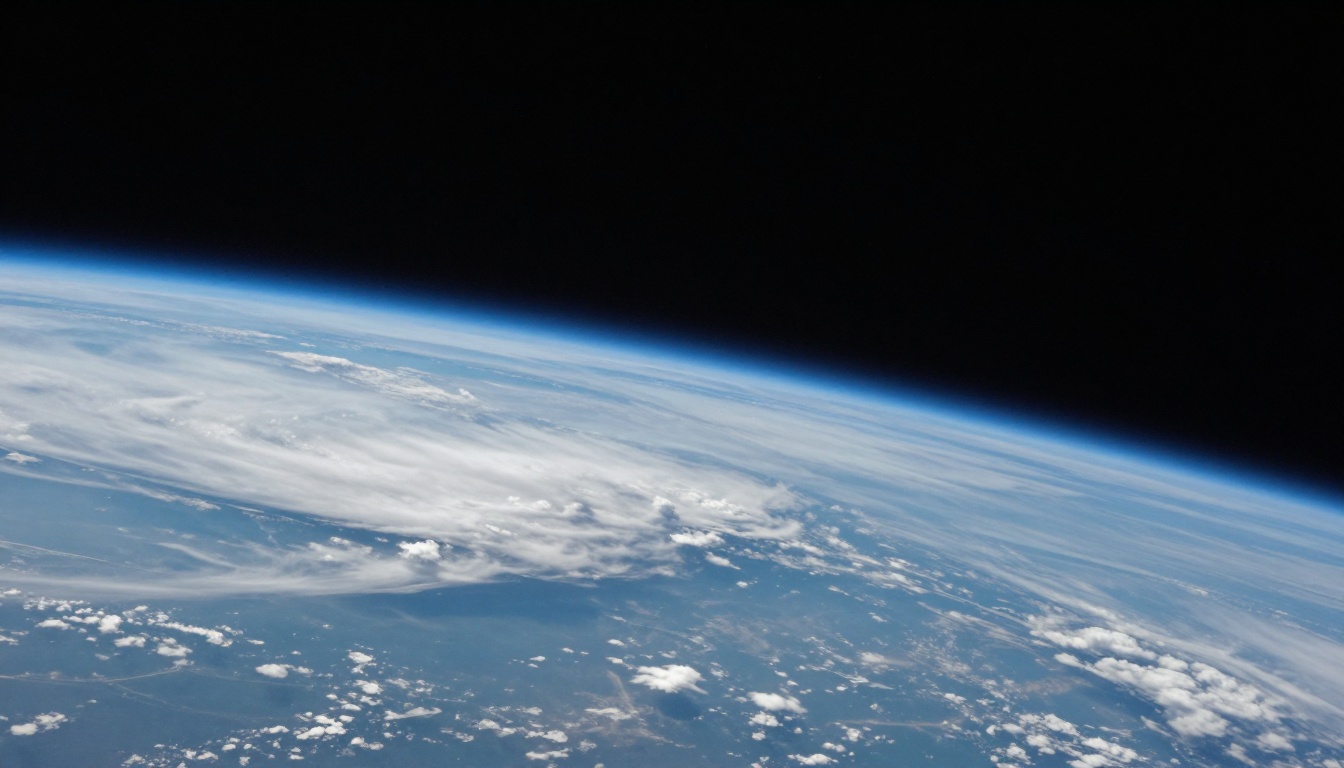
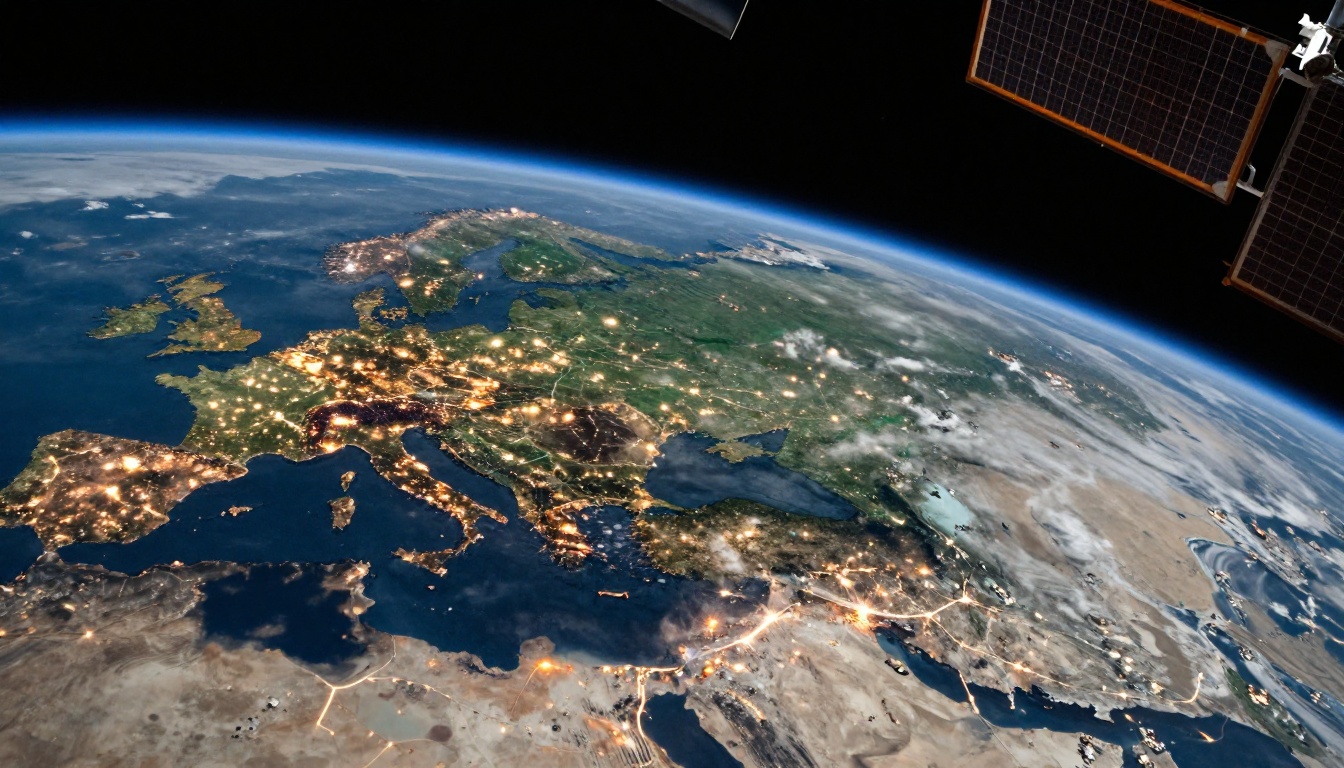
This is where most AI clips fall apart. Airliners cruise at roughly 10 to 12 km, where the horizon only begins to curve faintly. The Karman line, the commonly used border of space, sits at 100 km, and the International Space Station orbits at about 400 km. Between those numbers the sky shifts from blue to indigo to black. Tell the model that fade happens, and that the horizon bends, before the globe appears. Skip it and the planet pops into frame like a sticker.
The razor-thin blue line in this orbital view is worth mentioning by name in your prompt. It is the visual cue that tells viewers they have left the ground behind.
A Free Earth Zoom Out Prompt
Good prompts read like shot notes. Name the start scene, the camera move, each stage in order, the ending, and the look. Seedance 2.5 Lite asks for cinematic, chronological descriptions, and this prompt follows that order exactly.
The Base Prompt
Copy it, then swap the first sentence for your own location:
Start on a close shot of a rooftop terrace in a European coastal city at golden hour. The camera pulls straight back and rises in one continuous, smooth motion with no cuts. The terrace shrinks into the street grid, then the whole city, then the harbor and the open sea. Clouds slide past below the camera. The horizon begins to curve, the sky darkens from blue to black, and the full planet Earth appears with a thin blue atmosphere and white clouds. Photorealistic, natural sunlight, steady speed that eases out at the end, no text.
Camera Words That Work
Pull back, crane up, dolly out: each describes steady travel away from the subject.
One continuous shot, no cuts: stops the model from jumping between scenes.
Smooth, steady speed, easing out at the end: gives you the speed curve described earlier.
Top-down: keeps the street grid stable during the first half of the move.
Thin blue atmosphere: anchors the final frame as a real planet.
Words That Break the Shot
"Zoom" on its own tends to be read as a lens zoom, which crops the image and flattens depth. Say the camera pulls back or rises.
"Fast," "whip," "shake" push the model toward motion blur and warped buildings.
"Labels," "map pins," "text" make the model try to draw letters, and they come out garbled.
"Cut to" or "teleport" create hard jumps that ruin the one-take illusion.
Use Seedance 2.5 Lite on PicassoIA
Seedance 2.5 Lite is the model to start with for this effect, for two reasons. It accepts an optional last frame image next to the first frame, so you can pin both the start and the finish. And it is listed as free and unlimited for Wonder members, so you can test ten prompt variations without counting credits. It renders at 480p or 720p and produces clips of 5 or 10 seconds with synchronized audio.
Build Your Two Frames
Generate the starting image and the planet image first. For the start, a photoreal text-to-image model such as Seedream 4.5, Nano Banana Pro, or P Image works well. Ask for a high-angle or top-down view so the camera has room to rise. For the end frame, request Earth from orbit with the same time of day, and keep the sun on the same side in both pictures so the lighting does not jump. Make both images 16:9, or both 9:16 for vertical video.
Here is a sample start frame prompt: Top-down photograph of a rooftop terrace with a small table, two chairs and potted plants, terracotta roofs and narrow streets below, a harbor in the distance, warm golden hour sunlight from the left, 24mm lens, natural film grain. And a matching end frame prompt: Planet Earth from low orbit, a Mediterranean coastline visible under white clouds, thin blue atmosphere, black space, sunlight from the left, 35mm lens, documentary photograph.
Generate, then watch for three things: the speed curve, the horizon bend, and any garbled text.
If the take is good, note the seed. If not, change one thing in the prompt at a time and run again.
If the horizon never bends, mention the curve earlier in the prompt. If the planet looks flat, check that your end frame shows a dark sky and a visible atmosphere line. If the camera lingers too long on the street, shorten the first sentence and describe the rise sooner.
💡 Draft at 480p first. It renders fastest, so you can fix the prompt cheaply and switch to 720p only for the final take.
Prefer something simpler? Picasso IA Video makes fixed 5-second clips at 24 frames per second from a text prompt or a first frame, at 480p or 720p. It has no last frame input, so describe the ending in the prompt and shorten the route to three stages: city, coast, planet.
Models Worth Testing Next
Every model invents its own in-between geography, so run the same two frames through two or three of them and keep the best take.
Starting too wide. If the first frame already shows a whole city, the move has nowhere to go. Begin on a rooftop, a street, or an object.
Skipping the sky fade. Without the blue to black shift, the globe appears abruptly. Spell the fade out in the prompt.
Mismatched light between frames. A noon start and a night Earth forces the model to invent a time jump. Match the time of day.
Asking for labels. City names and arrows come out as gibberish. Add the text later in an editor.
Cramming six stages into 5 seconds. The motion turns frantic. Use 10 seconds, or cut the stages to three.
Variations Worth Trying
Eye to Earth
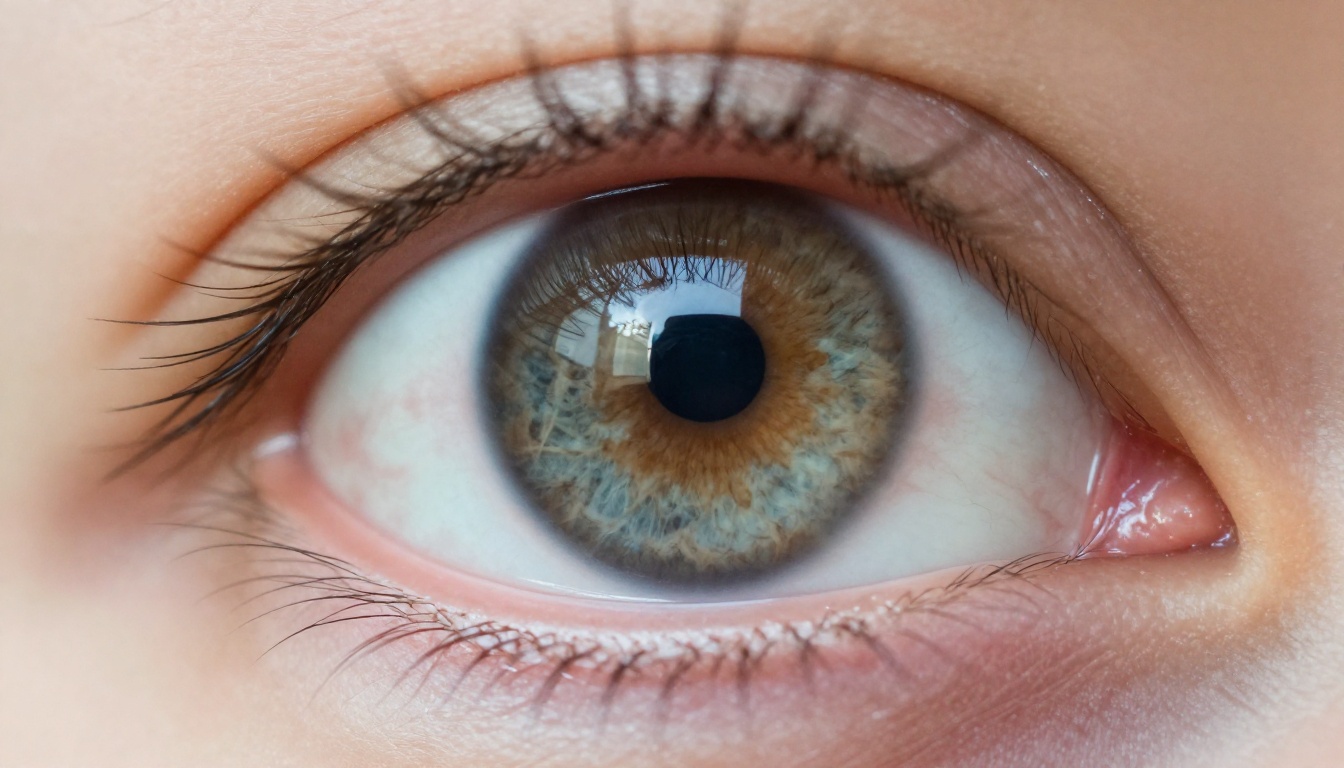
Start on an extreme close-up of an eye with a window reflected in it. The pull back reveals the face, the room, the building, the street, and then the planet. Ask the model to keep the reflection logic consistent: whatever the window shows should match the next scene.
Phone Screen to Earth
Begin on a hand holding a phone that displays a map. The camera retreats through the hand, the room, the neighborhood, and onward. It works well for travel and app promos because the first frame already tells viewers what the video is about.
Vertical for Shorts and Reels
Make both frames 9:16. The clip follows the first frame, so a vertical start gives you a vertical video with no cropping. Vertical zoom outs feel taller and more dramatic, since the horizon stays near the bottom longer.
Earth Zoom In
Swap the two frames and rewrite the prompt as a descent: planet first, street last. The same speed curve applies, only reversed, so start slowly on the globe and ease out as the street arrives.
Make Your Own Zoom Out Today
You now have the stages, the prompt, and the settings. What is left is your own location. Open PicassoIA, generate a start frame of your street, your studio, or a product on a table, then generate a matching planet frame with a text-to-image model. Drop both into Seedance 2.5 Lite, paste the base prompt, and run your first draft at 480p. Try a night version, a vertical version, and a reversed version. Each run teaches you what the model does with your frames, and the best take is usually the third or fourth one.
Ready to build yours? Browse every model at picassoia.com/en/all-models and start creating with Picasso IA now.