Scaling up AI art sounds simple. You drag a slider, hit export, and watch your image go from 512px to 4096px. Then you zoom in and see the blur. The muddy edges. The textures that looked sharp at thumbnail size now smeared into nothing. That is not a resolution problem — it is an interpolation problem, and it is completely fixable with the right free AI upscaling models.
Why Detail Dies When You Scale
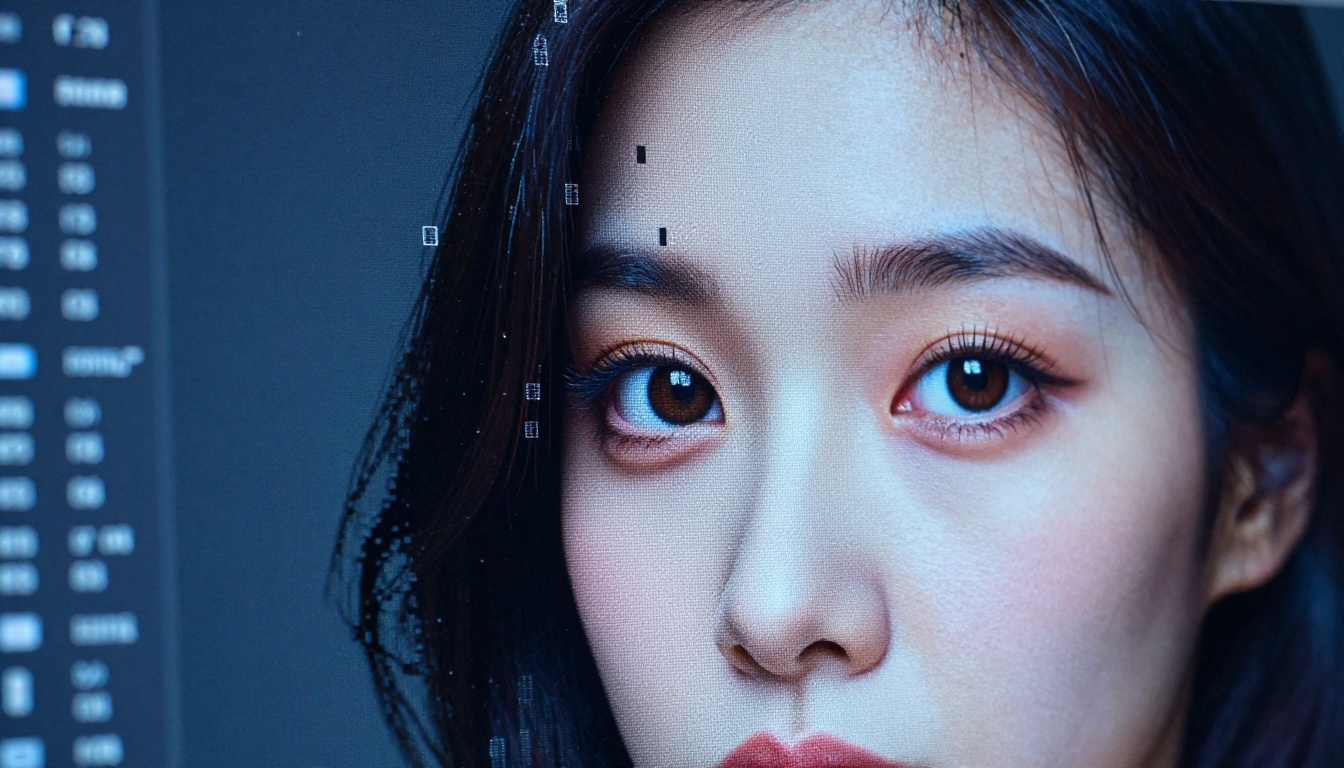
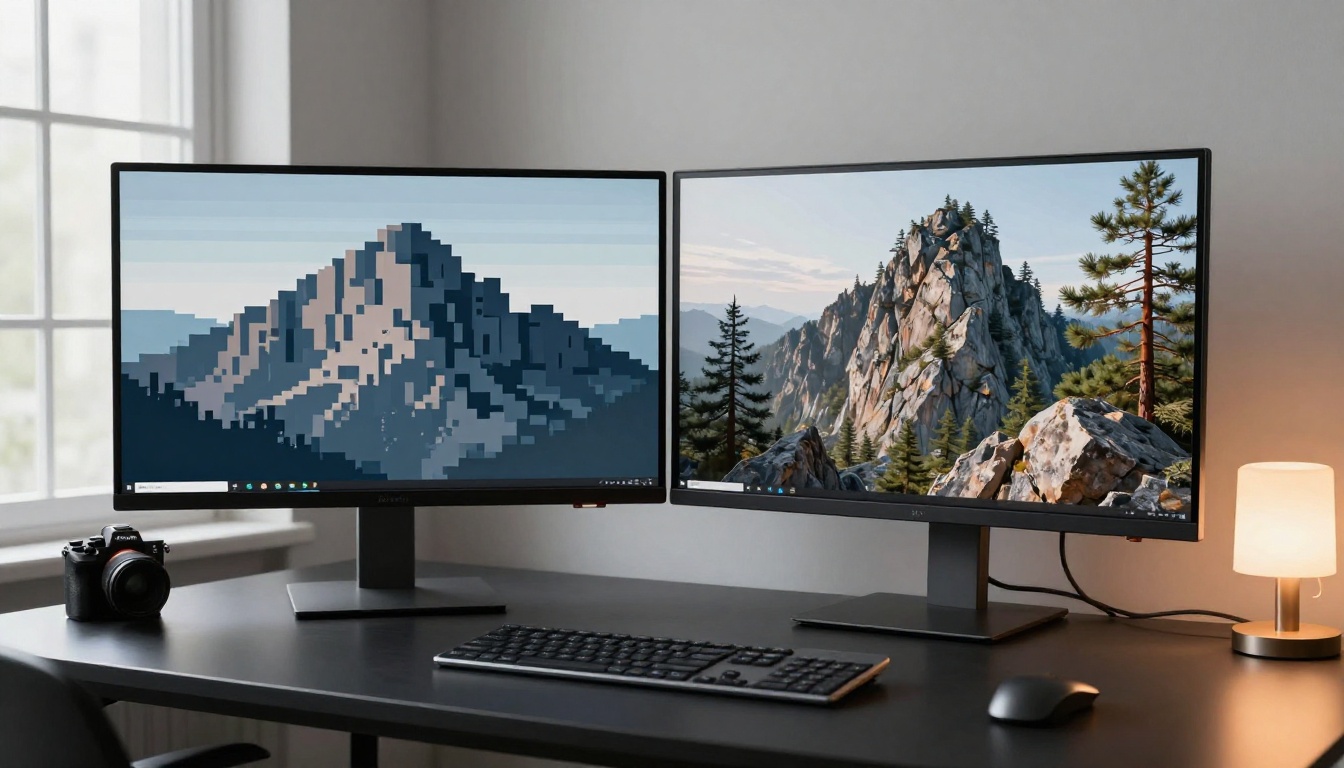
When you upscale an image the traditional way, software fills in new pixels by averaging the colors around them. This process, called bicubic interpolation, does not know what your image is supposed to look like. It just guesses, and those guesses add up to blur. Your crisp edges become soft, your textures lose depth, and fine details — hair strands, skin pores, fabric weave — dissolve into color blobs.
The Interpolation Problem
Standard scaling works fine for low-zoom cases like going from 1080p to 1440p. But AI art is often generated at 512x512 or 768x768 pixels. That is not much canvas. When you need a print-ready file at 3000x3000 or a hero image at 1920x1080, you are asking bicubic interpolation to invent 80% of your image. It cannot.
💡 The rule of thumb: If your upscale factor is more than 1.5x, bicubic interpolation will visibly degrade quality. Super resolution AI is the only method that adds real, plausible detail.
How Source Resolution Affects Output
The lower the source resolution, the more important the upscaler becomes. A 1024x1024 source scaled to 4096x4096 needs an AI model that can reconstruct texture from almost nothing. The model needs to "understand" what surfaces look like — wood grain, skin, fabric, water — and fill in plausible detail that was not there before.
How Super Resolution AI Actually Works
Super resolution models are trained on millions of paired images: low-resolution inputs matched with their high-resolution originals. The neural network learns the statistical relationship between small-scale patterns and the large-scale structures they belong to. Once trained, it can take a blurry thumbnail and reconstruct plausible high-frequency detail.
Neural Networks vs. Classic Algorithms
| Method | Detail Added | Speed | Free |
|---|
| Bicubic Interpolation | None | Instant | Yes |
| Lanczos Resampling | Slight sharpening | Instant | Yes |
| Real ESRGAN | High (natural textures) | Seconds | Yes |
| Diffusion-Based Upscaling | Very High (creative fill) | Slower | Yes (via PicassoIA) |
| Clarity Pro Upscaler | Extreme (detail synthesis) | Seconds | Yes |
Classic algorithms are deterministic — same input always produces the same output. Neural networks are probabilistic: they synthesize detail based on learned patterns, which means results can vary slightly. That variability is what makes them so much better at restoring realistic texture.
What "Hallucinated Detail" Actually Means
When an AI upscaler adds detail that was not in the original image, that is called hallucination. It sounds like a problem. In practice, for visually plausible upscaling, it is the feature, not the bug. The model is not making things up randomly — it is filling in texture patterns consistent with the surfaces it recognizes. A stone wall gets realistic mortar cracks. A face gets natural skin pore depth. A forest gets individual leaf edges.
The risk is only when accuracy matters more than aesthetics: document scans, medical imaging, or text-heavy graphics. For AI art, hallucinated detail is almost always an improvement.
9 Free Models to Upscale AI Art
All nine of these models are available for free on PicassoIA. No download, no installation, no API key. You upload your image, pick your settings, and get a high-resolution result in seconds.
Real ESRGAN
Real ESRGAN is the workhorse. It is based on the Enhanced Super-Resolution Generative Adversarial Network architecture, trained specifically on real-world degradation patterns. For AI-generated art — especially landscapes, fantasy scenes, and abstract imagery — it produces excellent texture reconstruction without over-sharpening.
Best use case: Any AI art where you need 4x upscaling fast with reliable results across diverse content types.
Clarity Pro Upscaler
Clarity Pro Upscaler goes beyond standard super resolution. It uses a diffusion-based enhancement pass after initial upscaling to add micro-detail: the kind of texture depth that makes an image look like it was shot with a medium format camera. Hair strands, fabric weave, bark texture — all get a second pass that pushes them toward photorealistic fidelity.
Best use case: Any image where you will be printing or displaying at large sizes where pixel-level detail is visible.
P Image Upscale
P Image Upscale is built for speed. It delivers sharp photos in under a second, making it the right choice when you are processing multiple images in a workflow. Quality is strong for its speed class, with especially clean handling of solid color areas and smooth gradients.
Best use case: Batch processing or quick previewing before committing to a heavier model.
Google Upscaler
Google Upscaler brings the scale of Google's research infrastructure to image resolution. Trained on massive datasets, it excels at 4x upscaling where structural coherence matters as much as texture: architecture, cityscapes, and complex illustrated compositions with many distinct elements.
Best use case: AI art with strong structural lines, architectural elements, or complex illustrated scenes.
Recraft Crisp Upscale
Recraft Crisp Upscale prioritizes edge clarity above all else. If your AI art has clean geometric shapes, sharp silhouettes, or graphic design elements, this model keeps those lines razor-sharp during upscaling where other models might introduce slight halos or softening at high-contrast boundaries.
Best use case: Graphic compositions, illustrated characters, designs with strong outlines or typography.
Topaz Image Upscale
Topaz Image Upscale is the only model in this list that goes beyond 4x, reaching 6x upscaling. That is the difference between a 512px source becoming 2048px versus 3072px. For anyone preparing AI art for large-format printing or billboard-scale displays, this is the only free option operating at this scale.
Best use case: Print production, large-format display, maximum resolution output where every pixel counts.
Crystal Upscaler
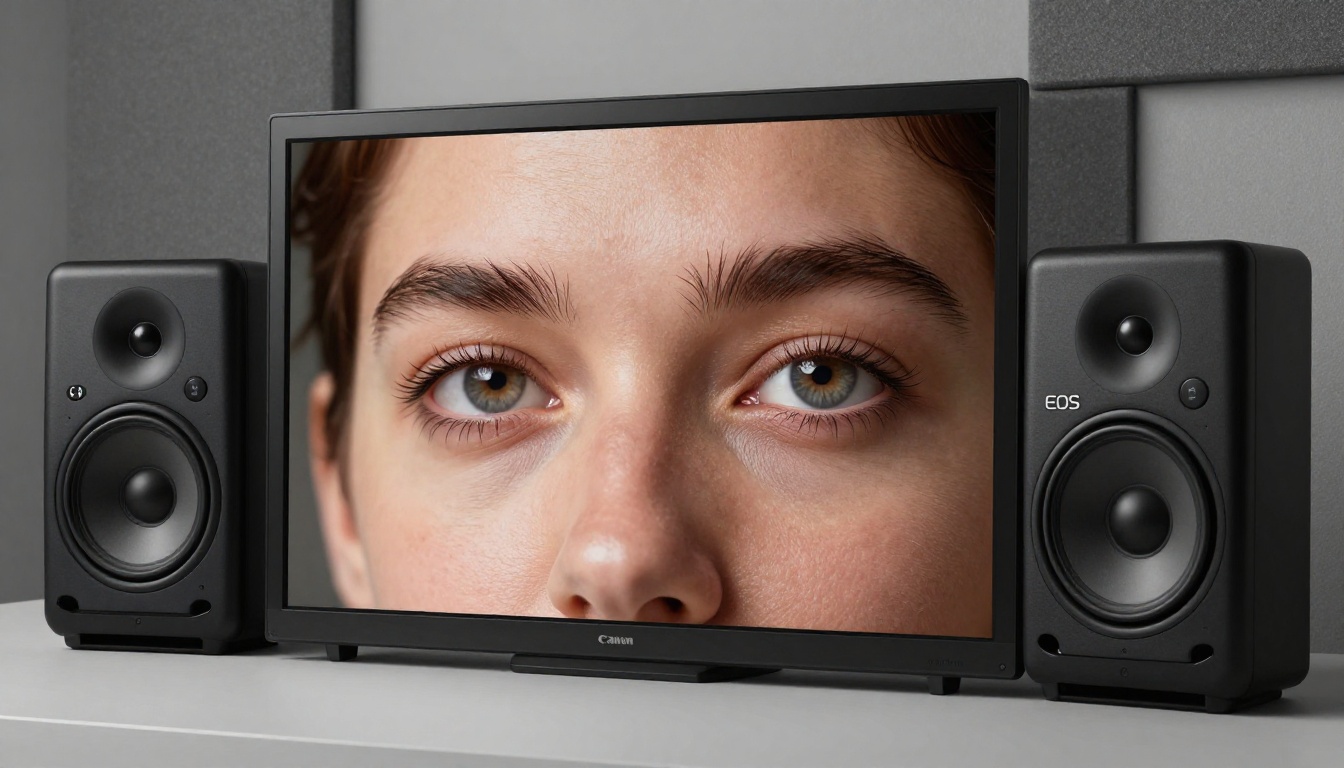
Crystal Upscaler is purpose-built for portrait upscaling. It handles the specific challenges of facial images: maintaining natural skin texture without over-smoothing, preserving eye catchlights, and keeping hair realistic at 4x scale. If you are generating AI portraits, this is your first choice.
Best use case: AI-generated portraits, character close-ups, face-focused compositions where skin realism is critical.
Bria Increase Resolution
Bria Increase Resolution is developed with commercial applications in mind. It is built to meet the quality bar for professional media: advertising, editorial, brand assets. The model is particularly strong at color accuracy preservation, ensuring that the upscaled output matches the original hue and saturation profile precisely without color drift.
Best use case: Commercial AI art projects, brand visuals, editorial content where color fidelity is non-negotiable.
Recraft Creative Upscale
Recraft Creative Upscale takes a different approach. Rather than only sharpening what is already there, it adds interpretive depth — enriching texture with artistic plausibility. Think of it as the difference between a photograph and an oil painting: same subject, but the creative upscaler builds in a sense of material weight and surface presence.
Best use case: Artistic AI compositions where added texture depth enriches the aesthetic rather than conflicting with it.
Portraits vs. Landscapes: Different Needs
Not all AI art is the same, and the best upscaler for a landscape scene will probably be the wrong choice for a portrait. The key difference is what kind of detail matters most and how the human eye evaluates realism in each category.
What Works for Faces
Portrait upscaling is technically demanding because the human eye is specifically calibrated to detect unnatural facial textures. Over-smoothing looks plastic. Over-sharpening looks harsh and digital. The Crystal Upscaler is optimized for this balance, preserving natural subsurface scattering effects and keeping iris detail without introducing halos.
For portraits with extreme close-ups — where individual skin pores and eyelash roots are visible at final size — pair Crystal Upscaler with Clarity Pro Upscaler for a two-pass process: first to 2x, then to 4x.
💡 Two-pass tip: Run your portrait through Crystal Upscaler at 2x, then through Clarity Pro at 2x again. The cumulative 4x result often outperforms a single 4x pass because each pass starts from a higher-quality source.
What Works for Wide Scenes
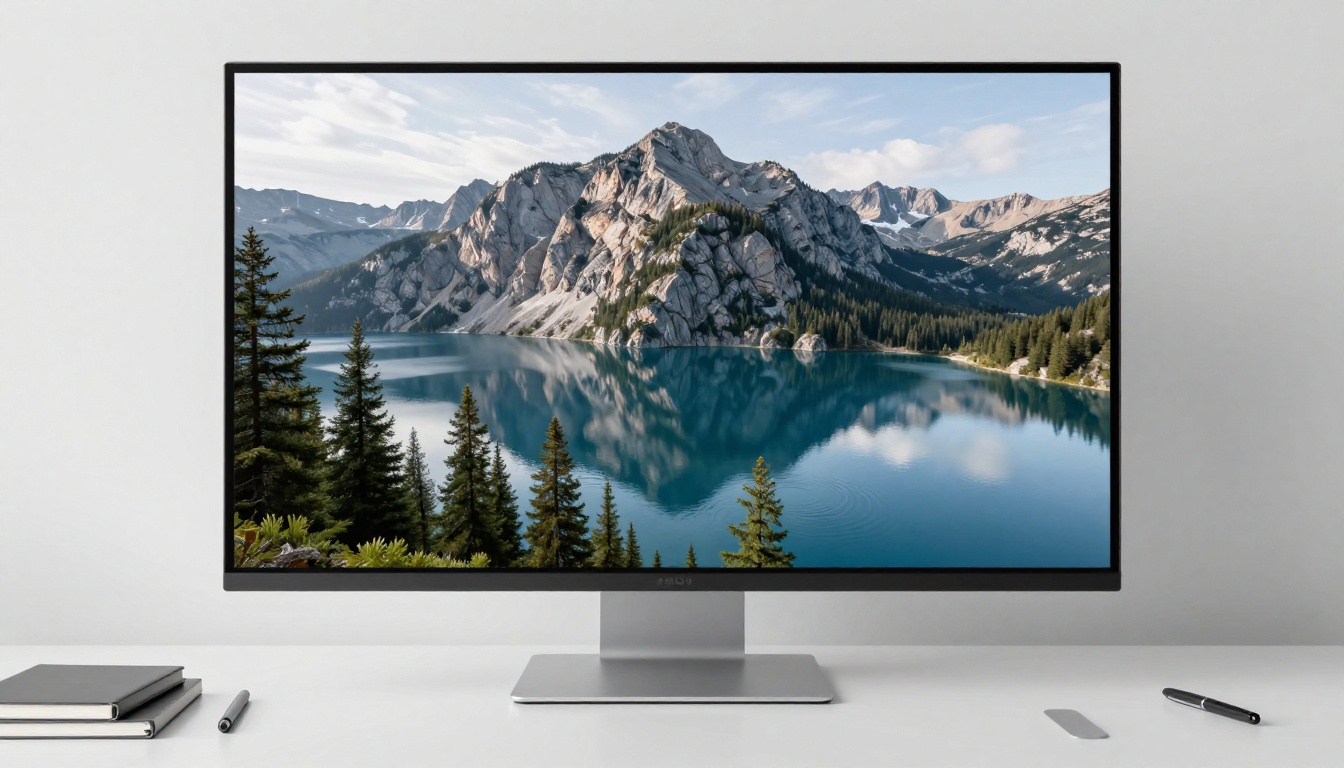
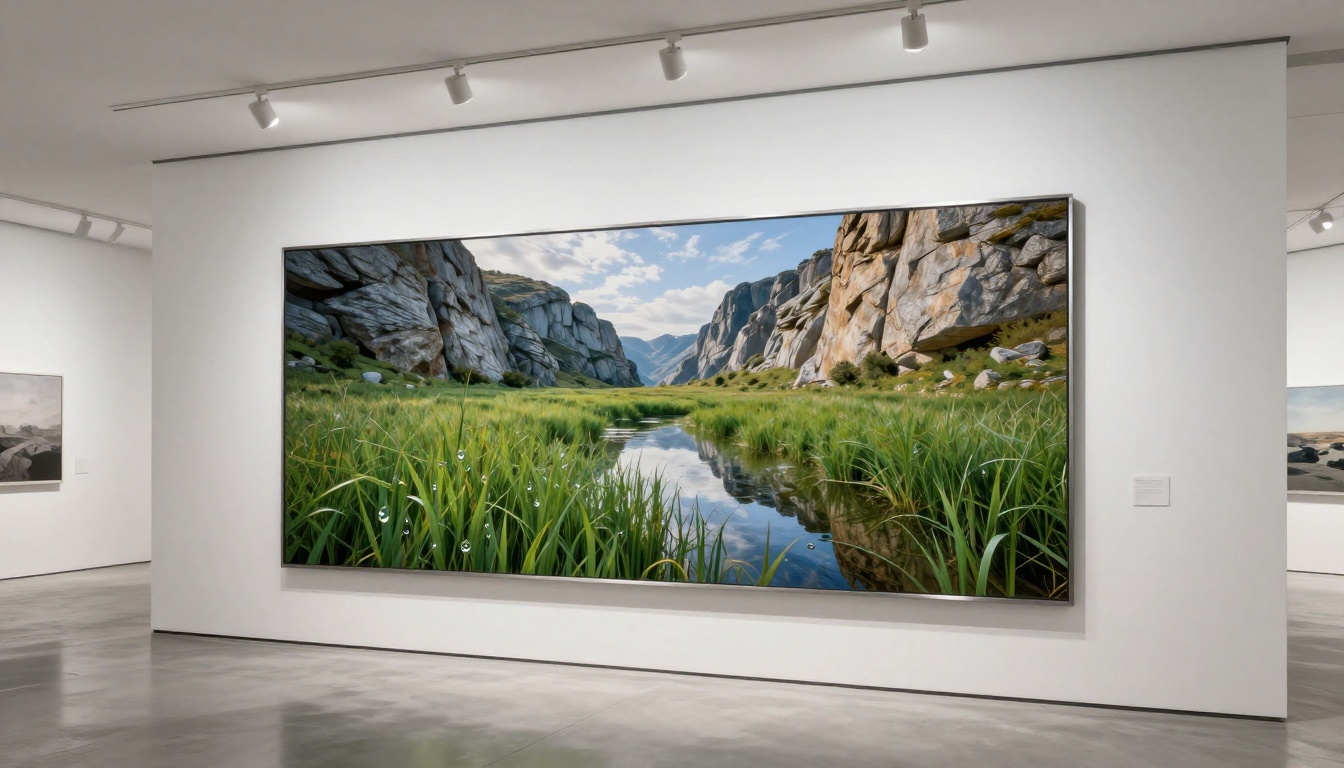
Landscape and environment upscaling has different priorities: structural coherence and texture variety. A mountain scene needs rock faces, pine trees, water surfaces, and sky gradients all upscaled consistently without any one surface dominating. Real ESRGAN handles this balance well because its training data includes diverse natural scene types.
For maximum quality in wide environment shots, the Google Upscaler adds strong structural coherence across large image areas, making it particularly effective for wide-aspect AI art where consistency from edge to edge is critical.
How to Use Clarity Pro Upscaler on PicassoIA
Clarity Pro Upscaler is one of the most capable free options available, and it is straightforward to use on PicassoIA. Here is the complete workflow.
Step 1: Open the model
Go to the Clarity Pro Upscaler page on PicassoIA. No account is required for a free run.
Step 2: Upload your image
Click the upload zone and select your AI-generated image. Supported formats include JPG, PNG, and WebP. You can upload original generation outputs directly.
Step 3: Set your scale factor
The recommended setting is 2x for most cases. If you need maximum resolution, select 4x — but very low-resolution sources (256x256 or smaller) may need a two-pass approach for best results.
Step 4: Adjust the creativity parameter
Clarity Pro offers a creativity slider that controls how much new detail the diffusion pass synthesizes. Set it to 0.3-0.5 for photorealistic AI art that should look natural. Go higher (0.7 and above) for artistic images where added texture depth is a feature of the final output.
Step 5: Run and download
Click generate. Processing takes 5-15 seconds depending on image size. The result downloads directly to your device in full resolution.
💡 Pro setting: For portrait AI art, reduce the creativity parameter to 0.2 and enable the face restoration option if available. This keeps facial features natural while still adding detail to clothing, backgrounds, and environment.
Crisp vs. Creative: Choosing the Right Mode
The split between "crisp" and "creative" upscaling represents two philosophies. Crisp upscaling sharpens and clarifies what already exists in the source image. Creative upscaling interprets and adds new plausible detail based on learned patterns.
When to Stay Sharp
Use crisp models when the original image's aesthetic should dominate the final result. If you generated a clean character illustration with defined lines and flat color areas, Recraft Crisp Upscale preserves those design choices exactly. No new texture is added that might conflict with the original style or distort intentional artistic choices.
Crisp models are also better for text-containing images. Any text elements in your AI art will stay legible after crisp upscaling and often get sharper. Creative upscaling can distort letterforms when it adds texture where flat clarity is needed.
When to Add Artistic Depth
Creative upscaling genuinely improves images that feel flat or overly digital at full resolution. Many AI art generators produce images that look great as thumbnails but lack the micro-detail that makes photography feel physically real. Recraft Creative Upscale adds that material depth — the slight roughness of stone, the irregular weave of fabric, the subsurface scatter of skin — that makes an image feel present rather than generated.
5 Tips to Preserve Detail Before You Upscale
The best upscaling starts before you run the upscaler. How you generate and prepare the source image determines the quality ceiling of your final output.
-
Generate at the highest native resolution your model supports. Starting from 1024x1024 instead of 512x512 means your 4x upscale produces 4096x4096 instead of 2048x2048. The upscaler has twice as much information to reconstruct from.
-
Use PNG for your source file, not JPG. JPG compression introduces artifacts that super resolution models will amplify. PNG is lossless. Always save your AI generation as PNG before upscaling.
-
Avoid double JPG compression. If you download a JPG from your AI generator and then upload it to an upscaler that saves as JPG, you are layering compression artifacts on top of each other. Request PNG output at the source wherever possible.
-
Run sharpening after upscaling, not before. Pre-sharpening creates edge halos that get amplified during the upscaling pass. Let the upscaler do its work first, then apply any final sharpening adjustments in your editing software.
-
Match your upscaler to your content type. A portrait needs Crystal Upscaler. A landscape needs Real ESRGAN or Google Upscaler. A graphic design needs Recraft Crisp Upscale. One model does not fit all content types equally well.
Start Creating at PicassoIA
Every upscaling model covered in this article is available for free at picassoia.com/en/all-models. The super-resolution category alone has nine models covering every use case from portrait restoration to 6x large-format output. No subscription required, no software to install, no setup.
But upscaling is only half the picture. If you are generating the AI art yourself, the quality you start with determines the quality ceiling of your final result. PicassoIA has over 90 text-to-image models available, covering every style from photorealistic to illustrated and everything between. Generate at maximum native resolution, pick the right upscaler for your content type, and you will have print-ready AI art that holds up at any display size.
Try it: generate something new, run it through Clarity Pro Upscaler at 4x, and compare it to the original at 1:1 zoom. The difference in texture depth and edge clarity is immediate and significant. That is what free AI upscaling can do when you pick the right model for the job.


