xAI's image-to-video model has been making rounds among content creators for months. Now it has a permanent home where anyone can run it directly from a browser, without an API key, a credit balance, or a local GPU. Grok Imagine Video 1.5 is live on PicassoIA, and it does one thing with precision: it takes a still photograph and produces a 5-second animated clip with synchronized audio at up to 720p resolution. Write a motion prompt, upload an image, and get a ready-to-publish video file in seconds.
This article covers what the model is, how it works on PicassoIA, how to write prompts that produce real motion, and where it fits into a content workflow.
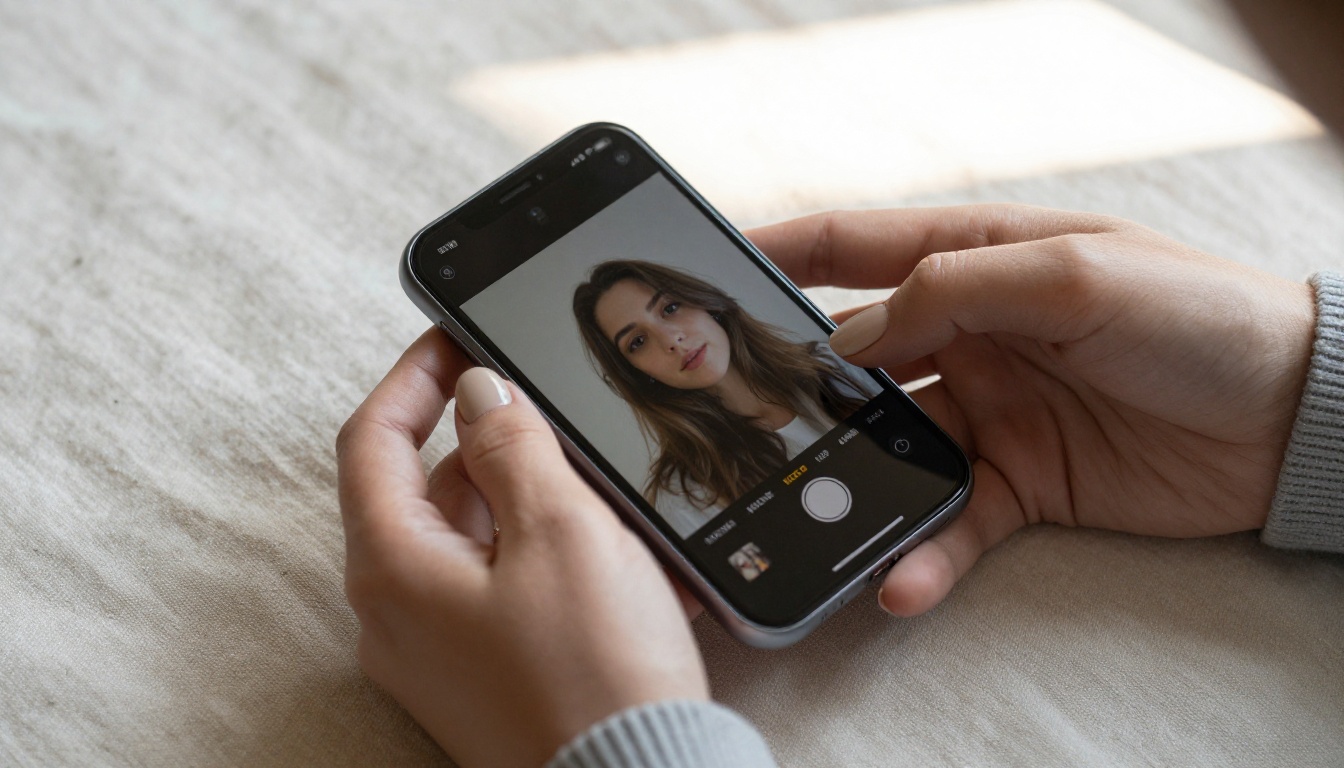
What Grok Imagine Actually Is
The xAI Creative Line
Grok Imagine is the creative AI product family from xAI. The original Grok assistant launched as a conversational AI with real-time web access. The "Imagine" branch expanded that into visual output: first with still image generation powered by the Aurora model, then with the video animation line that reached version 1.5.
Grok Imagine Video 1.5 is the video tier of this family. It does not generate video from a text prompt alone. Instead, it takes a source image as its first frame and uses a text description of the motion to animate the scene. The result is a clip that begins exactly where your photograph ends, which removes the cold-start problem most text-to-video models have when generating coherent environments from scratch.
Aurora: The Image Engine
Before Grok Imagine Video existed, xAI built Aurora for still image creation. Aurora powers the image generation side of Grok Imagine. What Video 1.5 does is extend that into the time dimension: your source image can be one generated by Aurora, a photo you took yourself, or any compatible JPG, PNG, or WEBP file. The model reads the visual content and animates it according to your prompt.
This means you can chain two capabilities in one sitting: generate a still image using a model like Flux Dev or Flux Schnell on PicassoIA, then feed that result directly into Grok Imagine Video 1.5 to add motion. That entire pipeline runs in the browser with no file transfers or external tools required.
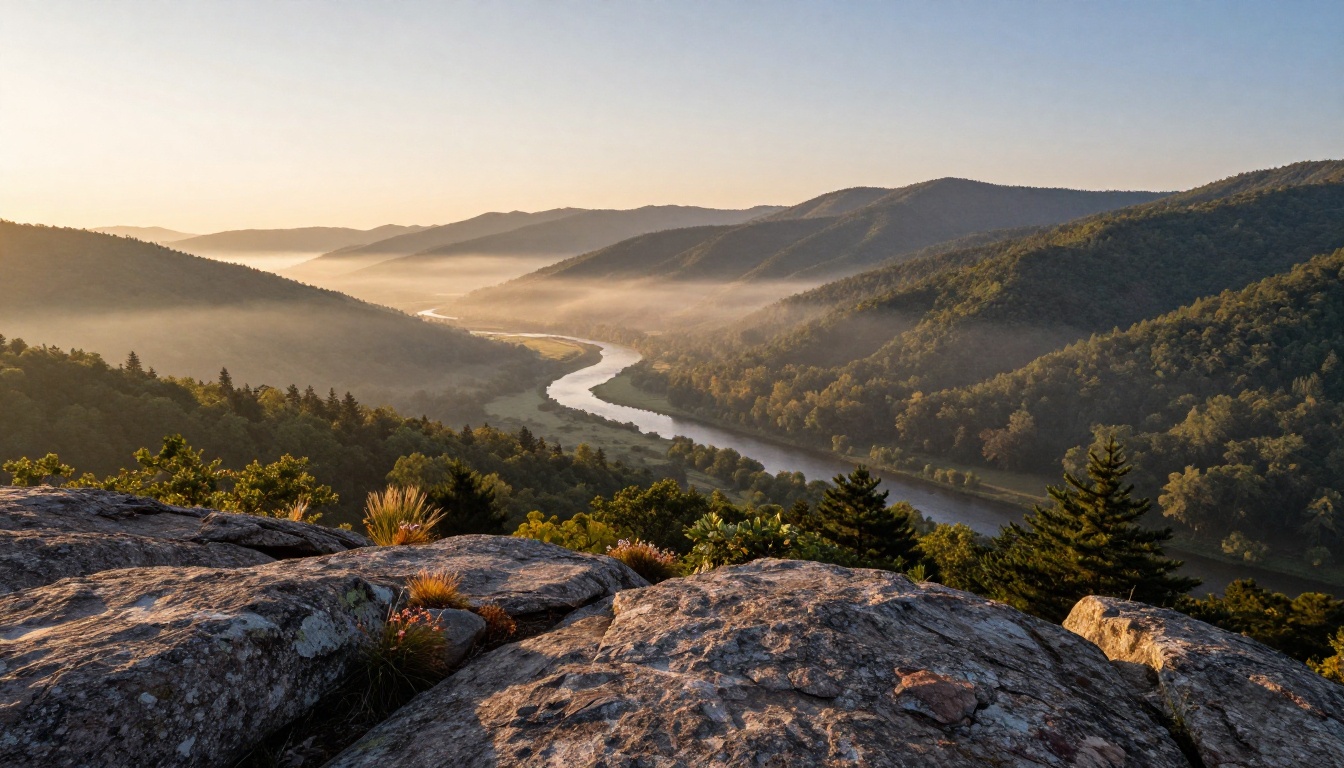
Grok Imagine Video 1.5 on PicassoIA
What It Does, Precisely
The model takes two inputs: an image and a text prompt describing the motion. It outputs a video clip that animates the scene described in your prompt, starting from your source image as frame one. Here is what is fixed versus what you control:
Fixed by the model:
- Clip length: up to 5 seconds
- Frame rate: 24fps
- Output includes synchronized audio
You control:
- Resolution: 480p or 720p
- Aspect ratio: auto (matches source image), 16:9, 9:16, 4:3, 1:1, 3:2, 2:3, 3:4
- Motion content: driven entirely by your text prompt
The audio output is not background music added in post-processing. It is generated audio that corresponds to the motion described in your prompt. A prompt about ocean waves includes the sound of water. A prompt about a person walking through autumn leaves includes footstep and foliage sounds. This is built into the model, not assembled from a library.
💡 Tip: Set aspect ratio to auto whenever your source image has a non-standard ratio. The model reads the native proportions of your photo and applies them to the output exactly, which avoids cropping or letterboxing.

Technical Specs Worth Noting
| Spec | Detail |
|---|
| Resolution options | 480p, 720p |
| Default resolution | 720p |
| Max clip duration | 5 seconds |
| Frame rate | 24fps |
| Audio | Synchronized, native output |
| Accepted input formats | JPG, JPEG, PNG, WEBP |
| Aspect ratios supported | auto, 16:9, 9:16, 4:3, 1:1, 3:2, 2:3, 3:4 |
| Code required | None |
The default resolution is 720p, which is the highest available. For social media content and web publishing, 720p is sufficient for nearly every use case. If you are producing animated thumbnails or short preview clips for product pages, the output is ready to publish without any upscaling step.
Audio Sync: Why It Matters
Most image-to-video tools produce silent clips by default. Adding audio afterward means a separate workflow: sourcing a sound effect or ambient audio, editing it to match the motion, exporting, and re-encoding. Grok Imagine Video 1.5 collapses that into a single generation step.
Synchronized audio is particularly useful for:
- Social media posts where autoplay muted clips lose impact
- Product preview animations where material sound adds credibility and realism
- Atmospheric scene animations where ambient audio completes the mood
- Portfolio pieces where silence feels unfinished in short video format
The audio quality at 720p is clean and matched to the visual content. It is not always perfect on complex prompts, but it removes the need for secondary audio production in the majority of practical use cases.

How to Use It (Step-by-Step)
Step 1: Choose Your Source Image
Open Grok Imagine Video 1.5 on PicassoIA. The first thing you need is a source image. You have three options:
- Upload a photo from your device (JPG, PNG, or WEBP)
- Use a generated image from another PicassoIA model, such as Flux Schnell or Stable Diffusion
- Paste a direct image URL if you already have one hosted online
The source image becomes the first frame of your video. The model reads the scene, objects, lighting, and composition to determine what is available to animate. Detailed, high-contrast images with clear subjects animate more predictably than flat or heavily compressed files.
💡 Tip: Images with natural motion cues such as flowing fabric, water surfaces, hair, or foliage give the model more to work with and typically produce smoother, more convincing animation results.
Step 2: Write the Motion Prompt
The motion prompt is the single most important variable you control. Write it as a chronological description of what happens during the 5 seconds. Think in sequences, not in adjectives.
Weak prompt: "cinematic, beautiful, flowing"
Strong prompt: "The woman slowly turns her head from left to right as sunlight shifts across her face, her hair lifting slightly in a gentle breeze, the camera holding steady with a subtle push-in."
The difference: the weak version describes style. The strong version describes motion. The model responds to motion descriptions, not aesthetic modifiers.

Step 3: Set Resolution and Format
Select 720p for the highest output quality. If you need faster generation or are running a large number of variations to compare, 480p is available as a faster alternative that still produces clean, usable clips.
For aspect ratio, set it to auto unless you have a specific platform requirement:
- 16:9 for YouTube thumbnails, website headers, or horizontal display
- 9:16 for Instagram Reels, TikTok, or YouTube Shorts
- 1:1 for feed posts and square-format content
- auto for everything else, letting the model match your source image natively
Step 4: Generate and Download
Hit generate. Generation time for a 720p clip typically runs around 30 seconds. When the clip is ready, it appears in the results panel with a built-in playback option. Review it, and if the motion does not match what you intended, refine the prompt and run again.
Download the output as an MP4 file, ready to upload to any platform without post-processing.

Writing Motion Prompts That Work
The Structure That Gets Results
Motion prompts for Grok Imagine Video 1.5 follow a consistent structure when they produce strong output:
[Subject + starting state] → [motion or action over time] + [camera behavior] + [atmosphere or lighting change]
Each element does a specific job:
- Subject + starting state: tells the model what to focus on and what condition it is in at frame one
- Motion or action: describes the change that happens across the 5 seconds
- Camera behavior: controls whether the camera moves, zooms, tilts, or stays fixed
- Atmosphere: adds environmental motion like light shifts, weather effects, or ambient movement
When you include all four elements, the model has enough information to produce coherent motion for the full clip duration. When you omit elements, the model fills in the gaps on its own, sometimes well, sometimes not.
3 Prompts to Try Right Now
Use these with any relevant source image as a starting point, then adjust for your specific subject:
Portrait animation:
"The subject slowly raises their eyes from a downward gaze to look directly into the camera, a faint smile forming at the corners of their mouth. The camera holds steady. Late afternoon light gradually warms across the left side of their face over the full 5 seconds."
Landscape animation:
"Clouds drift slowly from left to right across the sky as the treeline below sways gently in a light breeze. The camera tilts up slightly from the horizon toward the sky. Morning light shifts progressively warmer as the seconds pass."
Product animation:
"The product rotates slowly clockwise by approximately 30 degrees, catching a strong specular highlight on its left edge as it turns. The camera performs a minimal dolly-in toward the center of the product. The background remains completely still."
💡 Tip: Start with a single motion element per prompt. Adding too many simultaneous movements in a 5-second clip often produces visual confusion. One subject action and one camera movement is the right ceiling for most first-generation runs.

Grok Imagine vs Other Models on PicassoIA
PicassoIA hosts a large catalog of video generation models. Here is how Grok Imagine Video 1.5 compares against the primary alternatives in its category:
| Feature | Grok Imagine 1.5 | Standard Image-to-Video Models |
|---|
| Input type | Image + text prompt | Image + text prompt |
| Max resolution | 720p | Often capped at 480p |
| Audio output | Yes, synchronized | Rarely included |
| Aspect ratio control | Full range including auto | Often fixed to 1 or 2 ratios |
| Clip duration | Up to 5 seconds | 2 to 5 seconds typical |
| Code required | No | Depends on platform |
| Credits on PicassoIA | No cap | Varies by model |
The synchronized audio column is where Grok Imagine 1.5 separates from most tools at this resolution tier. Getting audio-included video clips from a single generation step removes a significant segment of the post-production workflow for social content creators and e-commerce teams.
For still image generation that feeds into the video workflow, Flux Dev produces high-fidelity 12-billion parameter images that give the video model detailed, richly textured first frames to work from. Flux Schnell runs significantly faster if you are iterating through many image-to-video variations in a single session.
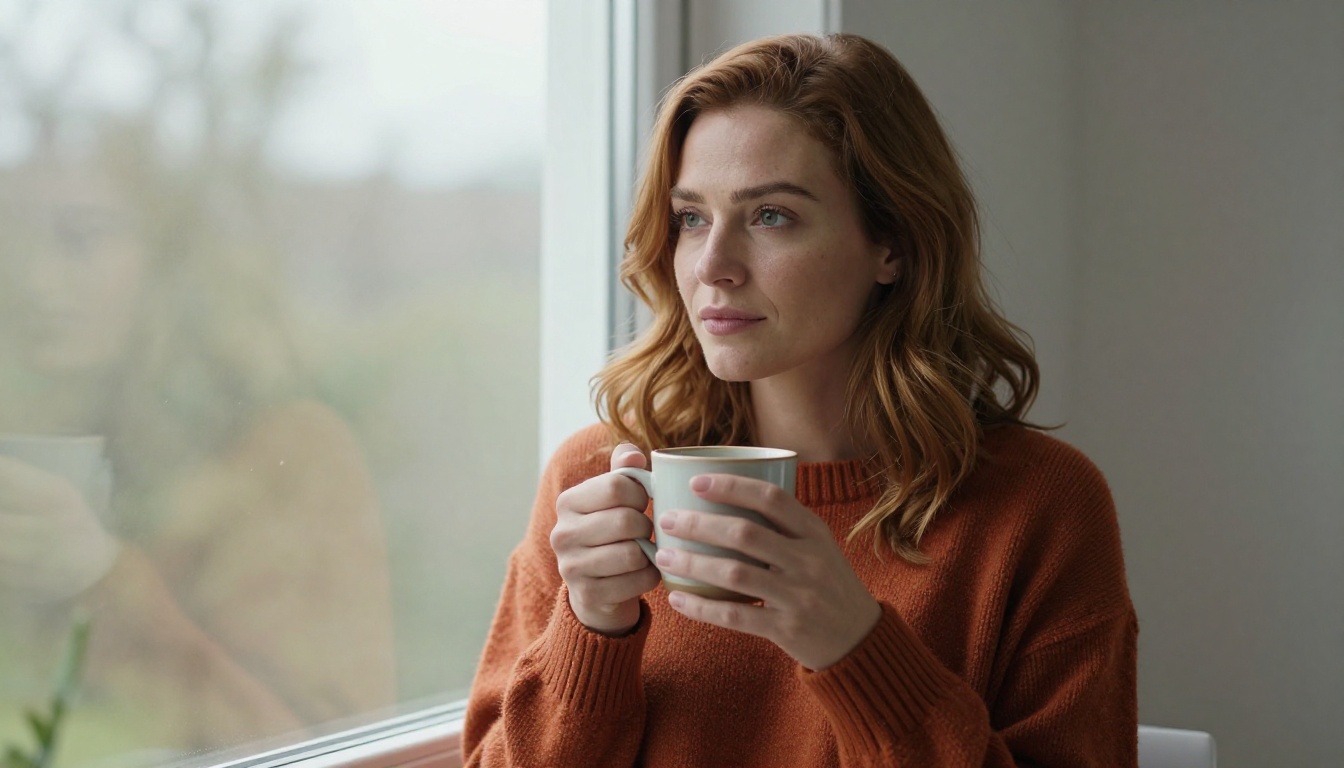
4 Real Use Cases
Social Media Thumbnails
Static thumbnails stop the scroll less effectively than motion. A 5-second looping clip at 720p placed as a video thumbnail on YouTube or LinkedIn draws more attention than the same image at rest. The workflow is straightforward: generate or upload your thumbnail image, animate it with a subtle camera push-in and subject micro-motion, export the MP4, and use it where the platform supports video thumbnails.
The 16:9 aspect ratio setting covers this use case directly, and the auto-generated audio adds a layer of polish to platforms that play sound on hover.
Product Demos
Product photography already exists in most e-commerce workflows. The gap is that a static product image tells the viewer what the product looks like but not how it moves, opens, or presents in three dimensions. Grok Imagine Video 1.5 fills that gap by animating a rotation, a lid opening, or a fabric drape from a still product photo.
💡 Tip: For product animation, shoot or generate your source image against a neutral background. Complex backgrounds compete with the product motion and reduce visual clarity in the output clip.
Creative Portfolios
Illustrators, photographers, and designers often have large libraries of still work. Animating select pieces adds a dimension to portfolio presentations without reshooting or redrawing anything. A portrait that breathes, a landscape that shows wind in the trees, or an architectural render where shadows slowly shift across the facade all create stronger impressions than their static originals.
The 5-second clip length is actually well-suited for portfolio use: short enough to feel intentional, long enough to show real motion.
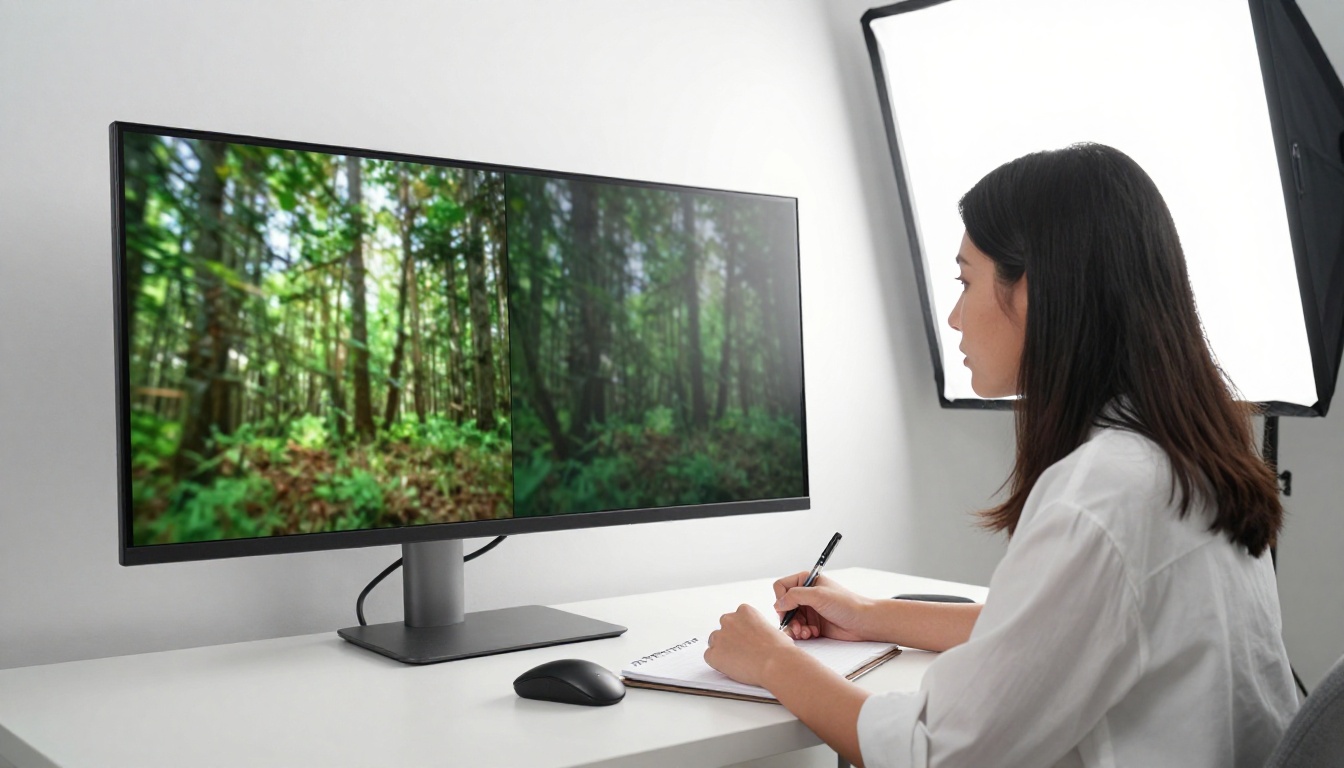
Short-Form Video Content
For platforms built on vertical short-form video (9:16), Grok Imagine Video 1.5 can produce entire clip segments from a single photograph. A travel photo becomes a 5-second scene with atmospheric motion. A food photograph gains visible steam and sauce movement. A fashion portrait develops natural hair and fabric motion that reads as intentional filmmaking rather than AI output.
The model is not a replacement for video production. It is a tool for producing publishable short video content from still assets, with no equipment or editing software needed beyond what you already have in a browser.
Start Creating Now
If you have a photograph that deserves more than static display, Grok Imagine Video 1.5 on PicassoIA is worth the 30 seconds it takes to run a first test. The model runs entirely in the browser. There are no credits to track and no software to install.
Pick one image from your library, write a single motion prompt following the structure above, set resolution to 720p, and generate. The result will show you more about what the model can do than any description.
From there, the tools to build on that first clip are already on the same platform. Text-to-image models like Flux Dev and Flux Schnell let you produce purpose-built source images optimized for animation. Browse the full catalog at picassoia.com/en/all-models to see every model available for your video workflow.
The image you already have might be exactly the first frame you need.


