Getting photorealistic skin in AI-generated portraits is harder than it looks. Most models default to an over-smoothed, plastic-looking result that screams "AI" the moment you zoom in. The face may look attractive from a distance, but there are zero pores, no visible texture, and a surface quality that resembles polished wax rather than living tissue. Fixing this is not about luck or running the same prompt until something better comes out. It requires three things: choosing the right model, writing prompts that specifically request real skin anatomy, and applying the right post-generation steps to pull out the final level of detail.
Why Most AI Skin Looks Wrong
The Plastic Skin Problem
The default behavior of most text-to-image models is to produce clean, smooth, blemish-free skin. This is not a bug. It happens because the training data for these models is dominated by professionally retouched photography, stock images, and filtered social media portraits. The models were trained on thousands of images where every pore was removed in post-processing, so "a portrait of a woman" produces exactly that: airbrushed, post-processed skin.
The result is technically accurate to its training distribution, but looks immediately artificial to the human eye. Our visual system is extraordinarily good at detecting live skin versus rendered or retouched surfaces. Even at low resolution, we can sense when something is wrong with the surface quality.
What Real Skin Actually Does
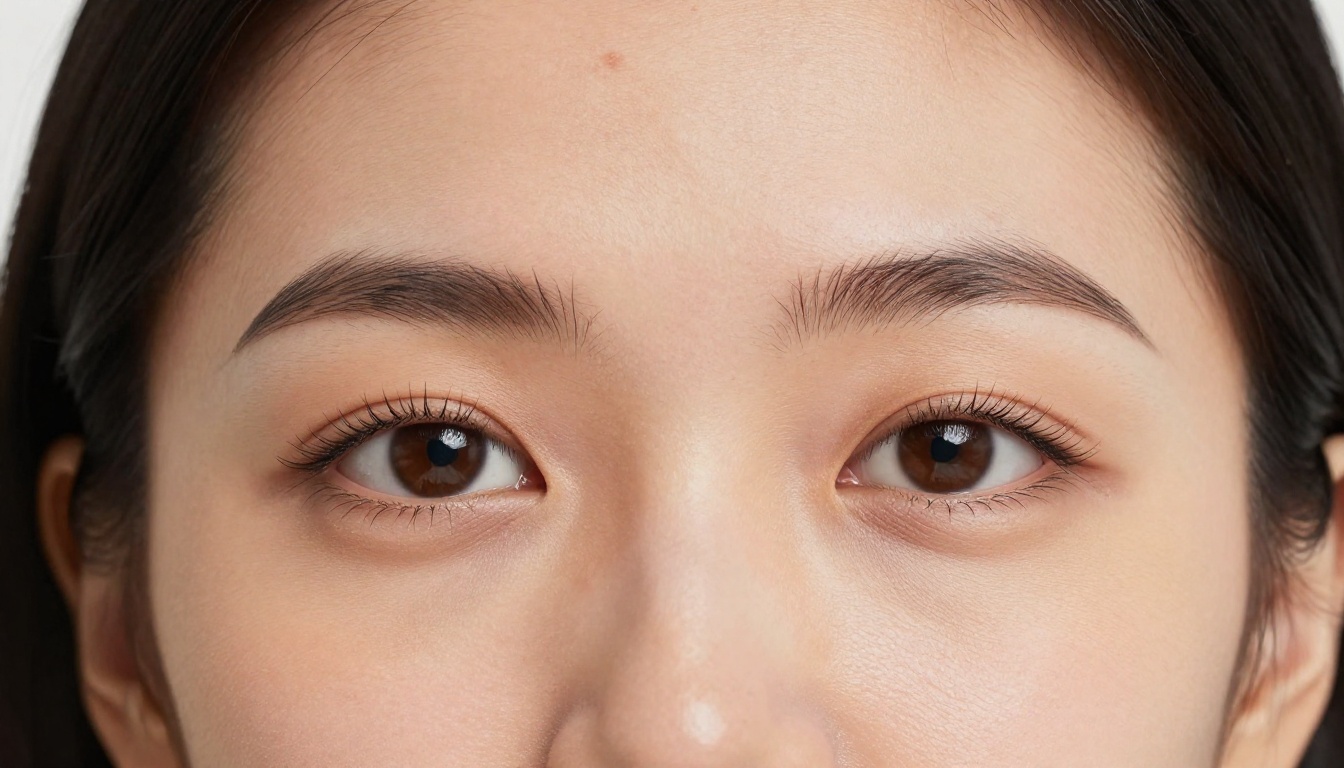
Real skin is not smooth. It has a complex three-dimensional micro-relief: pore openings distributed in a specific pattern for each area of the face, vellus hair lying flat on the surface, micro-shadows created by tiny elevations and depressions in the dermis, and a translucent quality caused by subsurface scattering. Light does not simply bounce off the surface of skin. It enters the epidermis and scatters through the layers beneath before exiting, creating a warm inner glow that is most visible along the edges of features like the ears, nose, and fingers.
That subsurface quality is what separates photorealistic skin from anything that looks rendered. No amount of texture detail will save an AI portrait if the lighting does not interact with the skin volumetrically.
Picking the Right Model
Seedream 4.5: The Best Default for Portraits
Seedream 4.5 is currently one of the top-performing models for photorealistic portraits, particularly for facial skin rendering. Its training prioritizes photographic accuracy over artistic stylization, which means it is far less likely to slip into the digital painting look that affects many other models. When prompted correctly, it produces portraits with visible pore structure, natural skin tone gradients, and convincing subsurface glow.
Seedream 5 Pro pushes this further with improved fine-detail resolution and better handling of skin-to-hair boundaries, which is where many models fall apart. Both are available directly on PicassoIA.
Flux Pro Finetuned: When Precision Matters
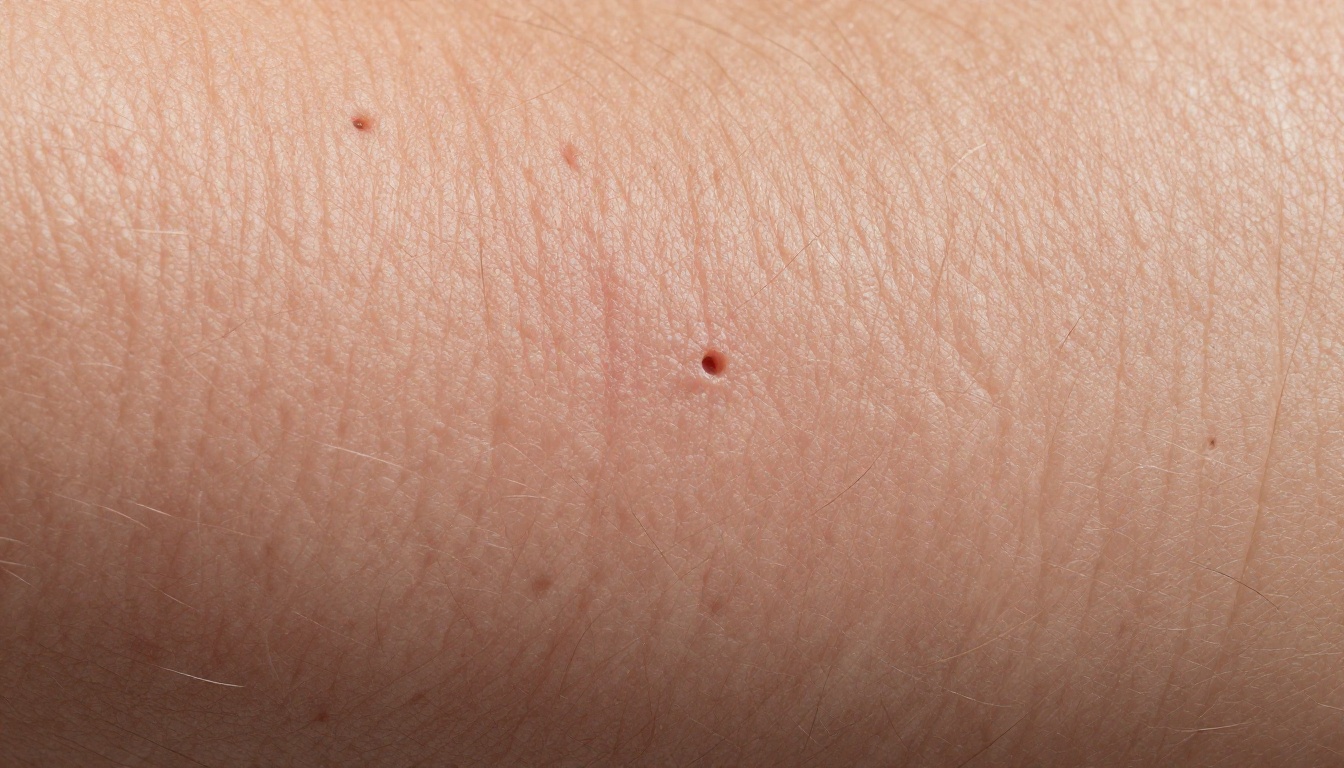
Flux Pro Finetuned excels at high-frequency detail. When you need a portrait where zooming in to 100% still shows convincing skin structure, this model's architecture produces exceptional spatial coherence. It interprets detailed prompts more faithfully than most models, so describing specific skin conditions, lighting interactions, and camera lens characteristics produces more predictable, controllable results.
The tradeoff is that it rewards specificity. Writing "visible pores across the nose bridge, fine skin texture on the cheeks, natural sebum shine on the tip of the nose" produces dramatically better skin rendering than simply writing "photorealistic skin."
Realistic Vision V5.1: Classic Photography Look
Realistic Vision V5.1 was trained specifically for photographic realism and has a long track record for producing portraits that look like they came off a DSLR sensor. It handles skin particularly well in the midtones and produces natural color rendition without the slight oversaturation that affects some other models. If you want portraits that look like editorial photography rather than hyper-sharp digital medium format output, this is a strong choice.
SDXL also remains a solid baseline for portraits when paired with the right prompt and upscaling workflow, though it benefits more from post-generation upscaling than the newer Seedream or Flux models.
Writing Prompts That Actually Work
Describing Skin Texture in Detail
The single biggest improvement most people can make to their portrait prompts is to describe the skin itself, not just the person. Instead of writing "beautiful woman, photorealistic portrait," write the physical properties of the skin you want to see.
Here is a practical framework:
| Prompt Element | Weak Version | Strong Version |
|---|
| Skin texture | "smooth skin" | "visible pore structure across cheeks, natural skin micro-relief" |
| Skin quality | "clear skin" | "natural sebum shine on nose tip, slight skin translucency at ear edges" |
| Imperfections | (omitted) | "few small blemishes, faint freckles on nose bridge" |
| Surface detail | "detailed skin" | "vellus hair visible on cheeks, fine skin crease at eye corners" |
| Skin condition | "healthy skin" | "natural skin with slight oil on the T-zone, matte on cheeks" |
Adding these physical descriptors shifts the model away from its default and toward producing authentic skin anatomy.
Lighting That Reveals Skin Depth
Lighting is not just about aesthetics in portrait generation. The right lighting direction literally reveals skin texture, while the wrong choice flattens everything into smooth uniformity.
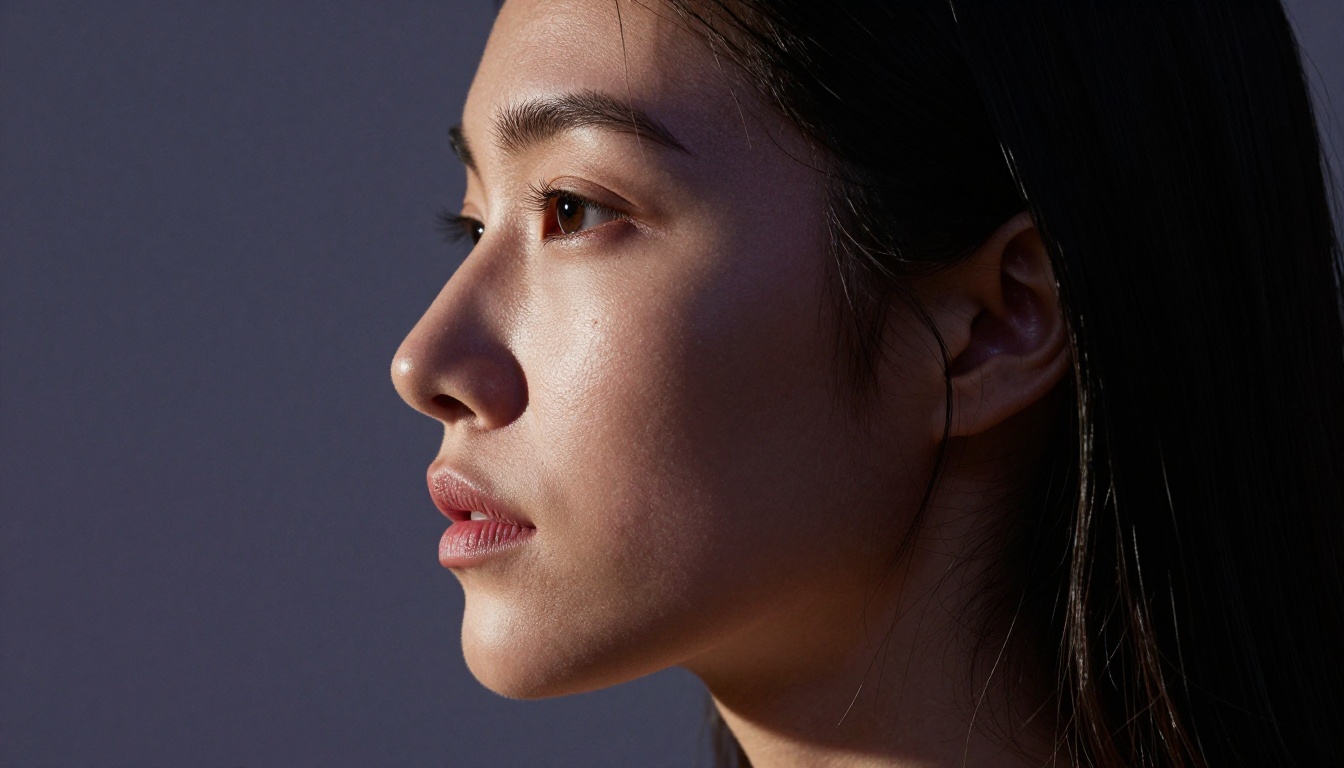
Hard, directional light from one side creates micro-shadows in every pore and skin depression. It is the single fastest way to make generated skin look three-dimensional. Rembrandt lighting (a 45-degree frontal angle creating a triangle of light on the shadow-side cheek) is a reliable choice.
Backlight with fill creates rim lighting that catches individual fine hairs and reveals the translucent quality of skin at the face's edges, producing the subsurface glow that signals real tissue.
Flat, front-facing light is the enemy of skin texture. Studio ring lights and on-camera flash eliminate micro-shadows and produce the same plastic look you are trying to avoid.
💡 Add "raking side light" or "hard sidelight from a bare strobe" to your prompts when you want maximum skin texture visibility. Soft box lighting produces beautiful portraits but reduces visible pore detail significantly.
Words That Silently Destroy Realism
Some prompt words actively work against photorealistic skin. Models associate certain terms with stylized or rendered aesthetics:
- "Perfect skin" signals heavily retouched stock photography
- "Flawless" triggers airbrushed post-processing patterns
- "Smooth skin" literally asks the model to eliminate texture
- "Glowing skin" can produce luminous, non-photographic results
Replace these with photographic terms: "natural skin texture," "authentic skin," "skin with visible pores," or "unretouched skin."
The Subsurface Scattering Effect
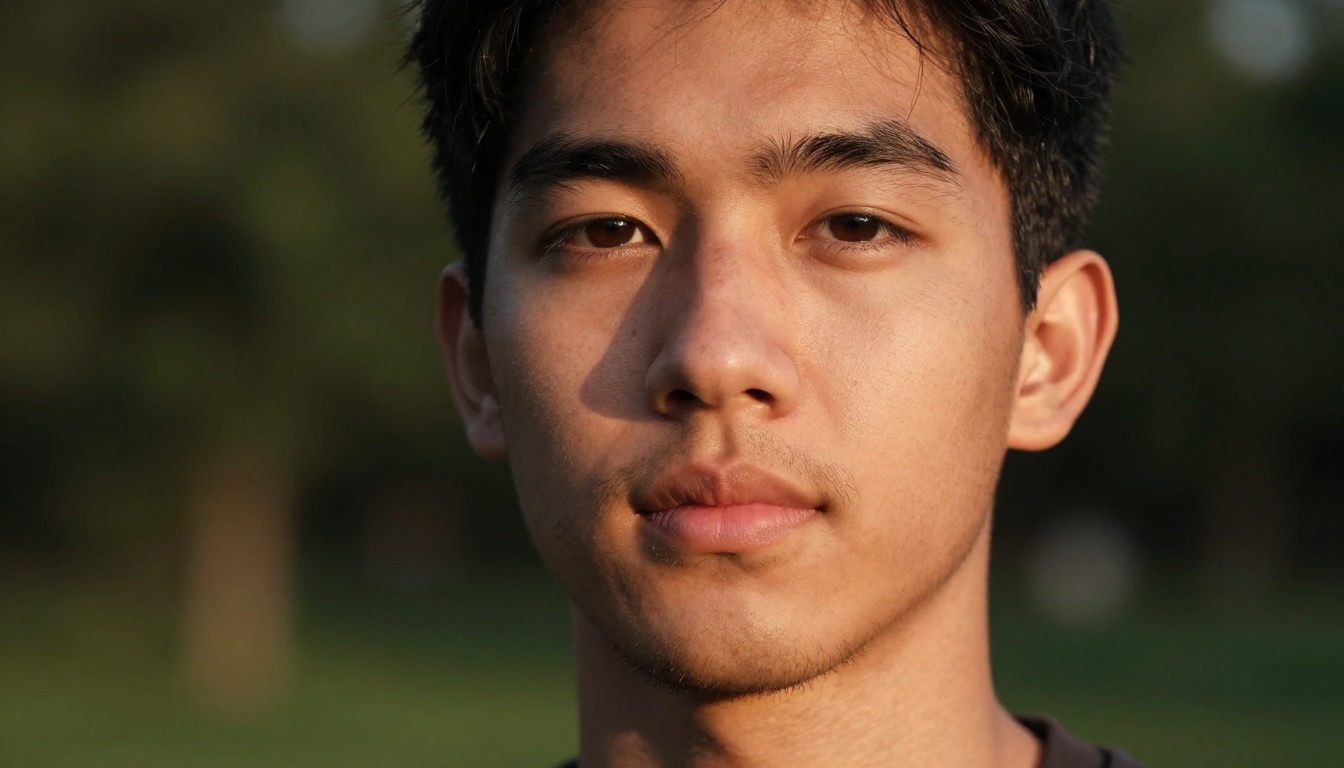
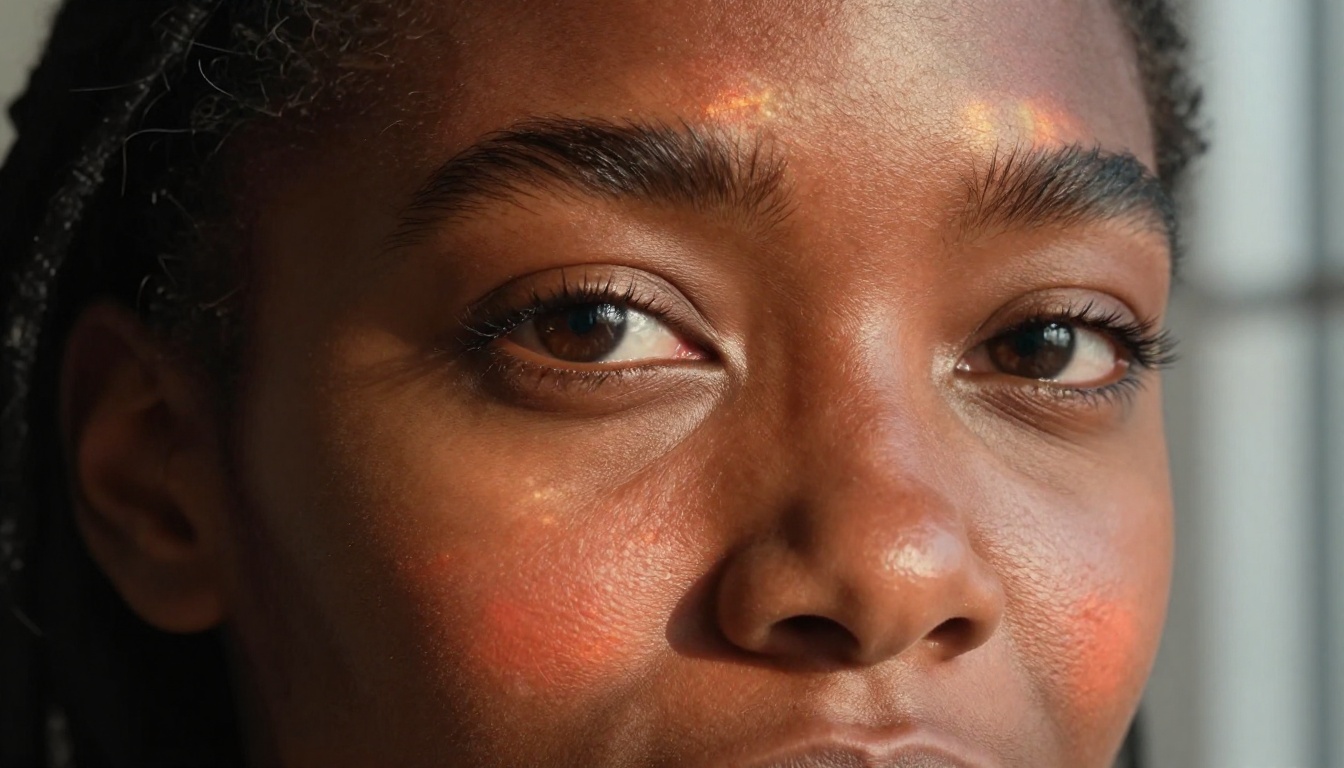
Subsurface scattering (SSS) is the optical phenomenon where light enters a translucent material, scatters internally, and exits at a different point. Human skin does this constantly. It is why ears glow orange-red when held up to a light source, why lips look fuller and warmer in backlit conditions, and why facial skin has a different quality than, say, the skin on a hand.
To prompt for SSS effects in AI portraits, describe the physical conditions that produce visible scattering:
- "Backlit by warm sunlight, skin glowing translucent at the ear and jaw edges"
- "Volumetric light entering from behind, creating warm subsurface glow at face perimeter"
- "Strong side window light creating translucent skin quality along the nose bridge"
You can also include the technical photography term directly: "subsurface scattering visible in skin, translucent skin quality in backlight." Models like Seedream 4.5 and Flux Pro Finetuned respond well to this kind of specific terminology.
Upscaling: The Step That Finishes the Job
Why Low-Resolution Portraits Fall Apart
Most base generation runs at 512x512 or 768x768 pixels. At this resolution, it is physically impossible for the model to render individual pores, fine vellus hairs, or the micro-relief of real skin. The result looks passable at web display sizes but falls apart when viewed at full resolution or printed.
This is why the upscaling step is not optional if you want serious photorealistic skin. A good upscaler does not simply resize the image. It adds high-frequency skin detail that was lost or compressed in the original generation pass, producing a result that would have required far more compute to generate at that quality in a single pass.
Clarity Pro Upscaler: Best for Skin Detail
Clarity Pro Upscaler is specifically trained to add realistic skin texture when upscaling portraits. It interprets the structure implied in the base generation and adds fine skin detail at the upscaled resolution: pores, micro-hair, and skin surface variation that makes the face read as genuinely photographed. For portrait work specifically, this model produces the most convincing results of any available upscaler on PicassoIA.
💡 Run Clarity Pro Upscaler at 2x first, then inspect the skin closely before applying a second pass. Aggressive single-pass upscaling at 4x can occasionally over-render texture, making the skin look gritty rather than porous.
Crystal Upscaler: For Balanced Portraits
Crystal Upscaler from the same developer adds texture detail more conservatively. This is preferable when you want sharp skin detail without the risk of it looking over-processed. For portraits where the subject has softer, younger skin, Crystal Upscaler adds just enough texture to read as real without artificially aging the subject.

Topaz and Real ESRGAN for Other Cases
Topaz Image Upscale supports up to 6x upscaling and is the right choice when you need print-sized outputs from a web-resolution base image. It preserves edge sharpness extremely well but is less specialized for skin texture specifically.
Real ESRGAN provides fast, free 4x upscaling that works well as a first-pass step before applying Clarity or Crystal for the skin-specific detail pass.
How to Use These Models on PicassoIA
The most practical workflow for photorealistic skin on PicassoIA runs three sequential steps.
Step 1: Generate with Seedream 4.5 or Flux Pro Finetuned
Open Seedream 4.5 in the PicassoIA collection. Write your portrait prompt using the framework from the earlier section. Include:
- Physical skin descriptors (pores, texture, natural imperfections)
- Specific lighting direction (avoid flat or ring light)
- Camera and lens specification (85mm f/1.8 or similar portrait focal length)
- Film emulation (Kodak Portra 400 is consistently strong for skin tones)
Set the aspect ratio to 16:9 for editorial or social formats. Run the generation.
Step 2: Upscale with Clarity Pro
Take the output into Clarity Pro Upscaler. Set the upscale factor to 2x for portrait work. The model will add skin texture detail at the enlarged resolution that was impossible at the original output size.
Step 3: Restore If Needed
If the original generation has any soft or slightly blurred areas, use Flux Kontext Restore Image to sharpen and recover fine detail. This is particularly effective for eye areas and skin boundaries where texture can blur slightly during generation.

Mistakes That Ruin Good Skin
Over-Prompting Texture
There is a ceiling on how many skin descriptors produce useful results. Adding "skin pores, dermis texture, subsurface scattering, vellus hair, sebum shine, micro-relief, capillary visibility, elasticity" all in a single prompt can overwhelm the model and produce noisy, over-textured, or incoherent skin. Pick three to five specific descriptors and write them clearly.
Ignoring Lighting Logic
You can have the most detailed skin prompt in the world, and flat lighting will still produce plastic-looking results. Lighting is the delivery mechanism for all surface texture. If light hits the face from straight ahead with no shadow, there is nothing for the pores or micro-relief to cast micro-shadows on. The skin will look smooth regardless of what your prompt says.
Every photorealistic portrait prompt needs a lighting direction: not just the quality of light (soft, hard) but the specific angle and color temperature.
Wrong Focal Length Choices
Camera lens focal length matters for skin rendering. Wide-angle lenses (24-35mm equivalent) distort facial proportions when used up close, producing unnatural-looking faces where skin near the frame edges appears stretched. Portrait focal lengths (85-135mm equivalent) produce the compressed perspective that matches how we actually see faces in real life, and this compression makes skin texture register as natural in the image.
Always specify portrait-appropriate focal lengths: "85mm f/1.8," "105mm f/1.4," or "135mm f/2" for headshots and close portraits.
Skipping Film Emulation
Film emulation (Kodak Portra, Fujifilm Pro 400H, Ilford Delta) adds grain, color rendering characteristics, and tonal response that are deeply associated with photographic realism. Digital capture without any film simulation looks technically clean but somehow artificial. Film emulation also adds a micro-texture to the shadows that is completely consistent with the kind of texture you want in the skin.
Adding "Kodak Portra 400 film emulation" or "shot on 35mm film, Fujifilm Pro 400H" to your prompts consistently improves the photographic believability of the skin rendering.

Skin Across All Perspectives
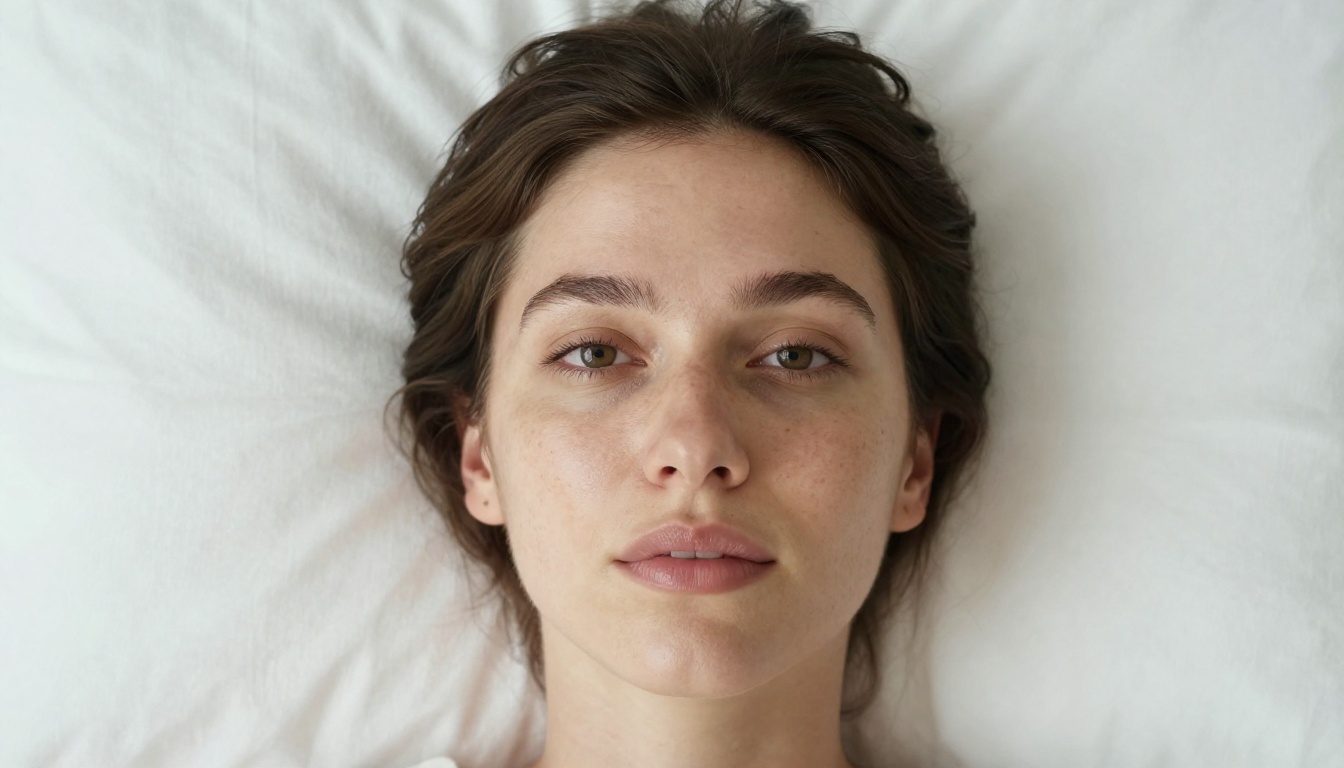
Photorealistic skin matters in more than standard headshots. Aerial overhead portraits, three-quarter views, and environmental portraits all benefit from proper skin rendering, and each brings a different challenge.
In overhead shots, light hits the face from directly above and flattens texture differently than side lighting. Adding "slight side fill light from a window" to an overhead composition gives the skin something to react to, preventing the flat-top look that overhead lighting produces.
In environmental portraits where the face is smaller in the frame, super-resolution becomes even more important. Topaz Image Upscale at 4-6x can bring a face that was small in the original frame up to a size where skin detail is clearly visible.
For deeper skin tones, specific descriptors produce much better results. Seedream 4.5 handles diverse skin tones exceptionally well compared to many other models, but adding guidance like "warm amber highlights on the high planes of the face, cool ashy undertones in shadow areas, subsurface reddish-orange glow visible at the cheek edges and ear" prevents the model from defaulting to a uniformly dark surface without the tonal complexity that real photography captures.
The Portrait Series model on PicassoIA is also worth testing for non-standard portrait compositions, as it is specifically tuned for face-forward compositions with strong identity preservation across varied angles.
Try It Yourself on PicassoIA
Photorealistic skin in AI art is a solvable problem. The path is: pick a model that prioritizes photographic output, write prompts that describe the physical properties of real skin anatomy, light the scene the way a portrait photographer would (directional, not flat), and run your output through a portrait-specialized upscaler before calling it done.
The full model collection at picassoia.com/en/all-models includes Seedream 4.5, Flux Pro Finetuned, Realistic Vision V5.1, and Portrait Series for generation, with Clarity Pro Upscaler and Crystal Upscaler available immediately after for the texture-finishing step.
Generate a portrait. Zoom in to 100%. If you still see real pores, natural imperfections, and micro-skin-relief, you got it right.


