Kling v3 motion control does something that most AI video tools cannot: it lets you define exactly where a body moves, how fast it moves, and when each motion happens across the video timeline. For dance video creators, that changes everything. Instead of regenerating clips 20 times hoping the AI interprets your prompt the right way, you set keyframes, you control the trajectory, and you direct the output like a choreographer who also happens to have an entire CGI studio at their disposal.
This is not about pushing a button and getting lucky. Kling v3 motion control is a precision system. And once you understand how each parameter behaves, creating cinematic dance content goes from frustrating to repeatable. Whether you are producing content for social media, music videos, or creative projects, motion control is what separates professional-looking AI dance videos from generic AI clips.
What Kling v3 Motion Control Actually Does
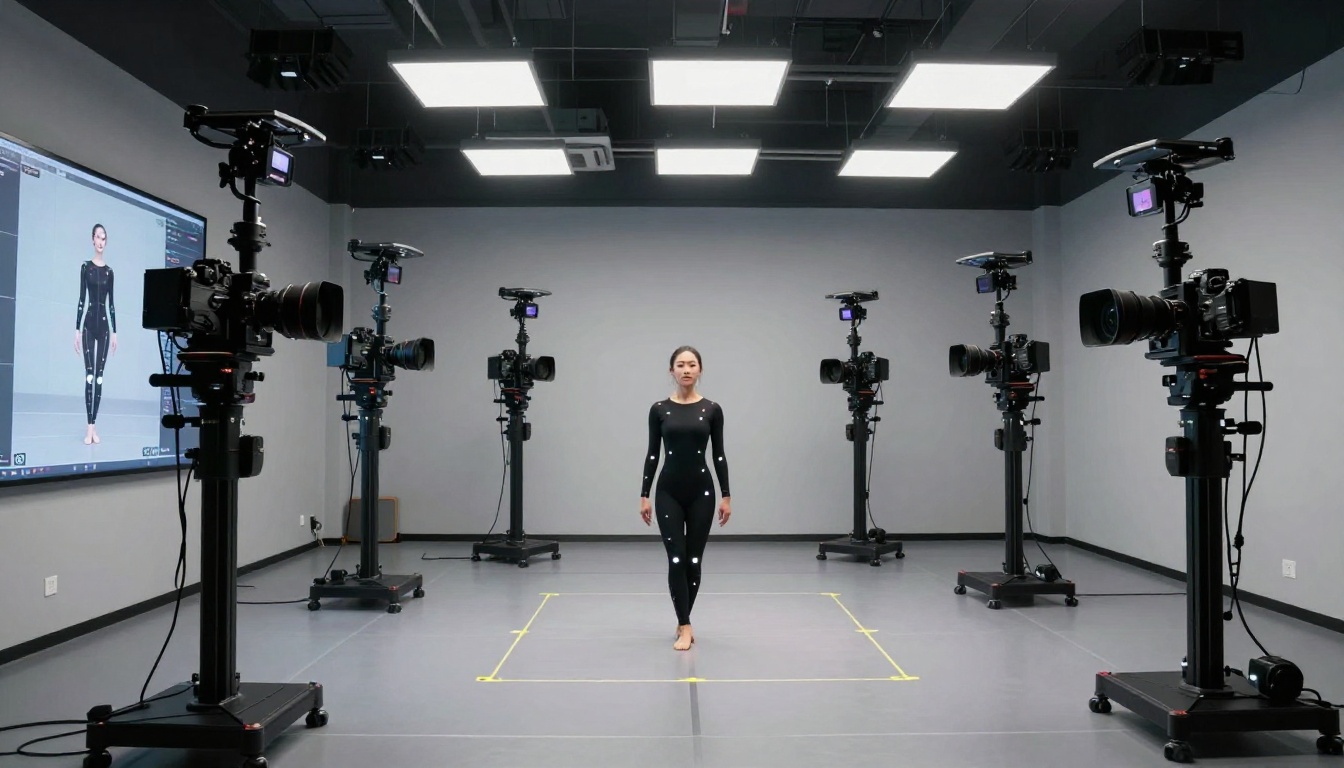
Most text-to-video tools work by interpreting a written prompt and generating motion probabilistically. You describe a dancer spinning and the model decides how that spin looks, at what speed, and in which direction. That approach works for ambient clips or abstract scenes, but it falls apart when you need specific choreography that hits specific positions at specific moments.
Kling v3 Motion Control solves this by introducing a structured motion layer on top of the generation process. You are not just writing a description: you are defining motion paths, setting keyframe positions, and telling the model where a subject's body or limbs should be at specific points in time.
Beyond Simple Prompts
The difference between a standard Kling generation and a motion-controlled one is the difference between directing a dancer with the words "spin fast" versus handing them a choreography sheet. Both approaches produce movement, but only one gives you the specific output you intended.
With Kling v3 Motion Control, you define:
- Motion paths: the spatial trajectory a body or limb follows through the frame
- Keyframe anchors: specific positions at specific timestamps that the generation must respect
- Subject isolation: whether the whole body moves or only selected parts
- Intensity scaling: how dramatic or subtle the movement interpolation appears between keyframes
This is why dance videos benefit so much from this system. Dance is inherently temporal and spatial: it has counts, beats, and positions that must align precisely to look natural.
How Keyframes Drive the Dance
A keyframe in Kling v3 Motion Control works similarly to keyframes in traditional animation software. You place the subject's body in position A at second 0, then position B at second 3, and the model generates the transition between those two states using its understanding of realistic human physics and movement.
The critical insight is that Kling v3 uses a physics-aware interpolation engine trained specifically on human movement data. It does not just morph one image into another. It generates anatomically plausible motion that follows the trajectory you set, which is why arm swings, leg lifts, and torso rotations come out looking natural rather than like morphing transitions.
💡 Pro tip: The fewer keyframes you use, the more the model fills in with its own choreography interpretation. Start with 2-3 keyframes and add more only when the generated motion does not match your vision.
Choosing the Right Dance Reference
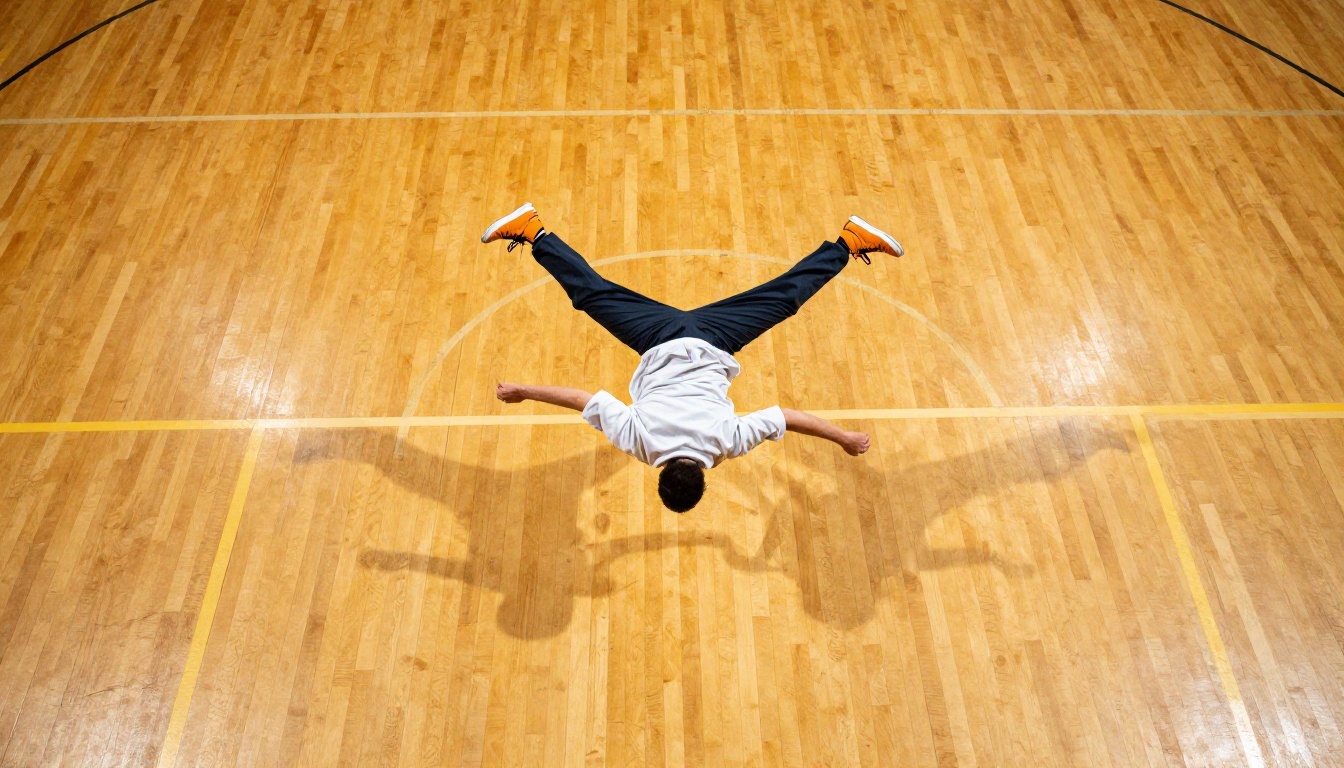
Your source material shapes the quality ceiling of what Kling v3 can produce. The model needs a clear, well-lit starting frame where the dancer's body is fully visible and well-separated from the background.
Video vs. Image as Your Starting Point
You have two paths when working with Kling v3 Motion Control:
-
Image-to-video: You provide a single still image of the dancer as the first frame. The model generates motion forward from that starting pose. This gives you maximum control over the visual style but requires you to define more of the choreography through keyframes.
-
Reference video clip: You provide a short video clip as motion reference. The model extracts the motion data from the reference and applies it to a new subject or setting. This is useful when you want to transfer specific choreography from a real dancer to an AI-generated character or different background.
For most creators building original dance content, image-to-video with keyframe control is the more flexible workflow and the better starting point.
Frame Selection Matters
When using an image as your source, the starting pose matters more than most creators expect. A strong starting frame should show:
- The dancer's full body visible without cropping at the edges
- Clear separation between the dancer and the background
- A neutral or mid-pose position, not the most extreme moment of a move
- Natural, even lighting without heavy shadows obscuring limb positions
Starting from a dramatic peak pose (like a full split or jump apex) limits the motion options because the model has less physical space to build into. Starting from a preparation or neutral stance gives the system more room to generate dynamic movement into the keyframes you define.
Core Motion Parameters Explained
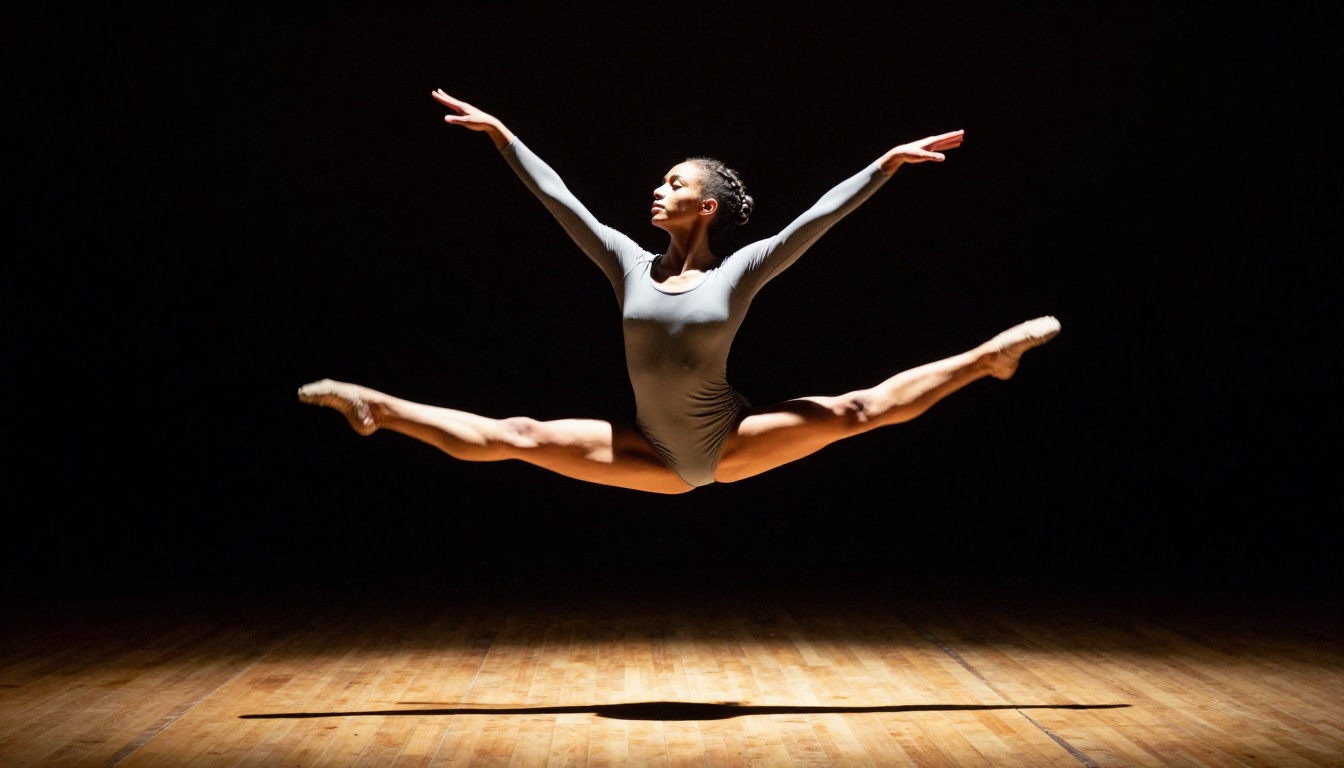
Understanding what each parameter actually controls is the difference between getting usable clips on the first or second try versus spending hours regenerating with vague prompts.
Motion Intensity and Speed
Motion intensity controls how aggressively the system generates movement between keyframes. A low intensity setting produces smooth, slow transitions, while a high intensity setting creates faster, more energetic motion.
For dance videos, match intensity to the genre:
| Dance Style | Recommended Intensity | Notes |
|---|
| Ballet | 45-60% | Preserve fluid grace |
| Hip-Hop | 75-90% | Sharp, percussive transitions |
| Contemporary | 50-70% | Mix of controlled and explosive |
| Salsa | 65-80% | Fast arms, grounded footwork |
| Flamenco | 60-75% | Precision stamping, controlled arms |
Do not confuse motion intensity with playback speed. Intensity affects how the AI generates the interpolated frames between keyframes, not the frame rate of the output.
Subject Lock vs. Free Body
Subject lock pins specific body parts to their keyframe positions while allowing other parts to move freely. This is one of the most powerful features for dance video production because it mirrors how real choreography works: some parts of the body hold while others move.
Practical uses for subject lock in dance:
- Lock the feet while allowing upper body freestyle movement (ideal for hip-hop torso isolations and chest rolls)
- Lock the torso while generating arm and leg choreography
- Lock the head to maintain facial direction while the body moves through a spin
- Full body free: let all joints move, best for continuous spinning or floor work
Without subject lock, the model generates whole-body motion uniformly. With it, you can layer controlled and free elements the same way a choreographer builds isolated body movements into a phrase.
Trajectory and Path Control
The trajectory tool draws the spatial path that a body part or the whole subject will travel through the frame. For a dancer performing a grand jeté (running leap), you would draw an arc trajectory from left to right with a peak in the center of the frame.
💡 Tip: Draw trajectories that follow natural physics. A jump arc should be parabolic, not flat. A spin pivot should be circular. The model performs better when your drawn path matches physically realistic movement.
Trajectories interact with keyframes: the model generates motion that travels along your drawn path AND hits your keyframe positions at the specified timestamps. These two systems work together, so placing a keyframe off your trajectory line will cause the model to reconcile the conflict, often producing unexpected results.
Camera Sync for Dance Videos
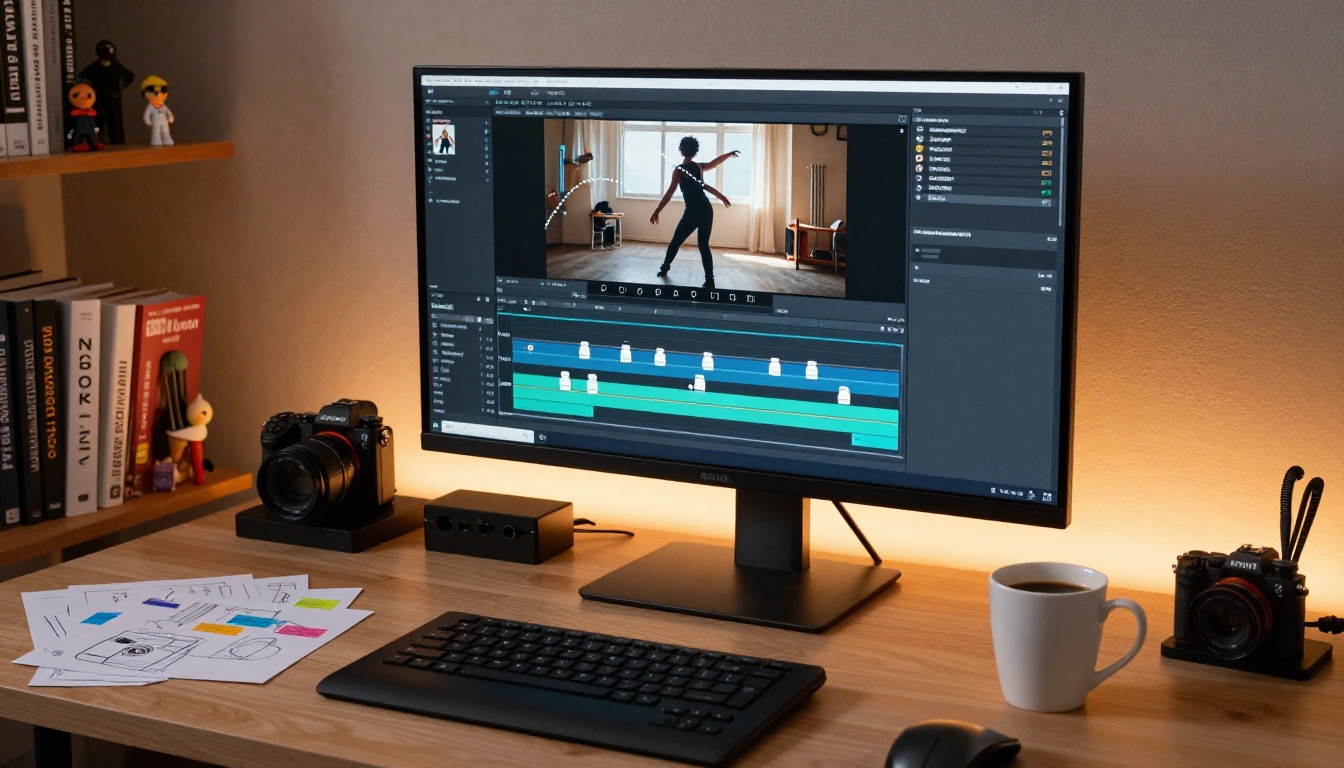
Camera movement is half of what makes a dance video feel cinematic. Kling v3 Motion Control includes camera control parameters that operate independently from the subject motion system, giving you a two-layer directorial setup.
Static vs. Moving Camera
For most dance video work, start with a static camera. A locked camera position lets the dancer's movement read clearly without competing with camera motion. This is particularly important for:
- Technical dance documentation where you want to see the full technique
- Close-up or medium shots where camera movement creates disorienting parallax
- Videos where audio sync or beat matching is the priority
A moving camera becomes valuable when you want a more cinematic, directorial feel. Slow dolly-ins work well with slow contemporary movement. A gentle orbital pan around a spinning dancer creates a dramatic reveal effect. A handheld feel adds energy to street dance and hip-hop content.
Matching Camera Speed to Tempo
When you do use camera movement, the speed of the camera should relate to the energy of the dance. A sweeping camera move during a slow lyrical section feels jarring. A locked camera during an explosive power move can feel static.
A practical rule: the camera should move at roughly 20-30% of the speed of the primary dancer movement. This keeps the camera as a supporting element rather than a competing one. When both the camera and the dancer are moving at full intensity simultaneously, neither reads clearly.
How to Use Kling v3 Motion Control on PicassoIA
PicassoIA gives you direct access to Kling v3 Motion Control without needing API credentials, local GPU setups, or technical configuration. The entire workflow runs in the browser.
Step-by-Step Setup
Step 1: Prepare your source image
Upload a high-quality photo of your dancer or AI-generated character. The image should be well-lit with a clean background. If you need to generate a photorealistic dancer image first, you can use a text-to-image tool on PicassoIA, then bring that generated image into the motion control workflow.
Step 2: Open the Motion Control interface
Navigate to Kling v3 Motion Control on PicassoIA. Upload your source image. The interface displays the image with an overlay grid and motion control tools along the sides.
Step 3: Define your keyframes
Click on the timeline to add keyframe markers. For a 5-second clip, start with keyframes at 0s, 2s, and 5s. Position the subject's body at each keyframe using the pose overlay controls.
Step 4: Draw motion trajectories
Use the trajectory tool to draw the path of movement for the primary body or specific limbs. Keep paths smooth and physically plausible. Avoid sharp corners or direction reversals unless the dance specifically calls for them.
Step 5: Set motion intensity
Adjust the intensity slider based on your dance style. Start at 60% for most genres and adjust after seeing the first generation output.
Step 6: Configure camera settings
For your first test, keep the camera locked at static. Only add camera movement once the subject motion is satisfying on its own.
Step 7: Write your motion prompt
Add a text prompt that describes the dance style and energy: "hip-hop dancer performing an isolated chest wave, smooth and rhythmic, natural studio lighting." The prompt supports and reinforces your keyframe definitions; it does not override them.
Step 8: Generate and iterate
Run the generation. The first output is your calibration clip. Review it, identify where the motion deviates from your intent, and adjust keyframe positions or intensity accordingly. Each iteration sharpens your results.
Optimal Settings for Each Dance Style
| Dance Style | Intensity | Camera | Keyframes | Subject Lock |
|---|
| Ballet | 45-60% | Static or slow dolly | Every 2 seconds | Head locked |
| Hip-Hop | 75-90% | Static | Every 1 second | Feet locked |
| Contemporary | 50-70% | Slow orbital | Every 2-3 seconds | None |
| Salsa | 65-80% | Static | Every 1.5 seconds | Torso locked |
| Flamenco | 60-75% | Static close-up | Every 1 second | Feet locked |
4 Dance Styles That Get the Best Results
Hip-Hop and Street Dance
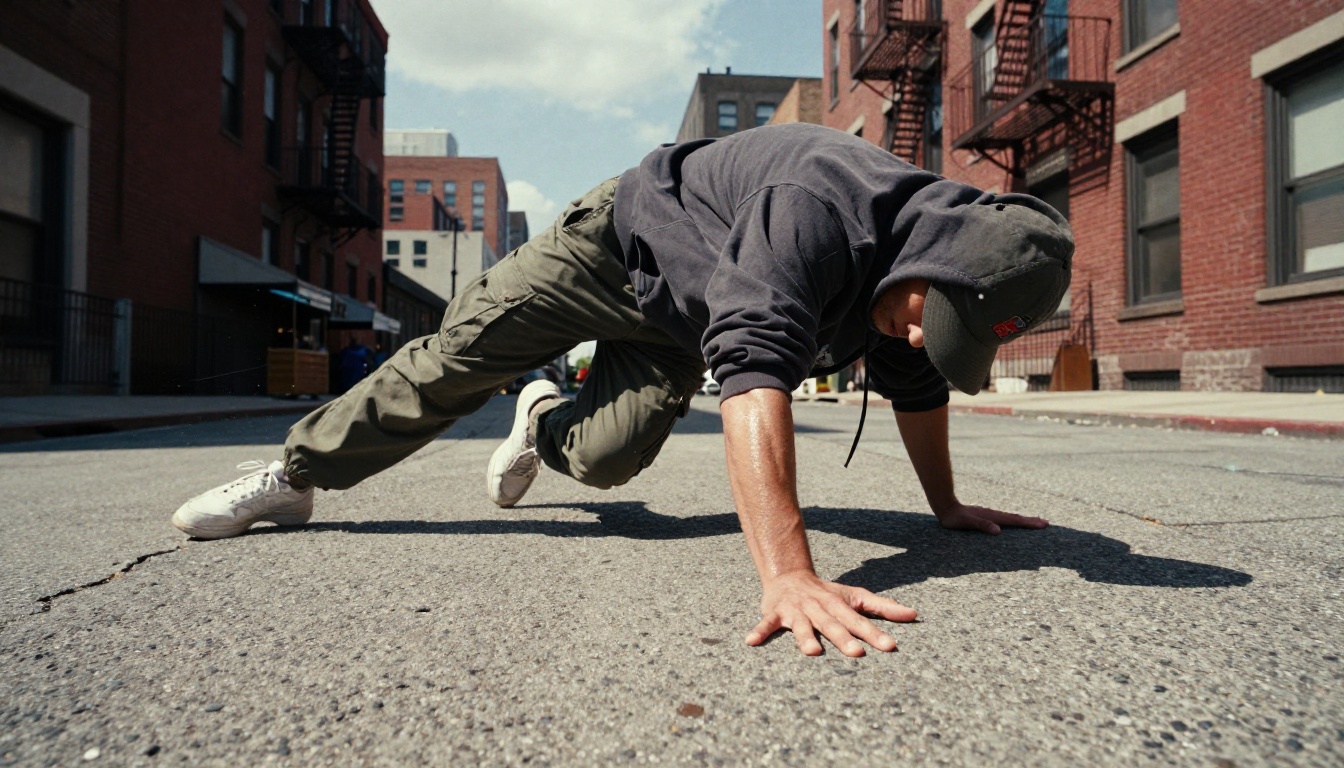
Hip-hop is where Kling v3 Motion Control performs exceptionally well because the style relies on sharp, discrete positions connected by fast transitions. Popping, locking, and breaking all have clear "hit" positions that map naturally to keyframes.
For freezes and power moves, use high intensity with feet locked and hands placed at keyframe positions. The model's physics engine handles the transitions between those positions with impressive accuracy for ground-contact moves like headspins and windmills.
Street dance also benefits from an urban background rather than a neutral studio. Generate your source image with an appropriate setting and the motion control workflow will respect that environmental context through the generated clip.
If you want to animate a static photo of a real dancer or character into a hip-hop clip, the Kling Avatar v2 model on PicassoIA is worth testing as an alternative workflow that specializes in face and character animation from portraits.
Ballet and Contemporary
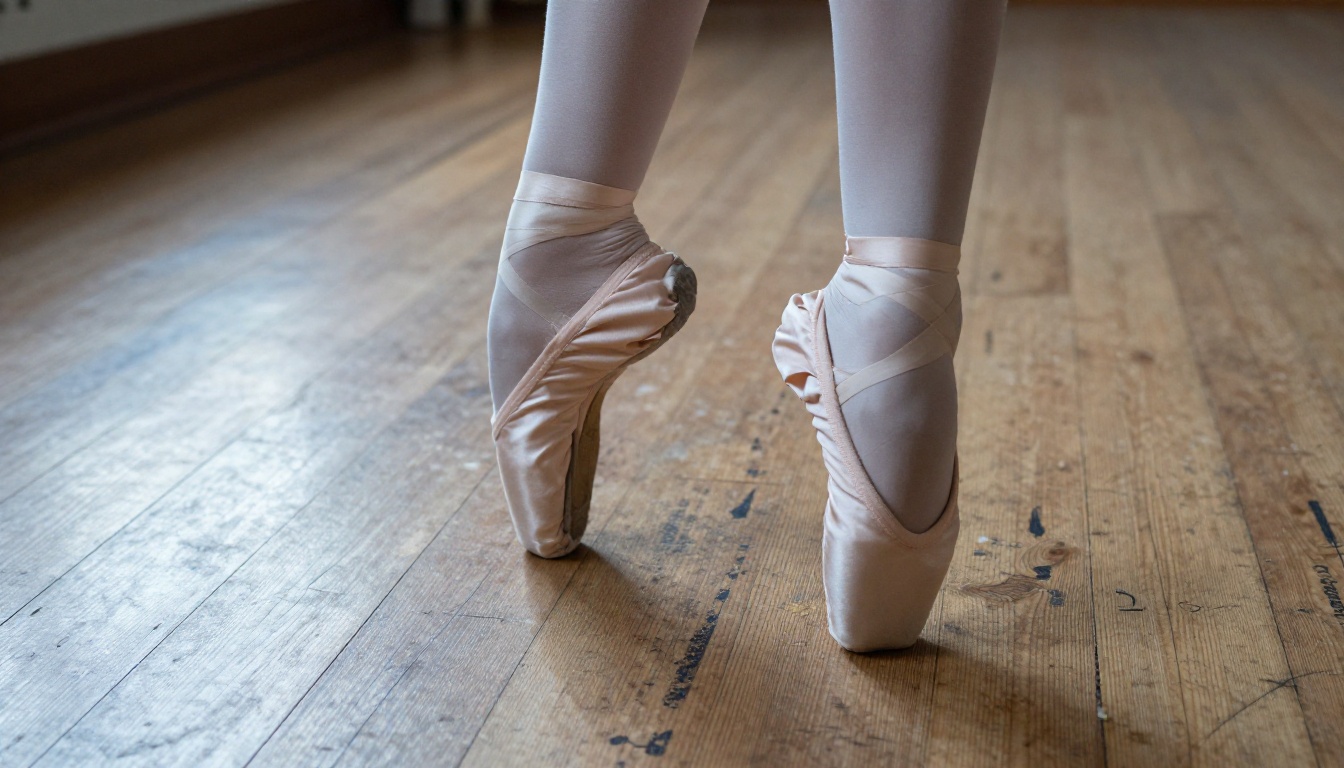
Ballet and contemporary movement require lower intensity settings to preserve the flowing, connected quality that defines these styles. Hard keyframes at high intensity produce stiff output for ballet. Instead, use fewer keyframes with wider time spacing and let the model fill in the sustained, smooth movement between them.
For extended leg lifts and arabesques, draw a gentle curved trajectory for the raised leg rather than specifying exact positions at every frame. The model responds well to arc trajectories for limb extensions and generates anatomically believable muscle engagement through the motion.
Contemporary dance benefits from mixed intensity across the timeline: start a phrase at low intensity for the slow preparation, then raise intensity for the explosive moment. You can layer this by setting intensity values at different keyframe timestamps.
For longer contemporary phrases beyond 5 seconds, consider Kling v2.1 Master which supports longer clip durations, or chain multiple 5-second motion-controlled clips using Seedance 2.5 for seamless continuation.
Salsa and Latin Movement
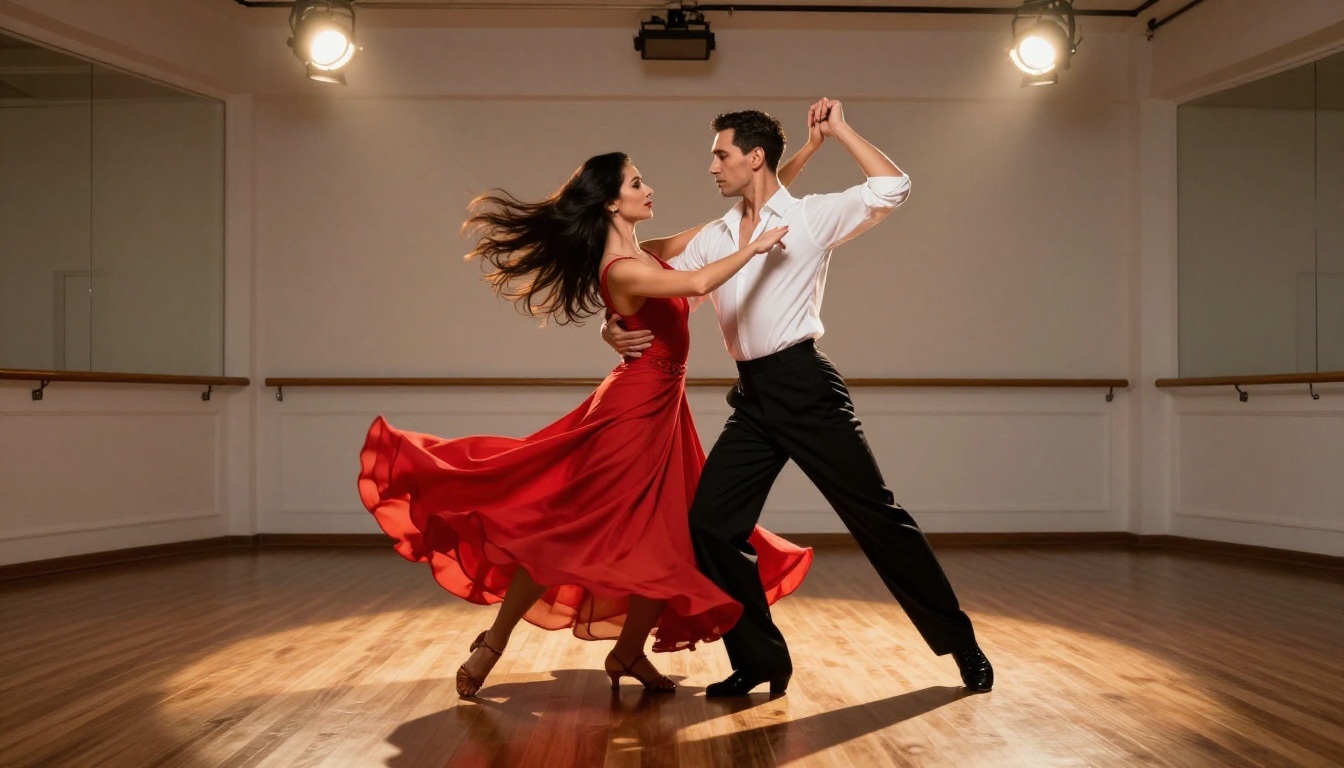
The rhythmic complexity of salsa, bachata, and other Latin forms makes timing your keyframes to musical count critical. Salsa follows an 8-count phrase: place keyframes at count 1 (main step), count 3 (weight shift), count 5 (direction change), and count 7 (preparation). This gives the model clear markers for the rhythmic structure and produces timing that feels musically connected.
For couple movement in salsa, the most effective approach is generating each dancer separately and compositing them in post-production, rather than trying to control two subjects simultaneously in a single generation. Motion control for two bodies in one frame multiplies the complexity significantly.
The Wan 2.7 I2V model on PicassoIA is also worth testing for Latin dance content, as it handles continuous rhythmic looping motion effectively for shorter phrase clips where you want natural repeat-friendly motion.
Flamenco and World Styles
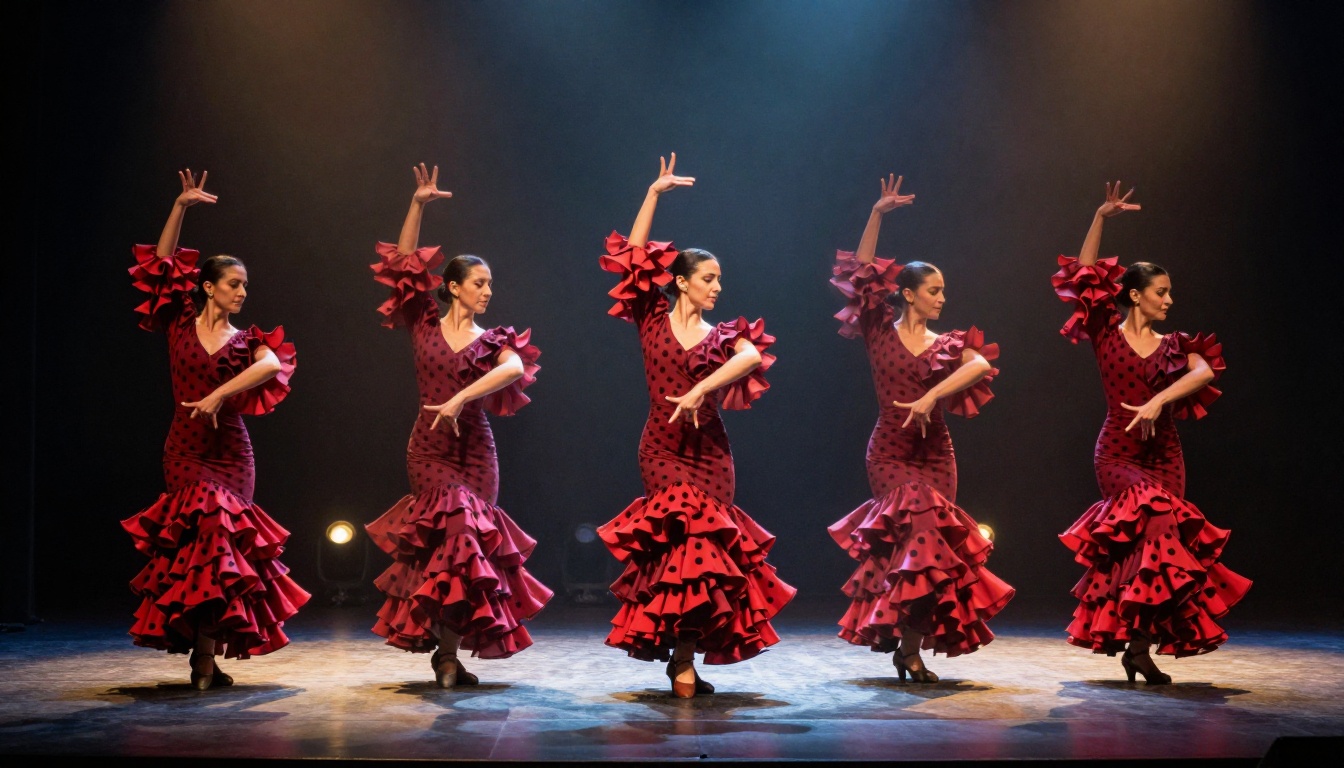
Flamenco's combination of precise footwork and dramatically expressive arm movements requires layered control. Lock the feet to define stamp timing and let the arms move freely, or place arm keyframes at the peak positions of each arm phrase.
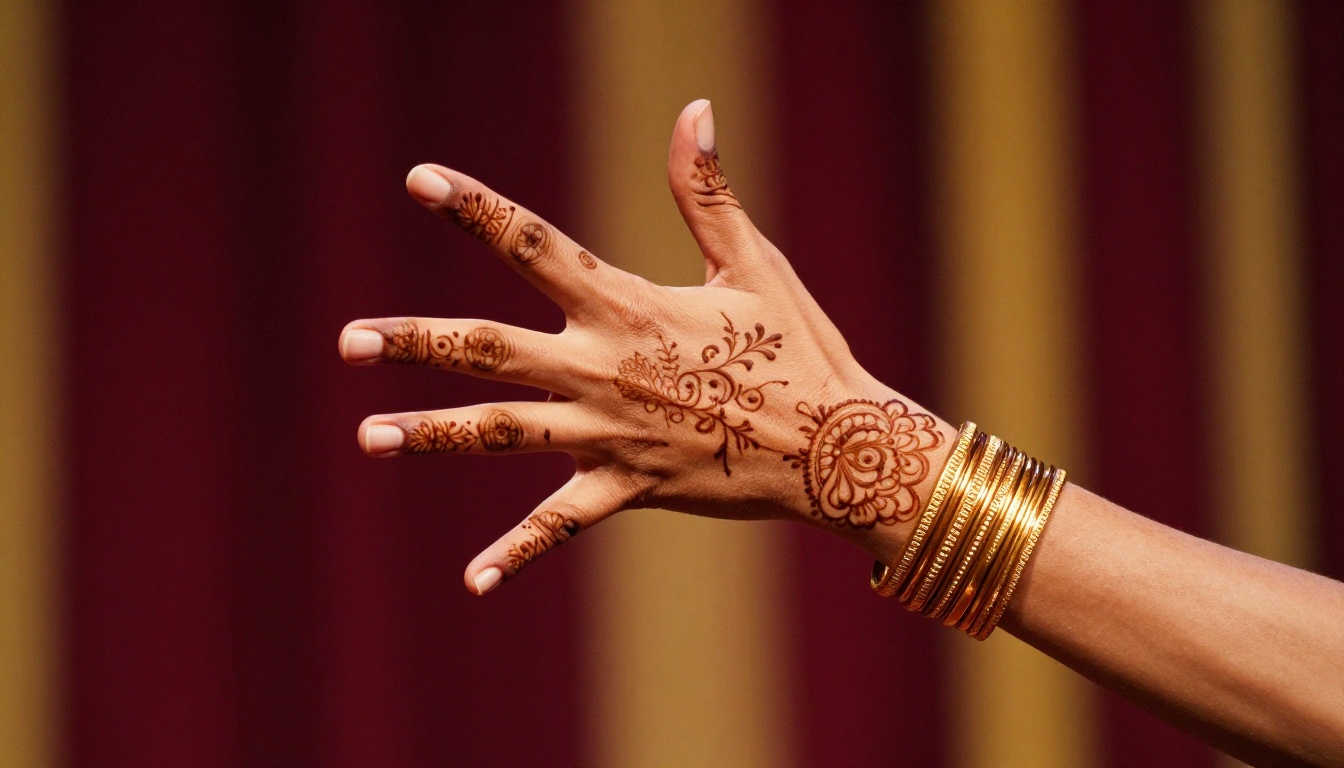
For world dance styles with hand and finger articulation (Indian classical, Middle Eastern, West African), the motion control system benefits from close-cropped source images where hand position is clearly visible. The model generates finger and hand detail more accurately when those elements are large in the source frame.
💡 For any world dance style: describe the specific tradition in your text prompt. "Bharatanatyam dancer performing a mudra sequence" gives the model cultural and aesthetic context that significantly improves the output quality compared to a generic "dancer" prompt.
For character-driven world dance content, Dreamactor M2.0 on PicassoIA offers an alternative animation pipeline optimized for culturally specific character expression and costume rendering.
Fixing Common Output Problems
Motion Feels Robotic
Robotic motion is almost always caused by too many keyframes placed too close together in time, or motion intensity set too high for the style. The model generates each transition as a sharp, discrete move rather than a flowing phrase.
Fix: Remove every other keyframe and reduce intensity by 15-20%. If the problem persists, check whether your trajectory paths have sharp angles or corners. Smooth, curved trajectories produce fluid motion; angular paths produce mechanical-looking transitions.
Also revisit your text prompt. Including phrases like "fluid movement," "organic flow," or "continuous motion phrase" reinforces the smooth motion you want and counteracts any rigidity introduced by a heavy keyframe setup.
For dance styles where smoothness is non-negotiable, Kling v2.6 Motion Control uses a slightly different interpolation approach that some creators find produces more naturally fluid transitions for slow, sustained movement, making it worth a comparison test against v3.
Drift, Jitter, and Flickering
Drift happens when the subject gradually moves away from where you intended, often because the trajectory path has ambiguous direction in the middle section. Jitter and flickering usually appear when motion intensity is too high relative to the spatial distance between keyframes.
Fix for drift: Add a midpoint keyframe to anchor the position at the halfway mark. This gives the model a clearer spatial target to aim toward and eliminates the ambiguity that causes drift.
Fix for jitter: Reduce intensity by 10% and increase the time spacing between keyframes. Jitter typically appears when the model is trying to generate very fast motion in a very short time window.
💡 Quick diagnostic: If jitter appears in the first 0.5 seconds, the problem is usually the starting pose in your source image. The subject's body position in the source image conflicts with the first keyframe you defined. Adjust your first keyframe to match the source image pose more closely.
Fix for flickering: Flickering between frames usually means the background or clothing has inconsistent generation. Adding more specific background description to your text prompt stabilizes the environmental elements that are not part of the motion path.
Create Your Own Dance Videos on PicassoIA
The combination of Kling v3 Motion Control and the broader PicassoIA platform puts a serious production capability in your hands without requiring any technical setup or expensive hardware.
Beyond Kling, the platform gives you access to Seedance 2.5 for longer-form video generation with native audio sync, Kling v3 Video for prompt-driven cinematic video without motion control, and Kling v3 Omni Video for text-to-1080p generation when you want maximum resolution.
For creators who want to go beyond single clips, Video 01 Director allows camera movement control for cinematic framing, while Pixverse v6 and Veo 3 offer alternative generation pipelines with native audio, useful when you want the final clip to carry ambient sound or synchronized music.
The most effective way to build skill with motion control is to start with a single 5-second clip from a familiar dance style. Define three keyframes, run the generation, then compare the output to your intent. Each iteration teaches you how the model responds to your specific inputs, and within a few sessions the workflow becomes fast and predictable.
All of these tools are available directly on PicassoIA. No download, no local GPU, no subscription tiers to navigate. Pick your dance style, set your keyframes, and start generating.


