You have a photo of a character and a ten second clip of someone dancing, walking or throwing a kick. You want the character in the photo to move exactly like the person in the clip, with no animation software and no motion capture suit. That is the whole idea behind Kling Motion Control 3.0, and it works better than most people expect on the first try.
This article walks through what the model does, how to choose a reference image, how character change works in practice, which examples are worth copying, and how to run it online in a few minutes. Every model mentioned here links to its page so you can open it and test while you read.
What Kling Motion Control 3.0 Does
Image Plus Video Equals Clip
Motion control is a different job from ordinary text to video. You do not describe an action in words and hope the model guesses it. You hand it two real assets:
- A reference image that decides who or what appears: face, outfit, hair, background, proportions.
- A reference video that decides how the body moves: timing, rhythm, gestures, weight shifts.
The model reads the movement in the video and applies it to the person in the image. The result is a new clip where your character performs the original action with the original timing. The look comes from the picture and the performance comes from the footage.
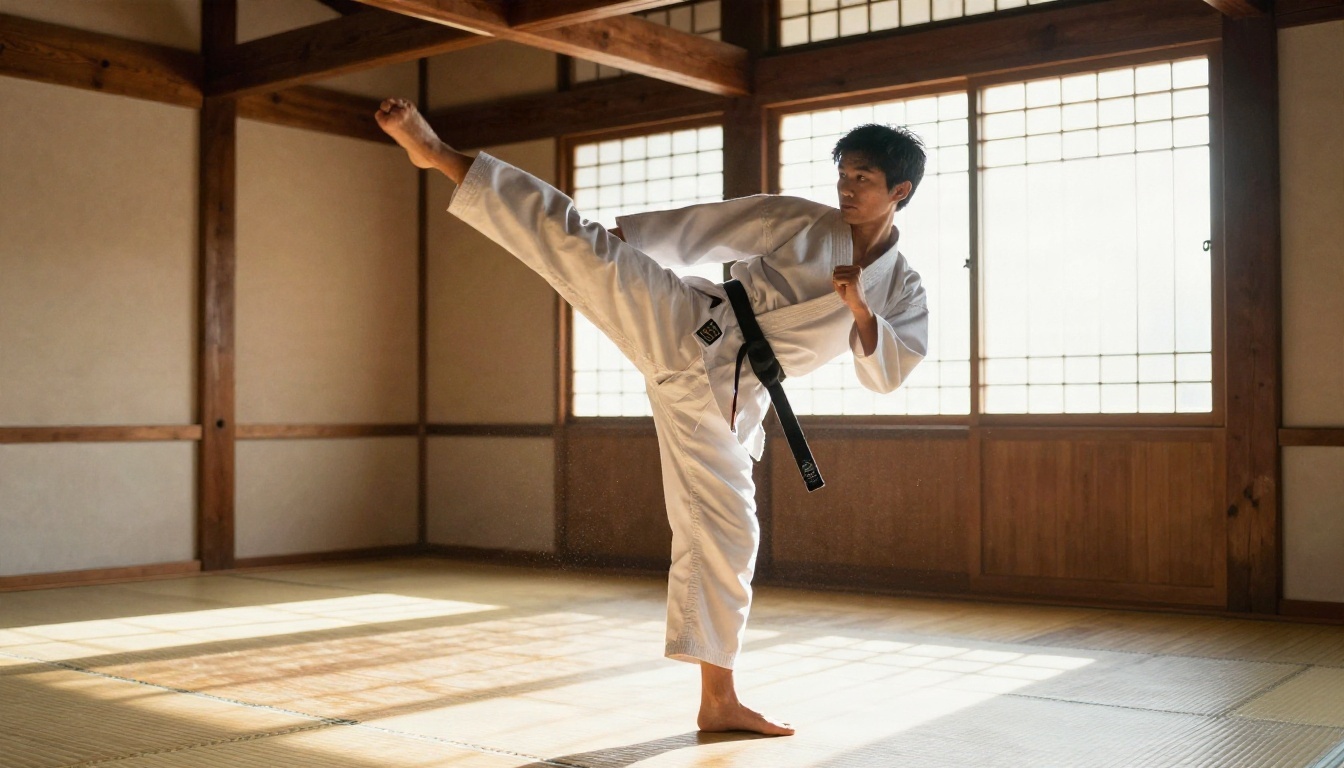
A clip like the dojo kick above is a good example of a motion reference. The pose is big and readable, the body is fully in frame, and the camera does not move. Any character image you pair with it will inherit the kick, including the swing of the sleeves and the way the weight shifts onto the standing leg.
On PicassoIA this lives in Kling v3 Motion Control, which accepts an image, a video, an optional text prompt, and a few output settings.
What Changed From Version 2.6
The previous release, Kling v2.6 Motion Control, already handled the basic transfer. Version 3.0 is aimed at the problems people complained about most. According to the research I did before writing this, the main gains are:
- Steadier facial identity. The face holds together better across the clip, including moments when a hand or a prop passes in front of it.
- Better element binding. The web interface of Kling lets you attach more than one reference image, while the API takes a single image per request.
- Longer clips. Depending on orientation, output can run from a short 10 second clip up to 30 seconds.
Motion control also requires an image. It does not work as a pure text to video mode, so if you only have a prompt, use Kling v3 Video or Kling v3 Omni Video instead.
💡 Quick rule: if you need a specific person to do a specific movement, use motion control. If you need a scene invented from scratch, use a text to video model.
Choosing the Reference Image
Framing and Pose Rules
The reference image is the single biggest factor in quality. A weak photo produces a weak clip, no matter how good the motion video is.
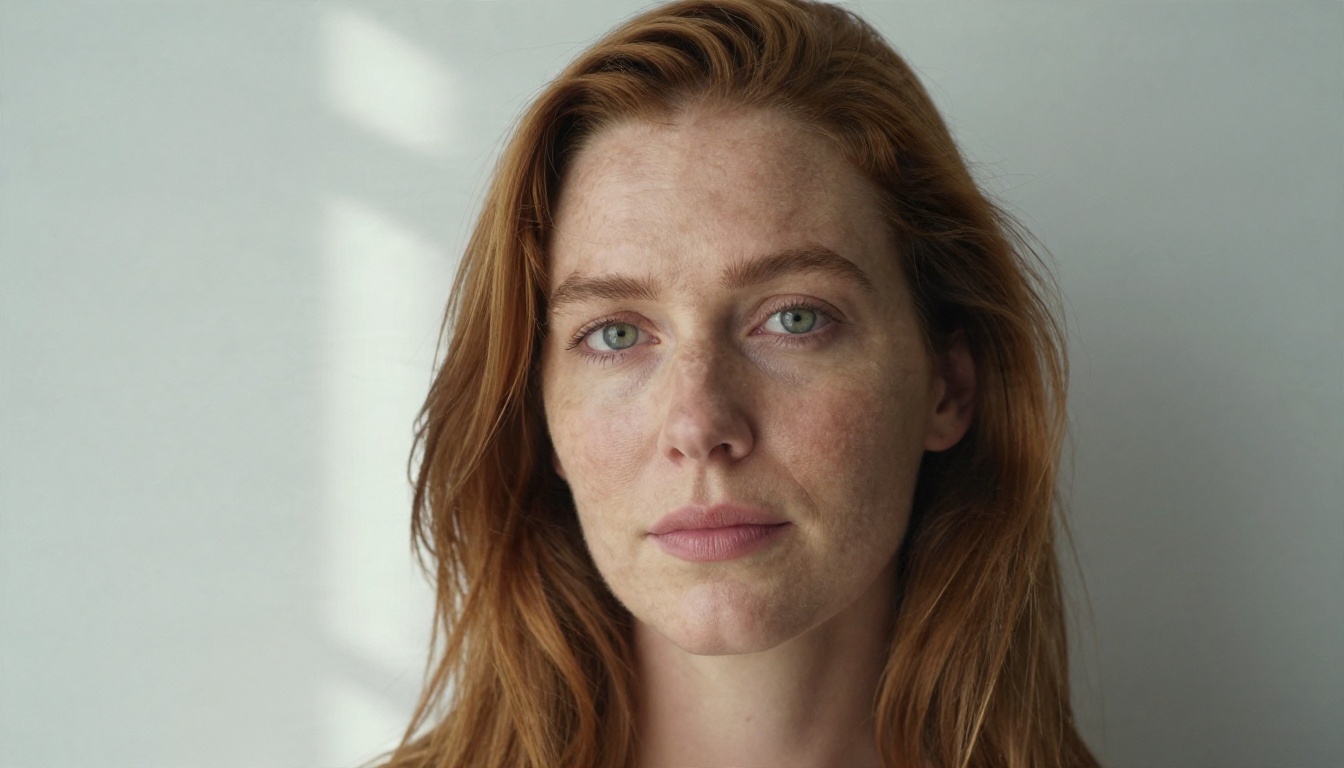
A portrait like this one is easy for the model to read: even light, a visible face, clear shoulders, nothing hiding the hairline. Use these rules when you pick or create your own:
- Show the face clearly. No sunglasses, no heavy shadow across the eyes, no hand covering the mouth.
- Match the framing of the motion video. If the reference clip is a full body dance, give the model a full body image. If the clip is a head and shoulders talking shot, use a head and shoulders photo.
- Keep a neutral pose. Arms relaxed at the sides or lightly bent works best. A photo with arms already crossed fights the movement it is about to receive.
- Pick a simple background. The background in the image becomes the background of the video, so a calm one gives fewer artifacts.
- Use sharp, well lit photos. Blur in the input turns into mush in the output.
If you do not have a suitable photo, generate one. Nano Banana Pro and Seedream 4.5 both produce clean, photorealistic character portraits that work well as inputs.
Size and Format Limits
These are the limits listed for the model on PicassoIA:
| Input | Accepted formats | Limits |
|---|
| Reference image | JPG, JPEG, PNG | Up to 10 MB, 340 px to 3850 px per side, aspect ratio between 1:2.5 and 2.5:1 |
| Reference video | MP4, MOV | Up to 100 MB, 3 to 30 seconds depending on orientation |
| Output | MP4 | 720p in Standard mode, 1080p in Professional mode |
Stay well inside these limits. A 2000 px image is plenty, and a 6 second motion clip is easier to follow than a rambling 25 second one.
Picking a Motion Reference Video
Clips That Work Best
The motion video is your choreography. The model copies what it sees, so a clean source gives you a clean result.
- One person, fully visible. Crowds and cropped limbs confuse the tracking.
- Steady camera. A locked off or gently moving shot is better than handheld shake.
- Readable movement. Large gestures, dance steps, walks, turns and kicks transfer well. Tiny finger movements usually get lost.
- Good light and contrast. The performer should stand out from the background.
- No sudden cuts. A hard edit in the middle of the clip breaks continuity.
💡 You can film the reference yourself on a phone. A friend walking across a room is a perfectly good motion source, and you own the rights to it.
Orientation: Image or Video
The character_orientation setting decides whose facing direction wins, and it also sets the maximum length.
| Setting | Character faces like | Max clip length | Best for |
|---|
| image | The person in your photo | 10 seconds | Short social clips, portraits, loops |
| video | The performer in the motion clip | 30 seconds | Long choreography, walking shots, turns |
Choose image when the character should keep facing the way the photo shows. Choose video when the reference includes spins or camera facing changes that the character must follow. If you plan to bind extra elements, the video orientation is the one that supports it.
Character Change Explained
Swapping Who Performs the Motion
"Character change" is the most popular use of motion control. You keep the same movement and replace the person doing it. One recorded performance can star a dozen different characters.
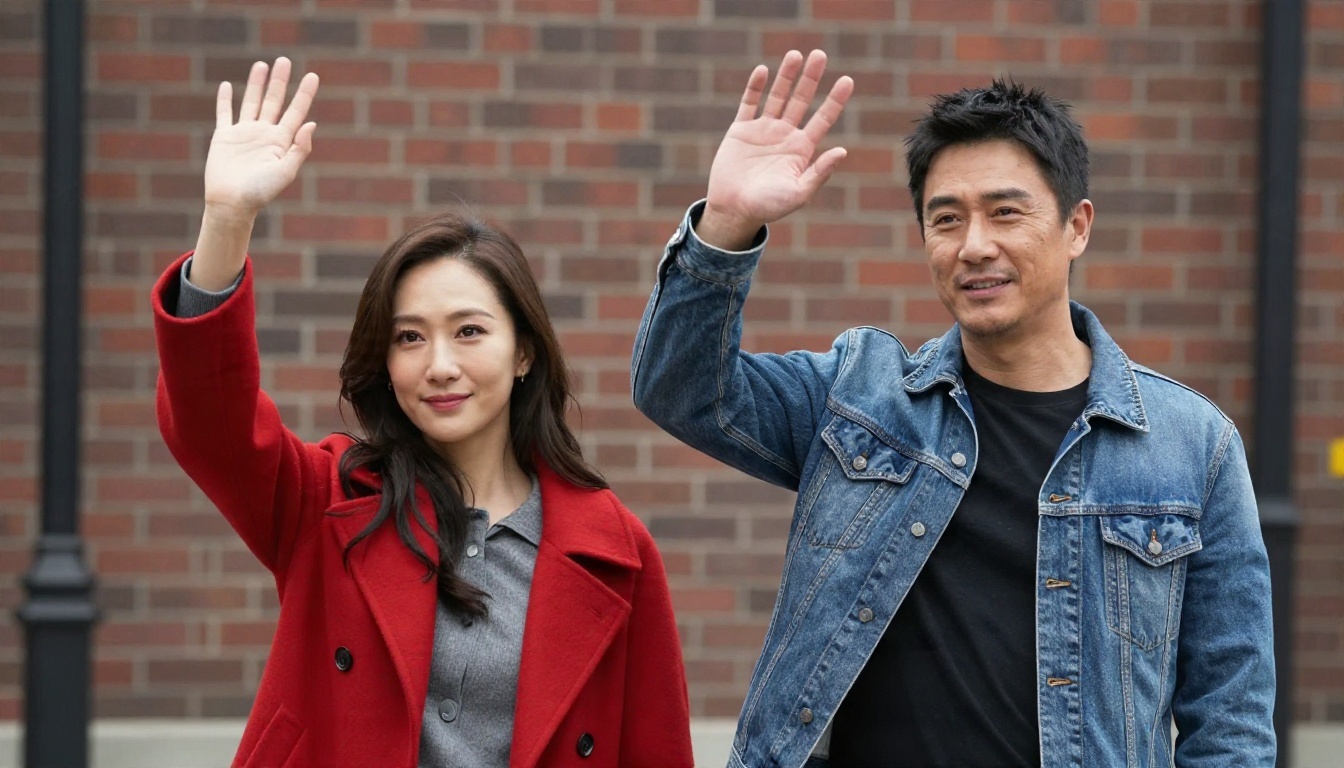
Think of it like the image above: two different people, one identical gesture. In a motion control workflow the performer in your video is not pasted over. Instead, the model rebuilds the movement on the body shown in your image. That means:
- The outfit, hair and skin of the image are what you see in the result.
- The timing and gestures of the video are what the character does.
- Body proportions are adapted, so a tall performer can drive a shorter character.
A practical way to use this is to record yourself once and make several versions. A brand mascot photo, a stylized portrait, an actor headshot and a historical figure image can all deliver the same line with the same hand gestures.
Keeping the Face Stable
Face drift is the most common complaint in any character animation tool. The identity slides slightly from frame to frame, and the viewer senses something is off.
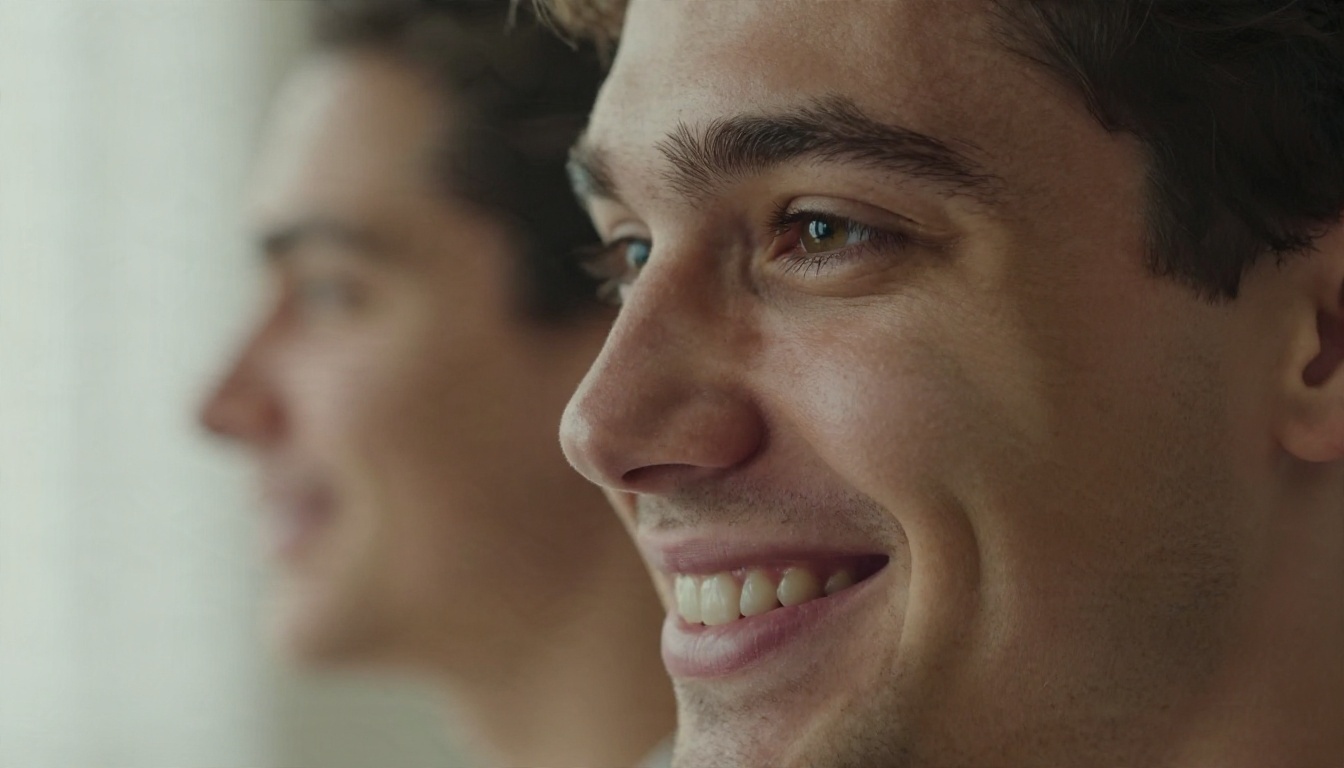
Version 3.0 improves this, but your inputs still matter. These habits reduce drift:
- Use a high resolution face in the reference image, not a tiny face in a wide shot.
- Avoid reference videos where the performer's head turns away from the camera for long stretches.
- Keep the performer's head size in the video similar to the head size in the image.
- Leave the text prompt short. A long prompt that describes a different face fights the image.
- Generate a short test first. If the face holds for 5 seconds, extend the clip.
Examples You Can Copy
Street Dance for Social
The most shareable use is a dance clip. Take a short choreography video, pair it with a stylish portrait, and publish a vertical clip where your character nails the moves.
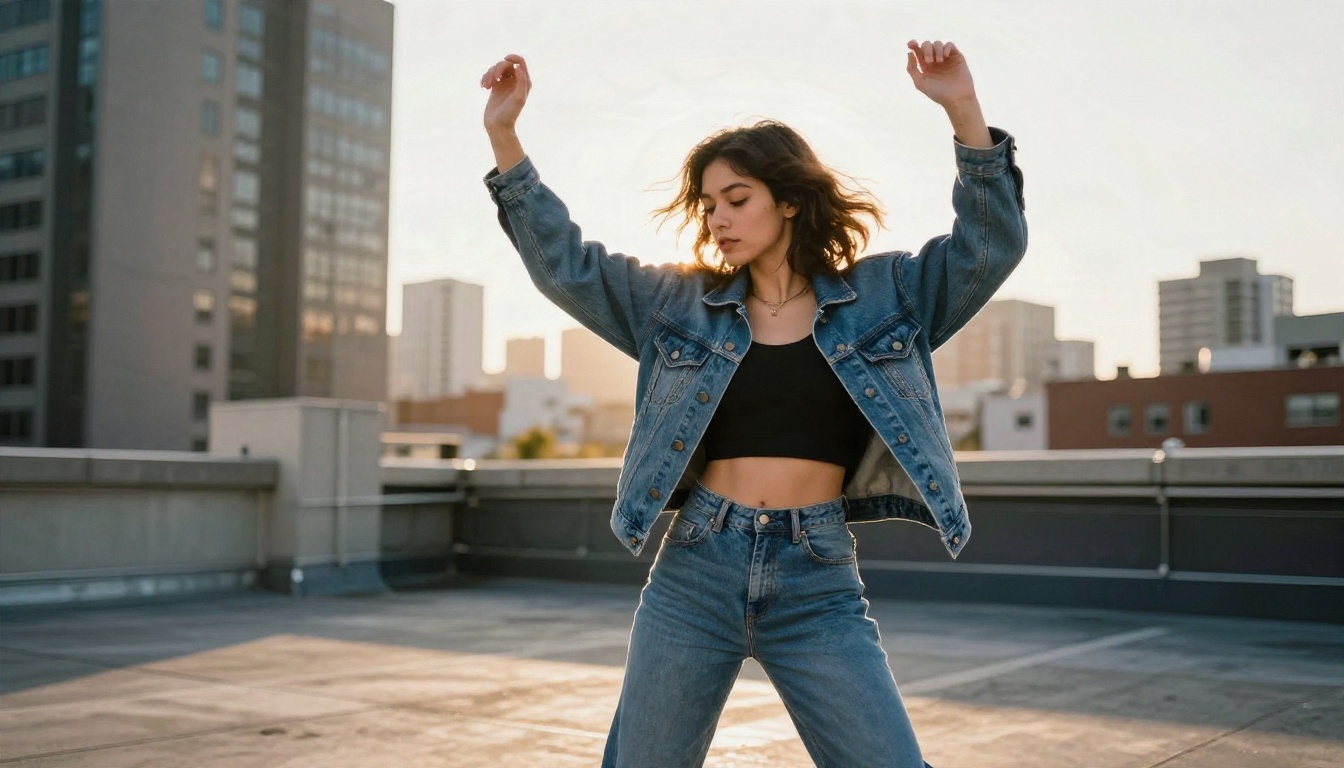
Setup: full body image on a simple background, a 7 to 10 second dance clip, orientation set to image, Professional mode for the final render. Add a short prompt such as "golden hour rooftop, warm light" if you want to shift the atmosphere without changing the character.
Walking Shots for Brand Content
A confident walk is harder to fake than it looks. Animating a character's stride by hand takes a lot of time, but with a filmed walk as the reference, the character picks up the gait, the arm swing and the shoulder movement directly.
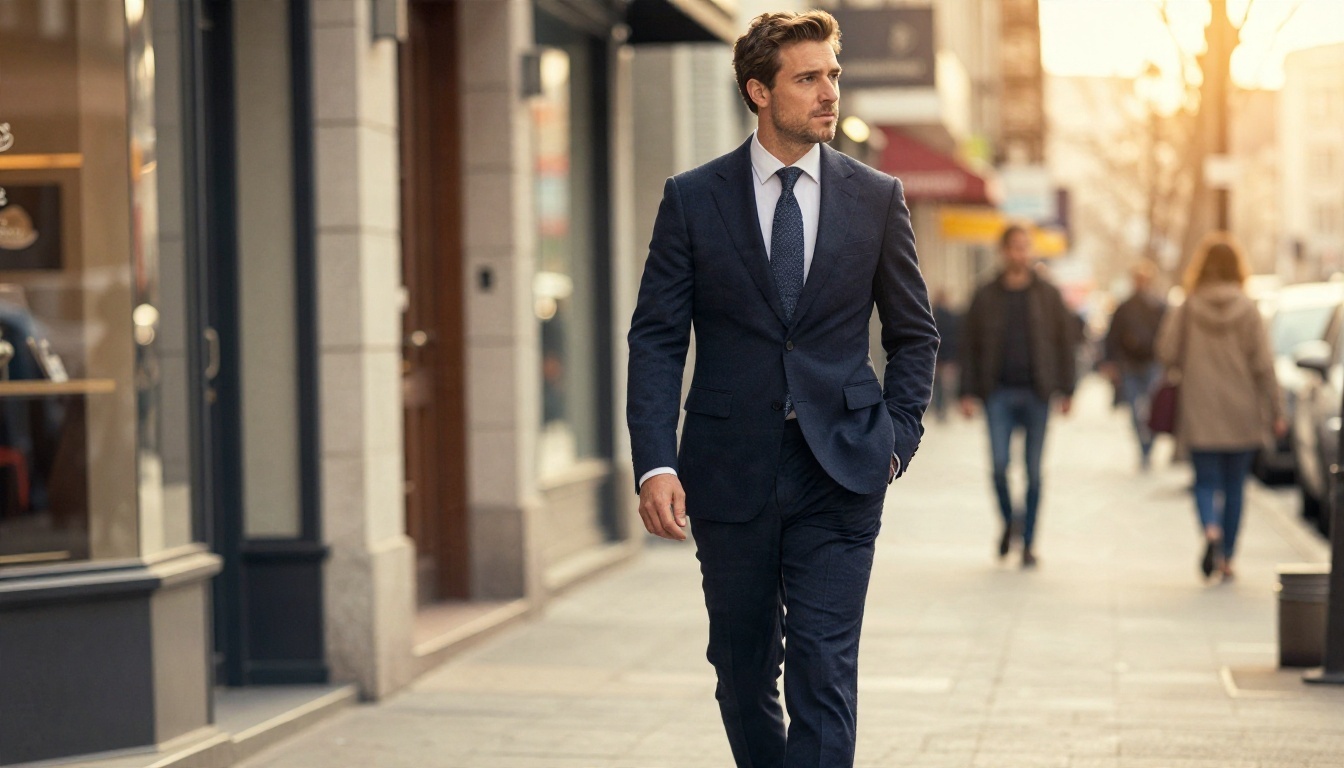
Setup: a three quarter or full length image, a 10 to 20 second walking reference, orientation set to video so the longer clip is possible. This pattern suits fashion, real estate intros and corporate explainer videos.
Product Poses for Marketing
Marketing teams use motion control to put one model, one mascot or one avatar into dozens of branded clips without rebooking a shoot. Record the movement once with a colleague, then apply it to every character in the campaign.
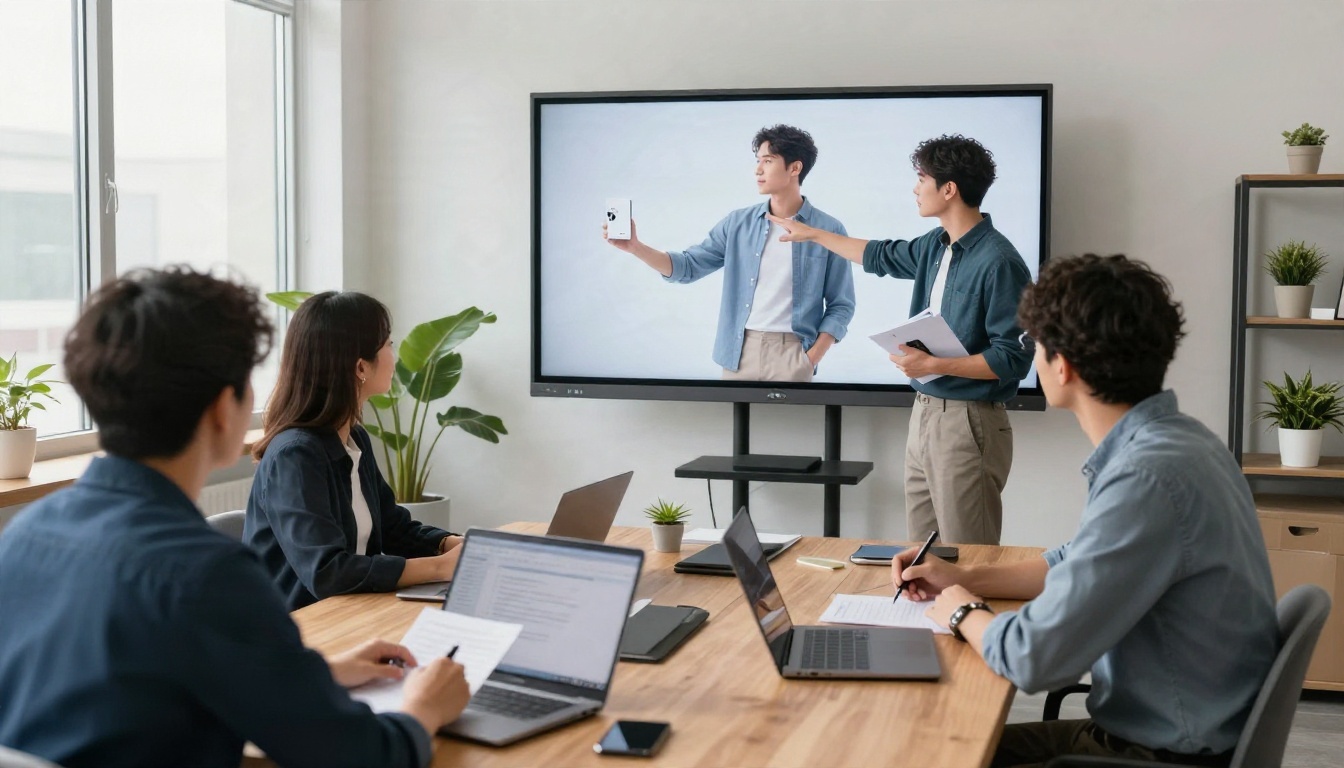
For client work, render in Professional mode for 1080p and keep the original sound toggle off if you plan to add your own music or voice over. If you need a voice, Chatterbox can create one that you place under the clip.
Quick Comparison of Use Cases
| Use case | Motion source | Reference image | Orientation | Mode |
|---|
| Dance clip | Short choreography | Full body portrait | image | Pro |
| Brand walk | Filmed stride | Full length photo | video | Pro |
| Talking head | Phone selfie video | Head and shoulders | image | Std for tests |
| Product pose | Studio demo | Model or mascot | image | Pro |
How to Use Kling v3 Motion Control on PicassoIA
Running it online takes a few minutes and needs no install. Open the Kling v3 Motion Control model page and follow these steps.
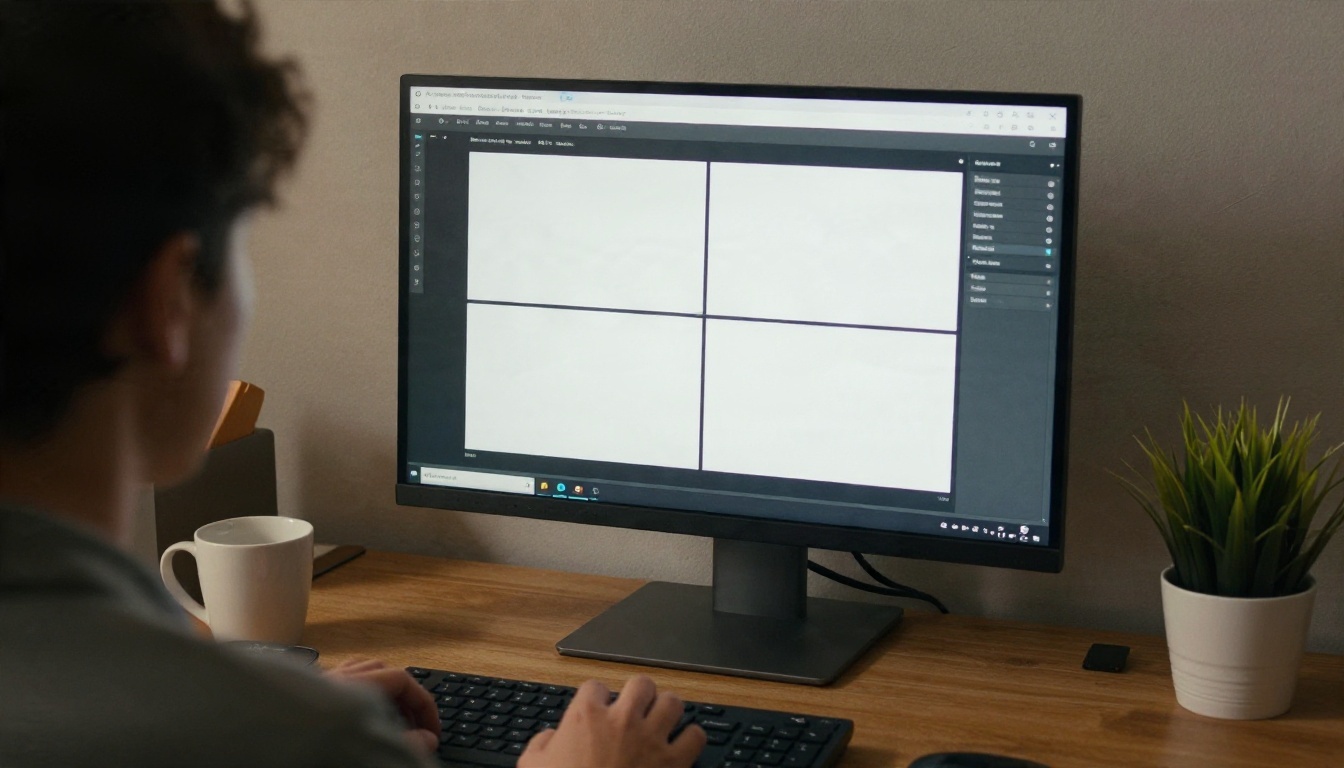
Step by Step
- Upload the reference image. Choose a clean JPG or PNG of your character, under 10 MB.
- Upload the reference video. Use an MP4 or MOV between 3 and 30 seconds with one clearly visible performer.
- Choose the mode. Start with std (720p) for a quick, cheaper test. Switch to pro (1080p) once the motion looks right.
- Set character orientation. Use image for clips up to 10 seconds, or video for clips up to 30 seconds.
- Decide on sound. Leave Keep Original Sound on to retain the audio of your reference clip, or turn it off for a silent clip you can score later.
- Add a short prompt (optional). Describe the setting or mood in one sentence. Keep identity details out of it.
- Generate and review. Watch the face, the hands and the feet first. Those are where errors appear.
Settings Worth Knowing
| Setting | Options | Practical advice |
|---|
| mode | std, pro | Test in std, deliver in pro |
| character_orientation | image, video | image for short clips, video for long ones |
| keep_original_sound | true, false | Turn off if you add your own audio |
| prompt | free text | One sentence, scene and mood only |
💡 Test with the cheapest option first. A 5 second std render tells you almost everything about face stability and motion accuracy before you commit to a long pro render.
Alternatives for Other Jobs
If motion control is not the right tool for your project, these models on PicassoIA cover neighbouring tasks:
Fixing Common Problems
Most failed renders come from a handful of causes. Here is a quick diagnosis table.
| Problem | Likely cause | Fix |
|---|
| Face looks different mid clip | Small or shadowed face in the image | Use a sharp, front facing portrait |
| Limbs bend strangely | Performer partly out of frame in the video | Pick a clip with the full body visible |
| Character faces the wrong way | Wrong orientation setting | Switch between image and video |
| Clip ends too early | Orientation is set to image | Use video orientation for up to 30 seconds |
| Background flickers | Busy background in the image | Use a plain or softly blurred background |
| Hands look messy | Fast finger movement in the source | Choose slower, bigger hand gestures |
| Unwanted audio | Original sound is on | Turn off Keep Original Sound |
Three habits save the most time. First, always render a short test before the final clip. Second, match the framing between image and video. Third, change one variable at a time, so you know which input caused the improvement.
Try Your Own Character Clip
Motion control rewards people who experiment. You do not need an animation background, a studio or an expensive camera. You need one good portrait, one short video of a real movement, and ten minutes.
Here is a simple first project you can finish today:
- Film a 6 second clip of yourself waving, turning or walking, with a steady phone.
- Create a character portrait with Nano Banana Pro or Seedream 4.5.
- Open Kling v3 Motion Control, upload both files and run a std test.
- Swap in a second character with the same video and compare the two results.
Seeing your own movement carried over to a character you designed is the moment the tool clicks. When you want to try other video, image and audio models next to it, browse the full catalog at picassoia.com/en/all-models and start creating on PicassoIA today.


