Cinematic trailers are built on controlled camera movement. The slow orbital around a character at the climax, the dolly push that compresses tension in a confrontation scene, the wide sweep that establishes scale in a landscape shot: these are not random. They are deliberate, rehearsed, and in traditional production, expensive. Kling v3 Motion Control changes the calculation. It gives AI video generation a real camera control system, and the results read very differently from the floating, directionless motion you get from standard text-to-video prompts.
This article is about what that control system actually does, how to operate it, and what you can realistically produce when you treat it like a cinematography tool rather than a magic generator.
What Motion Control Actually Does
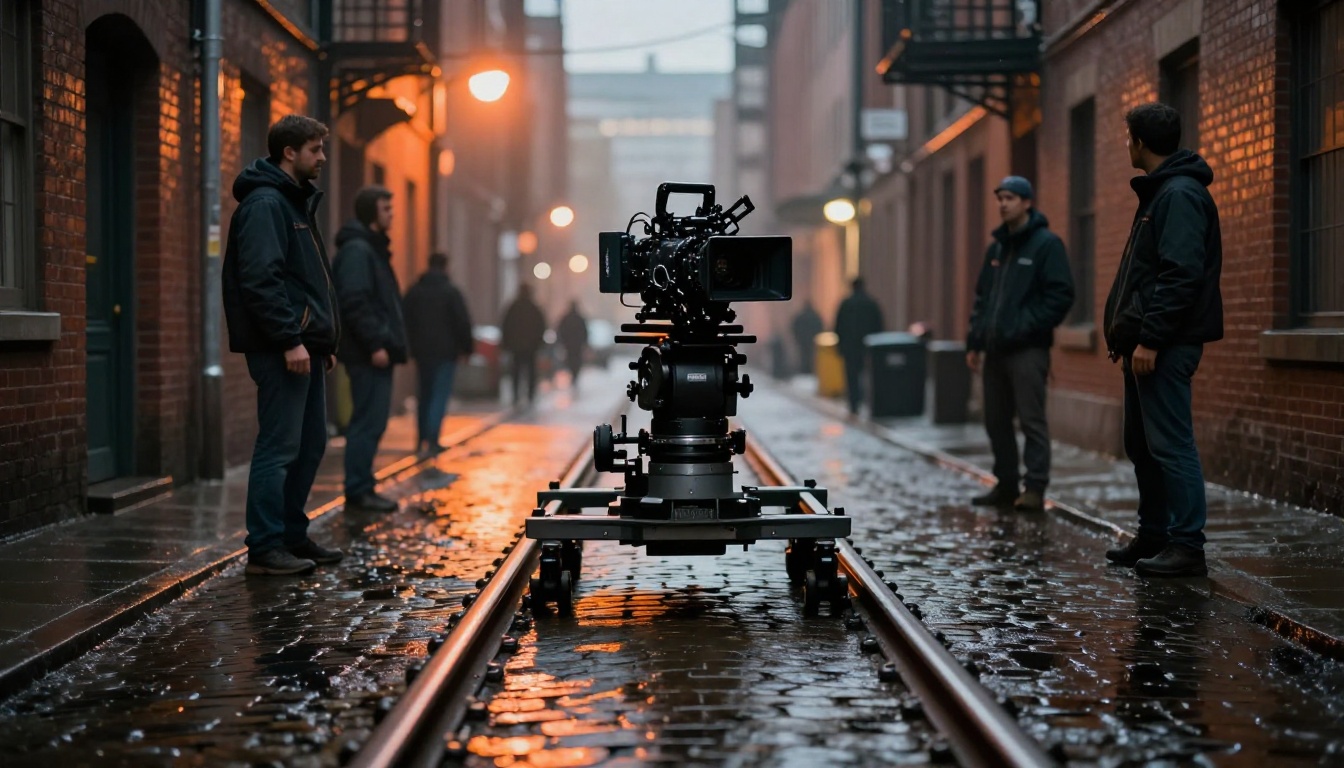
Most AI video models treat motion as an emergent property. You describe a scene, and the model infers how things should move based on the prompt and training data. Sometimes that produces plausible motion. More often it produces drift: objects that slide in ways no camera operator would choose, subjects that wander off-axis, scenes that feel like they were shot by someone who forgot to lock the tripod.
Motion control is different. Instead of inferring camera behavior from text, you define a trajectory and the model follows it.
The Problem with Random AI Movement
When AI video generation lacks camera control, the problem shows up most clearly in trailer-style content. A trailer shot has to read as intentional. The audience is calibrated to cinematic grammar: they know what a slow push-in means emotionally, they recognize a crane reveal as an opening move. When AI motion is random, it breaks that grammar. The shot says something the director did not intend, or says nothing at all.
That is the core limitation that Kling v3 Motion Control addresses directly.
Camera Path vs. Subject Tracking
Two distinct systems operate inside motion control: camera path and subject tracking.
Camera path defines the trajectory of the virtual camera through space: how far it moves, in what direction, at what speed, and whether that speed is constant or ramped. A dolly push-in is a camera path. A crane rise is a camera path. An orbital circle around a subject is a camera path.
Subject tracking tells the model which element in the frame to stay centered on as the camera moves. Without tracking, a camera path can send the frame away from the subject entirely. With tracking, the subject stays anchored even as the camera arcs, tilts, or pans around it.
Both systems together produce shots that feel authored rather than generated.
What's New in Kling v3
Kling v3 Motion Control is a significant step from its predecessor, Kling v2.6 Motion Control. Three areas saw the biggest improvements.
Motion Curves and Speed Ramps
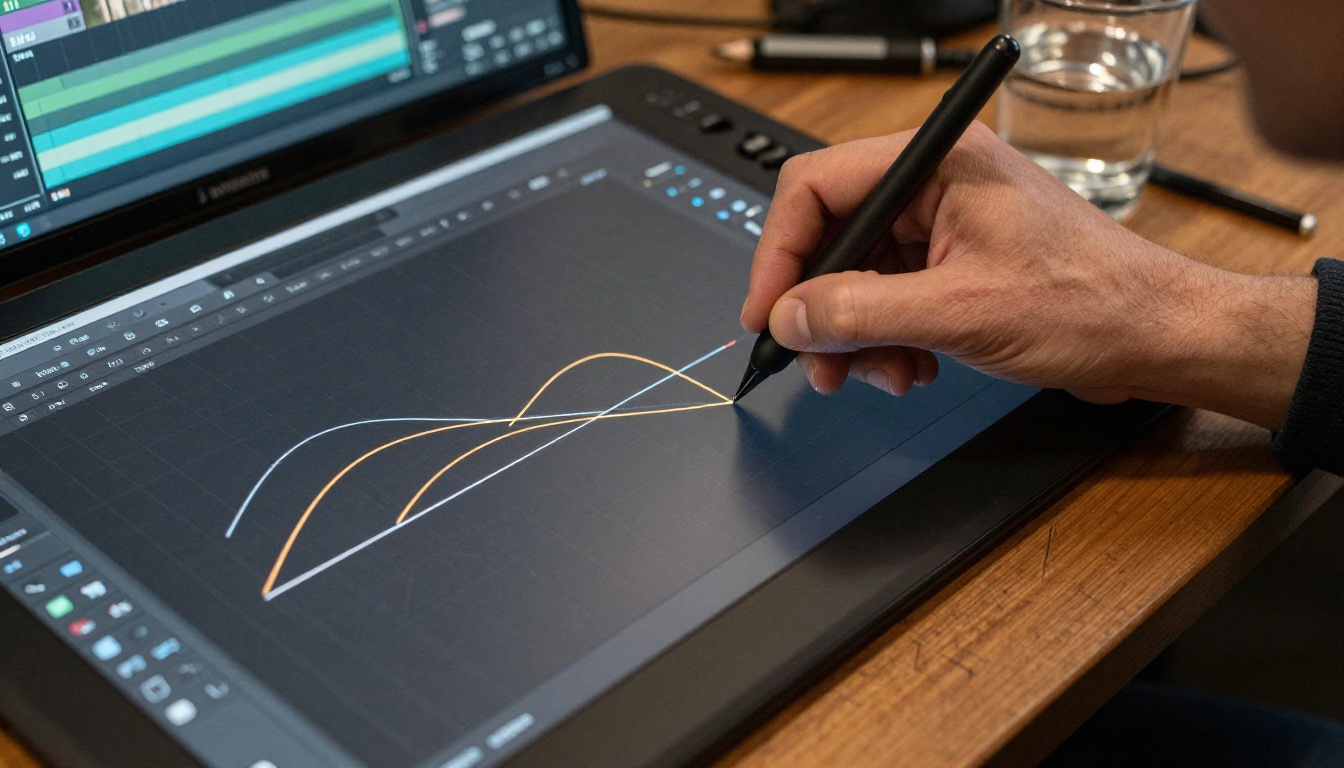
Previous versions handled motion at a fixed rate. The camera moved from point A to point B at constant velocity, which produced mechanical-looking movement. Real cinematography almost never works that way: camera operators ease in and out of moves, accelerate through a sweep, decelerate into a final hold.
Kling v3 introduces proper motion curves: velocity profiles that control how the camera accelerates and decelerates across the clip. An ease-in/ease-out profile on a dolly push creates the weighted, purposeful feel of a properly operated camera. A sharp acceleration into a slow crawl reads as dramatic. These are small changes that make enormous perceptual differences.
Subject Locking Across Frames
Subject tracking in Kling v2.6 Motion Control worked reasonably well on static or slow-moving subjects but degraded when the subject moved significantly during the clip. Kling v3 re-anchors tracking more aggressively: the model maintains the subject lock even when the subject shifts position, turns, or partially exits the frame.
For trailer content, this matters in action sequences where a character moves through space while the camera simultaneously arcs around them.
Resolution and Duration Jump
Kling v3 Motion Control outputs at up to 1080p, with clip durations up to 10 seconds. At 10 seconds you can execute a complete cinematic move: the establish, the push, and the settle. That is enough to build a trailer cut around.
💡 Tip: For most trailer shots, 5-7 seconds is the sweet spot. Shorter cuts feel punchy; longer moves tend to lose momentum unless the scene has strong action to sustain them.
How to Use Kling v3 Motion Control on PicassoIA
The model is available directly at PicassoIA. The interface is straightforward but there are several parameters that significantly change the output quality.
Starting a New Generation
Open the model page and select your input type. Kling v3 Motion Control works as an image-to-video system: you supply a reference frame that becomes the first frame of the clip. The model then generates motion forward from that frame according to your camera path and prompt.
What makes a good reference frame:
- High-contrast subjects that the tracking system can lock onto
- Clear depth information (foreground element, distinct mid-ground, readable background)
- Lighting that matches the mood of the intended motion (flat lighting does not respond as well to dramatic camera moves)
- 16:9 aspect ratio for cinematic output
The reference frame sets the visual style for the entire clip. Color grading, lighting, and texture from the reference image carry through the generation.
Setting the Motion Path
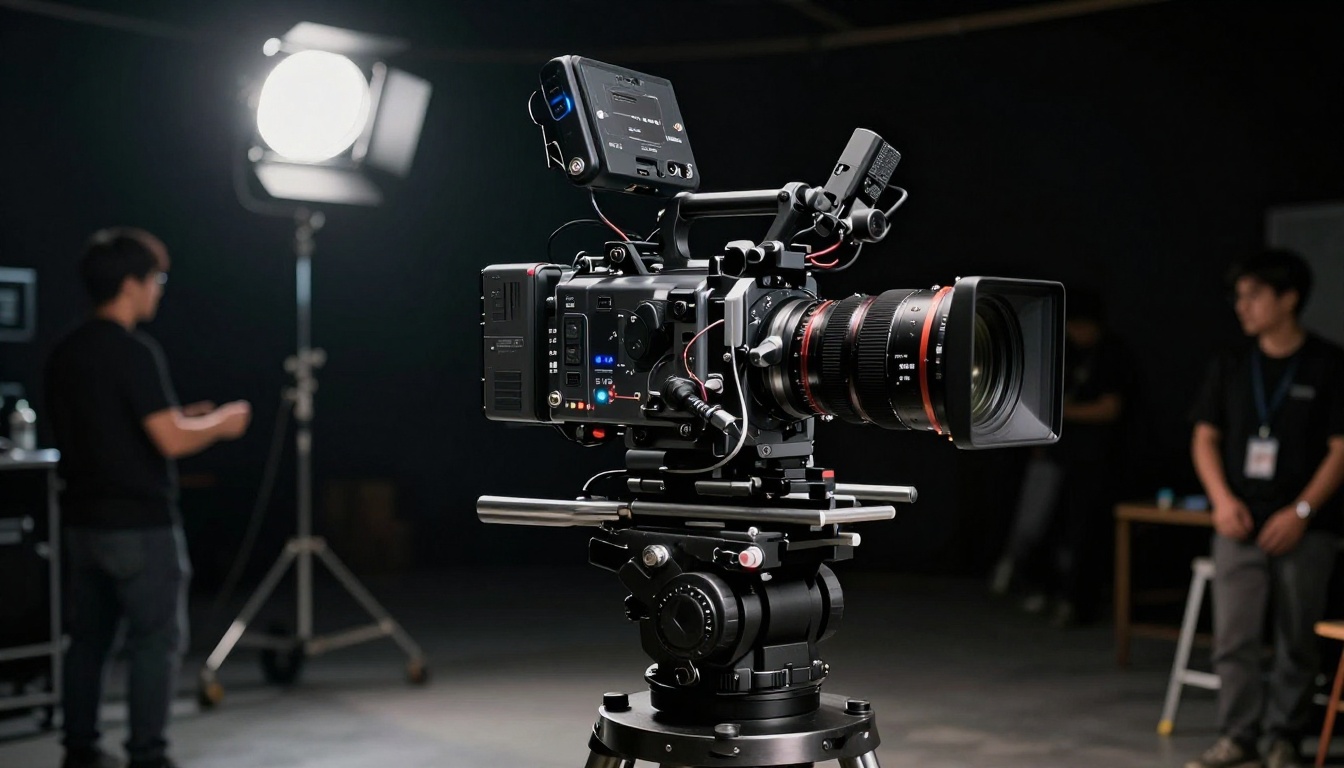
The motion path interface presents a set of predefined movement types alongside manual control options. For cinematic trailer work, these are the most useful:
| Movement Type | Description | Best For |
|---|
| Dolly In | Camera moves toward the subject | Confrontation, tension build |
| Dolly Out | Camera pulls away from the subject | Reveals, isolation shots |
| Orbit Left/Right | Camera arcs around the subject | Character introductions |
| Crane Up | Camera rises while tilting down | Establishing location |
| Pan | Camera rotates horizontally on axis | Landscape sweeps |
| Tilt Up | Camera rotates upward on axis | Reveal of scale |
You set the intensity of the move (how far the camera travels) and the motion curve (ease profile). For most dramatic shots, an ease-in with a moderate ease-out produces the most professional result.
Tips for Cleaner Output
- Describe motion in the prompt too. The text prompt and the motion path settings work together. A prompt like "slow push toward the figure, tense atmosphere, warm backlit" reinforces the path settings and improves consistency.
- Use subject anchoring on any moving subject. If your reference frame contains a person or animal, enable subject tracking. Without it, orbital and dolly moves will drift.
- Generate at 1080p for final output. Use lower resolutions only for rapid iteration when testing motion paths.
- Limit clip length to what the move needs. A 3-second orbital reads clean. The same orbital at 8 seconds needs much more scene activity to hold attention.
5 Cinematic Trailer Shots, Broken Down

These five shot types appear in almost every cinematic trailer. Here is how to produce each one with Kling v3 Motion Control.
The Orbital Reveal
What it is: The camera circles 60-90 degrees around a stationary subject, often used for character introductions in action trailers.
Setup: Reference frame with subject centered, moderate depth in background. Motion path: Orbit Left or Orbit Right at 60-70% intensity. Enable subject tracking. Duration: 4-6 seconds. Motion curve: ease-in, hold speed, ease-out.
Prompt template: "Slow orbital camera movement around [subject description], [environment], [lighting description], cinematic, photorealistic"
Common mistake: Setting intensity too high. A full 180-degree orbit in 5 seconds looks too mechanical. Stay under 90 degrees for readable motion.
The Dolly Push-In
What it is: The camera moves directly toward the subject, compressing the space between them and creating a sense of confrontation or focus. One of the most-used shots in dramatic trailer cuts.
Setup: Subject placed in the middle third of the frame with readable background behind them. Motion path: Dolly In at 40-60% intensity. Duration: 3-5 seconds. Motion curve: gradual ease-in with no ease-out (the camera is still moving at the cut point, which adds energy).
Prompt template: "Camera slowly pushing toward [subject], tense atmosphere, [lighting], shallow depth of field, photorealistic"
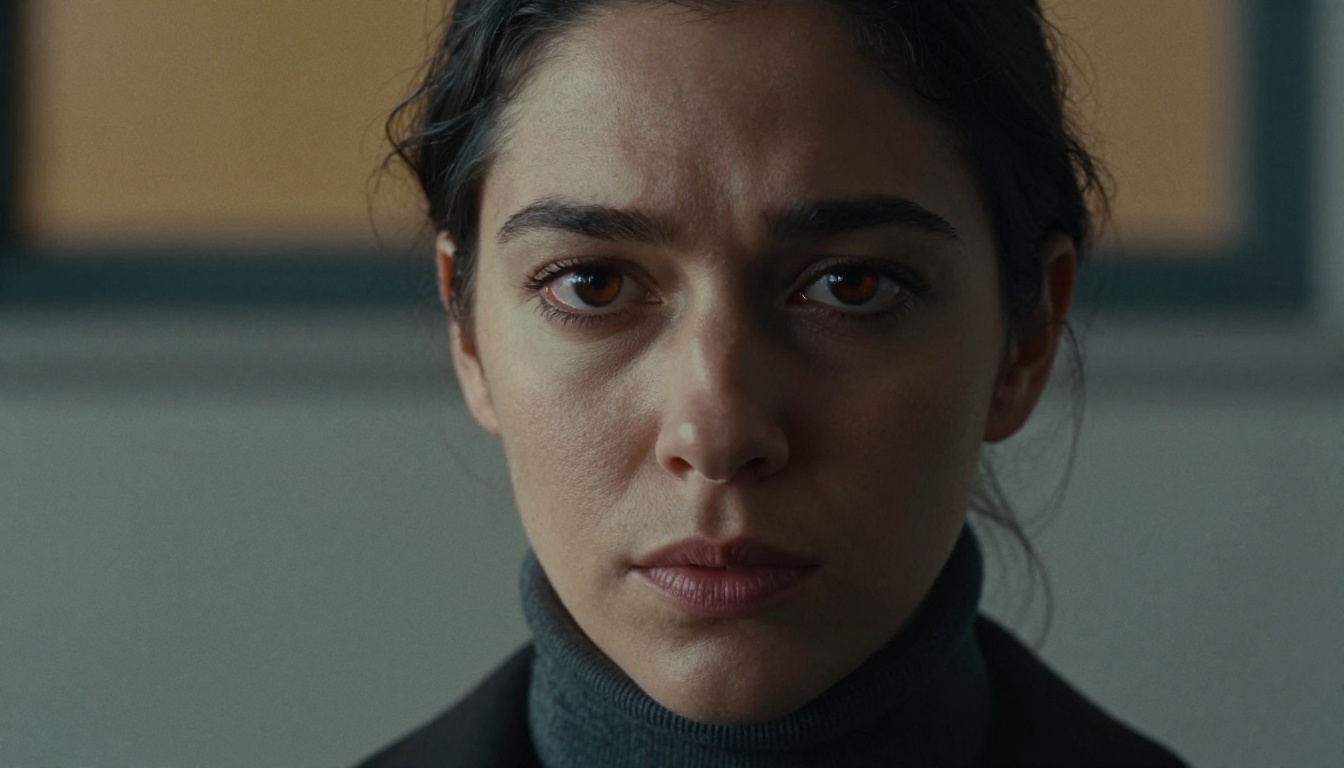
💡 Pro note: For the most dramatic push-ins, start with a reference frame where the subject is already slightly off-center. The camera catching up to center them creates natural tension.
The Sweeping Landscape Pan
What it is: A wide horizontal pan across an expansive environment, used for location establishing shots and scale reveals. In trailers, often placed at the start of an act to signal a shift in setting.
Setup: Reference frame with strong horizontal composition: clear sky, distinct horizon, or wide environmental subject. Motion path: Pan Right or Pan Left at 70-80% intensity. No subject tracking needed. Duration: 5-8 seconds. Motion curve: constant speed with very slight ease-in and ease-out.
Prompt template: "Slow cinematic pan across [landscape description], golden hour lighting, wide angle, photorealistic, 8K"
Where it works best: Aerial and high-angle reference frames produce the most dramatic pans. A flat horizon line at the center third of the frame maintains visual stability throughout the pan.
The Low-Angle Tilt-Up
What it is: Camera starts pointing downward and tilts upward to reveal a subject's full scale, often used with architecture, vehicles, or tall characters. The tilt-up is a classic power shot.
Setup: Reference frame from a low angle showing the base or lower portion of the subject. Motion path: Tilt Up at 50-70% intensity. Duration: 3-5 seconds. Motion curve: ease-in with a sharp deceleration at the end (the camera lands on the subject's face or apex).
Prompt template: "Camera tilting up from [lower subject detail] to reveal [full subject or sky], dramatic, [lighting], photorealistic"

The Whip Pan Cut
What it is: A fast horizontal pan that starts at normal speed and accelerates rapidly, ending in motion blur. Used as a transition between scenes or to inject kinetic energy into a cut sequence.
Setup: Reference frame with clear subject on one side. Motion path: Pan Right or Pan Left at 90-100% intensity. Duration: 2-3 seconds. Motion curve: sharp acceleration with no ease-out (the pan runs through to the end of the clip at full speed).
Prompt template: "Fast whip pan across [scene], motion blur, kinetic energy, photorealistic"
Editor note: Whip pan clips work best as exit or entry shots. Cut from a static or slow-moving shot into a whip pan exit, then cut from a whip pan entry into the next scene.
How Kling v3 Compares to Alternatives
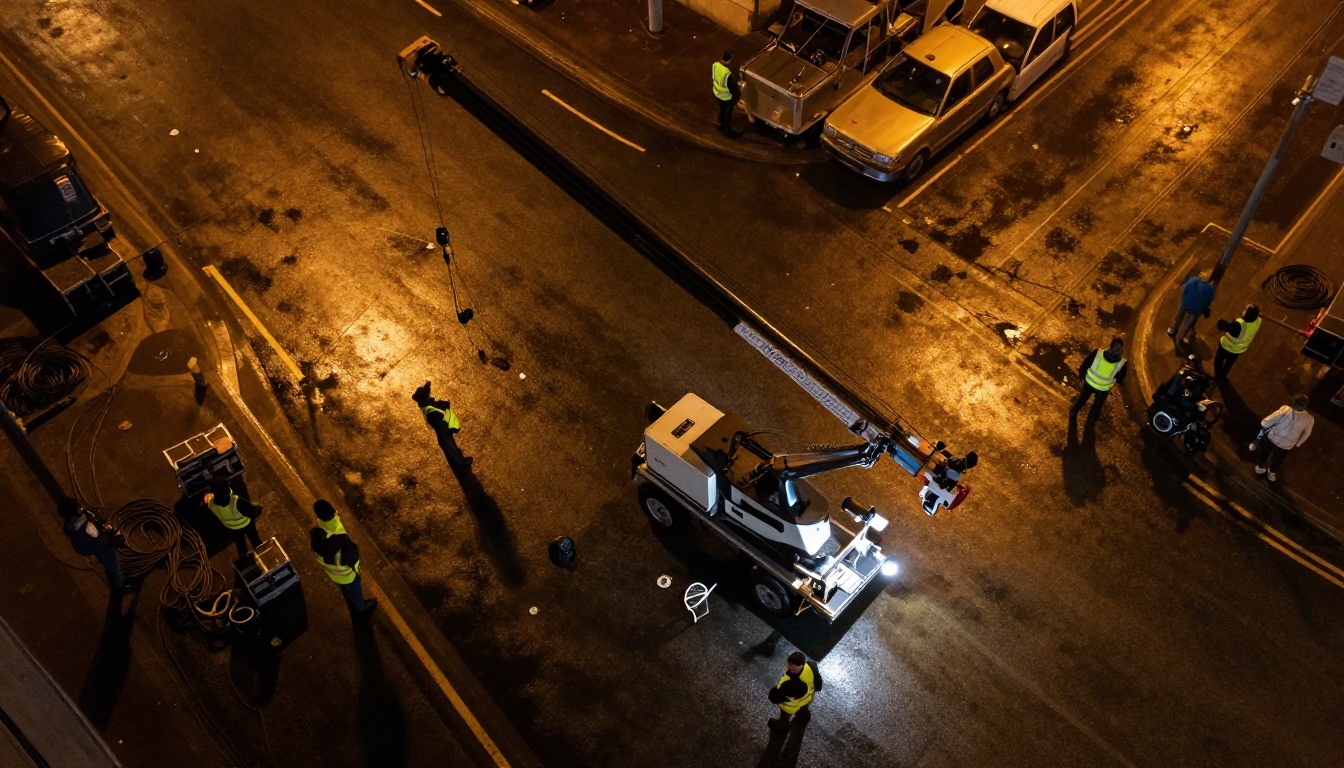
Several other models on PicassoIA produce cinematic video, and the choice between them depends on what the shot requires.
When to Use Something Else
Kling v3 Motion Control is the right tool when you need a specific, repeatable camera move. It is not the fastest model on PicassoIA, and it requires a good reference image to work well.
For speed: Kling v3 Video or Kling v2.5 Turbo Pro will generate faster when you do not need explicit path control.
For cinematic image quality without path control: Ray 3.2 produces exceptional HDR cinematics from text prompts and handles natural scene motion well.
For selective animation control (animating one part of the image while keeping the rest static): Gen 4.5 and Gen4 Turbo offer motion brush tools that Kling v3 Motion Control does not replicate.
For character animation from a still photo: Kling Avatar v2 handles face and body animation on portrait images with more fidelity than a motion path system alone.
Where This Fits in a Real Workflow
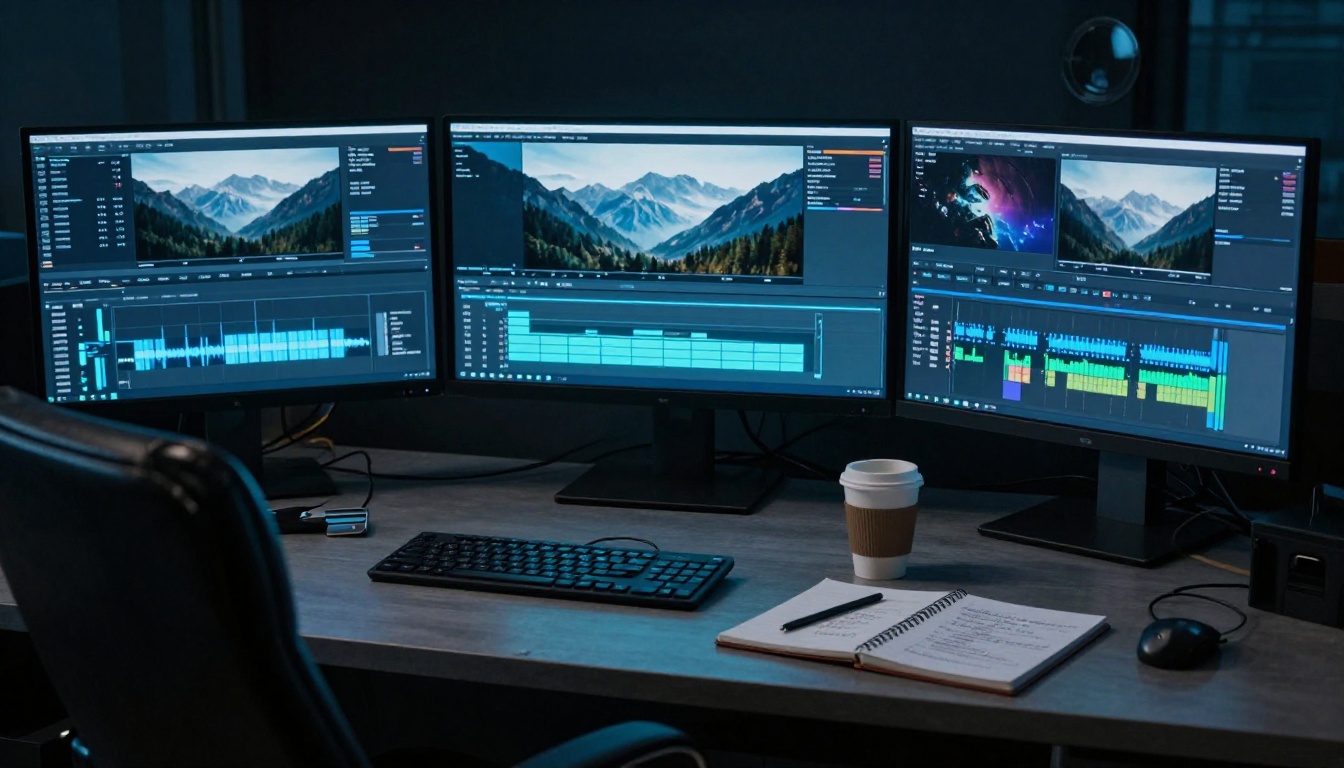
The most practical use cases for Kling v3 Motion Control in a working production fall into two categories.
Pre-Visualization on a Budget
Pre-visualization, or "previz," is the process of producing rough animated versions of planned shots before committing to production resources. Studios use it to lock camera placement, shot duration, and sequence order before crews, locations, and actors are scheduled.
Traditional previz requires 3D software, experienced animators, and days of iteration per sequence. With Kling v3 Motion Control, a single director or producer can generate realistic-looking previz clips from reference stills or concept art within minutes. The camera moves are accurate enough to communicate intent to a cinematographer. The visual quality is high enough to show to a client or investor.
This is not a replacement for professional previz. It is a fast-iteration tool for the early creative phase when you are still deciding whether a shot works at all.
Short-Form Trailer Content
Trailers for short films, YouTube series, Reels, and social campaigns often do not have the budget for a full-day camera crew. Kling v3 Motion Control fills that gap.
The workflow: shoot stills on location or generate them with a text-to-image model, then feed them into motion control to generate the moving shots. Edit the clips together with sound design and a score. The output reads at a level that matches many professional short-form campaigns.
What makes it work in editing:
- Keep individual clip durations under 6 seconds
- Use motion blur to smooth cut transitions
- Match the motion direction across adjacent clips (do not cut from a pan right directly into a pan left)
- Let the audio drive the pacing rather than forcing motion speed to match visually
💡 Workflow tip: Generate 2-3 variations of each shot at different intensity settings, then choose the best in the edit. The time cost per generation is low enough that this approach is practical.
Create Your Own Cinematic Shots Now

The shots described in this article are not theoretical. Each one is reproducible right now using Kling v3 Motion Control on PicassoIA, with a reference image and a text prompt.
The only variable is the reference frame. A well-composed still with clear depth, good lighting, and a readable subject will produce far better motion output than a flat or cluttered image. That is where the work is. The camera move itself is a settings choice, not a skill barrier.
If you are new to motion control on PicassoIA, start with a dolly push-in at 40% intensity and 4 seconds. It is the most forgiving shot type and produces immediate cinematic results. From there, try orbital moves on portrait-style reference images, then landscape pans. Build familiarity with how intensity and curve settings translate to on-screen motion before attempting complex compound moves.
You can see the full library of Kling models at picassoia.com/en/all-models. Alongside Kling v3 Motion Control, the platform hosts Kling v3 Video, Kling v3 Omni Video, Kling v1.6 Pro, Kling v2.1 Master, and Kling v2.6, giving you a full progression of model capability for any project scope or budget.


