You have seen the look a thousand times: huge glossy eyes, soft rounded cheeks, a face that shows a whole feeling in one raised eyebrow. A Pixar style AI character is that exact charm, made from a sentence of text. The trick is that most people write the wrong sentence. They type "cute cartoon boy" and get a flat, generic sticker. The prompts below fix that, and the second half of this article shows how to make your character blink, laugh and turn its head without paying for software.
Here is the plan. First, what actually makes the style read as warm and expensive. Then a set of prompts you can paste right now, with the reasoning behind each part. After that, real examples, the mistakes that ruin results, and a simple workflow to animate any character with image to video models.
💡 Quick note on names: "Pixar style" is shorthand for a look: soft 3D shapes, rich lighting and emotional faces. Describe that look in your own words and invent your own characters. Do not ask for specific copyrighted characters.
What Makes the Pixar Look Work
Before writing a single prompt, it helps to know which visual ingredients the model has to reproduce. If you can name them, you can control them.

Big Eyes With Real Highlights
The eyes carry the character. They are oversized, wet looking and always include a bright window reflection. Without that tiny highlight, the character looks lifeless, like a doll. In a prompt, phrase it as "large glossy eyes with soft catchlight reflections."
Soft Geometry and Squash
Heads are slightly too big for the body. Cheeks, noses and chins are rounded, never sharp. Even a villain gets gentle curves. Mention "rounded simplified shapes" and "slightly oversized head" to push the model there.
Subsurface Skin and Fabric Detail
Skin has a faint glow where light passes through ears and fingers. Clothes show stitching, wool fuzz and wear. This mix of simple shapes with rich surface detail is the secret sauce. Too much detail and you lose the toy feel. Too little and it looks like clip art.
Cinematic Lighting
Warm key light, cool fill, and a soft rim around the edges. Backgrounds are blurred with a shallow depth of field, like a real lens. This is why adding camera words such as "85mm lens" and "shallow depth of field" works so well even for stylized characters.
💡 Shortcut: Think of the formula as simple shape + rich texture + cinematic light + one clear emotion. Every strong prompt includes all four.
A reliable structure beats clever wording. Use this order, because most image models weigh the beginning of a prompt more heavily.

The Five Slot Template
- Style anchor: "Pixar style 3D animated character, soft rounded shapes"
- Subject: age, build, outfit, one memorable trait
- Expression and pose: the emotion, plus what the body is doing
- Setting: a simple background with two or three props
- Light and lens: direction, color temperature, depth of field
Here is a filled in example you can copy:
Pixar style 3D animated character, an eight year old girl with curly auburn hair and freckles, wearing a mustard yellow raincoat and red boots, wide eyes full of wonder as she looks up at a drifting soap bubble, standing on a cobblestone lane after rain, warm golden hour light from behind with a soft rim glow, shallow depth of field, rich fabric texture, large glossy eyes with catchlight reflections.
Why Order Matters
Put the style first, the emotion second. If you bury "wonder" at the end of a 90 word prompt, the model will usually ignore it and give you a neutral face. Emotion is the part viewers remember, so protect it.
Negative Prompts Worth Using
Some models accept a negative prompt field. When yours does, add: "flat lighting, sharp angular features, realistic human skin pores, extra fingers, blurry, text, watermark." Models that have no negative field respond better when you add the positive version instead, for example "smooth stylized skin."
Ten Prompts You Can Paste Today
Swap the bracketed parts and keep the structure. Every prompt below starts with the style anchor so the look stays consistent across a set.
| Character idea | Core prompt (after the style anchor) | Best for |
|---|
| Curious kid | freckled boy, oversized sneakers, gap toothed grin, holding a jar of fireflies, backyard at dusk | Storybooks |
| Grumpy grandpa | bushy white eyebrows, round glasses, knitted cardigan, mug of tea, kind eyes under a frown | Greeting cards |
| Tiny robot | rounded copper body, one dented antenna, wide camera lens eyes, holding a paper flower | Mascots |
| Shy fox | orange fur with soft fuzz detail, scarf, ears slightly folded, peeking from behind a tree | Children's content |
| Chef | chubby cheeks, tall hat tilted, flour on the nose, steaming pot, proud smile | Food brands |
| Astronaut kid | oversized helmet with reflections, patched suit, backyard cardboard rocket | Educational clips |
| Fisherman | weathered yellow jacket, thick beard, small wooden boat, misty harbor sunrise | Posters |
| Ballerina mouse | tiny tutu, whiskers catching light, spotlight on an old wooden stage | Social posts |
| Mail carrier | oversized bag, stack of letters, windy autumn street, leaves in the air | Series intros |
| Sleepy dragon | pastel scales, round belly, curled around a pile of books, warm candlelight | Bedtime stories |
Prompt for Consistent Sets
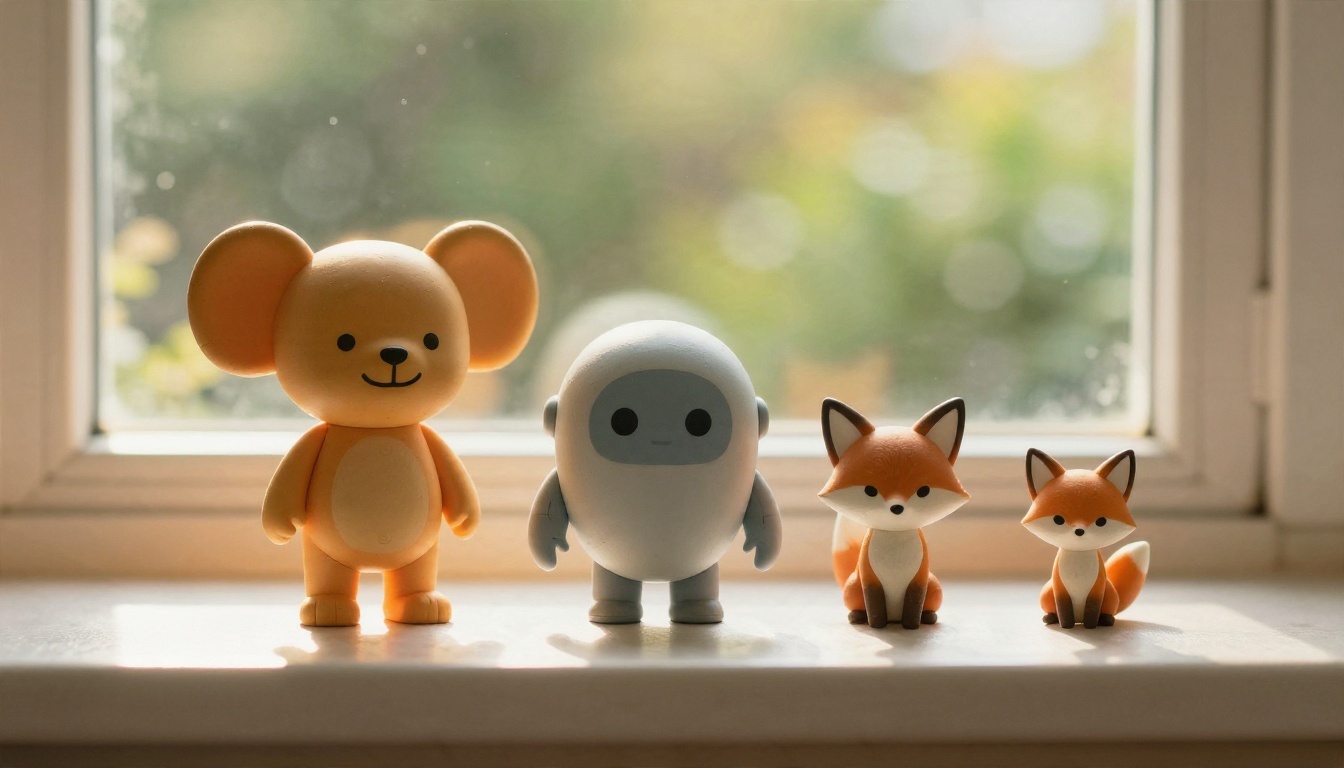
If you want the same character in several scenes, do not rewrite the description each time. Copy the character block word for word and only change the setting and action. Small paraphrasing changes the hairline, the nose and the jacket color. Locking the text is the cheapest form of consistency.
Prompt for Close Portraits
For a hero shot, push the face: "extreme close up, expressive eyebrows, individual eyelashes, soft skin glow, tiny imperfections in the paint." Close portraits are where weaker models fall apart, so this is also the best way to test a new model quickly.
Examples That Show What Works
Seeing outputs next to their reasoning beats theory. These are the patterns I see again and again when comparing results across models.
Warmth Beats Detail
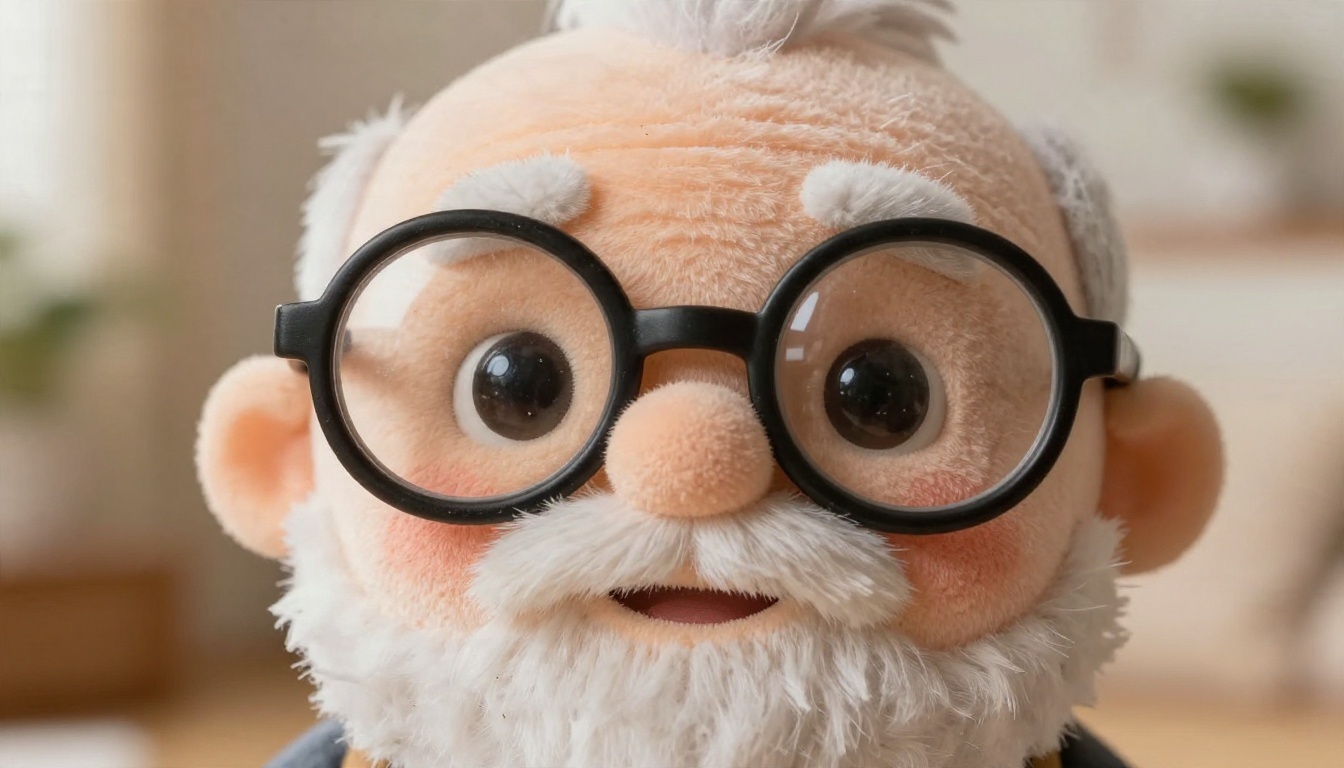
The most successful characters are not the most detailed ones. The elderly character above works because of three things: large glasses that frame the eyes, a deep brow with a soft frown, and warm side light. Nothing else is fighting for attention.
Props Tell the Story
A character holding something gives the model a second focus and makes the image feel like a frame from a film. A jar of fireflies, a paper boat, a wooden spoon. One prop, clearly named, is enough. Four props and the model starts mixing them up.
Scale and Environment
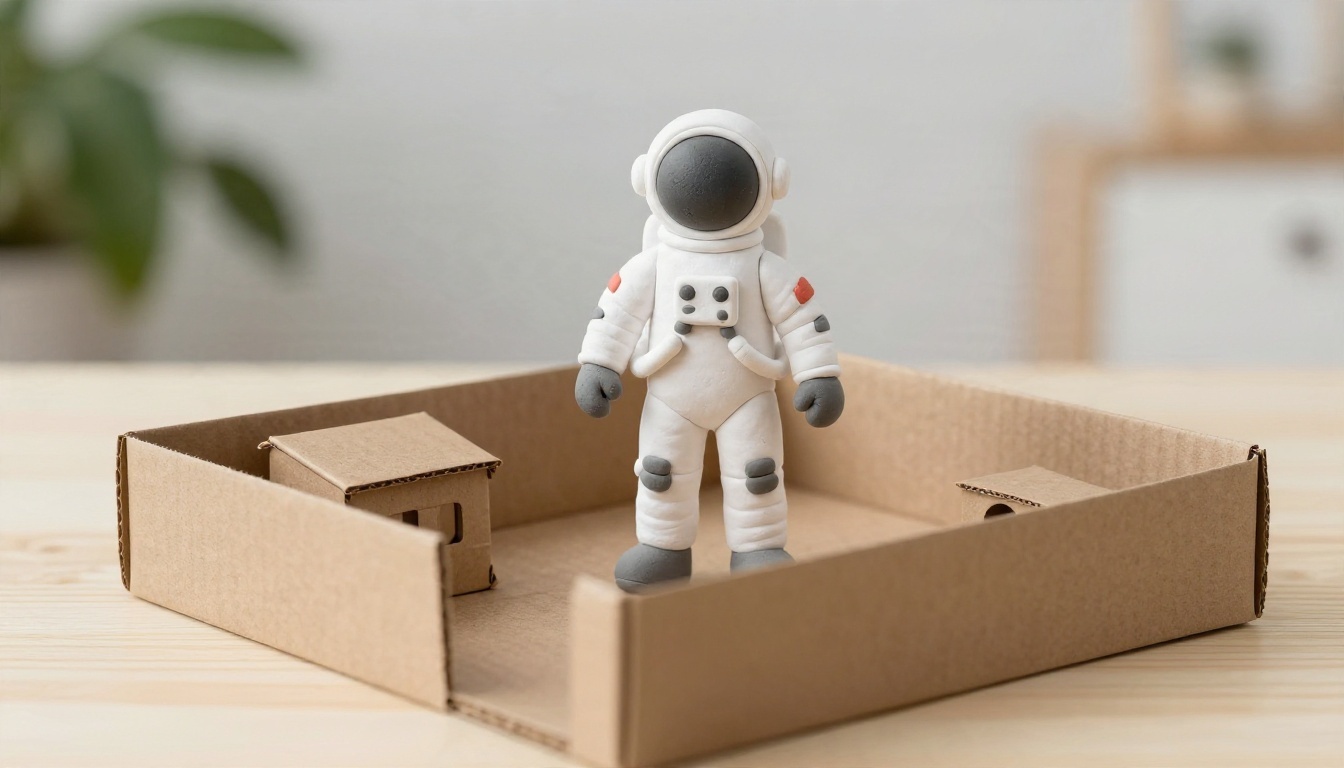
Place small characters in a world that makes them look smaller. A tiny robot on a kitchen counter, a mouse in a theater. The contrast reads as story. This also helps when you animate later, because the background gives the video model something to push against.
Which Model to Use
Different models give different flavors of the same prompt. Here is a practical comparison for character work.
| Model | Strength for characters | Typical use |
|---|
| Seedream 4.5 | Clean faces, strong lighting, high resolution | Hero portraits |
| Nano Banana Pro | Follows long prompts closely, good with small props | Detailed scenes |
| Nano Banana | Edits an existing character, keeps identity | Outfit and pose changes |
| Flux 2 Klein 9B Base LoRA | Style adapters for consistent looks | Series of characters |
| Seedream 5 Pro | Sharp 2K output | Posters and covers |
Generate First, Edit Second
A good habit: generate one strong base image, then use an editing model to change expression or clothing. Nano Banana is handy here because you upload your character and describe the change, such as "same character, now laughing, wearing a blue scarf." You keep the face and swap the rest.
When to Use a LoRA
If you want one very specific style across fifty images, a style adapter helps. Flux 2 Klein 9B Base LoRA supports that approach. For a single character or a handful of scenes, plain prompting is faster and easier.
Mistakes That Ruin the Look
Most failed attempts come down to a short list of habits. Fix these and your hit rate jumps.
Writing Adjectives Instead of Directions
"Beautiful, amazing, stunning, high quality" tells the model nothing. Replace each with something visual: "warm rim light," "wool texture," "shallow depth of field." One concrete word beats three vague ones.
Mixing Styles in One Prompt
Putting "anime," "claymation" and "Pixar style" together gives mud. Pick one anchor. If you want something between two looks, generate both and blend by editing.
Ignoring Hands and Teeth
Hands and open mouths are the classic failure points. Choose poses where hands hold an object or hide in pockets, and prefer closed mouth smiles for your first attempts. Then try open mouth laughs once you trust the model.
Over Long Prompts
Past roughly 120 words, models start dropping details. If your prompt is a paragraph of back story, cut it to what the camera can see.
💡 Test small: Generate four variations at low cost, pick the one with the best eyes, then refine only that one. Eyes are the part you cannot repair easily later.
How to Animate Your Character for Free
A still image is only half the fun. Image to video models take your character and add motion: a blink, a smile, a gust of wind through the hair. The workflow is the same on most of them.
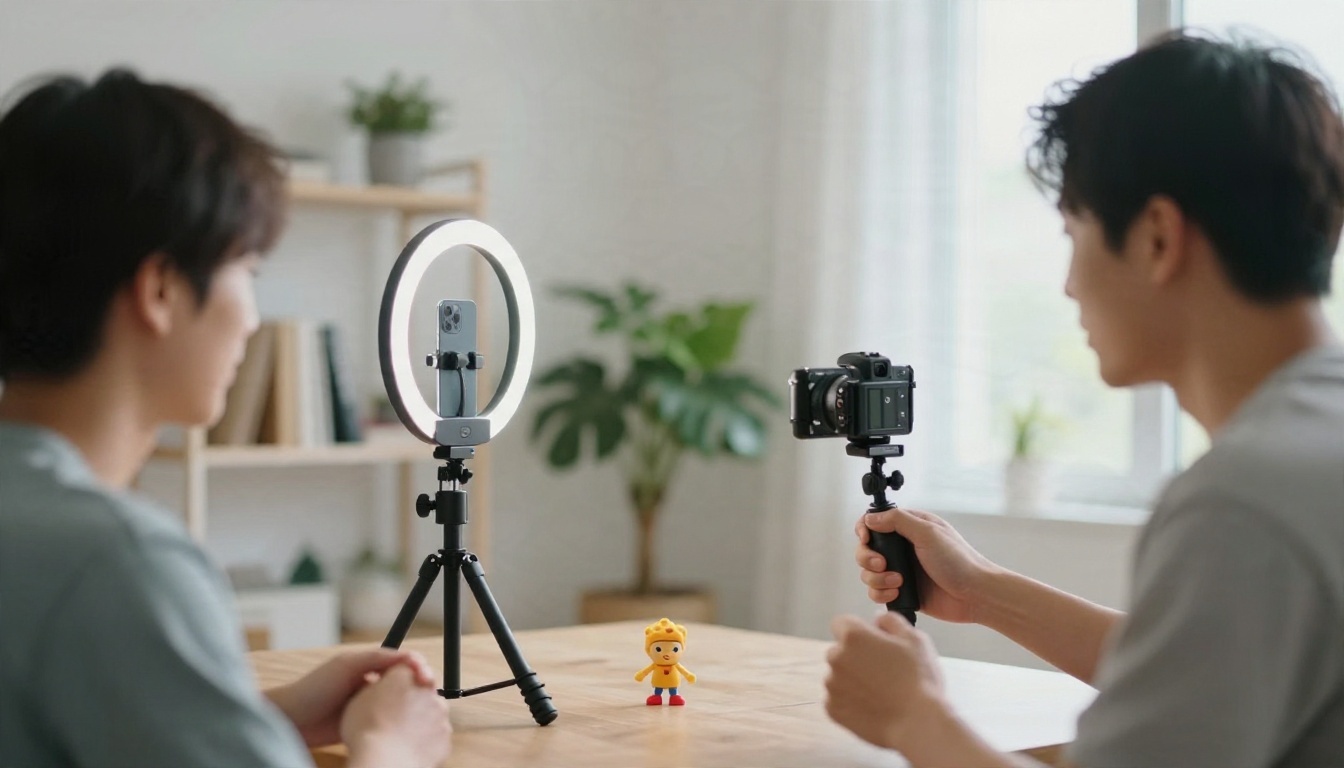
Pick the Right Animation Model
How to Use Wan 2.5 I2V Fast on PicassoIA
This is the simplest route from a still to a moving character. The steps are the same shape on the other image to video models in the table.
- Open the model page. Go to Wan 2.5 I2V Fast and sign in.
- Upload your character. Use the image you liked best. Front facing, clear eyes and a simple background give the cleanest motion.
- Write a motion prompt. Describe only movement, in time order. Example: "The girl blinks slowly, then smiles and tilts her head as the soap bubble drifts past. Slow push in, warm light flickers softly."
- Choose resolution and length. Start low for a quick test, then raise the resolution once the motion looks right.
- Generate and review. Check the eyes first. If they warp, simplify the prompt and run again.
- Upscale or extend. Keep the best clip and move to the higher quality model for the final version.
💡 Free access: Several models on the platform list free generation on their pages, and availability changes over time. Check the model page before you start, and run your tests on the fast models so a failed attempt costs you very little.
Motion Prompts That Work
Short, physical and specific wins. Compare these:
| Weak motion prompt | Strong motion prompt |
|---|
| "Make it move" | "Character blinks twice, then breaks into a shy smile" |
| "Cinematic animation" | "Slow dolly in on the face, background lights drift softly" |
| "Happy character" | "Eyebrows lift, cheeks rise, small bounce in the shoulders" |
| "Wind" | "Scarf and hair sway gently to the right, leaves tumble past" |
Keep Movement Small
Large actions like running, jumping or turning around fully are where character faces drift away from the original. Small, emotional motions keep identity stable: a blink, a breath, a glance. Chain several small clips together if you need a longer scene.
Add Voice and Sound
Characters become personalities once they speak. Models like Veo 3.1 Fast can generate audio together with the video. For full control, record or generate a voice line separately and use a lip sync model afterward. The platform also lists text to speech and lip sync models in its collections, so the whole chain can stay in one place.
A Simple Workflow From Idea to Clip
Put everything together in a repeatable routine. This takes about fifteen minutes once you have done it twice.
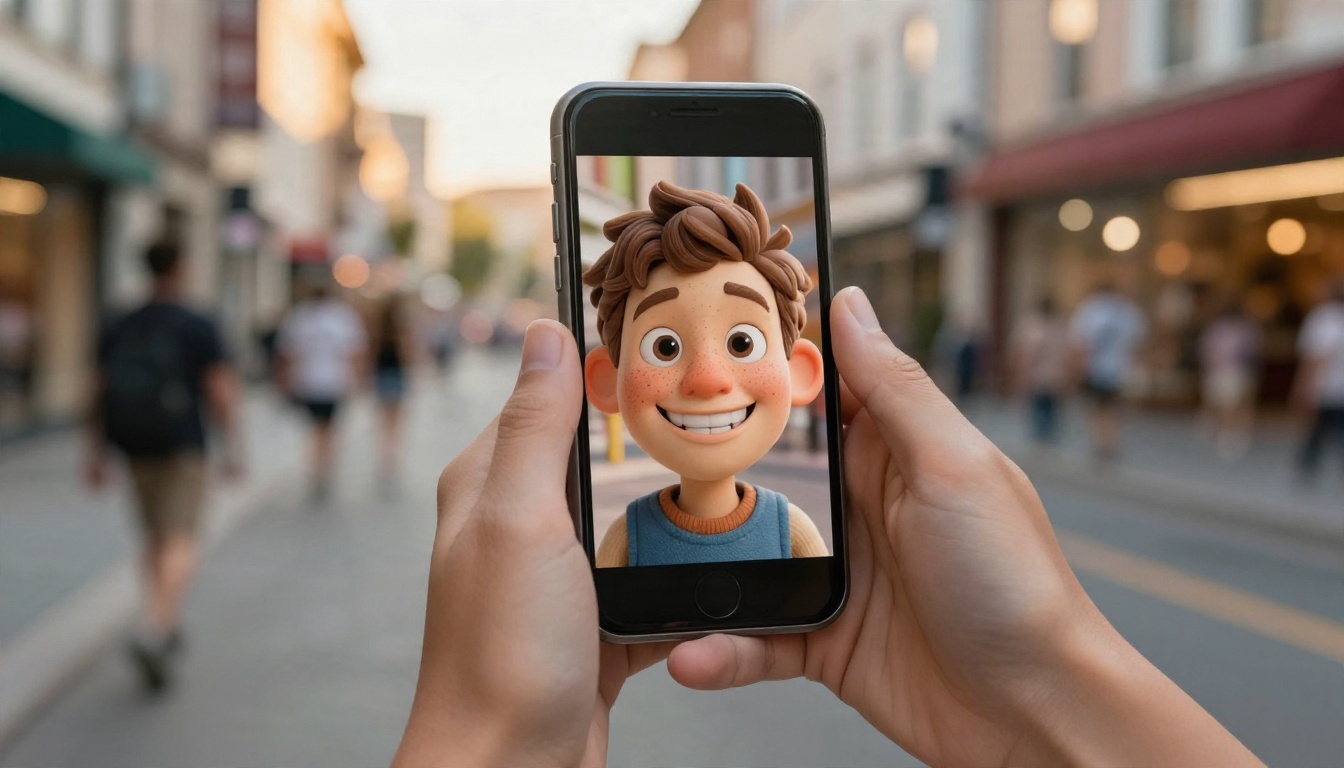
Step by Step
- Write the character block. One sentence with age, outfit and a trait. Save it in a note.
- Generate four stills. Use the five slot template and a strong model like Seedream 4.5.
- Pick the best eyes. Discard anything with strange hands or crooked faces.
- Edit if needed. Use Nano Banana to change expression or props without changing the face.
- Animate a draft. Run a short clip on a fast model and watch the face.
- Render the final. Move to a higher quality model and use the exact same motion prompt.
- Add sound. Voice, music or ambient audio.
Ideas for Using Your Character
- Storybooks and bedtime tales: consistent characters across pages
- Brand mascots: a friendly face for a shop or app
- Greeting animations: birthday and holiday clips for friends
- Classroom material: animated explainers with a recurring guide character
- Social series: a weekly short with the same lead
Quick Fixes When Results Go Wrong
| Problem | Likely cause | Fix |
|---|
| Face looks like a real person | No style anchor, or realistic words in the prompt | Start with "Pixar style 3D animated character" and drop "photo" words |
| Eyes look dead | No catchlight described | Add "large glossy eyes with soft catchlight reflections" |
| Character changes between images | Prompt was reworded each time | Reuse the same character block word for word |
| Video face melts | Motion too large | Describe only a blink, a smile or a small head turn |
| Background too busy | Too many props | Keep one prop and two background elements |
| Colors look flat | No light direction | Add "warm rim light from behind, soft fill" |
When a Model Refuses
Some models block certain subjects. Rephrase around the visual idea instead of the sensitive word, or try a different model from the same category. The full list is at picassoia.com/en/all-models if you want to compare options.
Make Your First Character Today
You now have the formula, ten prompts and a workflow that goes from a sentence to a moving clip. The fastest way to see it click is to try it: open Seedream 4.5, paste the yellow raincoat prompt from earlier, and change just one thing, like the prop or the weather. Then send the best result to Wan 2.5 I2V Fast with a simple blink and smile prompt.
Run a few variations, keep the one with the warmest eyes, and build a small cast around it. Every character you make teaches you what the model responds to. When you are ready to try other looks, browse everything on PicassoIA and see how far one good prompt can go.


