You upload a selfie, press a button, and the "pixel art" that comes back looks like a photo that went through a bad zip file. Eyes turn to mud, the hair becomes a gray blob, and nobody would guess it is you. That is the most common complaint about a pixel art portrait maker, and it has a simple cause: most free tools just shrink the photo and snap the colors to a grid. Real pixel art is a series of choices, and the best makers now make those choices for you.
This article walks through the free online options, the settings that decide whether a portrait looks hand crafted or lazy, and the prompts that get clean results from an AI generator. You will also see what each pixel size looks like in practice, so you can pick the right one before you spend a minute on it.
What a Pixel Art Portrait Maker Does
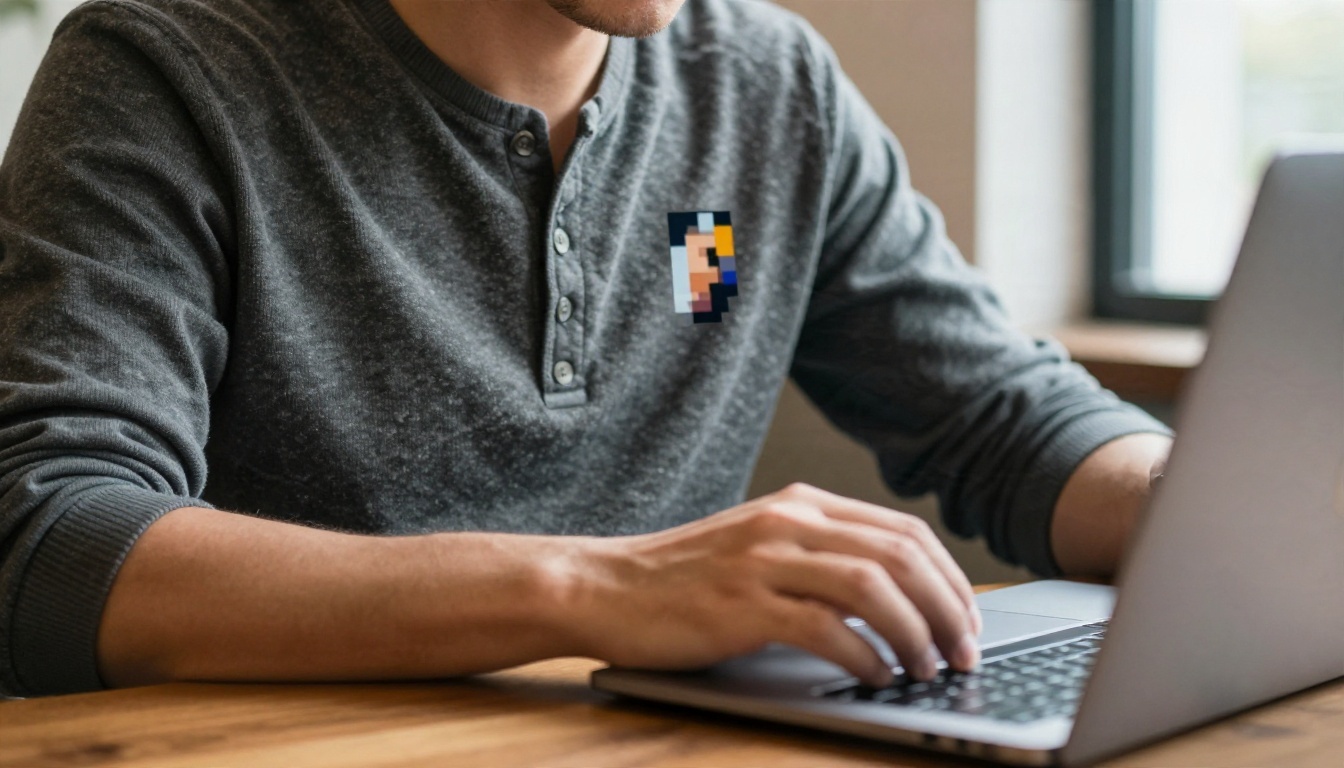
A pixel art portrait maker takes a photo, or a text description, and produces a face built from visible square pixels with a deliberately small color palette. The word "deliberately" matters. A 32 by 32 portrait has only 1,024 pixels to describe a whole face, so every single one carries weight.
There are three broad kinds of tools, and they behave very differently:
- Filter style converters. They downscale your photo, reduce the colors, and enlarge it again with hard edges. Fast and free, but the result inherits every flaw of the original photo.
- Palette and dithering tools. They let you pick a retro palette and a dithering pattern, which gives a more authentic look, though facial detail is still left to chance.
- AI pixel art generators. They redraw the face in pixel art logic: clean outlines, clustered shading, and readable eyes. These are the ones that produce portraits you would actually use as an avatar.
💡 Quick test: zoom out until the portrait is thumbnail size. If you can still tell who it is, the tool did its job. If it turns into noise, it only shrank the image.
Why Faces Are the Hard Part
Landscapes and objects forgive sloppy pixels. Faces do not. We read tiny changes in the eye line, the mouth corner, and the nose shadow. Lose two pixels in the wrong place and a friendly smile turns into a frown. That is why a good maker protects the eyes and mouth first, and lets the background fall apart if it has to.
Who Uses These Portraits
The audience is wider than retro game fans. Streamers use them as channel avatars, indie developers use them for dialogue portraits, and plenty of people simply want a profile picture that stands out in a feed full of identical headshots. Others print them as small framed gifts.
Free Online Options Compared
Here is how the main kinds of free options stack up for portrait work specifically.
| Option type | Cost | Face quality | Control over palette | Best for |
|---|
| Browser photo converter | Free | Low to medium | Limited | Quick fun avatar |
| Palette and dither editor | Free | Medium | High | Authentic retro look |
| Manual pixel editor | Free | Depends on you | Total | Learning the craft by hand |
| AI pixel art model | Free credits | High | Prompt based | Clean, readable portraits |
Browser Photo Converters
These are the one click sites. You drop in a photo and slide a "pixel size" bar. They are perfect for a joke avatar and almost useless for a portrait you care about, because the converter cannot tell an eye from a shadow.
If you go this route, give it a good source photo: even lighting, a plain background, and the face filling most of the frame. Those three things improve the output more than any slider.
Free Pixel Editors
A free manual editor gives you total control, and many artists start by tracing over a reference photo. It is slow, but it is how you get the details right. A hybrid workflow works well: let an AI generate the base, then clean up a few stray pixels by hand.
AI Generators Built for Pixel Art
This is where quality jumps. RD Plus is a model trained specifically for authentic pixel art, which means it understands clustering, clean outlines and limited palettes instead of imitating them with a blur filter. RD Fast trades some polish for speed, which is useful when you want to test ten ideas in a minute. RD Tile focuses on tilesets, so it matters more if your portrait is part of a game scene than a standalone avatar.
Pick the Right Pixel Size
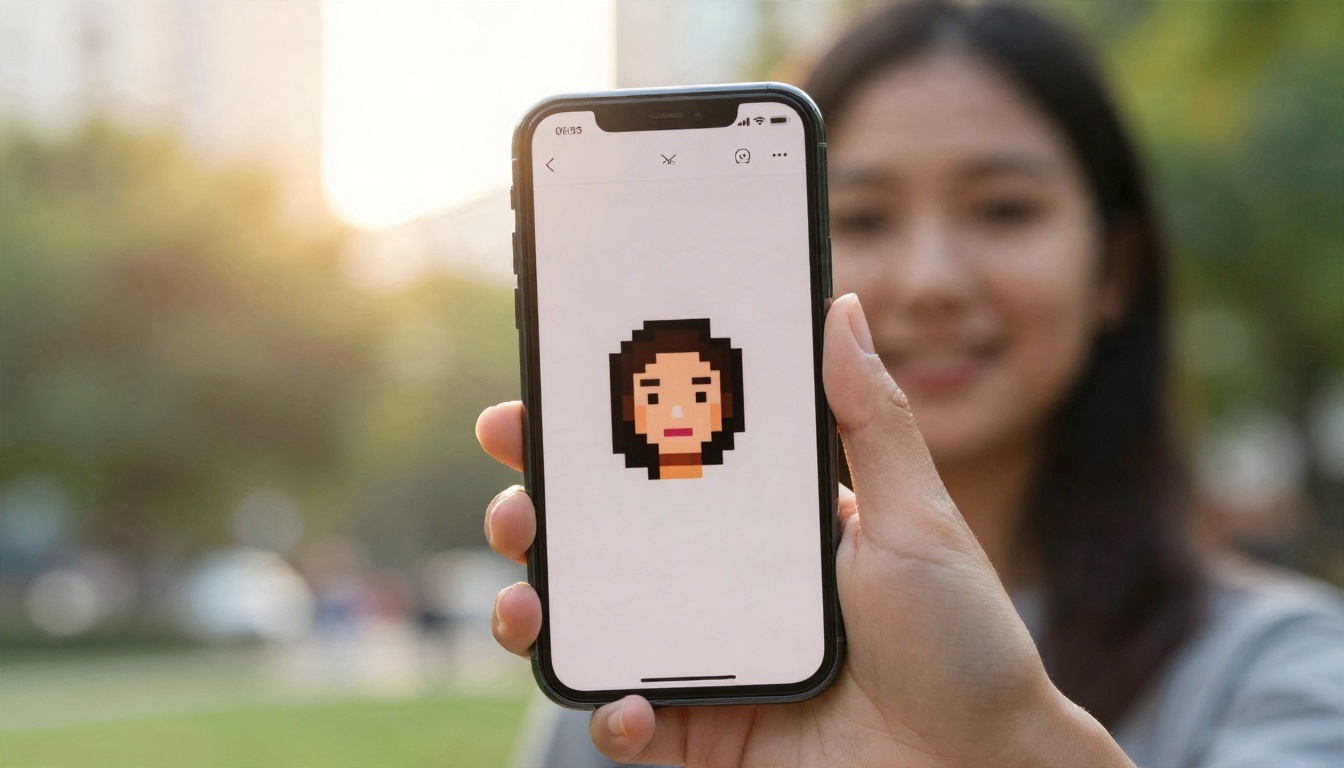
Pixel size is the single biggest decision, and people usually choose it by accident. Here is what each one gives you.
| Canvas size | Pixels in total | What it looks like | Good use |
|---|
| 16 x 16 | 256 | Iconic, almost abstract | Tiny icons, chat emotes |
| 32 x 32 | 1,024 | Classic console character | Avatars, game dialogue |
| 64 x 64 | 4,096 | Detailed, expressive | Profile pictures, prints |
| 128 x 128 | 16,384 | Close to illustration | Posters, large portraits |
The 32 Pixel Sweet Spot
For a recognizable face, 32 by 32 is where most people land. You get a defined eye, a nose hint, and a mouth, without the portrait feeling fussy. Below that, you are drawing a symbol of a person rather than a person.
When 64 Pixels Pays Off
At 64 by 64 you can show eyebrows, an ear, hair strands and a collar. It is the best choice if the portrait will be displayed large or printed, because the extra detail survives scaling.
💡 Rule of thumb: the more distinctive your face is (glasses, beard, curly hair), the larger the canvas should be. Those features need pixels to read clearly.
Prepare Your Source Photo
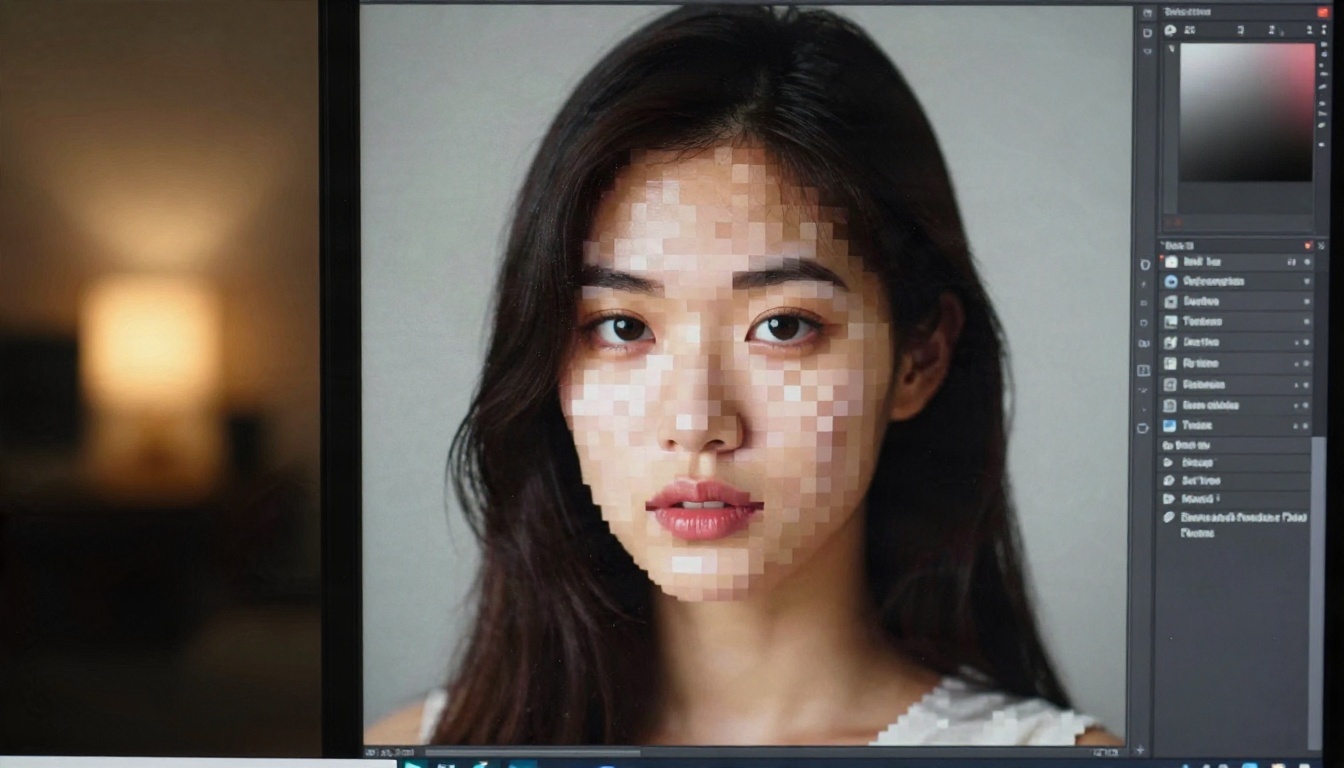
Even an AI generator works better with a strong reference. Spend two minutes here and the rest goes faster.
What Makes a Good Reference
- Front facing or slight three quarter angle. Extreme angles make the generator guess.
- Soft, even light. Window light from one side is ideal; harsh overhead light creates shadows that become random dark pixels.
- Simple background. Busy backgrounds eat your pixel budget.
- Neutral or natural expression. A subtle smile reads better than a wide grin at low resolution.
Clean the Background First
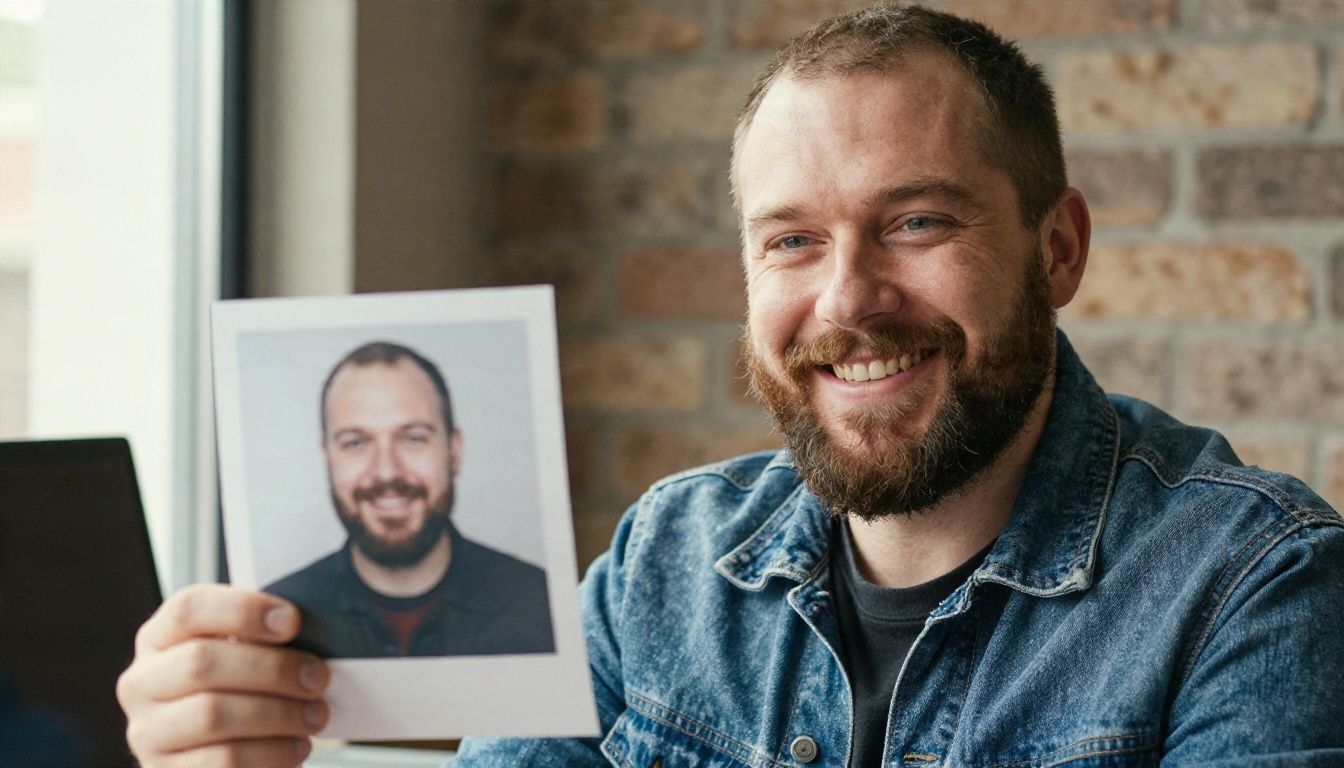
If your photo has clutter, remove it before you pixelate. A tool like Remove Background cuts the subject out cleanly, so every pixel goes to the face and hair instead of the bookshelf behind you. You can then put the portrait on a flat color that matches your palette.
Sketch the Grid If You Like
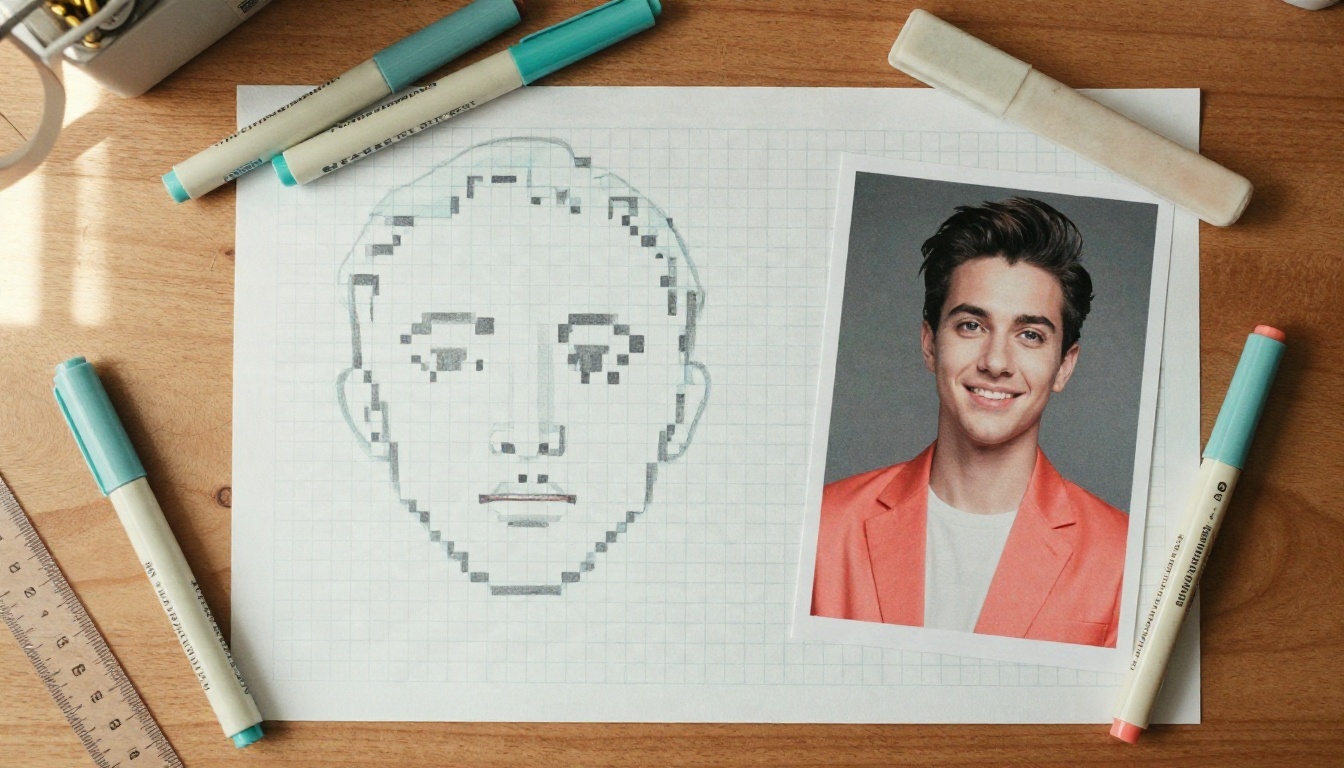
Some artists plan the face on graph paper before touching a screen. It sounds old fashioned, but marking where the eyes, nose and mouth fall on a 32 pixel grid teaches you what the AI is deciding for you.
Prompts That Actually Work
A good prompt for a pixel art portrait names five things: the subject, the canvas size, the palette, the shading style and the background. Skip any of them and the generator fills the gap with a default you probably will not like.
The Base Prompt Formula
Use this structure and swap in your own details:
Pixel art portrait of [subject description], [canvas size] pixels, limited [number] color palette, clean 1 pixel outline, cluster shading, expressive eyes, flat [color] background
Ten Ready Prompts
- Pixel art portrait of a young woman with freckles and a loose bun, 32x32, 16 color warm palette, clean outline, soft cluster shading, plain cream background.
- Pixel art portrait of a bearded man in a denim jacket, 64x64, 24 color palette, dark outline, simple dithering on the jacket, muted teal background.
- Pixel art portrait of an older woman with short silver hair and round glasses, 48x48, 20 colors, gentle shading, pale gray background.
- Pixel art portrait of a child with a gap tooth smile and a yellow raincoat, 32x32, bright limited palette, thick outline.
- Pixel art portrait of a bald man with a friendly grin and strong jawline, 64x64, 16 colors, sharp highlights, brick red background.
- Pixel art portrait of a woman with long curly hair and gold earrings, 64x64, 32 colors, soft sunset tones, no outline on hair edges.
- Pixel art portrait of a tired barista with an apron and messy hair, 48x48, coffee brown palette, simple lighting from the left.
- Pixel art portrait of a person wearing headphones and a hoodie, 32x32, cool blue gray palette, clean silhouette.
- Pixel art portrait of a bride in a veil, 64x64, soft pastel palette, light dithering on the fabric.
- Pixel art portrait of a retired sailor with a white beard and a wool cap, 64x64, weathered palette, strong face lines.
Words That Help and Words That Hurt
| Helps | Hurts |
|---|
| "clean 1 pixel outline" | "realistic" or "photorealistic" |
| "limited 16 color palette" | "high detail" |
| "cluster shading" | "smooth gradient" |
| "flat color background" | "blurry" or "soft focus" |
| "readable eyes" | "cinematic lighting" |
Words like "realistic" and "smooth gradient" pull the model toward soft rendering, which is the opposite of what pixel art needs. Keep the language blunt and graphic.
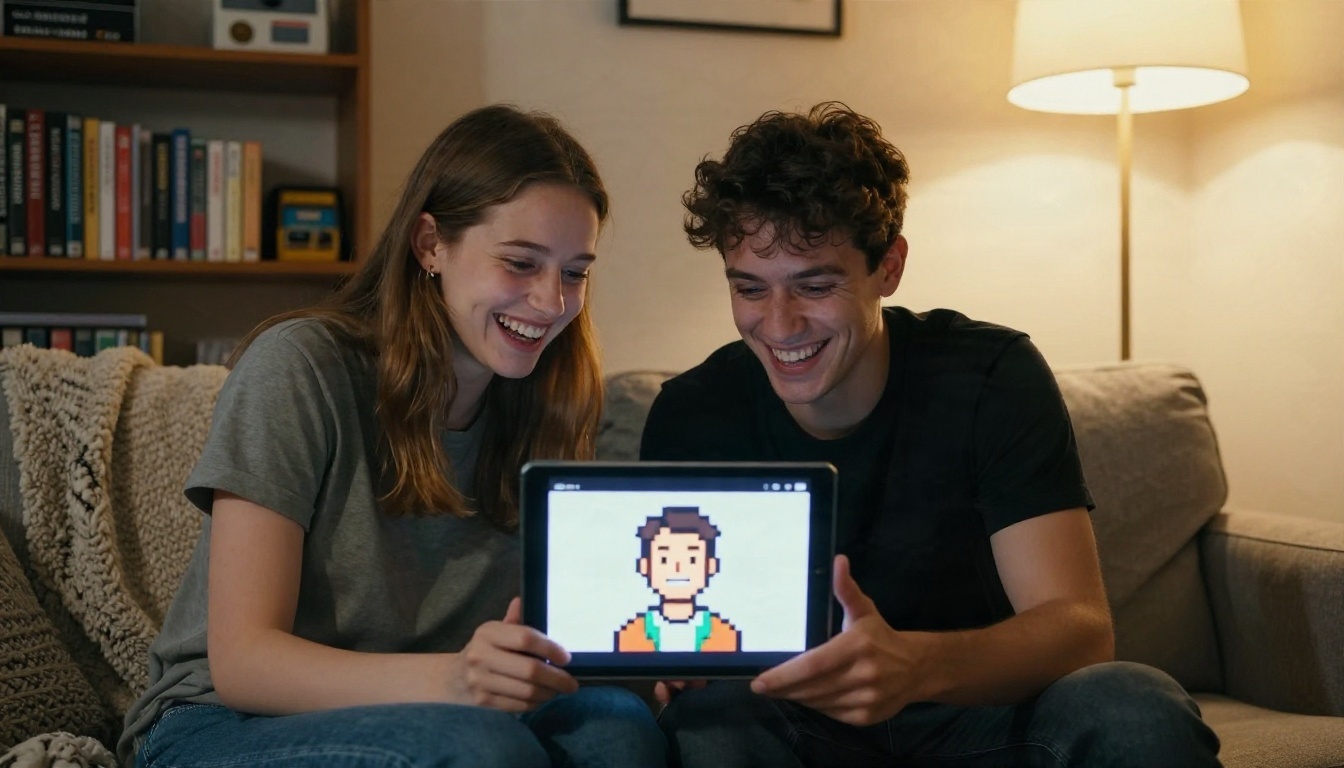
How to Make One on PicassoIA
Here is a repeatable workflow using the pixel art models on the platform. It takes a few minutes and costs very little.
Step by Step
- Open the model. Go to RD Plus for the best quality, or RD Fast for quick drafts.
- Paste a prompt. Start with the base formula above and describe your face honestly: hair, glasses, beard, clothing.
- Set the size. Pick 32 pixels for an avatar or 64 for a print. If the model offers a width and height setting, keep it square.
- Generate several versions. Run four to six. Small prompt differences change the eyes a lot, and you only need one that feels right.
- Choose and refine. Pick the best base, then adjust one thing at a time: palette, outline, background.
- Upscale for print. Use Real ESRGAN carefully, or simply resize with nearest neighbor in any image editor so the pixel edges stay crisp.
Parameter Tips
- Keep the palette between 12 and 32 colors. Fewer feels retro, more feels muddy.
- Always say whether you want an outline. Without it, the model chooses for you.
- Generate in batches. The fifth version is often better than the first.
Editing a Photo Into Pixel Style
If you want the result to follow your actual face closely, start from your photo. Nano Banana and Qwen Image Edit Plus accept a photo plus an instruction, so you can write something like "redraw this person as a 64x64 pixel art portrait with a 24 color palette and a flat teal background." Because they edit your picture rather than invent a person, the likeness usually holds up better than text only generation. Seedream 4.5 and GPT Image 2 are worth trying when you want the background or props to follow a detailed description.
💡 Tip: use a pixel specific model for the final art, and a general editing model when likeness matters most. Mixing them is perfectly fine.
Common Mistakes to Avoid
Most bad portraits fail for a handful of predictable reasons.
Too Many Colors
A portrait with 80 colors is not pixel art, it is a small photo. The limit is part of the charm. Cap yourself at 16 to 32 colors and your skin tones will start to look intentional.
Ignoring the Eyes
The eyes need at least two to three pixels of height at 32 by 32. If your generated version has a single dark dot, ask for "larger readable eyes with a white highlight pixel." That one highlight pixel gives the whole face life.
Mixing Pixel Sizes
Sometimes an AI image contains big pixels in the face and tiny pixels in the hair. It looks off. If you see that, regenerate and include the phrase "consistent pixel size throughout."
Forgetting the Background
A noisy background steals attention and makes the portrait look cheaper. A flat color or a very simple two tone gradient makes the face pop and keeps the file small.
Skipping Nearest Neighbor Scaling
If you enlarge the portrait with smooth scaling, the edges blur and the whole point is lost. Always scale pixel art by whole numbers with nearest neighbor, such as 4x or 8x.
Where These Portraits Shine
The same portrait can do several jobs, and it helps to decide before you generate.
Avatars and Social Profiles
A 64 by 64 portrait at 8x looks sharp as a profile picture on nearly any platform. Choose a background color that contrasts with the platform's interface so the face stands out in a small circle crop.
Game Dialogue Portraits
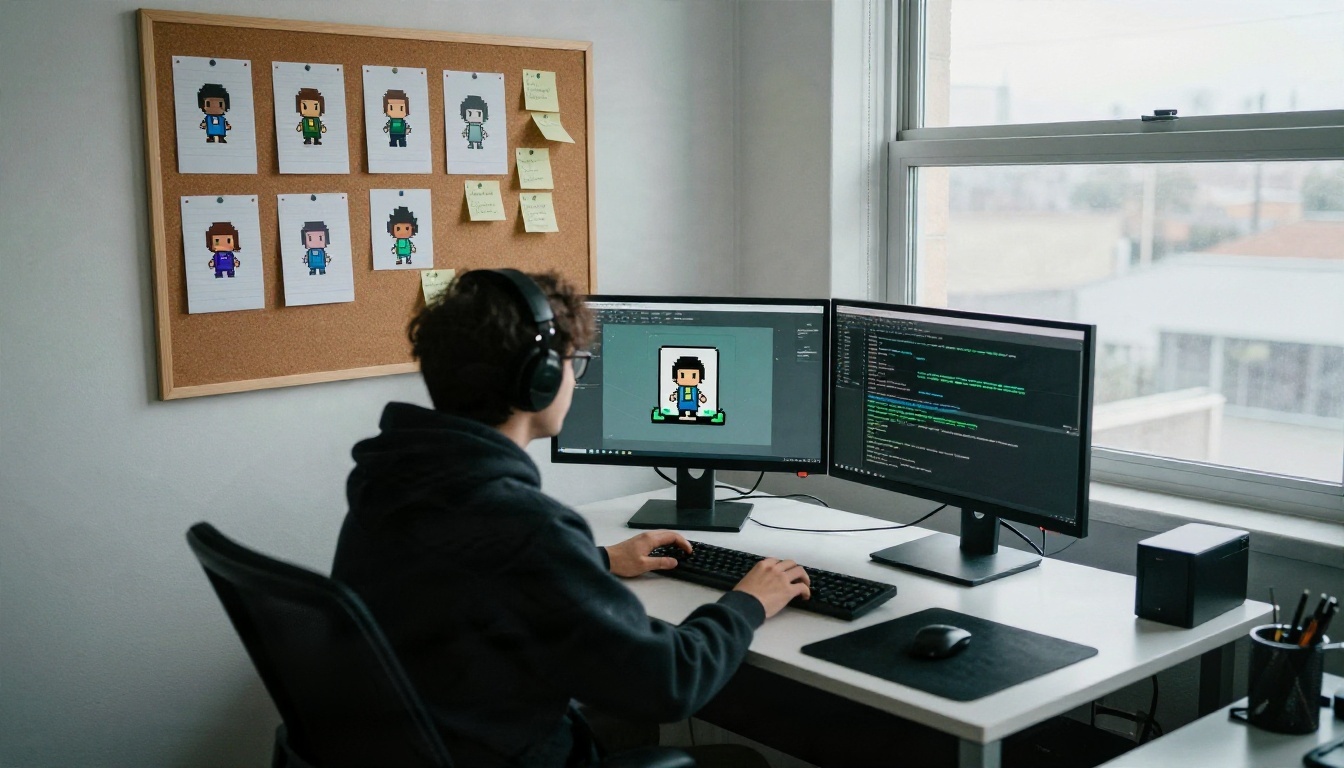
Indie developers often use 48 or 64 pixel portraits next to dialogue boxes. Consistency is the real challenge: generate every character with the same palette, outline style and canvas size so the cast feels like it belongs in one world.
Prints and Gifts
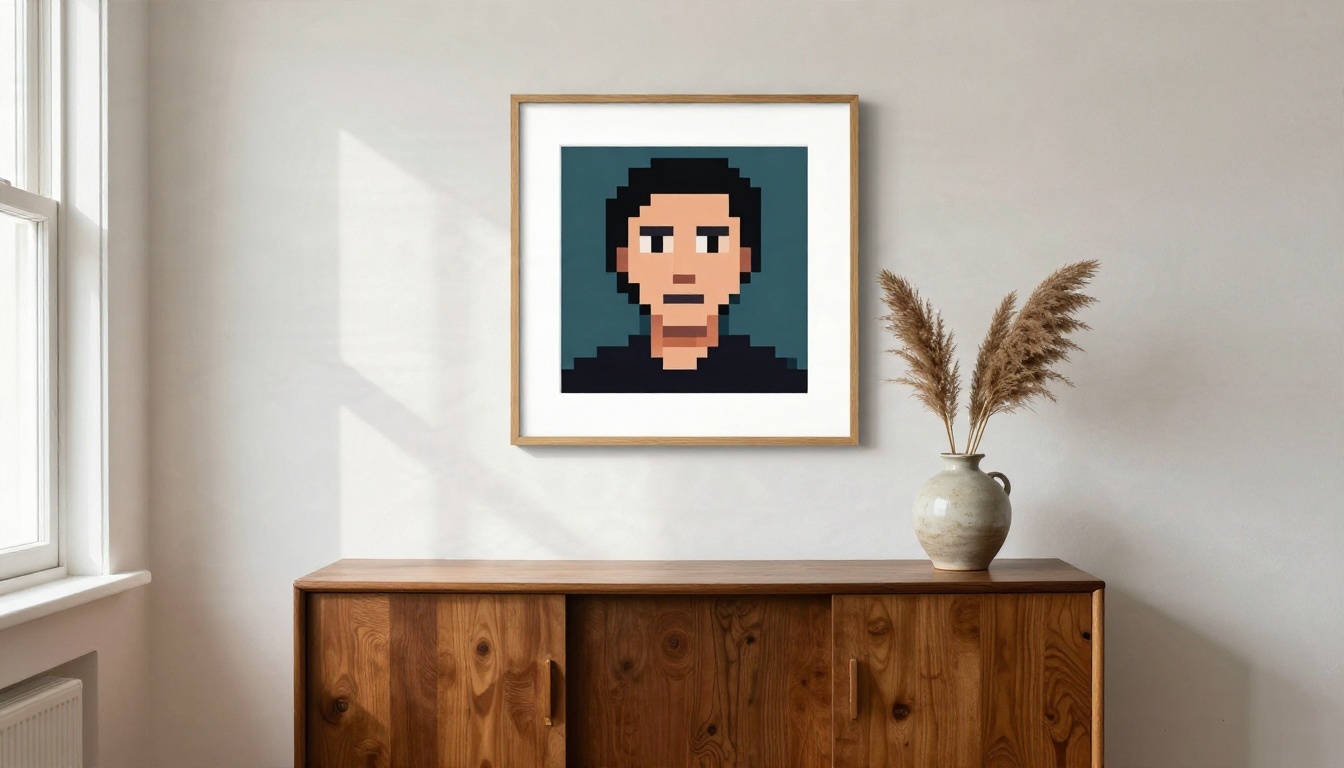
A pixel portrait makes a good small framed gift, particularly a couple or a pet. Export at a large whole number scale, print on matte paper, and use a simple thin frame. The squares read beautifully from a distance, and up close the grid becomes part of the charm.
Nostalgia Projects
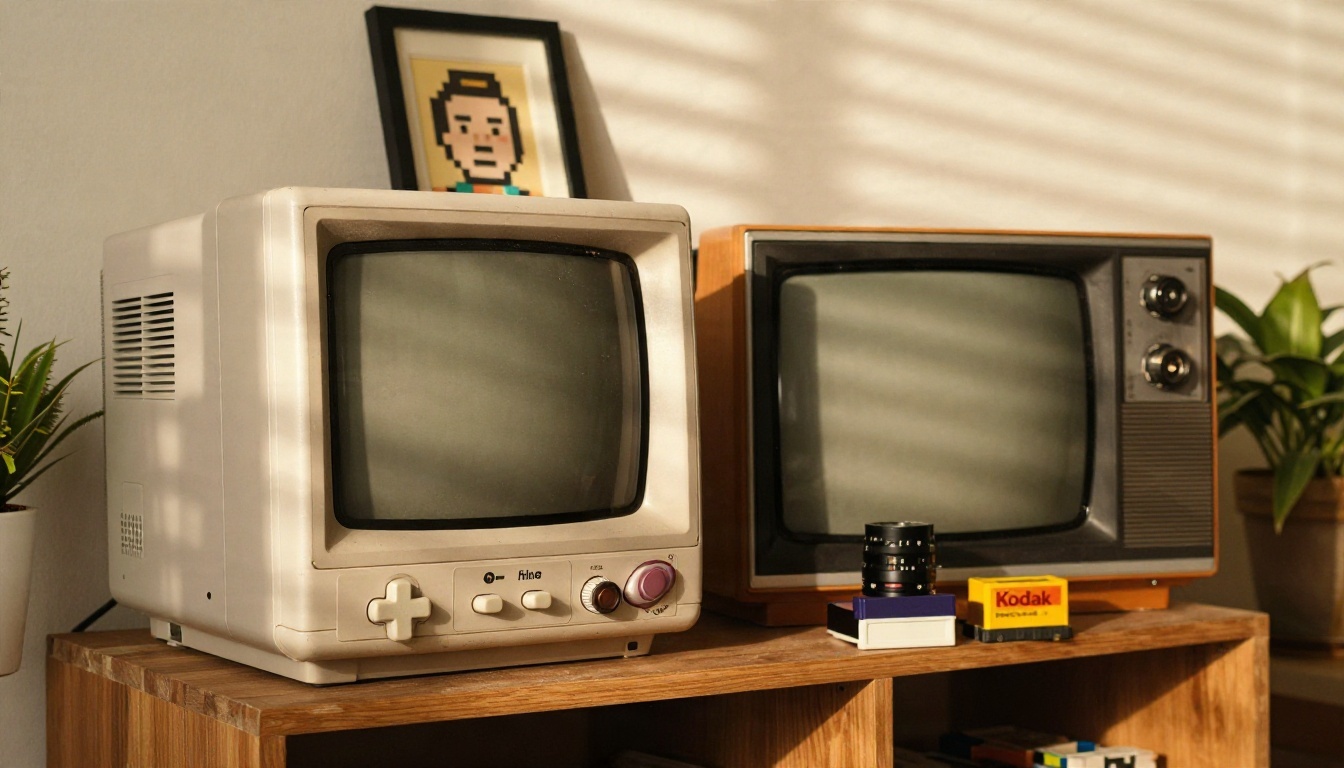
Some people build entire retro shelves, with a handheld console, a few cartridges and a framed portrait of themselves in the style of that era. It is a small, personal way to bring an old visual language into a present day room.
Free Versus Paid: What You Really Get
Free tools are enough for casual use. You can make a decent avatar on a browser converter in thirty seconds. The limits show up when you care about the result:
- Resolution and exports. Free tools often cap the size or add a watermark.
- Consistency. Making a set of five portraits that match is hard without a model that responds well to repeated prompts.
- Likeness. Converters keep whatever the photo gives them. Generators and editing models can rebuild the face with intention.
The practical advice: start free, test two or three prompts, and only worry about anything beyond that if you need a whole cast or a print run.
A Quick Checklist Before You Export
- Thumbnail test passed: face still readable at tiny size
- Palette under 32 colors
- Consistent pixel size across the image
- Eyes have a highlight pixel
- Background is flat or very simple
- Exported at a whole number scale with nearest neighbor
Make Your Own Pixel Portrait Today
You now have the sizes, the prompts and the mistakes to avoid. The fastest way to find your style is to try a few versions side by side. Open RD Plus, paste the base prompt with your own details, and generate a batch at 32 and 64 pixels. Then try a photo edit with Nano Banana to compare the likeness. Within ten minutes you will know which look is yours.
Want more options? Browse everything available at picassoia.com/en/all-models and start building your own pixel art portrait on PicassoIA.


