A few years ago, getting a presenter on screen meant a camera, a light kit, a quiet room and a person willing to do twelve takes. Today you can hand an AI one still photo and one audio clip, and get back a face that blinks, nods and speaks every word. That is a talking head AI, and it has quietly become one of the most practical uses of generative video.
The catch is that results vary wildly. Two people can feed the same tool and get completely different outcomes: one gets a natural presenter, the other gets a rubber mask with a flapping jaw. The difference is almost never the tool. It is the photo settings, the audio quality and the model you pick for the job.
This article walks through what these tools actually do, which free options and online apps are worth your time, real examples by use case, and the exact photo settings that make lip sync look believable.
What a Talking Head AI Does
A talking head is the classic format of a person framed from the chest up, speaking straight to the viewer. News anchors, course instructors, support videos and founder updates all use it. Talking head AI automates the whole thing from a still image.
From one photo to a speaking face
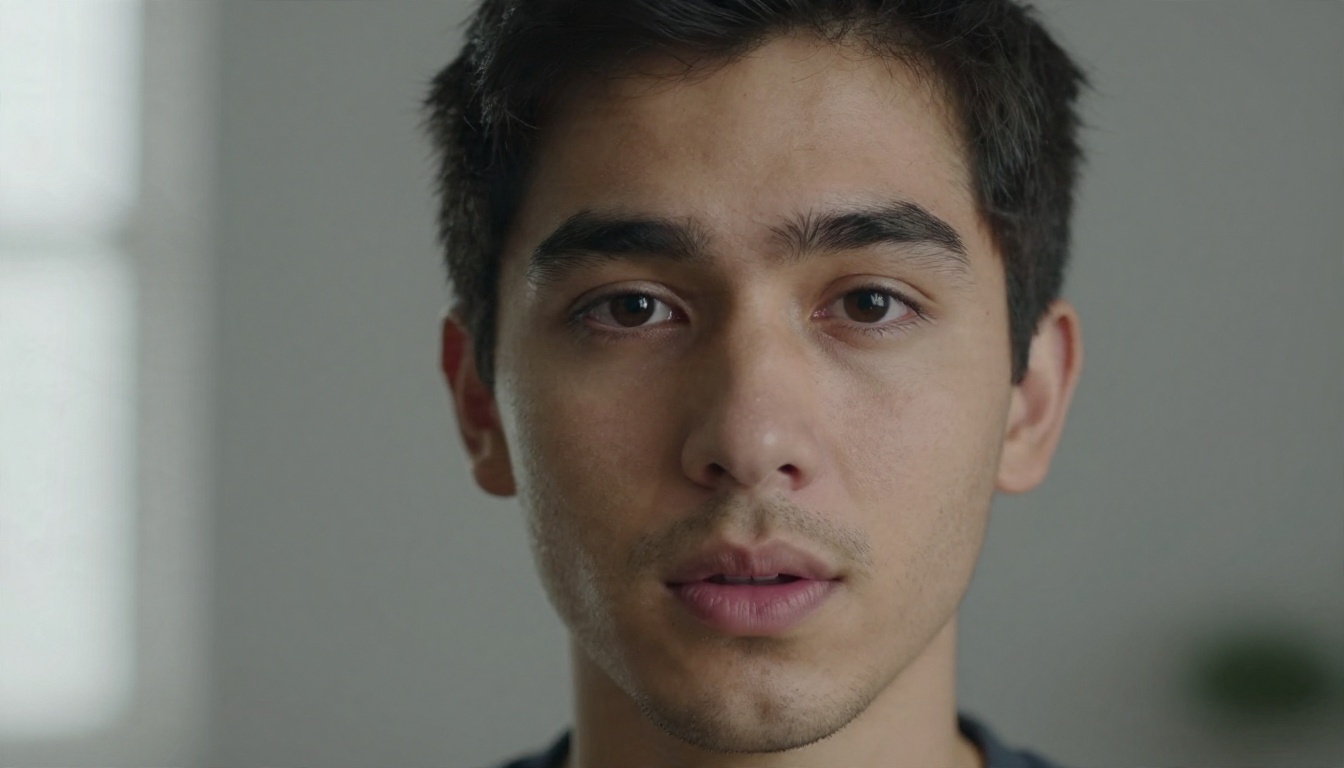
The model reads your portrait, finds the face, jaw, eyes and shoulders, and then predicts how those areas should move for each sound in your audio. Better models also add the things people forget about: small head turns, eyebrow movement, blinks, breathing and shoulder shifts. That is why a modern result feels alive, while older "photo mouth movers" looked like a puppet.
Where the voice comes from
You have three ways to supply the voice:
- Record yourself. The most natural result, because real speech carries rhythm and emphasis the model can follow.
- Generate speech from a script. A text-to-speech model such as Realtime TTS 2 turns written text into a natural voiceover you can then feed to the talking head model.
- Dub an existing video. If you already have footage, lipsync models re-time the mouth to a new audio track or language.
💡 Quick rule: the photo decides how real the face looks, and the audio decides how real the performance feels. Weak audio can ruin a perfect photo.
Search for talking head tools and you will find dozens of browser apps, mobile apps and model platforms. Most of them run on a handful of underlying models, so it helps to know what you are really choosing between.
What "free" usually means
Almost every free talking head tool falls into one of these buckets:
| Free type | What you get | Typical catch |
|---|
| Free trial credits | A few short clips to test quality | Credits run out fast |
| Watermarked output | Full quality with a logo in the corner | Not usable for client work |
| Limited length | Clips of a few seconds | Hard to make a full message |
| Low resolution | Fine for previews | Face looks soft on a large screen |
| Open model, self-hosted | No fees at all | Needs a strong GPU and technical setup |
Read the fine print before you build a workflow around any of them. The best way to judge a free tool is to test it with your own photo, not the demo portrait on the home page. Demo faces are chosen because they work.
Browser apps versus model platforms
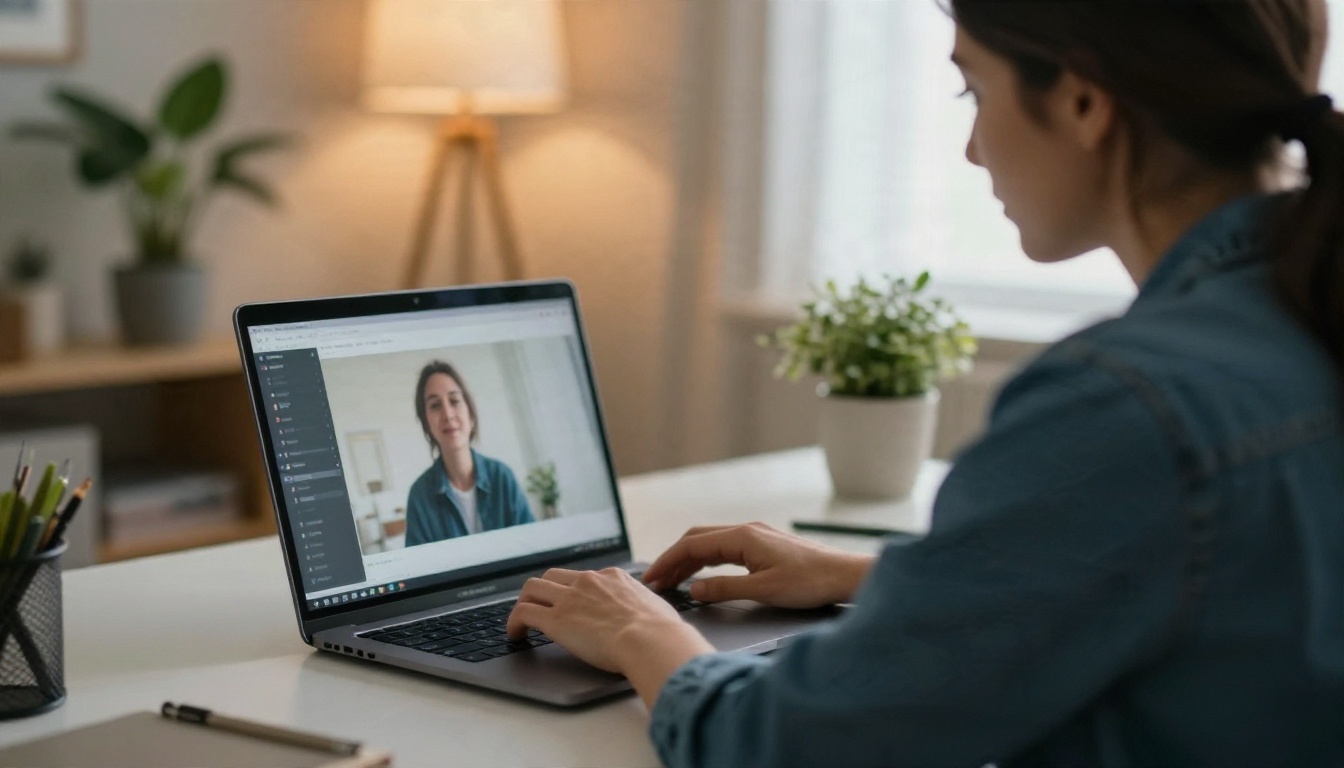
A single-purpose browser app is simple: upload, press a button, download. The downside is that you are locked into one model and one look. A model platform lets you try several models on the same photo and keep the one that behaves best. That matters because each model has its own strengths: some are better at close-up portraits, some at full upper-body gestures, and some at long clips.
Talking head models worth testing
These are the photo-to-video and avatar models available on PicassoIA right now:
| Model | Best for | Input |
|---|
| Fabric 1.0 | Quick, clean talking portraits from a single photo | Photo and audio |
| Omni Human 1.5 | Expressive upper-body performance with gestures | Photo and audio |
| Omni Human | Reliable lip sync on realistic portraits | Photo and audio |
| Kling Avatar v2 | Animating faces with natural motion | Photo and audio |
| Avatar V | Presenter-style avatar videos | Photo and script or audio |
| P Video Avatar | Fast talking avatar clips | Photo and audio |
If you already have video and only need the mouth fixed, use a dedicated lipsync model such as Lipsync 2 Pro or Kling Lip Sync.
Photo Settings That Work
This is the part most tutorials skip, and it is where most failed attempts come from. The model can only animate what it can see clearly. Give it a muddy, angled or half-shadowed face and it will guess.
Framing and angle
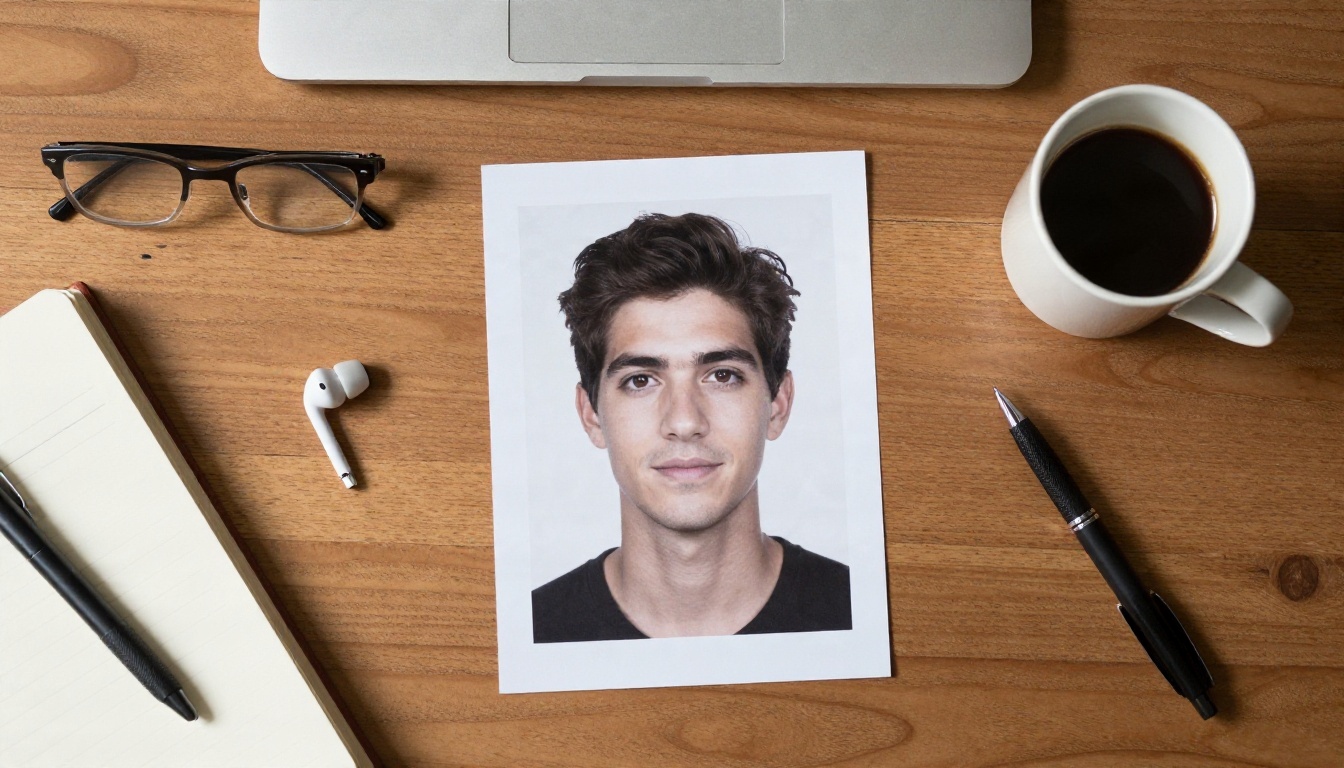
- Face the camera straight on. A slight turn is fine, but a strong side profile hides one eye and half the mouth.
- Head and shoulders, centered. The face should fill roughly 30 to 50 percent of the frame height. Too small and the lips lose detail. Too tight and there is no room for natural head movement.
- Camera at eye level. Looking up at someone or down at them distorts the jaw, and the animation exaggerates it.
- Keep the mouth neutral. A relaxed, closed or very slightly parted mouth works best. A wide grin or visible teeth can look odd once the model starts moving the lips.
Lighting and background
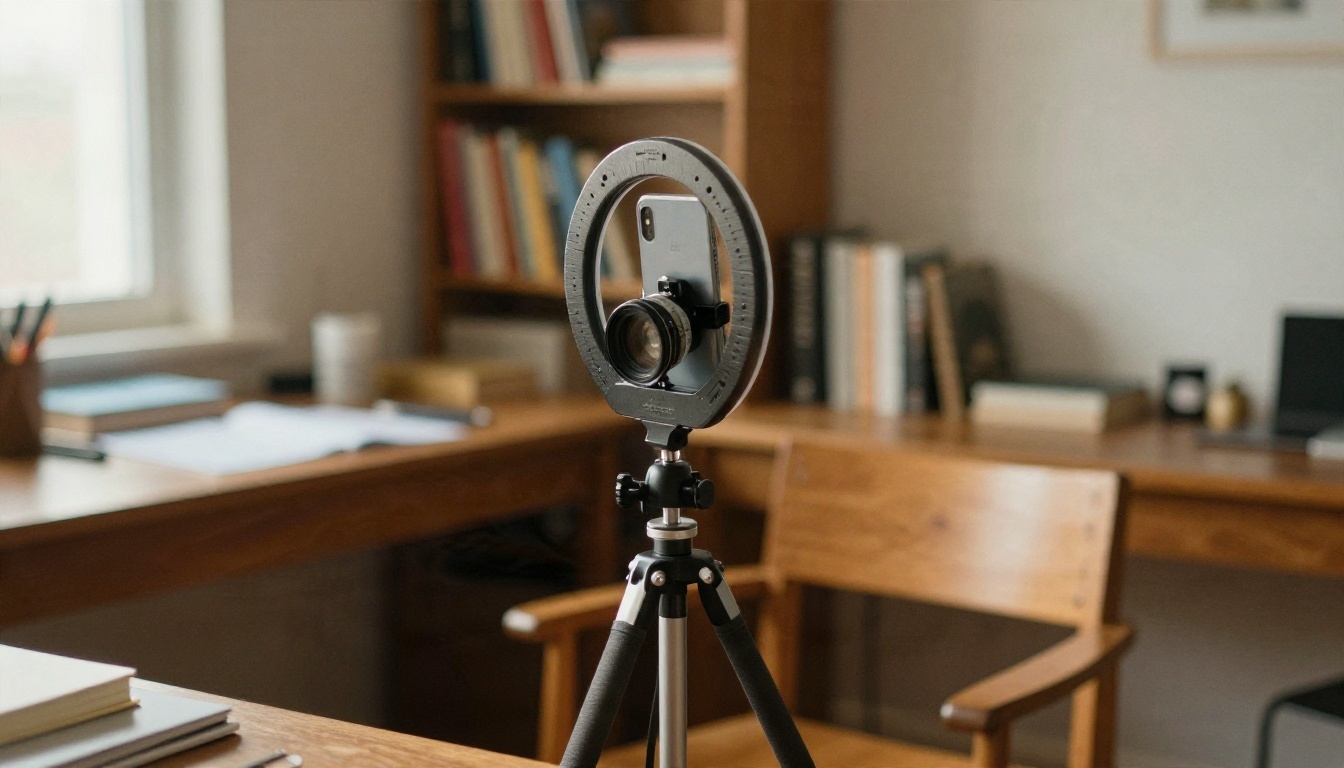
- Soft, even light from the front or one side. A window with sheer curtains is perfect.
- Avoid hard shadows across the eyes or mouth. Shadows over the lips cause flickering.
- Plain, uncluttered background. Busy patterns behind the head can wobble when the model moves the shoulders.
- No glare on glasses. Reflections tend to jump from frame to frame.
Resolution and expression
Use a sharp photo of at least 1024 pixels on the short side. Phone portraits are usually plenty. Upscale a small image first with a super resolution model instead of feeding a blurry one, because the AI will happily animate the blur.
Here is a quick settings cheat sheet:
| Setting | Recommended | Avoid |
|---|
| Framing | Head and shoulders, centered | Full body or tiny face in a wide shot |
| Angle | Straight on, eye level | Strong side profile, extreme low angle |
| Lighting | Soft window light | Harsh overhead light, backlight silhouettes |
| Resolution | 1024 px or higher | Compressed screenshots |
| Expression | Neutral, relaxed mouth | Big smile, wide open mouth |
| Obstructions | Clear face | Hands, hair or microphones over the lips |
| Aspect ratio | Match the final video (16:9 or 9:16) | Cropping after the fact |
💡 Test shot trick: before you run a long clip, animate a 5 second sample. If the lips and eyes look right there, the full clip will too.
Real Examples by Use Case
Talking heads work best when the person on screen is the message. Here is where they pay off.
Teachers and course creators
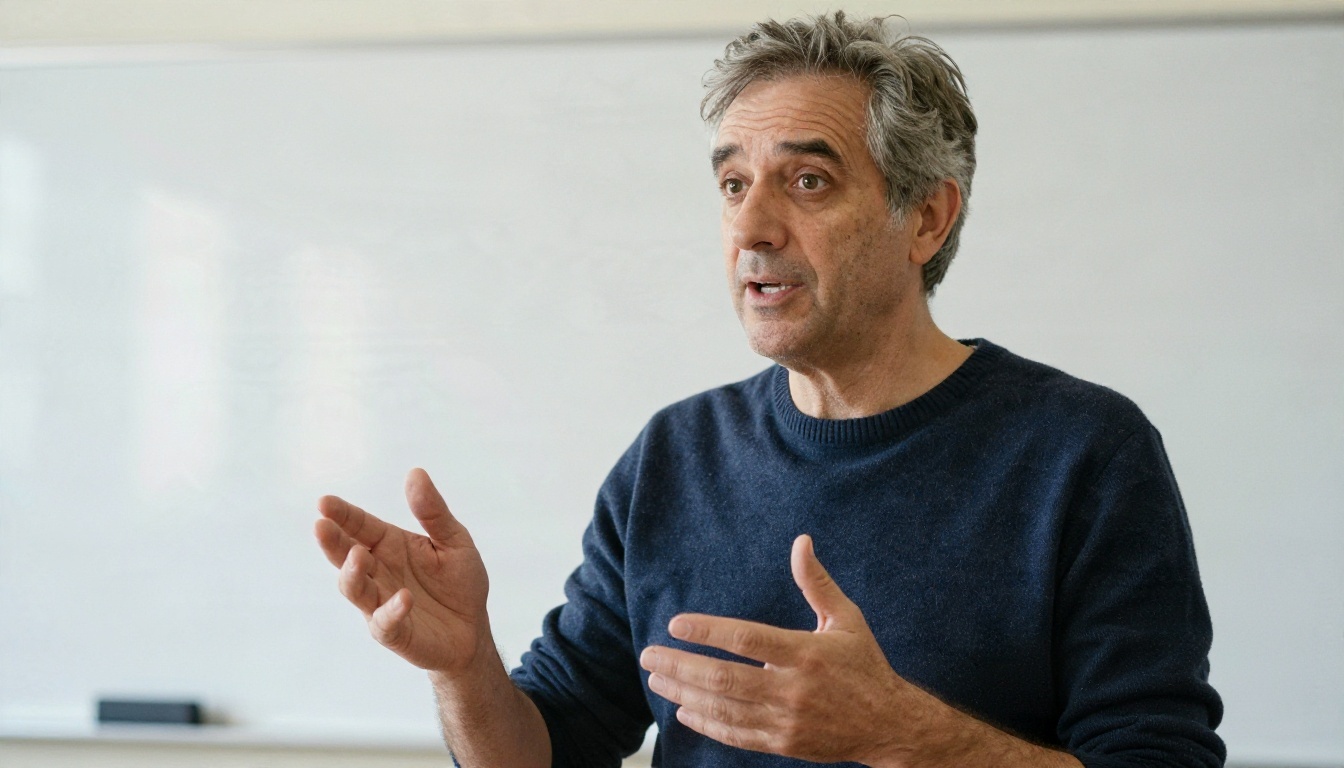
An instructor can record one clean headshot and then produce a new lesson intro every week from a script. Updating a lesson means changing the text, not booking a studio day. A calm, neutral background like a whiteboard or plain wall keeps the focus on the explanation.
Small business owners
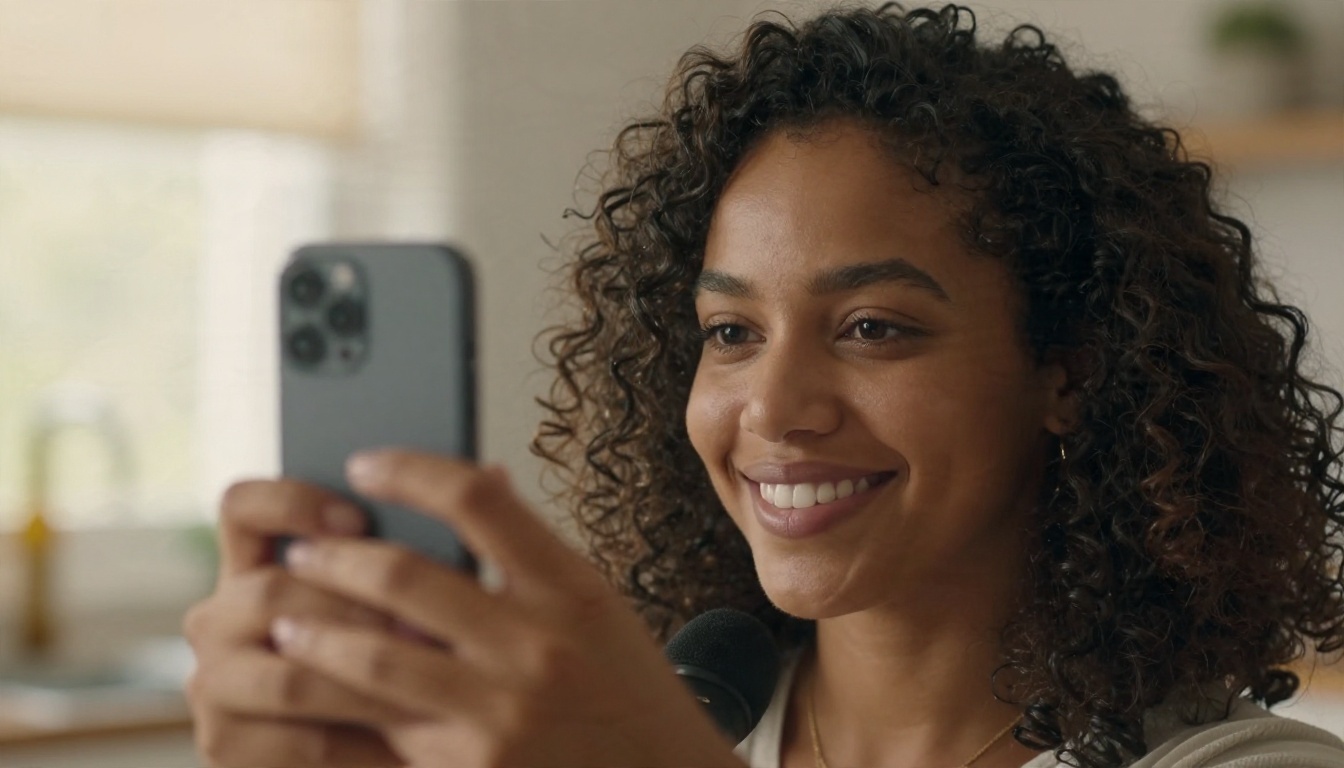
A shop owner can greet customers, announce a new product or explain a return policy in a short vertical clip. Because the clip comes from a photo, you can make versions in several languages without re-filming. Pair a warm, real-looking portrait with a friendly voiceover, and the video feels personal even when it was made in minutes.

Creators who stay off camera
Plenty of creators have a voice and a message but do not want to appear on screen daily. A consistent AI presenter, created once and reused, gives a channel a recognizable face. You can generate that presenter with an image model like Seedream 4.5 or Nano Banana Pro, then animate it with one of the models above.
Other everyday uses include:
- Internal training and onboarding videos
- Product explainers and FAQ answers
- Personalized video messages for customers
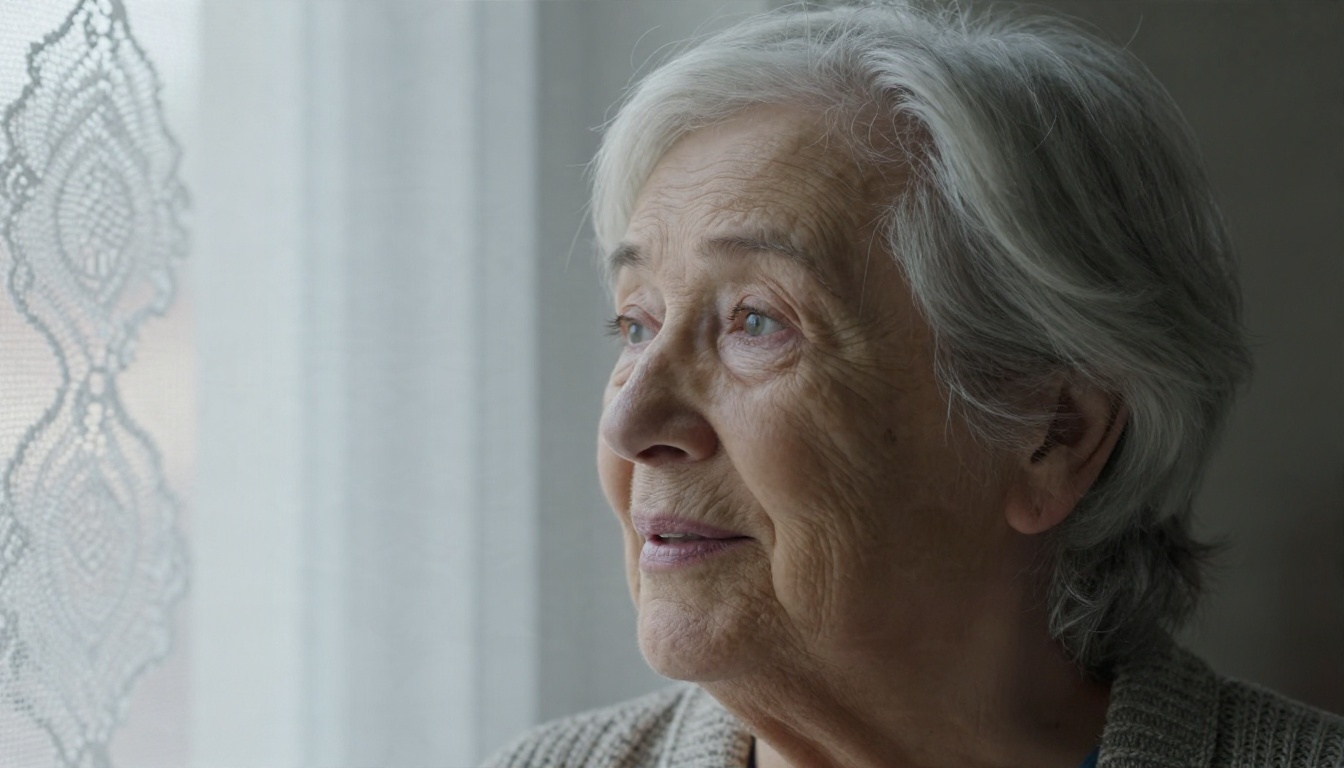
- Memorial or family videos from old portraits (with the family's consent)
- Multilingual versions of a single announcement
Make One Step by Step
Here is a simple workflow using Fabric 1.0 on PicassoIA, which is a good first model because it needs only a photo and an audio file. The same steps work for the other talking head models in the table above.
Prepare the photo and audio
- Pick or generate a front-facing portrait that follows the settings above.
- Record or generate your audio. Keep it clean: no background music, no echo, no long silences at the start.
- Keep your first test short, around 5 to 10 seconds.
Run the model
- Open Fabric 1.0.
- Upload your portrait as the image input.
- Upload your audio file.
- Pick the output settings offered on the page, such as resolution, and start the generation.
- Review the result with sound on, and watch the mouth, eyes and neck.
If you want more body motion and expression, run the same photo and audio through Omni Human 1.5 and compare the two clips side by side.
Fix common problems
| Problem | Likely cause | Fix |
|---|
| Lips look off or blurry | Low resolution photo | Upscale or retake the portrait |
| Face seems frozen | Very flat audio | Use a more expressive recording |
| Jaw stretches strangely | Extreme camera angle | Choose a straight-on photo |
| Flicker around the mouth | Shadows over the lips | Retake in softer light |
| Mouth out of sync | Silence or noise at the start | Trim the audio |
Mistakes That Ruin Results
Most failed talking head videos share the same few causes. Check this list before you blame the model.
Using a photo with the wrong angle
A portrait taken from slightly above, with the head tilted and the chin down, looks fine as a still. Once animated, the jaw and neck stretch unnaturally. Look at the photo and ask: could this person start speaking to me from here? If the answer is no, retake it.
A three-quarter profile can work in skilled hands, but it is a harder starting point. For a first project, stick to a front-facing shot.
Feeding in messy audio
Background hiss, room echo and music underneath the voice all confuse the lip sync. Record in a quiet room, keep the microphone close, and avoid putting music in the audio you give the model. Add music later in an editor.
Skipping the short test
Long clips cost more time and credits. A 5 second test shows you immediately whether the photo, the audio and the model combination works. Fix the issue on the short clip, then render the long one.
Ignoring permission
Only animate photos of people who agreed to it. Using someone's face without permission can cause real harm and may break platform rules or local law. If you want a presenter and have no suitable photo, generate a fictional one instead.
Voice, Audio and Language
The audio drives everything, so spend a little time on it.
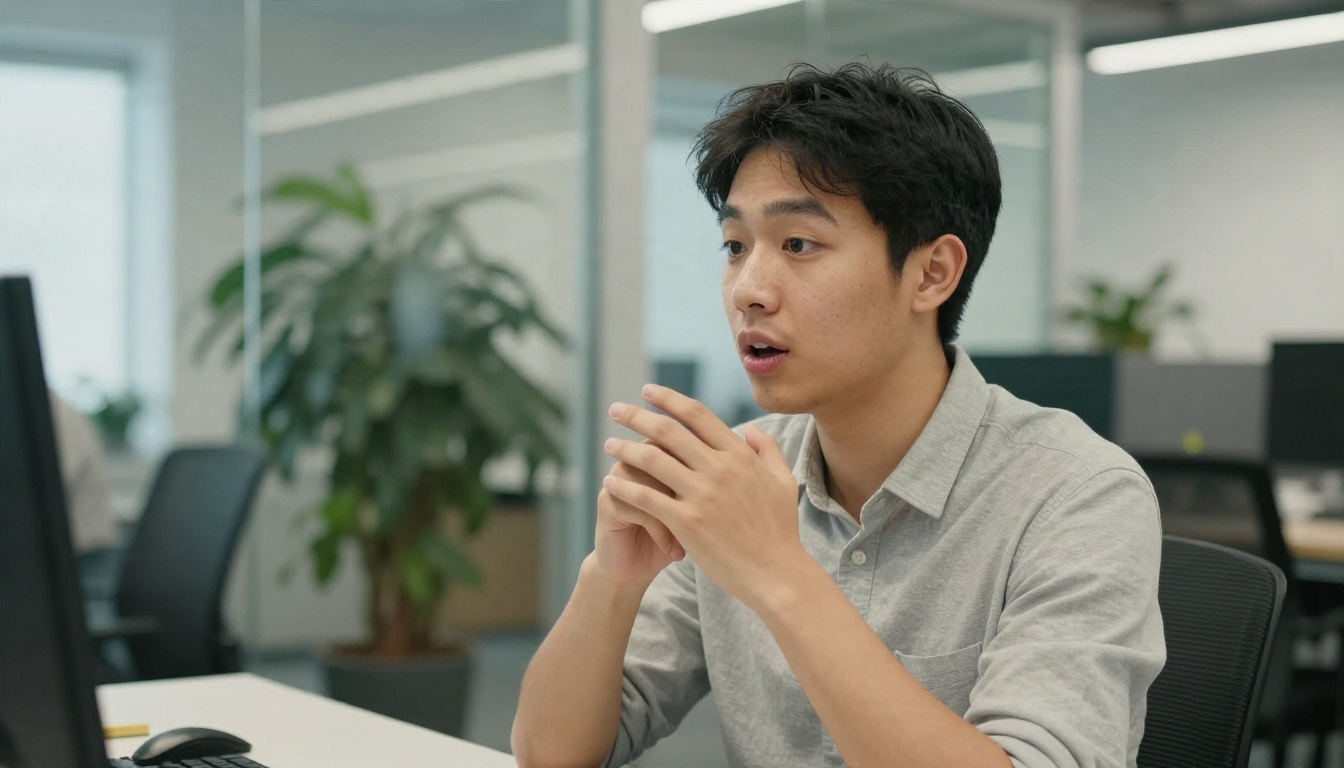
- Pace. Natural speech with small pauses gives the model room to blink and shift. Rapid, unbroken speech looks robotic.
- Emotion. If the voice sounds excited, the face will reflect it. A monotone voice produces a stiff presenter.
- Language. You can produce the same talking head in many languages by swapping the audio. For existing video, a dubbing model such as Dubbing translates the speech, and a lipsync model fixes the mouth movement to match.
- Length. Break long scripts into several short clips of 10 to 20 seconds. They are easier to fix and edit, and results are more consistent.
💡 Workflow shortcut: write the script, generate the voice, create one clean portrait, and animate. Four steps, one afternoon, no studio.
Try Your Own Talking Head
You now have the full picture: pick a sharp, front-facing photo, give the model clean audio, test with a short clip, and compare a couple of models on the same input. That process beats any single "best tool" list, because the best talking head model depends on your face, your voice and your goal.
The easiest way to find out is to run your own test. Open PicassoIA, generate a presenter portrait with Seedream 4.5 or upload your own photo, then bring it to life with Fabric 1.0, Kling Avatar v2 or Omni Human 1.5. Try the same photo and audio on each, compare how the mouth, eyes and head movement feel, and keep your favorite.
Browse the full model list at picassoia.com/en/all-models, pick a photo and make your first talking head today.


