Graphic designers in 2027 have a problem most people would envy: too many AI tools that actually work. Two years ago, the question was "does this even produce usable output?" Today it is "which of these 12 models is right for this specific project?" This article cuts through the noise. Below are the five categories of AI tools that have genuinely reshaped how designers work in 2027, each with the specific models worth knowing, real workflows, and direct access via PicassoIA.
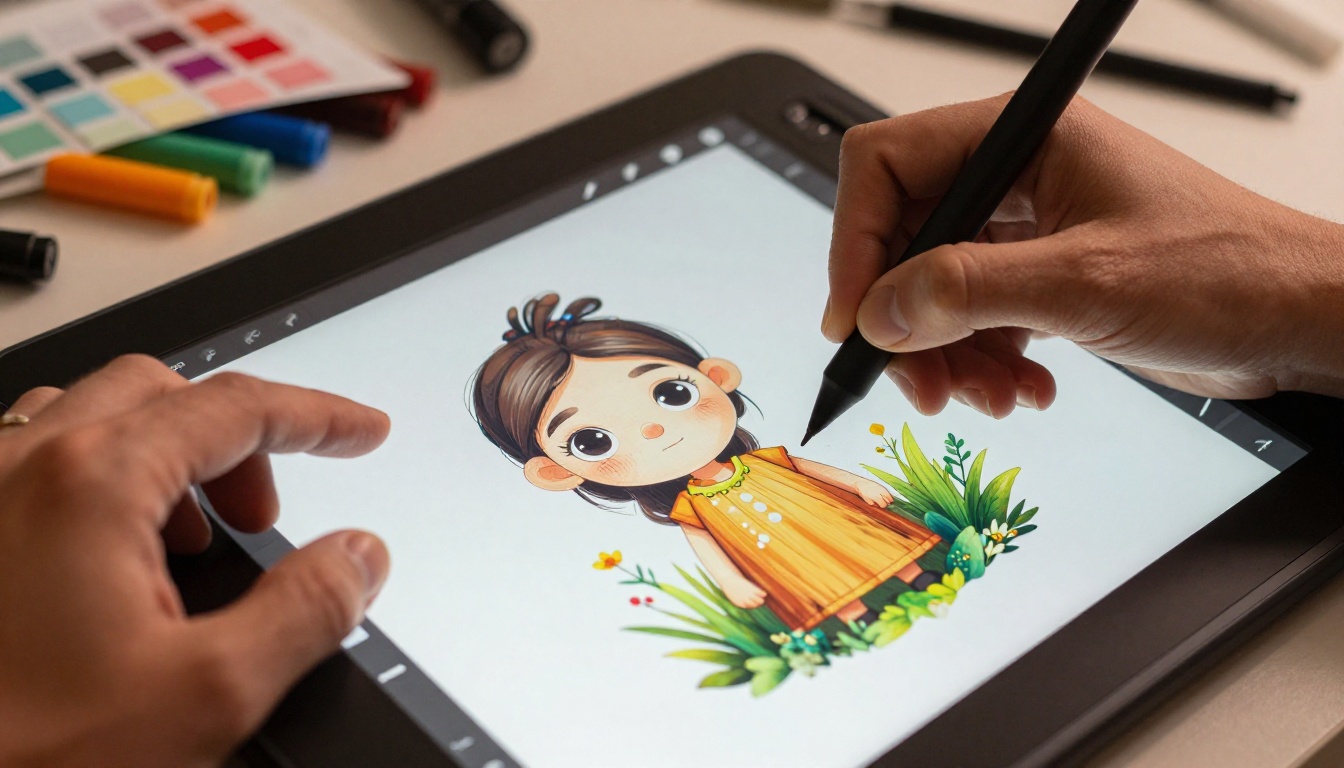
1. AI Text-to-Image Generation
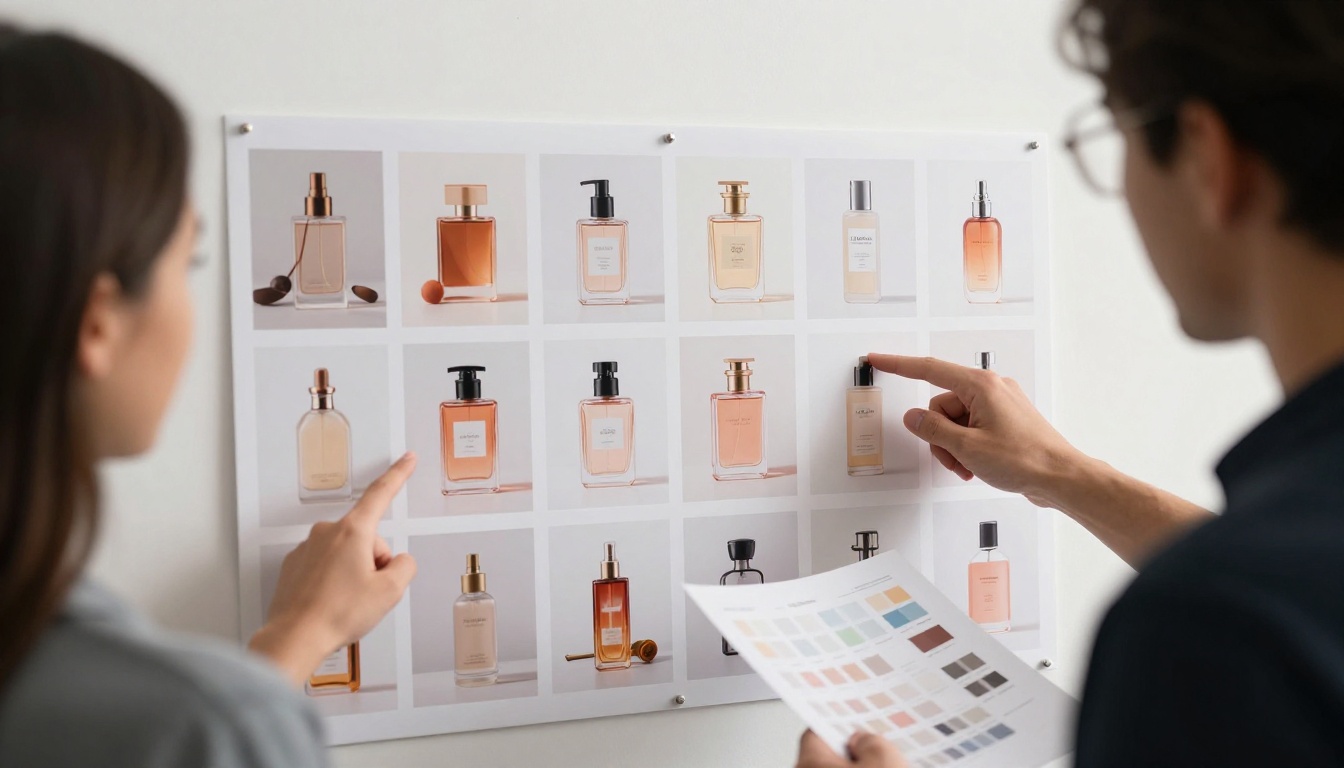
There is no single AI tool more immediately useful to a graphic designer than a high-quality text-to-image model. A creative brief that would have required a stock photo hunt, a photographer, and a retoucher now takes two minutes and a well-written prompt.
But not all generation models are equal, and 2027 has made that more obvious than ever.
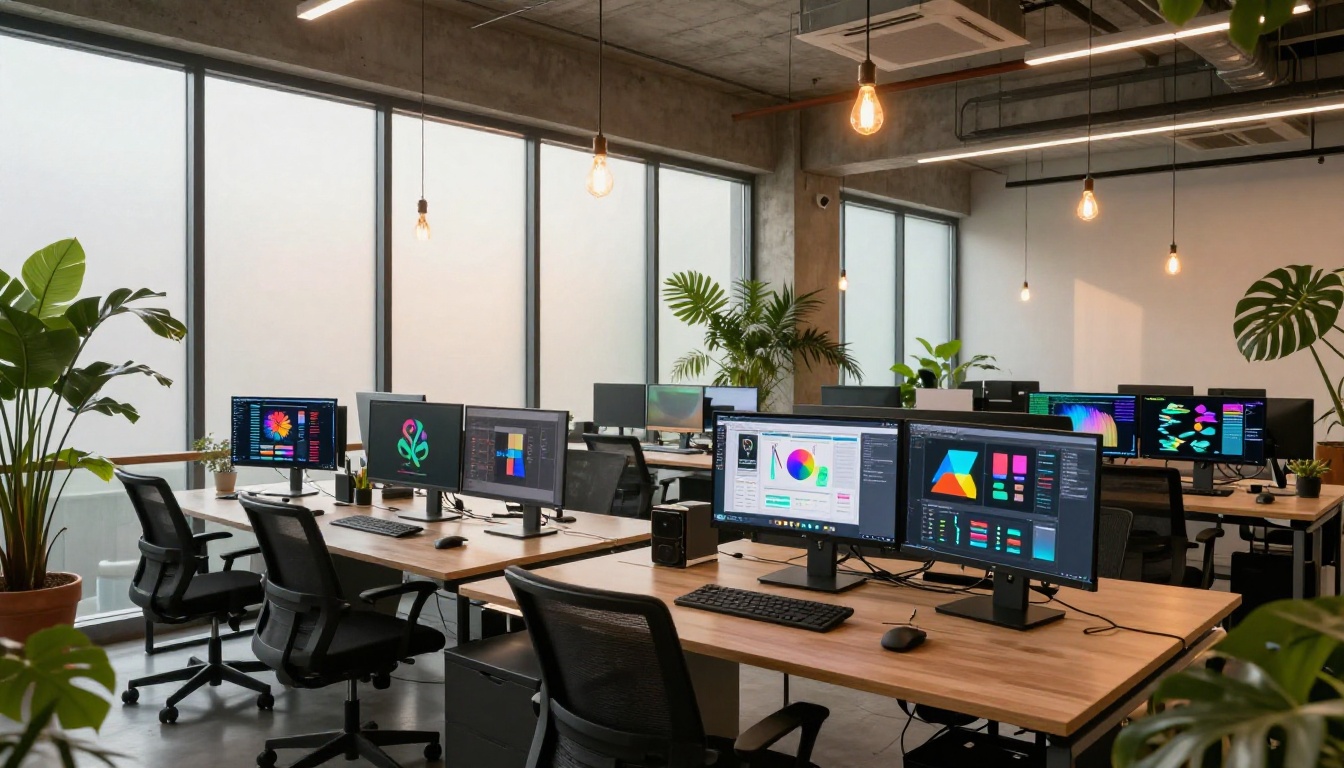
What Changes With Good Generation
A professional-grade text-to-image model does more than produce pretty pictures. It responds accurately to prompt structure, preserves spatial composition, delivers consistent lighting physics, and outputs images at resolutions suitable for print or large-format digital display. For designers, this translates directly into:
- Mood boards in minutes: Generate 20 stylistic options in a single session instead of spending hours on Pinterest and stock platforms.
- Client concept presentation: Show photorealistic interpretations of an idea before a single shot is taken or a single production dollar is spent.
- Asset production at scale: Generate product background scenes, lifestyle imagery, and campaign hero shots without a studio booking.
The speed advantage is real, but the more significant shift is compositional freedom. When you can iterate on a scene in seconds, you stop settling for "close enough" stock imagery and start producing assets that actually match the brief.
Models Worth Knowing on PicassoIA
PicassoIA offers 91+ text-to-image models, which means the real skill is knowing which model fits which job. Here is a practical breakdown by use case:
| Use Case | Recommended Approach | Notes |
|---|
| Photorealistic lifestyle shots | High-fidelity realism models | Prompt with lighting and lens specifics |
| Product mockups | Clean-background generation | Pair with background removal after |
| Concept art and mood boards | Stylistic freedom models | Prompt specificity matters most |
| Commercial campaign imagery | P-Image by PrunaAI | Fast, photorealistic, commercial quality |
P-Image in particular has become a reliable workhorse for commercial-grade output. It handles complex scene compositions well, responds accurately to lighting descriptors, and outputs at resolutions that hold up at large format. Describing the camera setup ("Sony A7 85mm f/1.8, shallow depth of field") consistently produces more professional results than generic prompts.
💡 Prompt tip: Structure every prompt as: Subject + Environment + Lighting Direction + Camera Lens + Texture Descriptors. A 60-80 word prompt consistently outperforms a 10-word one by a significant margin.
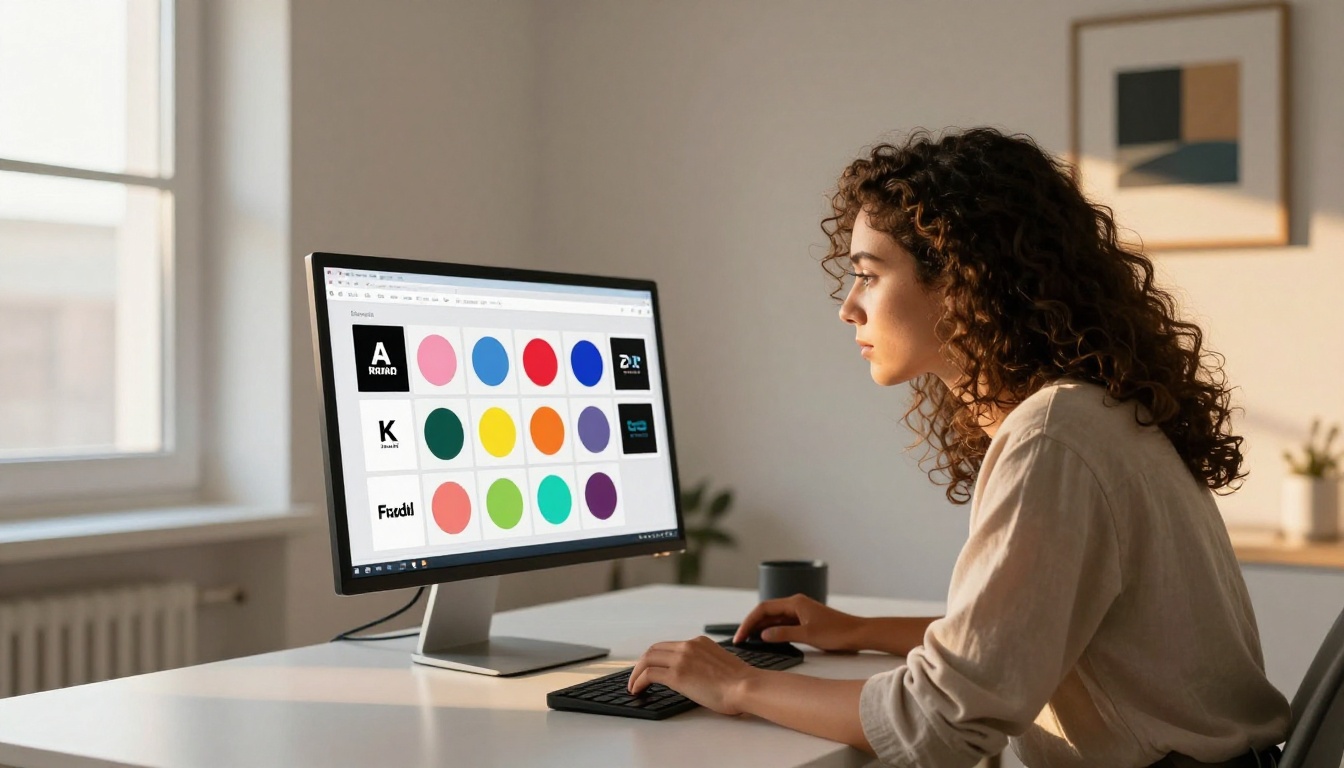
The Generation Workflow in Practice
A typical designer workflow with text-to-image generation looks like this:
- Write a detailed prompt including subject, environment, lighting angle, camera lens, and texture descriptors.
- Generate 4-6 variations to find the right composition.
- Select the strongest output and refine via inpainting if needed.
- Send to an upscaler for print-ready resolution.
This four-step process replaces what previously required a photographer, a stylist, a location scout, and a post-production retoucher for many use cases.
2. AI Background Removal
Background removal has been part of every designer's workflow for decades. Clipping paths, magic wand selections, pen tool masking. For most of that time, the process was slow, expensive when outsourced, and imprecise at fine details like hair, fur, or complex foliage edges.
AI background removal in 2027 has made it instant and, in most cases, more accurate than manual masking.
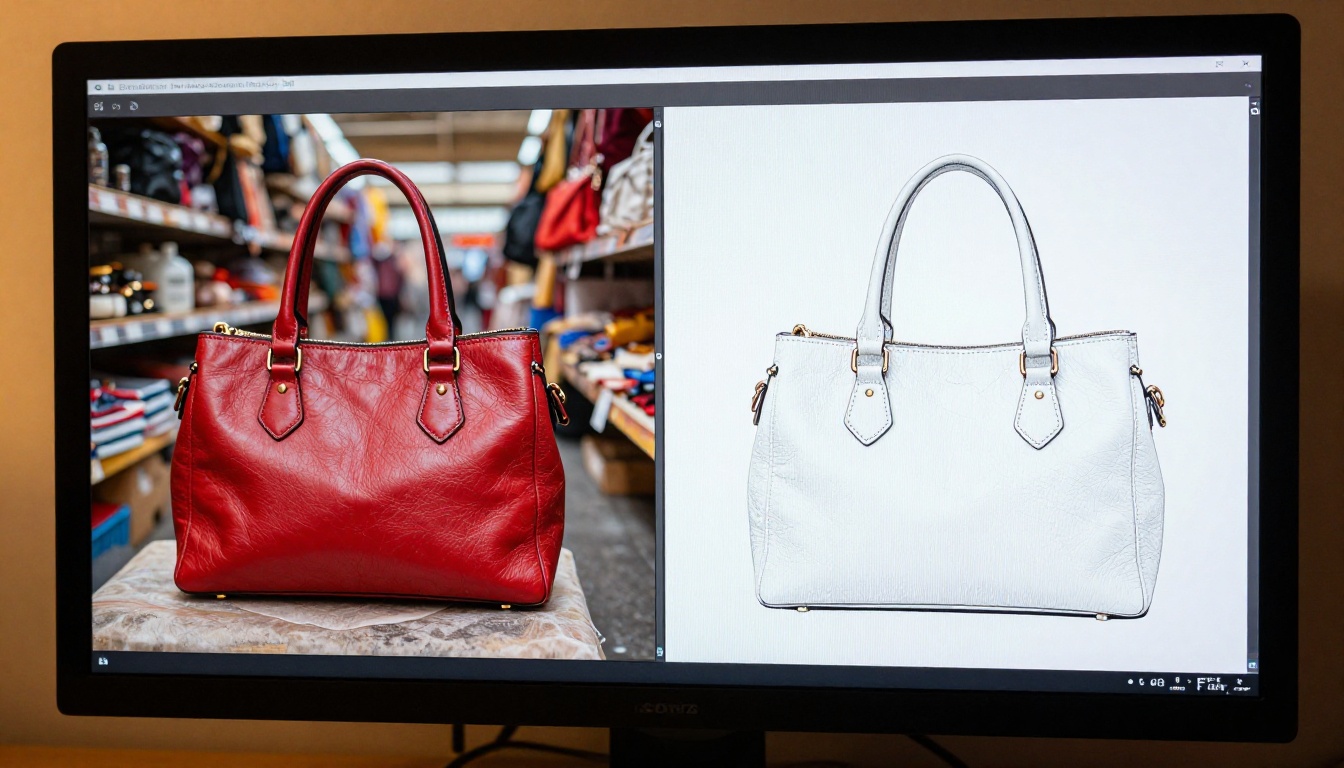
Why This Goes Beyond E-Commerce
Most designers associate background removal with product photography and e-commerce. That is the obvious use case, but the application runs much wider:
- Composite work: Isolating subjects for placement into AI-generated or photographed backgrounds.
- Brand identity production: Cleaning up logos and icon artwork for use across varying background colors.
- Campaign creative at scale: Rapidly isolating models and products for multi-channel asset production.
- Social media content: Fast iteration where every post needs the subject on brand-colored or transparent backgrounds.
The Bria Remove Background model on PicassoIA handles the cases that trip up simpler tools:
- Hair and fine edges: Individual strands preserved without a halo effect, which has historically been the hardest problem in automated masking.
- Transparent and semi-transparent materials: Glass, mesh fabric, and similar materials processed with accuracy that manual selection struggles to match.
- Clean alpha output: PNG with proper alpha channel, ready to drop into any design system or compositing workflow.
💡 Production tip: Run background removal on AI-generated images, not just photographs. Generating a subject on a neutral background and then isolating it gives you compositing flexibility that would otherwise require multiple separate production assets.
The Two-Tool Pipeline
The most efficient workflow for commercial image production in 2027 combines generation with removal:
- Generate the subject using P-Image with a simple, clean background.
- Remove the background with Bria Remove Background.
- Place the isolated subject on any new background, whether designed, photographed, or separately AI-generated.
This two-step pipeline handles product imagery and campaign composite work without a camera, a studio, or a post-production team.
3. AI Visual Effects
Visual effects in design have historically belonged to specialists with Motion or After Effects. That is still true for complex animation work, but for still imagery, AI visual effects in 2027 have opened capabilities that previously required dedicated software expertise or a compositor on the team.
What Designers Use AI Visual Effects For
The practical applications break into three distinct areas:
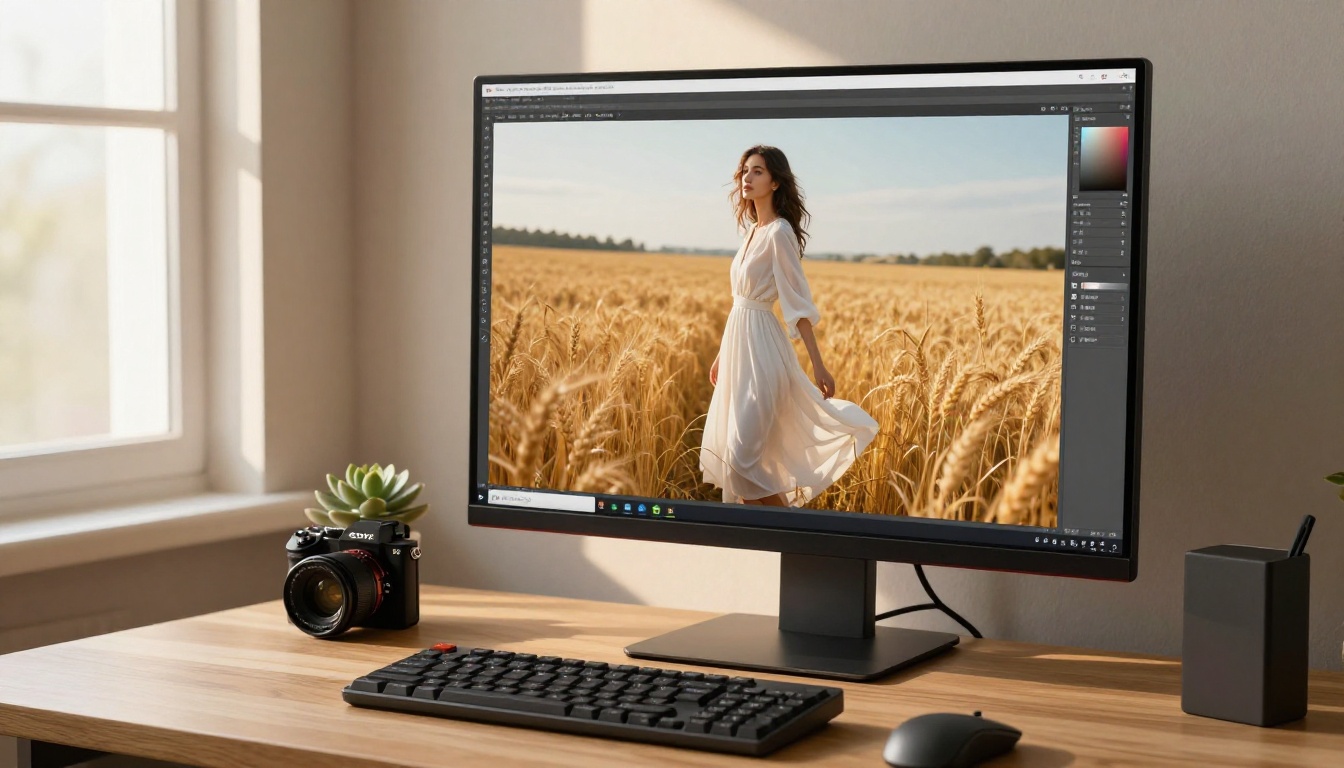
1. Color grading at scale: Apply cinematic color grades to entire batches of images without manual adjustments in Lightroom or Capture One. AI-powered grading tools analyze the content of each image and apply context-appropriate treatment, not a flat filter overlay.
2. Atmospheric and environmental effects: Fog, volumetric light rays, simulated depth-of-field on already-captured images, and rain. These effects were previously only achievable in-camera or through complex compositing layers, and took hours per image.
3. Style transfer and visual consistency: Applying the visual characteristics of a reference image across a batch of assets. Valuable for brand consistency when working with mixed-source imagery from different photographers, sessions, or generations.
Where Visual Effects Fit in the 2027 Design Stack
Visual effects AI sits between generation and output in the modern workflow. You generate or source an image, apply effects to match your brand aesthetic or campaign mood, and then prepare for output. The middle layer, which used to require a retoucher, now takes seconds.
PicassoIA's platform includes a wide range of effects tools for both still images and motion work, all accessible directly at picassoia.com/en/all-models.
💡 Workflow tip: When generating hero images for a campaign, define your visual effect parameters first (color temperature, contrast style, atmospheric treatment), then apply uniformly across all generated assets. Consistency at this stage saves significant time in brand alignment review.
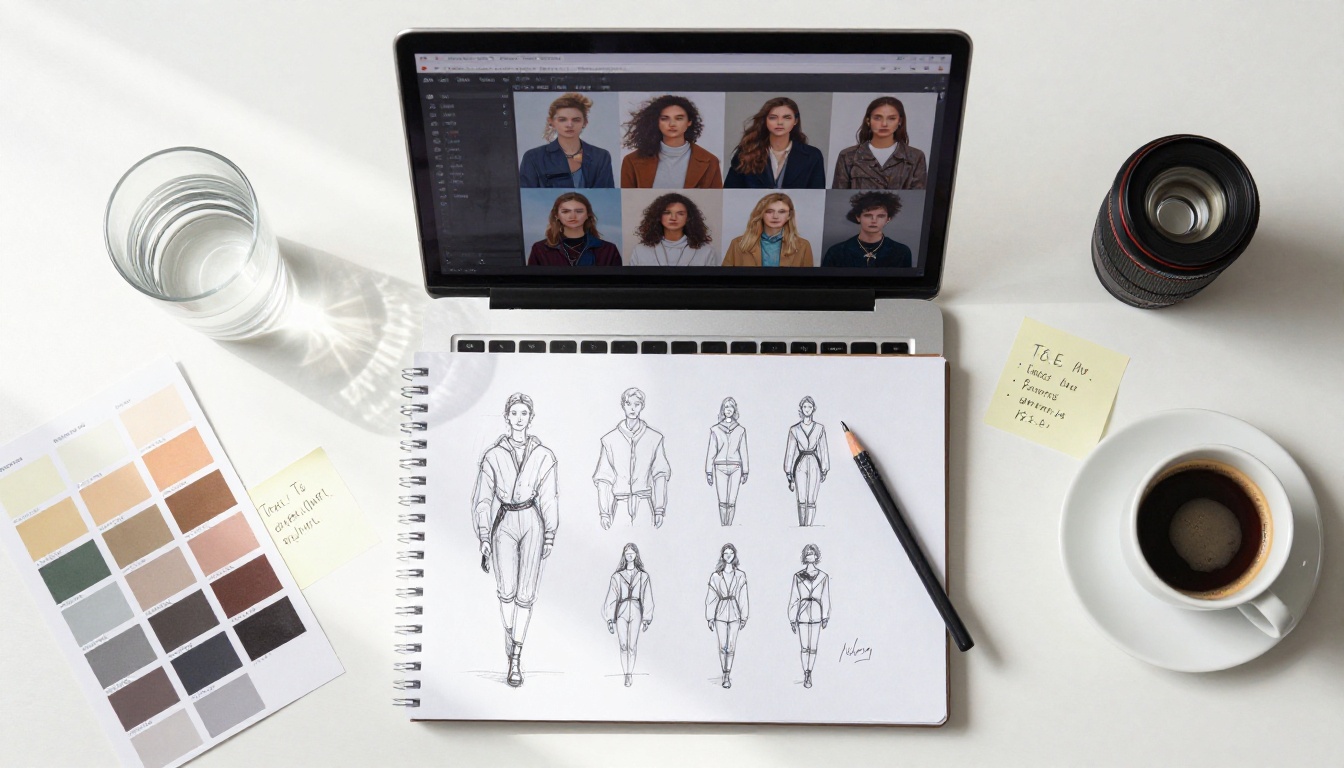
4. AI Image Upscaling
Every designer has faced this problem: a client-provided image, or an AI-generated asset, that looks excellent at 800 pixels wide and falls apart at the size needed for print, billboard, or large-format digital display. AI upscaling in 2027 has made this problem largely solvable.
What the Models Actually Do
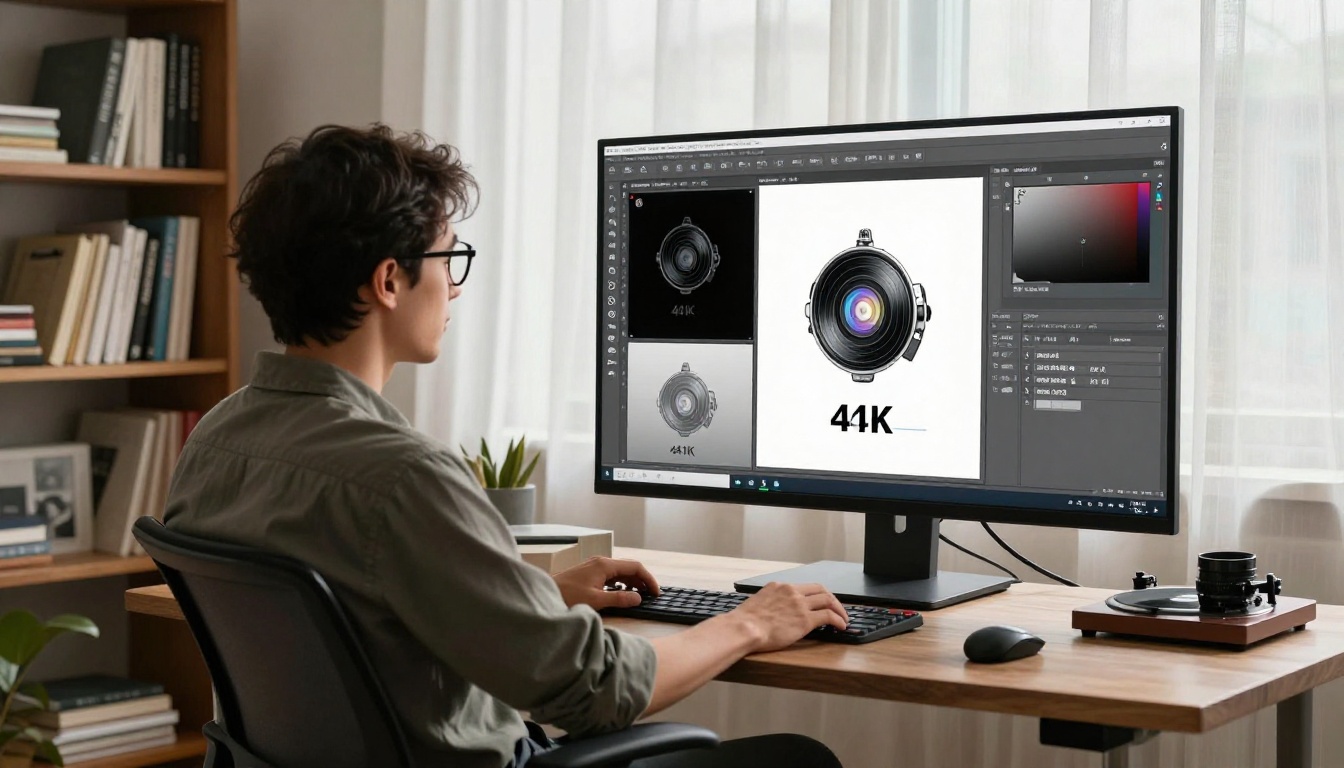
Traditional upscaling interpolates pixels, which introduces blur and softens edges. AI upscaling uses trained models to reconstruct what the missing pixel data would look like based on the content of the image. The difference in output quality is significant, particularly for:
- Portrait photography: Skin texture, pore detail, and hair strands are reconstructed rather than blurred.
- Architecture and interiors: Brick texture, wood grain, and hard edges stay sharp at 4x and beyond.
- Product photography: Label text, material surfaces, and metallic reflections hold their quality at print resolution.
The Upscaling Models on PicassoIA
PicassoIA offers nine super-resolution models at different performance profiles. Here is a clear breakdown:
For most professional photography and campaign imagery, Topaz Image Upscale delivers the highest quality ceiling at 6x magnification. For portrait-heavy work, Clarity Pro Upscaler and Crystal Upscaler specialize in the fine skin and hair texture that matters most in beauty and fashion campaigns.
💡 Resolution planning: When generating images for a project that will need print output, plan the upscale step from the start. Starting from a well-generated 1920x1080 image and upscaling 4x gives you a 7680x4320 (8K) output that holds at large format without degradation.
Upscaling AI-Generated Images
One underused application of upscaling is applying it directly to AI-generated content. Models like P-Image generate at solid native resolutions, but for print-ready output or large-format digital signage, running the output through Topaz Image Upscale or Clarity Pro Upscaler adds the pixel density that separates web-quality from print-quality output.
5. AI Image Editing: Inpainting, Outpainting, and Object Control
The fifth category makes all four previous tools more powerful: AI-powered image editing. Not filters, not adjustment layers. Genuine content-aware editing where you describe a change in natural language and the model reconstructs that portion of the image to match.
Three Editing Modes That Change the Revision Cycle
Inpainting: Select any region of an image and describe what should replace it. Remove a logo from a bag in a lifestyle shot. Replace a grey sky with golden-hour light. Swap a shirt color. Change a facial expression. These are prompt-driven changes that blend seamlessly with the surrounding image content.
Outpainting: Extend the canvas of an image beyond its original edges. A product shot that is too tight for a horizontal banner can be extended left and right. A portrait that cuts off at the shoulders can be extended downward to show the full figure. The AI fills new areas to match the existing content, lighting, and style.
Object replacement: Identify and describe a specific element to be replaced entirely. Swap a product for a different colorway. Replace a background object without affecting the foreground subject. Change the season in a landscape scene from summer to autumn.
How This Changes Client Revisions
The practical impact on client work is significant. A campaign image requiring a product color change, background adjustment, or format extension no longer means re-shooting or hours of manual compositing. The revision cycle becomes prompt-driven:
| Revision Type | Traditional Workflow | AI Editing Approach |
|---|
| Change product colorway | Re-shoot with new product | Inpaint the product with color description |
| Extend image for horizontal format | Re-crop or re-shoot | Outpaint with canvas extension |
| Remove unwanted background element | Manual selection and fill | Inpaint the element with background description |
| Swap subject clothing | Re-shoot with new styling | Object replacement prompt |
PicassoIA's image editing tools, including outpainting, inpainting, and object replacement, are available directly at picassoia.com/en/all-models.
The Full 2027 Design Stack
The five categories above are not independent tools. They work as a connected pipeline:
- Generate with P-Image or any of the 91+ models on PicassoIA.
- Edit with inpainting and object replacement to refine the specific elements that need changing.
- Remove the background with Bria Remove Background to isolate subjects for compositing.
- Apply visual effects for campaign-wide consistency.
- Upscale with Topaz Image Upscale or Clarity Pro Upscaler for print-ready output.
This five-step pipeline handles 80-90% of commercial image production without a camera, a studio, or a full post-production team behind it.
Start Producing on PicassoIA
Every tool in this article is available on PicassoIA, with no software installation required. The platform brings together 91+ text-to-image models, professional-grade background removal, nine super-resolution upscalers, and AI image editing in a single interface.
If you have not worked with any of these tools yet, the best starting point is a single real project. Take one brief you are working on now and run it through the full stack: generate the hero image, remove the background, apply your visual treatment, upscale for output. The time saving on that first project will tell you everything about where AI belongs in your workflow.
Start with P-Image for generation, Bria Remove Background for isolation, and Topaz Image Upscale for final resolution. All of it is available now at picassoia.com/en/all-models.


