You typed a prompt into Vidu 2.0, waited a minute, and got a clip that ended before the action even started. That is the first surprise for most people: this model builds short clips, not scenes. Before you spend a single credit, it pays to know exactly how long those clips run, what resolution you can expect, what the free tier really gives you, and which settings change the result.
One honest note up front. Most of what is published about Vidu 2.0 comes from third-party marketplaces and API resellers, and the numbers do not always agree. This article sticks to what several sources line up on, flags the conflicts, and tells you where to double-check before you pay for anything.
💡 Quick answer: Vidu 2.0 clips are short, typically 4 seconds and in some listings 8 seconds. Output runs from 360p or 720p up to 1080p depending on the plan. The free plan is small, watermarked, and not meant for commercial work.
What Vidu 2.0 Actually Produces
Vidu 2.0 is a video generation model from Shengshu Technology, released as the successor to the first Vidu. It was built around speed and character consistency, which is why it became popular for quick social clips, product shots, and animating still images.
Clip Length in Seconds
The most repeated figure across marketplaces is a 4 second clip for the standard image-to-video and start-end frame modes. Some listings mention an 8 second option, and a couple of pages claim much longer outputs, up to 16 or even 32 seconds. Those longer claims conflict with the majority and appear on aggregator pages, not in clear product documentation, so treat them as unverified.
| Claim | Where it shows up | How much to trust it |
|---|
| 4 seconds per clip | Several API marketplaces | High, most common figure |
| 4 or 8 seconds | Plan FAQs and some model listings | Medium, depends on plan and mode |
| 16 to 32 seconds | A few aggregator pages | Low, conflicts with the rest |
My practical advice: plan every project around 4 seconds, and treat 8 seconds as a bonus when your plan or provider offers it.
Generation Modes
Vidu 2.0 is usually offered in three or four flavors:
- Text to video: you write a prompt and the model invents the scene.
- Image to video: you upload a still and the model animates it.
- Start and end frame: you give two images and the model builds the motion between them.
- Reference to video: you provide one or more reference images so a character or object stays consistent across the clip.
Reference mode is where Vidu 2.0 earned its reputation. Keeping the same face, outfit, or product across several generations is hard for most models, and Vidu handled it better than many of its contemporaries.
Resolution Limits by Plan
Resolution is where plans differ most, and again the sources vary slightly. The pattern that appears most often is simple: free users are capped at 720p, and paid tiers (Standard, Pro, Enterprise) unlock 1080p.
720p vs 1080p
| Setting | Pixel size | Best for | Typical access |
|---|
| 360p | 640 x 360 | Fast drafts, prompt testing | Offered on some API endpoints |
| 720p | 1280 x 720 | Social posts, previews, mobile viewing | All plans, including free |
| 1080p | 1920 x 1080 | Final exports, client work, large screens | Paid plans |
For a vertical TikTok or Reels clip, 720p is genuinely fine. Phone screens hide the difference, and the smaller file uploads faster. For anything that will be projected, embedded in a website hero, or sent to a client, 1080p is worth the extra credits.
Aspect Ratio and Framing
Vidu 2.0 handles the common ratios (16:9, 9:16, and 1:1 on most endpoints). In image-to-video mode, the output typically follows your source image, so the ratio you pick is really decided by the picture you upload. If you want a vertical clip, crop your still to vertical first instead of hoping the model reframes it.
💡 Tip: Upload an image that already has the framing you want in motion. A subject centered with breathing room on all sides gives the model space to move without cropping the face.
Free Credits and Real Cost
This is the question behind most searches for Vidu 2.0, so here is the reality without the marketing gloss.
What the Free Plan Gives
Third-party summaries describe the free plan as roughly 80 credits per month, a clip duration cap of 8 seconds, and a resolution cap of 720p. One estimate puts a 4 second standard-quality clip at around 5 credits and an 8 second clip at around 8 credits. That works out to somewhere between 10 and 16 clips a month if you spend everything, and less once you retry failed generations.
Some platforms also advertise off-peak free generations, meaning you can queue unlimited clips during quiet server hours. It is a useful trick, but it comes with longer waits and the offer changes often.
Watermarks and Commercial Use
Two limits catch people off guard:
- Free clips carry a watermark. You can remove it only by upgrading.
- Free output is not licensed for commercial use. If you are making ads, client deliverables, or monetized content, you need a paid plan.
💡 Check before publishing: License terms change. Read the current terms on Vidu's own pricing page before you publish anything commercial.
API Pricing Per Clip
If you use Vidu 2.0 through an API provider instead of the web app, billing is per clip or per second. One marketplace lists $0.20 for a 4 second 720p image-to-video clip and $0.50 for an 8 second clip, with a $10 signup credit covering roughly 330 seconds of generation. Another prices start-end frame generation at $0.075 per second.
| Route | Reported price | Notes |
|---|
| Web app free plan | About 80 credits per month | Watermark, 720p, no commercial use |
| API, 4 s image to video at 720p | About $0.20 | Marketplace pricing |
| API, 8 s image to video | About $0.50 | Marketplace pricing |
| API, start-end frame | About $0.075 per second | Third-party price |
Vidu's own credit table, billed at half a cent per credit, shows newer model tiers starting at a few dozen credits per clip with an extra charge per added second. That table covers current-generation models, so do not assume it matches Vidu 2.0 pricing exactly.
Settings That Change the Result
Defaults get you a decent clip. These choices get you a good one.
Movement Amplitude
Many Vidu endpoints expose a movement amplitude option (auto, small, medium, large). Think of it as a volume knob for motion. Small keeps portraits stable and avoids warped faces. Large suits landscapes, vehicles, and wide shots where sweeping movement is the point. If a clip looks jittery, drop it one step before rewriting the prompt.
Prompt and Source Image
A short clip has no time for a long story, so write one action per prompt. "She turns her head toward the window and smiles" works. "She walks in, sits down, opens a laptop, and starts typing" does not fit in 4 seconds.
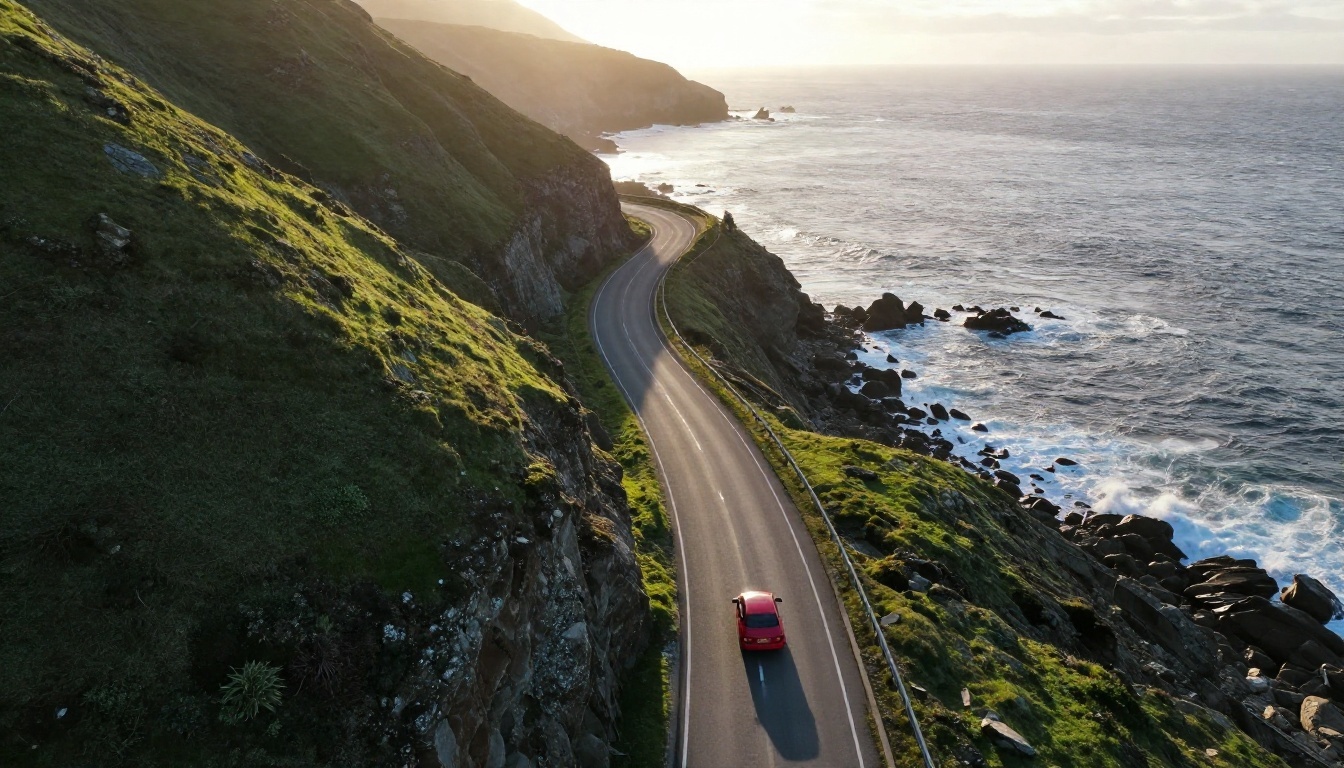
For image-to-video, the source picture matters more than the prompt. Sharp subject edges, clean lighting, and a clear sense of depth give the model something to push against. Soft, muddy photos produce soft, muddy motion.
Start and End Frames
In start-end mode, you upload two images and the model fills the gap. Marketplace documentation recommends that both images have similar pixel density and aspect ratio, otherwise the model struggles to bridge them. Keep the subject in roughly the same position and change one thing: a pose, an expression, a camera angle.
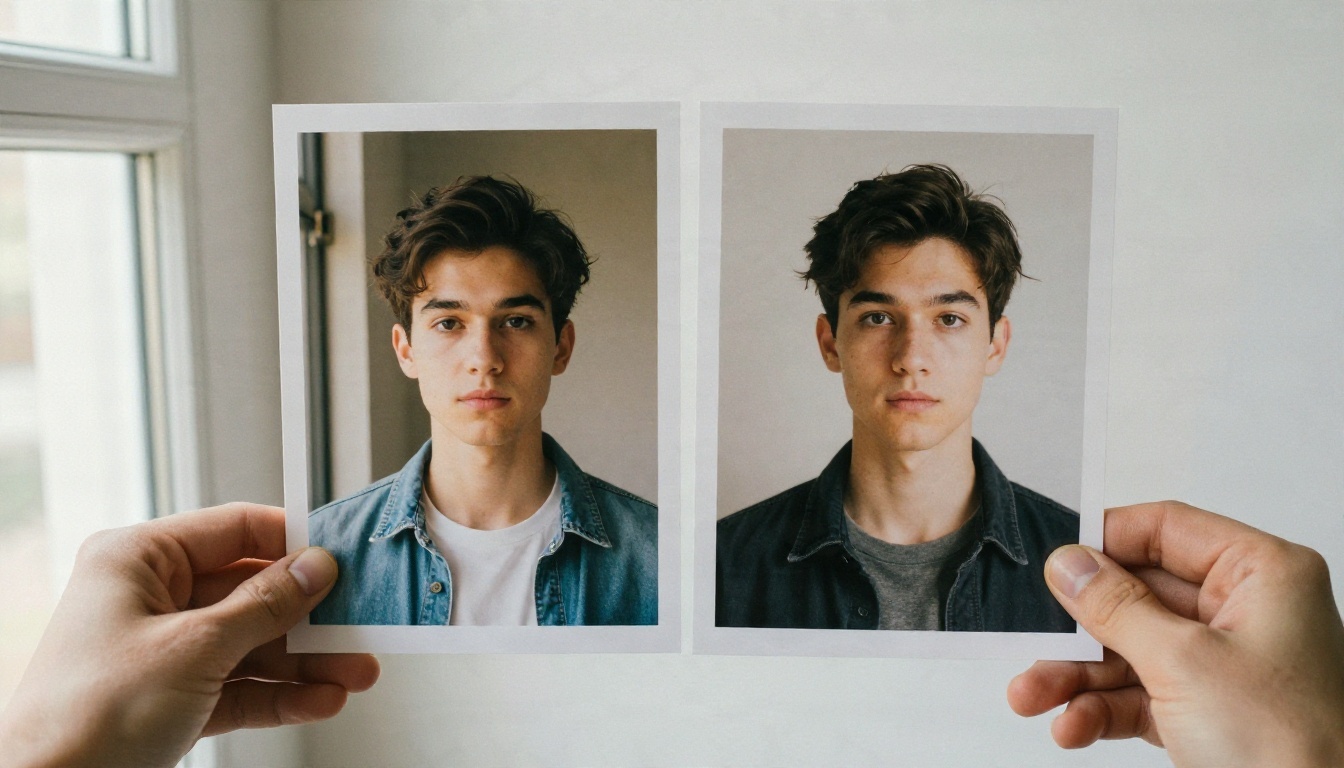
A reliable recipe:
- Start frame: subject facing slightly away.
- End frame: same subject facing the camera.
- Prompt: "slow turn toward camera, soft window light, natural breathing."
Why 4 Seconds Feels So Short
Short clips are a technical tradeoff, not laziness. Longer generations need more memory, take longer to render, and give the model more chances to drift. A face that looks perfect at second two can melt by second ten. Vidu 2.0 chose consistency over length.
Workarounds for Longer Scenes
If you need more than a few seconds, you have three options:
- Chain clips. Use the last frame of clip one as the start frame of clip two. Keep the prompt consistent so the lighting and wardrobe do not jump.
- Cut on action. Editors rarely hold a shot longer than 3 or 4 seconds anyway. Three 4 second clips with hard cuts feel like a sequence, not a limitation.
- Switch to a model with a longer ceiling. Several newer models generate 10 to 16 seconds in one pass, which removes the stitching altogether.
💡 Editor's habit: Export the last frame of each clip as a PNG and name it by shot number. When a continuation drifts, you can always return to the clean frame instead of re-rendering from scratch.
How to Get Similar Results on PicassoIA
Vidu 2.0 is not on PicassoIA, and I will not pretend otherwise. For a similar workflow today, Vidu Q3 Pro is the closest option on the platform. It comes from the same model family, a newer generation, and it covers text to video, image to video, and start-end frame in one interface, with clips up to 16 seconds at 1080p and synchronized audio.
Step by Step
- Open the Vidu Q3 Pro page.
- Write your prompt (up to 5,000 characters). Keep to one main action.
- Set duration. The default is 5 seconds, and you can extend it well past what Vidu 2.0 offers.
- Choose resolution: 540p, 720p, or 1080p. The default is 720p, so switch to 1080p for final exports.
- For image-to-video, upload a start image. For start-end mode, add an end image as well, keeping both aspect ratios within a ratio of 0.8 to 1.25.
- Leave audio on if you want dialogue and sound effects generated with the clip, or switch it off for silent footage.
- Set a seed if you want to repeat a result while changing a single word in the prompt.
Parameter Tips
| Setting | Recommended | Why |
|---|
| Duration | 5 to 8 seconds | Enough for a full gesture without drift |
| Resolution | 720p for tests, 1080p for finals | Saves time and credits while iterating |
| Aspect ratio | Match your platform | Only used in text-to-video mode |
| Audio | On | Ambient sound makes short clips feel finished |
| Seed | Fixed while testing | Lets you isolate what each prompt change does |
💡 Workflow: Draft at 720p with a fixed seed, pick the best take, then re-run the winner at 1080p. You spend less and still ship the sharp version.
Alternatives Worth Trying
Depending on what Vidu 2.0 was meant to do for you, one of these may fit better. All of them are on PicassoIA.
| Model | Best for | Link |
|---|
| Vidu Q3 Pro | Closest family match, 1080p, start-end frames, audio | Vidu Q3 Pro |
| Vidu Q3 Turbo | Faster drafts at 1080p with audio | Vidu Q3 Turbo |
| Seedance 2.5 Lite | Free and unlimited clips up to 10 seconds | Seedance 2.5 Lite |
| Wan 3 Prime | Cinematic 1080p clips from text | Wan 3 Prime |
When to pick which:
- Choose Vidu Q3 Turbo when you are testing ideas and speed matters more than polish.
- Choose Seedance 2.5 Lite when budget is the limit and you need many takes.
- Choose Wan 3 Prime when you want a film-like look with a camera feel.
- Choose Vidu Q3 Pro when you need the Vidu workflow with longer clips and sharper output.
Commercial work deserves one extra check on any platform: confirm the usage terms attached to your plan before you deliver footage to a client.
Start Creating Your Own Clips
Vidu 2.0 taught a lot of people a good lesson about short-form AI video: clip length is a creative constraint, and the best results come from a single clear action, a sharp source image, and honest planning around 4 seconds. The free plan is enough to test the idea, but watermarks, a 720p cap, and a limited credit pool mean serious projects need either a paid plan or a different tool.
Here is a short checklist before your next render:
- Write one action per prompt.
- Use a sharp, well-lit source image.
- Draft at 720p, finish at 1080p.
- Fix the seed while you iterate.
- Plan cuts, not long takes.
The fastest way to see the difference is to run the same still image through two models and compare. Open Vidu Q3 Pro, upload one of your own photos, and generate a clip. Then try the same image in Seedance 2.5 Lite and see which motion feels closer to what you pictured. For more options, browse every video model at picassoia.com/en/all-models and build your own short film one clip at a time.


