You ran a sixty-minute webinar. Two hundred people showed up, forty asked questions, and now the recording sits in a folder where nobody will ever watch it again. Meanwhile, the best three minutes of that session, the moment your speaker explained a pricing mistake in plain words, could reach ten times the audience as a 40-second vertical clip. That is the whole promise of webinar to short clips AI: software reads the transcript, picks the moments that stand alone, reframes the picture for a phone, adds captions, and hands you a batch of drafts to approve.
The catch is that the free versions of these tools come with strings attached. Watermarks, expiring downloads, monthly credit caps and source length limits decide whether a free plan is useful or a frustrating demo. This article walks through what free tools actually give you, which settings matter, what good examples look like, and how long each clip should run.
How Webinar Clipping Works
Every AI clipper follows roughly the same pipeline, even when the interface looks different. Knowing the steps helps you spot where a free plan will cut you off.
- Transcription. The tool converts speech to text with timestamps. Accuracy here decides everything after it.
- Segmentation. An algorithm (often a language model) scans the transcript for self-contained ideas: a question and its answer, a story, a bold claim followed by proof.
- Scoring. Each segment gets a rank based on hook strength, pacing and completeness of thought.
- Reframing. The 16:9 picture is cropped to 9:16, tracking the active speaker's face.
- Captioning. Word-by-word subtitles are burned into the video.
- Export. You download the clip, usually in 720p or 1080p.
Why Webinars Are Tricky
Webinars are harder than podcasts or vlogs. Speakers share slides, so a face-tracking crop can cut off the very chart the clip depends on. Audio quality varies between presenters. Q&A sections have long pauses and off-mic questions. A good tool handles a split layout, where the speaker sits above and the slide sits below, which keeps both visible in a vertical frame.
What Counts as a Good Clip
A clip works when a viewer who knows nothing about the webinar can follow it. That means it has a clear start (a hook within the first two seconds), one idea, and a natural stop. If the speaker says "as I mentioned earlier," the segment probably needs a different cut point.
💡 Quick test: mute the clip and read only the captions. If the point still lands, you have a keeper.
Free tiers exist to let you test quality, not to run a content operation. Based on recent 2026 roundups, here is the general pattern across the main names.
| Tool type | Typical free allowance | Common catch |
|---|
| OpusClip | A free plan with AI captions, auto reframe and renders up to 1080p | Watermark on exports, no manual editing, downloads expire after about 3 days |
| StreamYard AI Clips | Clips from recordings up to six hours long, a couple of generations per month on the free plan | Low monthly generation count, tied to the StreamYard ecosystem |
| Munch, Vidyo.ai and similar | A few free minutes or credits each month | Short source limits, branded outros or logos |
| Manual workflow with free editors | Unlimited, no watermark | Slow, you do the selecting yourself |
Credit allowances change often. One 2026 breakdown reported roughly 60 monthly credits on the OpusClip free tier, and another warned that a single hour-long episode can burn most of a month's credits. Treat any number you read online as a snapshot and check the current pricing page before you plan a whole content calendar around it.
The Real Cost of Free
Free plans cost you in three currencies: time (you re-export when something goes wrong), brand polish (a watermark on a B2B clip looks careless), and volume (a handful of clips per month is not a strategy). For a single webinar every quarter, free is fine. For a weekly show, you will outgrow it within a month.
When to Skip the Free Plan
If the watermark would appear next to your company logo, or if clients will see the clip, the free plan works against you. In that case, use the free tier only to test which segments the AI picks, then recut those segments yourself in an editor.
Settings That Change the Result
Most people accept every default and then complain that the clips feel generic. A few settings do most of the work.
Source Length and Quality
Upload the highest resolution you have. A 1080p recording gives the reframing step enough pixels to crop to vertical without turning soft. If your webinar platform exports a compressed 720p file, expect the cropped face to look blurry. You can sharpen footage afterwards with Video Upscale or Upscale v1, both built for lifting resolution on existing video.
Target Clip Length
Most tools let you choose a range such as under 30 seconds, 30 to 60 seconds, or 60 to 90 seconds. For webinars, 30 to 60 seconds is the sweet spot because speakers need a few sentences to set up a point. Anything shorter often chops the reasoning in half.
Reframing Mode
| Mode | Best for | Watch out for |
|---|
| Fill (face crop) | Talking-head segments | Cuts off slides and charts |
| Fit (letterbox) | Slide-heavy moments | Small text on a phone |
| Split screen | Speaker plus slide | Needs clean layouts to work |
If your recording is already in a different aspect ratio, Reframe Video can extend or change the frame instead of cropping it.
Caption Style
Captions should be large, high contrast and limited to two lines. Highlighting the current word helps retention, but a rainbow of colors distracts from a serious topic. Pick one accent color from your brand palette and stick with it.
Topic Prompts
Some tools accept a prompt such as "find moments about pricing objections." This is the single most underused setting. A prompt turns a generic highlight reel into clips that serve a campaign.
Length Limits That Matter
There are two kinds of limits: what the source video can be, and what each platform accepts for a finished clip.
Source Video Limits
Free tools differ widely. StreamYard states that its AI Clips accepts recordings up to six hours, which comfortably handles a long webinar. Other free tiers cap uploads at 30 to 60 minutes, so a 90-minute session might need to be split before you upload it. When a tool does not state a cap clearly, test with your real file before you depend on it.
Platform Limits for Finished Clips
Platform rules shift every year, so use these as working ranges and confirm in each app before you publish.
| Platform | Practical range | Where webinar clips perform |
|---|
| YouTube Shorts | Up to about 3 minutes | 30 to 60 seconds for tips, up to 2 minutes for stories |
| Instagram Reels | Up to about 3 minutes | 20 to 45 seconds with strong captions |
| TikTok | Allows long uploads, but short wins | 25 to 60 seconds |
| LinkedIn video | Accepts several minutes | 45 to 90 seconds, square or vertical |
Notice that the allowed length is much higher than the useful length. A clip that could run three minutes but runs forty seconds will usually keep more of its audience.
💡 Rule of thumb: one idea, one clip. If you need the word "also" to continue, cut there and start a second clip.
Real Examples From One Webinar
Imagine a 55-minute webinar called "Pricing Your SaaS Product" with a founder and a host. Here is how a sensible AI pass might slice it up.
| Moment | Source timestamp | Clip length | Why it works |
|---|
| Founder admits underpricing for two years | 06:12 | 38 sec | Honest hook, clear lesson |
| Host asks about discounts, founder answers in three steps | 21:40 | 52 sec | Numbered list is easy to caption |
| Slide showing the pricing tier chart | 29:05 | 44 sec | Split screen keeps the chart readable |
| Audience question about annual billing | 41:18 | 33 sec | Question on screen, answer short |
| Closing advice to new founders | 53:02 | 27 sec | Strong ending line |
From 55 minutes, you get five usable clips and roughly four minutes of final footage, which is enough for a week of posts.
Example One: The Confession Clip
The first clip opens on the founder saying, "I charged too little for two years." No intro, no logo. The caption sits low on the screen, and a quick zoom on the second sentence adds movement. This style gets watched because the opening line promises a story.
Example Two: The Listicle Clip
The second clip uses a speaker who naturally counts: "First... second... third." AI tools love these segments because the structure is obvious. Add numbered captions or a simple on-screen number for each step.
Example Three: The Slide Clip
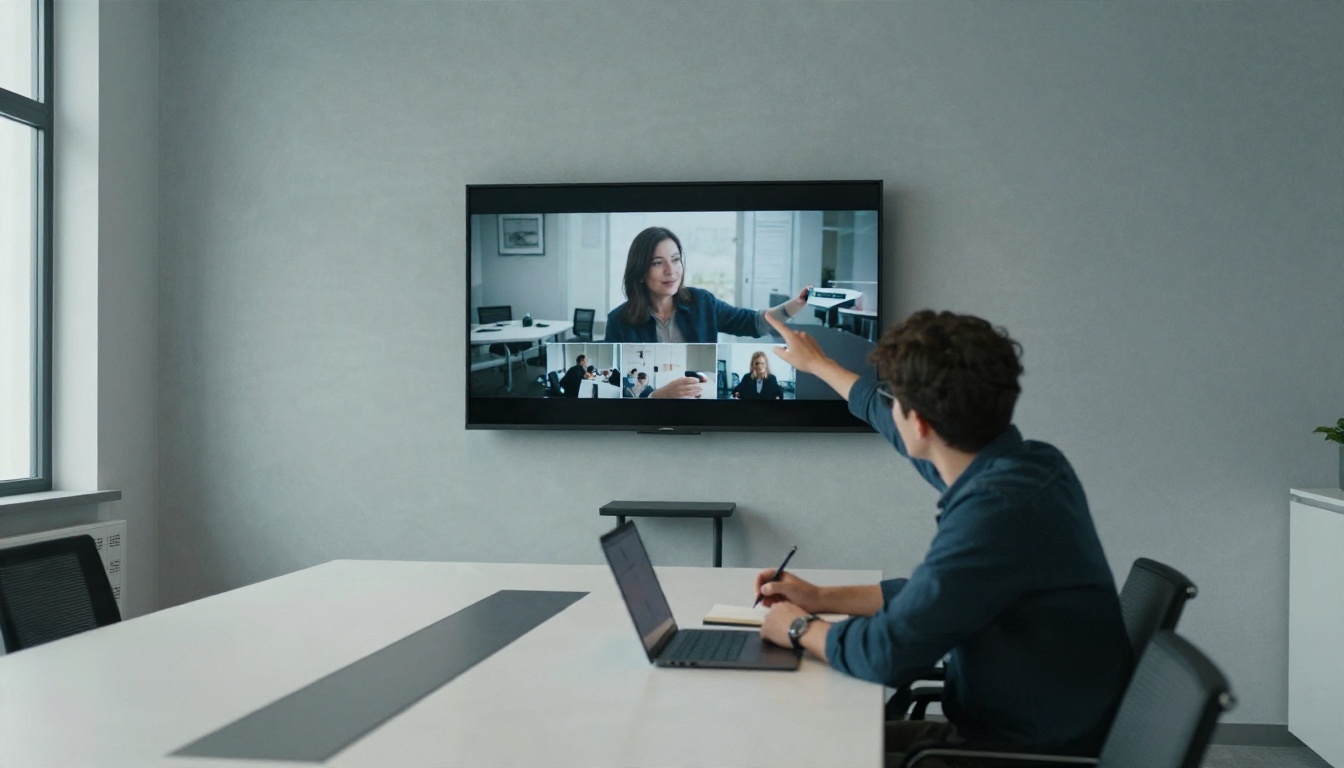
Slide moments are the ones AI tools mishandle most often. Pick split screen, trim the intro, and check that the text on the slide is readable at phone size. If it is not, skip the clip or rebuild the chart as a simple graphic.
Fix What the AI Gets Wrong
Even the best clipper will deliver drafts, not finished work. Plan ten minutes of review per clip batch.
Common Mistakes
- Mid-sentence cuts. Nudge the start and end by half a second to land on a breath.
- Wrong speaker in frame. Face tracking sometimes follows the host when the guest is talking.
- Misspelled names and jargon. Auto captions stumble on brand names and product terms. Read every caption once.
- Dead air at the start. Trim any pause before the first word.
- Repeated clips. Two clips covering the same point waste a posting slot.
Edit With Text Instead of a Timeline
When a clip needs a change that the clipper cannot make, such as removing a distracting object or adjusting the background, text-driven video editors save time. P Video Edit, Lucy Edit 2 and Wan 2.7 Videoedit let you describe the change in a sentence. For removing an unwanted item from a shot, Video Erase Object is built for that job.

Build Your Own Clip Workflow
You do not have to rely on a single tool. A modular workflow often beats a one-click clipper because you control each step. A practical setup looks like this.
Step by Step
- Pick the moments yourself or with AI. Paste the transcript into a language model and ask for five self-contained segments with timestamps.
- Cut the segments in any free editor, keeping the pauses short.
- Reframe to 9:16 and check that the speaker and slide are both visible.
- Fix weak footage. Upscale soft video, then clean up distractions with a text-driven editor.
- Add voice or language variants. Dubbing translates a video into more than 90 languages, which turns one English webinar into a set of clips for other markets.
- Add voice-over where needed. If a clip needs a short narrated intro, a voice model such as Gemini 3.1 Flash TTS or Realtime TTS 2 can generate it in seconds.
- Add sound. Video To Sfx v1 can layer synced sound effects onto silent B-roll.
💡 PicassoIA does not run a one-click webinar clipper. It gives you the editing, voice, translation and generation models that fill the gaps around whichever clipper you use.
Generate B-Roll for Weak Moments
Some of the best webinar moments are audio-only: a speaker on a dull background, or a screen share that goes static. Cutting to a short generated shot keeps the viewer's eye moving. Seedance 2.5 Lite offers free generation for short videos, Kling v3 Video produces cinematic motion, and Veo 3.1 Fast adds native audio to the clip. Keep these inserts to two or three seconds so the speaker stays the star.
Settings for Generated B-Roll
| Setting | Recommended value | Reason |
|---|
| Aspect ratio | 9:16 | Matches the final vertical clip |
| Duration | 3 to 5 seconds | Short inserts feel natural |
| Prompt style | One subject, one motion, one light source | Reduces odd artifacts |
| Audio | Off, or very low | The speaker's voice must lead |
Plan a Month of Clips
A single webinar can feed a month of posts when you schedule it properly.
A Simple Posting Rhythm
- Week one: Post the strongest hook clip on every platform.
- Week two: Share the listicle clip, with the steps in the caption.
- Week three: Post the slide clip with a link to the full recording.
- Week four: Post the Q&A clip and ask viewers for their own questions.
Measure What Works
Track three numbers for every clip: average watch time, share count, and clicks to the full recording. If clips under 35 seconds consistently beat those at 60 seconds, shorten your target length for the next batch. Over a few webinars you will see which topics pull viewers and which only look good in a transcript.
Keep the Full Recording Alive
Pin the complete webinar on your site and point each clip to it. Short clips attract people, and the full recording keeps the ones who want depth. Add a clear line at the end of each caption telling people where to find it.
Take your next webinar recording and run one experiment this week. Upload it to a free clipper, set the length to 30 to 60 seconds, write a topic prompt, and pick the three best drafts. Then fix the weak spots with a text-driven editor, add a translated version with Dubbing, and generate a few seconds of B-roll for the dull stretches.
The models above are all on PicassoIA, so you can test them in one place and compare the output with whatever your clipper gave you. Browse the full list at picassoia.com/en/all-models, pick one clip, and see how far a single hour of recording can stretch.