Every AI background remover looks great in its own demo. A clean cutout of a sneaker, a smiling model, a perfect transparent edge. Then you upload your own photo and the free plan hands you a postage-stamp export, a watermark across the middle, or a message saying you've used up today's credits. So what is the best AI for background removal when you don't want to pay yet? It depends on three things: how good the edges are, how big the file you get back can be, and how many images you can process before the paywall shows up. This article sorts through all three and gives you a pick for each situation.
A quick note on facts: free tiers and prices in this market change almost monthly. Everything below reflects what recent roundups were reporting in late 2026, and where sources disagreed I've said so instead of guessing. Check each vendor's current page before you commit to a workflow.
The Short Answer
If you only have time for one paragraph: use a tool that gives you full-resolution, watermark-free exports on the free tier, handles hair and fine edges without halos, and lets you process more than a handful of images without an account wall. On PicassoIA, the Remove Background model fits that description and sits next to image generation and upscaling tools, so a cutout can become a finished product shot in one place.
My Pick for Most People
For occasional use, such as listing a few items, making a profile photo, or cleaning a slide deck, pick the tool with no watermark and no forced signup. Pixelcut was named by one recent roundup as the best free pick for most people, because its free plan exports without stamping a watermark. Another source said free removals there are limited without publishing the exact number, so treat the cap as something to test on day one.
Who Should Look Elsewhere
Anyone working in bulk, anyone who needs print-size output, and anyone who needs clean results on messy edges (hair, fur, mesh, glass) will outgrow a basic free tier quickly. For those jobs, you'll either pay, run an open-source model locally, or use a platform that bundles removal with upscaling so a small output can be rescued afterwards.
What Makes a Cutout Good
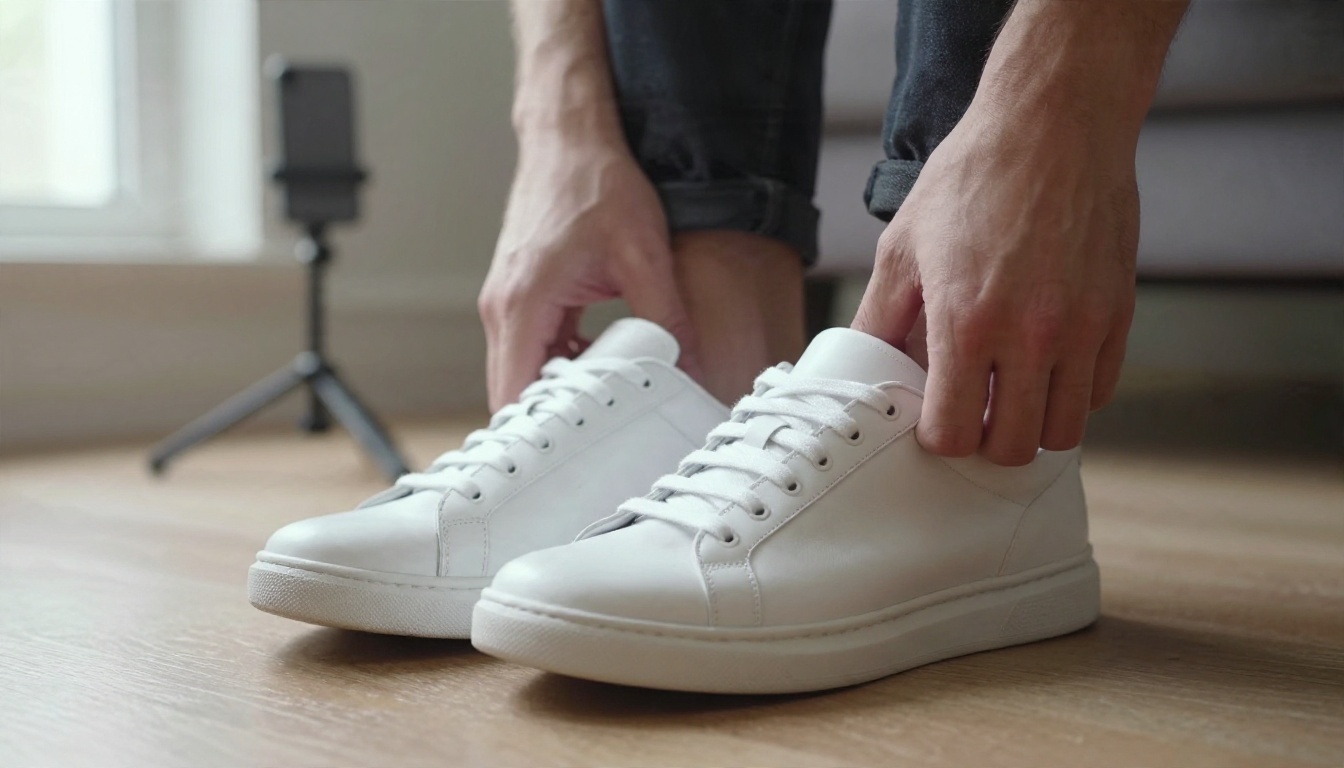
Before comparing tools, it helps to know what you're actually judging. Most people look at the overall silhouette. The differences show up in three places.
Edge Quality on Hair and Fur
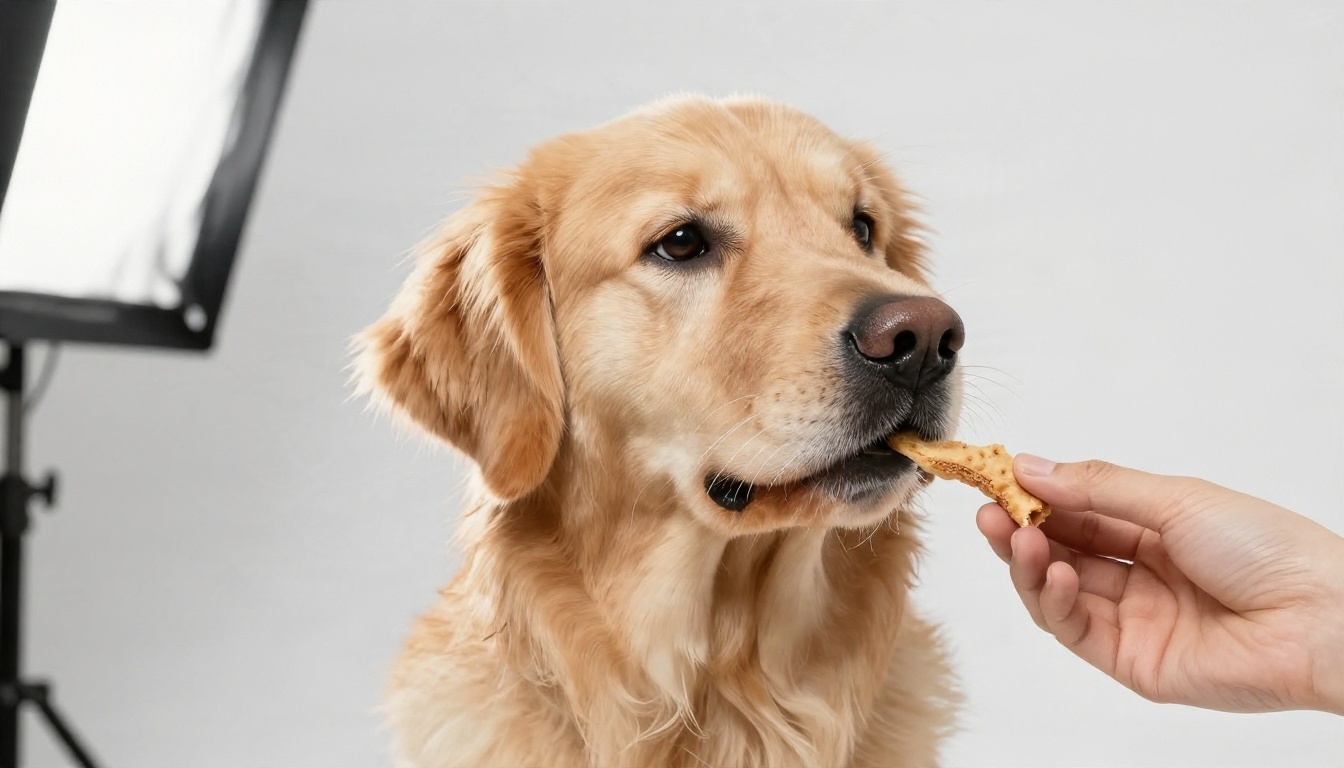
Hair is the stress test. A weak model either chops stray strands into a hard helmet shape or leaves a pale halo of the old background around them. Pet photos are just as unforgiving: fur is thousands of semi-transparent strands, and a good model keeps them soft. If a tool's demo only shows sneakers and mugs, assume the edges are tuned for solid objects.
Fine Details Like Jewelry
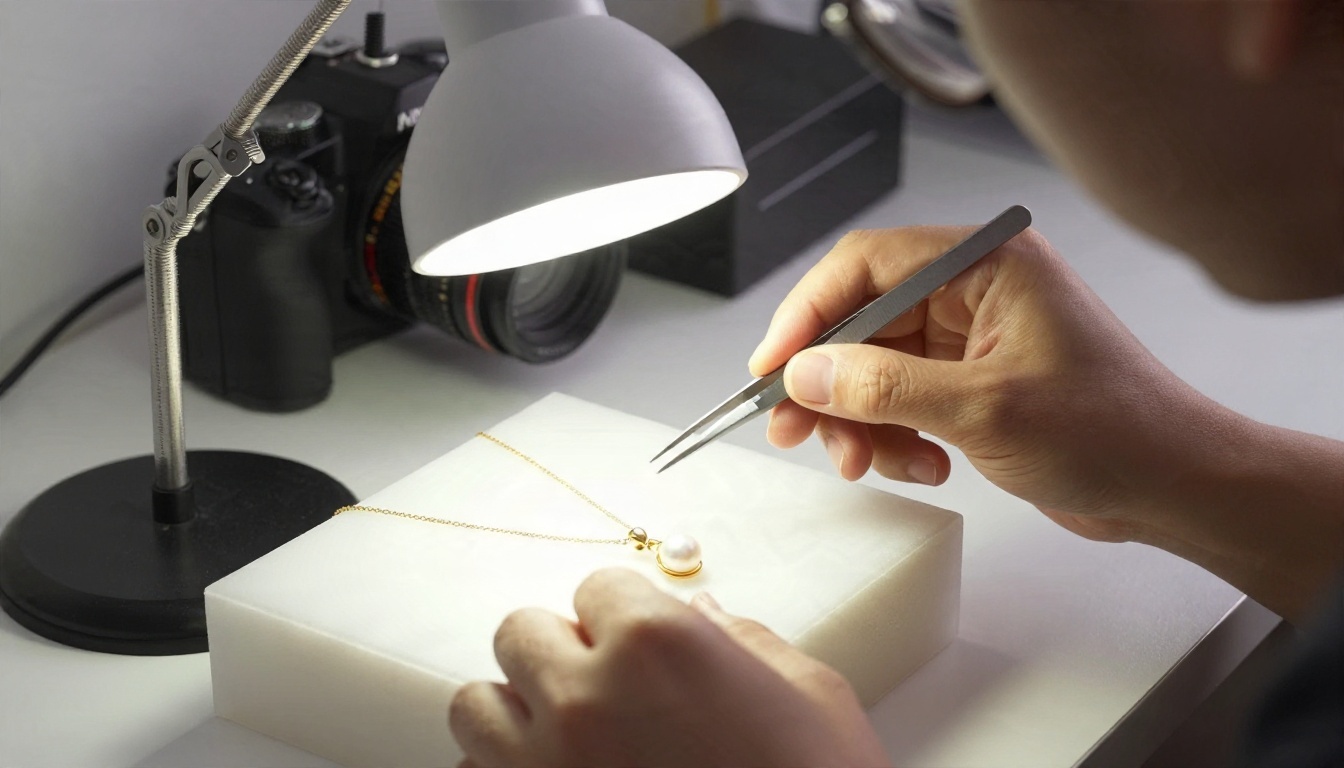
Chains, prongs, glasses frames and mesh are where automatic masks fall apart. Holes inside objects, such as the gap between a necklace chain and the pendant, are often left filled with the old background. Zoom to 200 percent and check the negative space before you trust a tool on product photography.
Resolution and Export Size
This is the quietest limit and the most annoying. One roundup reported that a free Photoroom export on a phone came out at 750 x 550, and that its web app tops out at 2000 pixels on the longest side. For remove.bg, a source noted free web output was limited to roughly a quarter of a megapixel. That's fine for a thumbnail and useless for a marketplace listing that asks for 1500 pixels or more.
💡 Quick test: upload one photo with long hair against a busy background. If the free export is under 1000 pixels wide or has a watermark, you've learned the real value of that free plan in under a minute.
Free Picks Compared
The market has been shifting. Reports say remove.bg's standalone website is closing and moving to Canva, with one source giving 1 December 2026 as the date. That matters because plenty of older "best free background remover" lists still rank it first.
Free Tiers at a Glance
| Tool | Free tier reported | Watch out for |
|---|
| PicassoIA Remove Background | Cutouts inside a platform with generation and upscaling | Check the model page for current limits |
| Pixelcut | No watermark on free exports | Exact removal cap not published by one source |
| Photoroom | Free exports with small phone output | Phone export reported at 750 x 550, web capped at 2000 px |
| remove.bg | Low-resolution free output | Standalone site reportedly closing, move to Canva |
| Canva | Background Remover reported as a Pro feature | Not part of the free tier per one source |
| Adobe Express | Sources disagree on whether free plan includes it | Verify on the pricing page |
| rembg / BiRefNet | Free, MIT licence, runs locally | Needs setup and a capable machine |
The pattern is simple. Web tools give you a taste, then restrict size, quantity, or the feature itself. Only local open-source models are truly unlimited, and they cost you time instead of money.
The Watermark Trap
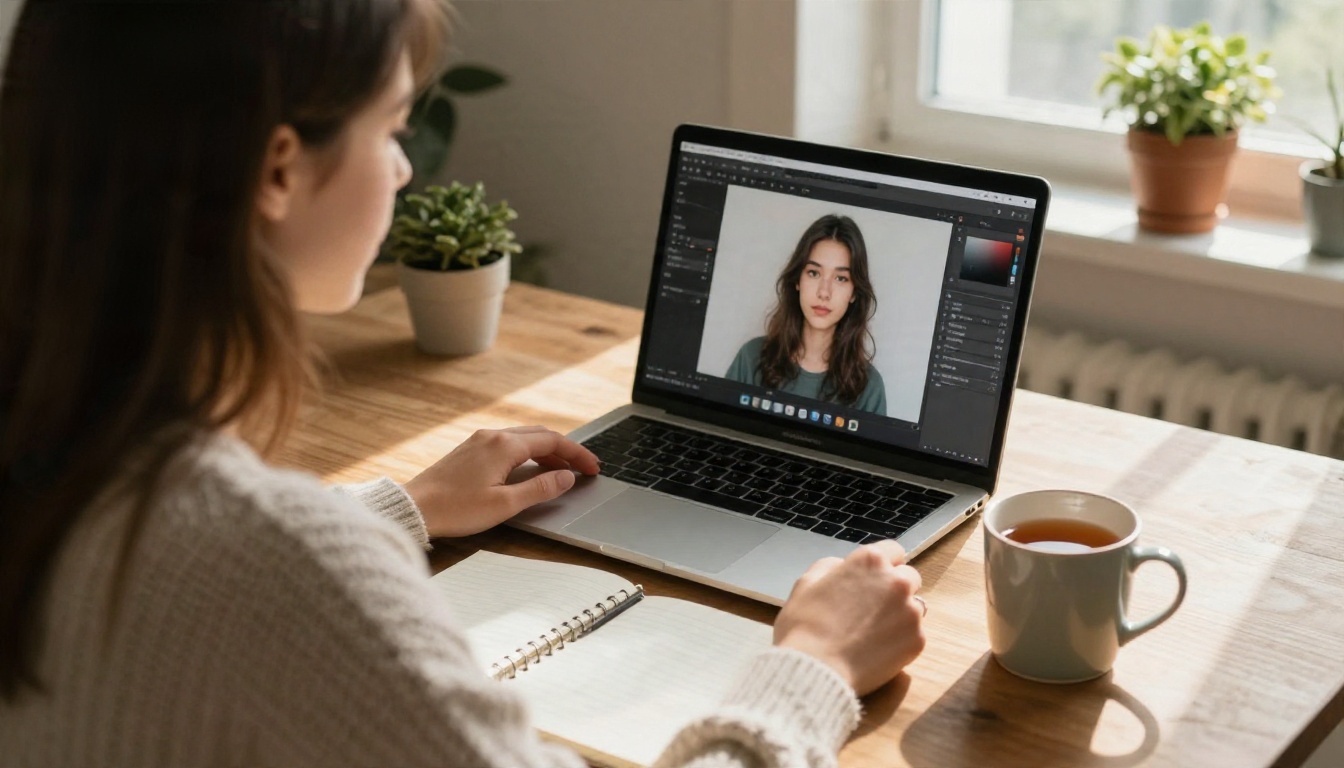
Some tools advertise "free" but stamp a logo on the exported file, or only let you preview the result at full size. A watermark isn't a minor flaw. It means you can't actually use the output, so the tool isn't free in any practical sense. The cleanest free tiers export a transparent PNG with no mark and let you decide whether to pay for more volume.
Open-Source Options
If you're comfortable with a command line, models like rembg and BiRefNet can be run on your own machine with no per-image cost. The tradeoffs are setup time, GPU speed, and the lack of any interface for quick tweaks. For one-off jobs that's too much friction; for a few thousand product photos it can be the cheapest route by far.
Limits That Catch People Out
Even when a plan is labeled free, three limits decide whether it fits your work.
Resolution Caps
The cap on the longest side matters more than the megapixel count in the marketing copy. A 2000 pixel cap is fine for web and most marketplaces. A 750 pixel cap isn't fine for anything beyond a social avatar. If a tool caps you low, you can sometimes rescue the result afterwards with an upscaler such as Clarity Pro Upscaler or P Image Upscale, though starting from a larger original is always cleaner.
Daily and Monthly Credits
Credit systems vary: some give a handful of free removals each month, others reset daily. If you're listing 40 products, a "5 free per day" plan means eight days of work. Count your realistic monthly volume before picking, and pick the plan whose free allowance matches it, not the one with the nicest homepage.
Commercial Use Rules
Free plans sometimes restrict commercial use or require attribution. If the cutouts are going into ads, product listings or client work, read the licence line. It's usually one sentence, and it's the sentence that can cost you later.
Pricing Without Surprises
Paid plans for background removal come in three shapes: a monthly subscription with a set number of images, pay-per-image credits, or an API charged per call. Prices shift often, so I won't print numbers that might be stale by the time you read this. What's more useful is knowing when each shape makes sense.
When Free Is Enough
Free is enough if you process fewer than a few dozen images a month, the output is destined for web or social, and you don't need perfect hair edges. In that case, choose the tool with no watermark and no signup, accept the resolution cap, and move on.
When Paying Makes Sense
Pay when you batch large catalogs, when you need print-size output, or when a bad edge costs you sales. A product photo with a grey halo around it can lower conversion on a marketplace listing, and an hour saved per week quickly outweighs a modest subscription. If you only need a burst of work, credits beat a subscription, since you won't pay for months you don't use.
💡 Budget rule: estimate your monthly image count, multiply by how many retouches each image typically needs, and compare that to the plan's allowance. If a plan forces you to redo images, its real price per good image is higher than the label.
How to Use Remove Background on PicassoIA
The Remove Background model on PicassoIA is built for fast, clean cutouts, and because it lives on the same platform as image generation, you can keep going after the cutout instead of exporting to another app.
Step by Step
- Open the Remove Background model page.
- Upload a JPG or PNG. Larger originals give the model more edge information to work with.
- Run the model and wait a few seconds for the result.
- Inspect the preview at full zoom, especially around hair, fingers and any holes in the object.
- Download the cutout as a transparent image and drop it into your layout, listing or presentation.
Parameter and Quality Tips
- Shoot against a contrasting backdrop. A white mug on a white wall is harder than a white mug on a dark table, even for good models.
- Keep the subject sharp. Motion blur at the edge becomes a smeared mask.
- Avoid heavy filters before cutting out. Process the original, then style it afterwards.
- Batch similar photos together. Same light, same distance, similar results.

Fix Rough Edges After the Cutout
Even the best AI leaves the odd rough edge. A short cleanup routine saves more time than hunting for a perfect tool.
Upscale a Small Result
If your first cutout came back smaller than you wanted, an upscaler can rebuild detail. Clarity Pro Upscaler is aimed at photorealistic sharpening, while P Image Upscale is the quick option for a fast pass. Upscale after you remove the background, so the model isn't enlarging a messy edge.
Build a New Background
A transparent PNG is only half the job. Most listings and ads need a believable setting behind the subject. You can generate a studio backdrop, a wooden table or a soft gradient with a text-to-image model such as Seedream 4.5 or Nano Banana, then place your cutout on top. For edits that keep the subject but change the scene, PicassoIA Image Editor Pro is described as an unlimited online photo editor, which suits repeated tweaks.

Match Light and Shadow
A cutout looks fake when its lighting doesn't match the new scene. If the original light came from the left and your new backdrop is lit from the right, the product will look pasted. Add a soft contact shadow under the object, and check that colour temperature matches. These two fixes do more for realism than any edge tweak.
Best Pick by Situation
Here's how the choices break down in practice.
| Your situation | Best route |
|---|
| A few photos, no budget | A no-watermark free tier, or the PicassoIA Remove Background model |
| Online shop with 50+ items | Paid plan or credits, then batch similar photos together |
| Portraits with flyaway hair | A model that keeps soft strands; test with a hard photo first |
| Pet photos and fur | Same, and always zoom to check halos |
| Print-size output | Start from a high-resolution original, then upscale |
| Thousands of images, technical skills | Local open-source such as rembg or BiRefNet |
| Cutout plus new scene | A platform that combines removal and image generation |
Notice that the "best AI" changes depending on the row. Nobody wins every category, which is why testing on your own worst photo beats any ranking, including this one.
Try It on Your Own Photos
The fastest way to settle the question is to run your own images. Pick the hardest one you have, the portrait with loose hair or the product with a transparent part, and put it through the Remove Background model on PicassoIA. Check the edges at full zoom, then generate a fresh backdrop with Seedream 4.5 or polish the scene in PicassoIA Image Editor Pro. If you need a wider set of tools, browse everything at picassoia.com/en/all-models.
A cutout takes seconds. A finished product shot, a clean profile photo or a polished slide takes a few minutes more. Try a handful of your own pictures today and keep whichever workflow gives you edges you'd be happy to publish.