You have a photo that looks fine on a phone and falls apart the moment you put it on a 4K screen or send it to a printer. Soft edges, mushy textures, blocky shadows. The good news is that a free 4K upscaler can fix a surprising amount of that in under a minute. The less good news is that "free" comes with caps on file size, daily quotas, watermarks and a few privacy trade-offs that nobody mentions on the landing page.
This article sorts out what you can realistically expect from a free 4K upscaler online, which limits matter, which settings change the result, and what the output looks like on real photo types: old prints, portraits, product shots, phone crops and large posters.
What 4K Actually Means for a Photo
Before picking a tool, it helps to know the target. "4K" is not a magic quality level. It is a pixel count.
The pixel math
A standard 4K UHD frame is 3840 x 2160 pixels, roughly 8.3 megapixels. That is smaller than most modern phone photos, which often land between 12 and 50 megapixels. So the real question is rarely "how do I reach 4K?" but "why does my image look soft at 4K?" The answer is usually one of these: the file was shrunk and compressed by a messaging app, it is an old scan, or it is a tight crop from a larger shot.
| Source size | Scale needed for 3840 px wide | Typical source |
|---|
| 1920 x 1080 | 2x | Screenshot, web export |
| 1280 x 720 | 3x | Old video frame, forum image |
| 960 x 540 | 4x | Thumbnail, social media copy |
| 640 x 480 | 6x | Early digital camera, scan |
The higher the scale factor, the more the software has to invent. At 2x, most good models stay close to the original. At 4x and beyond, you are asking the model to guess a lot of missing information.
💡 Tip: If you only need a photo to fill a 4K screen, 2x is usually plenty. Save 4x for images that are genuinely tiny.
Real detail versus invented detail
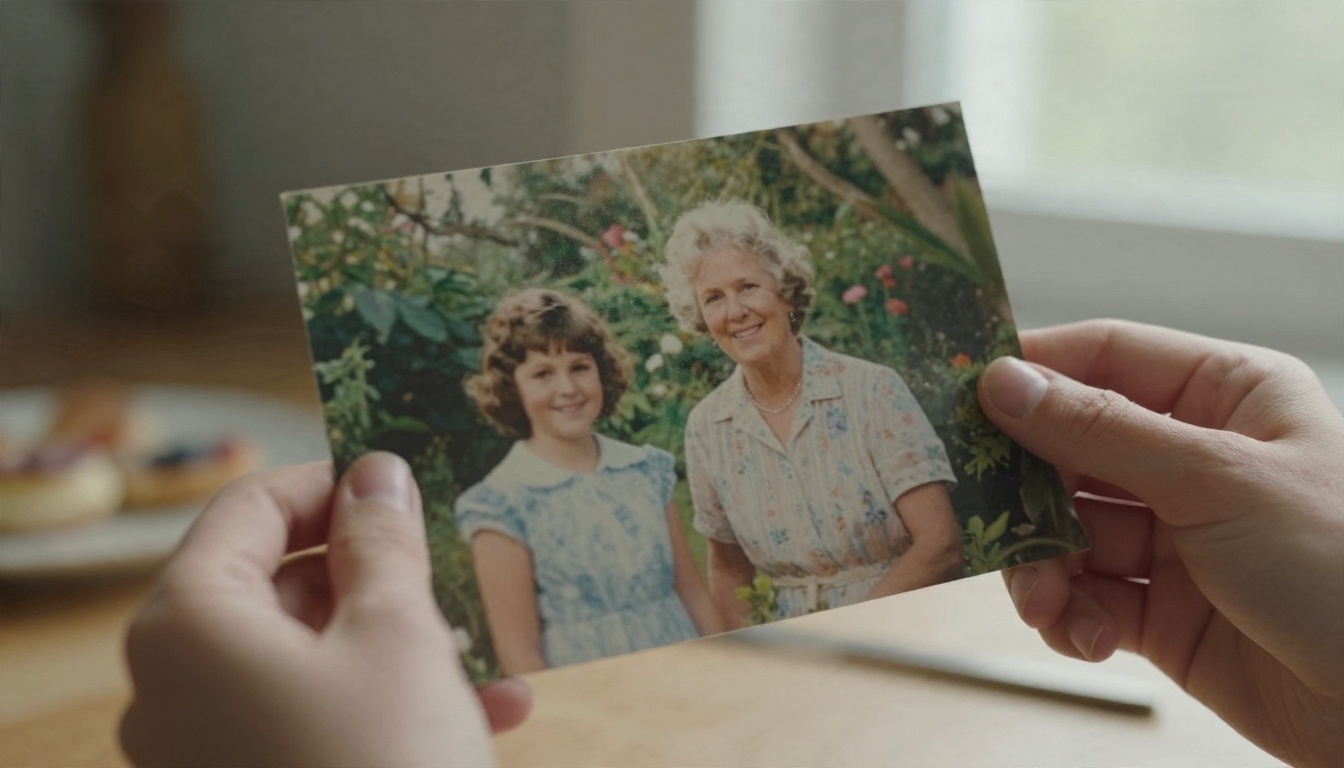
Classic resizing (bicubic, Lanczos) only stretches the pixels you already have. AI upscaling works differently: a trained model looks at the image, recognizes things like skin, foliage, fabric or brick, and generates plausible new detail that fits. That is why an AI upscale looks sharp where a plain resize looks blurry.
It also means the result is a reconstruction, not a recovery. A stranger's eyelashes will look convincing, but they are not the exact eyelashes the camera missed. For family archives, documents and evidence, keep that distinction in mind.
Free Online Options and Their Catches
Search for a free upscaler and you will find dozens of sites, plus a few well known names such as Upscale.media, Pixelcut and ImgUpscaler. Most are built on the same handful of open models, with a friendly upload box on top. The differences are in the limits.

Typical free tier limits
Limits vary by tool and change often, so check the page before you rely on one. These are the patterns that show up again and again:
| Limit | What it looks like | Why it matters |
|---|
| Input size cap | Roughly 2000 to 4000 px on the long edge without an account | Large originals get rejected or downsized first |
| Daily quota | A few images per day, or a small credit allowance | Batch jobs stall quickly |
| Output cap | Free output stops at 2x or 4x, sometimes below true 4K | You may get 2K when you wanted 4K |
| Watermark | Small logo in a corner on free exports | Unusable for client work |
| Account wall | Free credits only after signup | Faster for one photo, annoying for ten |
| File format | JPG and PNG only, often no HEIC or TIFF | Convert before upload |
Some tools advertise "no signup," and several really do work that way. The trade is usually a smaller size limit. Others hand out free credits only once you register. Neither approach is wrong, but be clear about which one you are using.
What free usually costs you
Free tiers rarely charge money, but they can charge in other ways:
- Privacy: your photo is uploaded to someone else's server. Read what the site says about retention before sending family photos or client work.
- Queue time: free jobs wait behind paid ones, so a 5 second job can become a 90 second one at peak hours.
- Compression: some sites re-encode your output as a heavily compressed JPG, which undoes part of the gain.
- Model choice: many free tools give you one model and no controls. That is fine for a landscape and poor for a face.
When free is enough
Free works well for a single photo, a social media image, a wallpaper, or a quick check on whether a picture is worth saving. It starts to hurt when you have dozens of files, need consistent results across a set, or need print-ready output with no watermark.
Settings That Change the Result
Even the simplest upscaler hides a few choices that matter more than the brand name on the site.
Scale factor
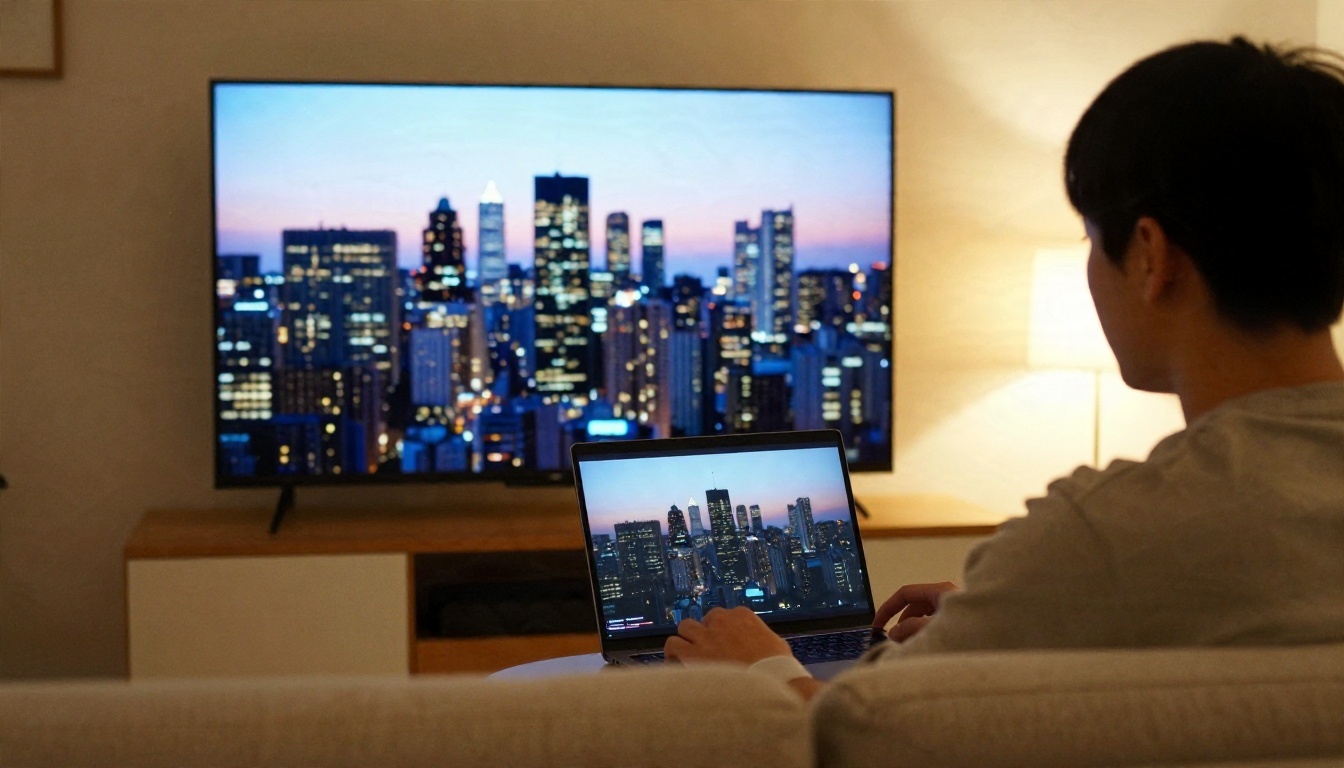
Pick the smallest scale that reaches your target. Going 2x twice often gives a cleaner result than one 4x jump, because the model has less to invent per step. If the tool offers only 4x, upscale and then resize down to the exact size you want. Downscaling a 4x result to 3x is nearly lossless in appearance.
Faithful versus creative modes
Two families of models exist, and the difference is easy to see:
- Faithful (restoration style): keeps the original look, removes blur and noise, adds modest detail. Best for old photos, documents, anything where accuracy matters.
- Creative (generative style): adds new texture such as pores, fabric weave and leaf veins. Best for low resolution images that you are happy to reinterpret.
A creative setting on a family portrait can quietly change a face. A faithful setting on a flat, soft landscape can look under-processed. Match the mode to the job.
Denoise and sharpness
Noise reduction and sharpening fight each other. Heavy denoising gives plastic skin. Heavy sharpening gives halos around edges. A good starting point is low to medium on both, then raise one at a time. If a tool gives you a single "strength" slider, stay below the maximum for portraits.
Face handling
If the tool has an option for faces, switch it on for portraits and off for landscapes and products. Face-aware processing can rebuild eyes and teeth well, but it can also smooth skin or shift expressions slightly. Always compare the face against the original at 100 percent zoom.
| Photo type | Scale | Mode | Notes |
|---|
| Old scanned print | 2x to 4x | Faithful | Clean dust first, keep grain |
| Portrait | 2x | Faithful or portrait model | Face option on, low sharpening |
| Product shot | 2x | Faithful | Check logos and stitching |
| Phone crop | 2x to 4x | Creative or balanced | Watch for fake texture |
| Landscape | 2x | Balanced | Foliage tolerates more detail |
| Screenshot or graphic | 2x | Sharp edge model | Text can warp, so zoom in |
Photo Examples by Scenario
Here is what to expect from each common photo type, and what to check before you save the result.
Old family prints
Scans of old prints carry paper grain, fading and small scratches. A faithful upscale at 2x keeps the grain and lifts the softness, which looks natural at 4K. A creative upscale at 4x can invent skin smoothness that does not belong in a 1970s photograph. Keep a copy of the original beside the result and decide which one feels more like the person.
Portraits
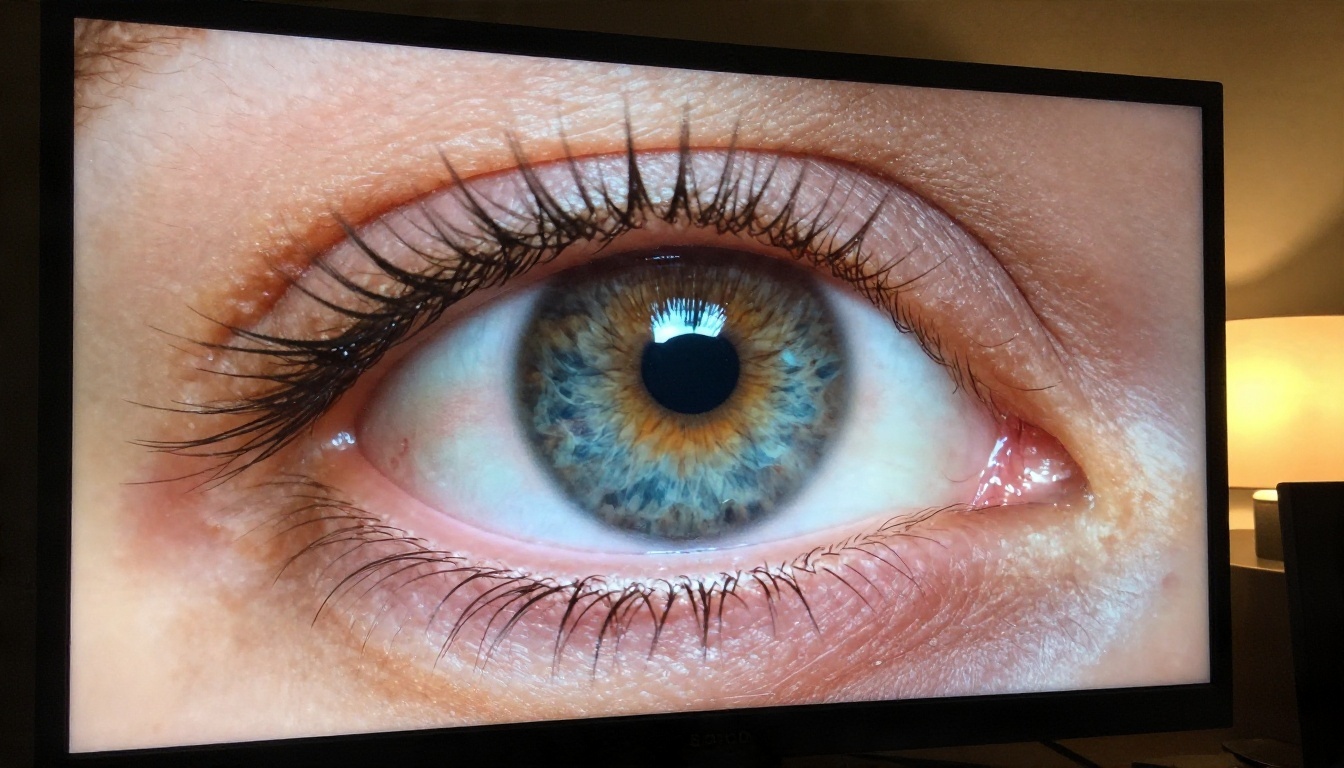
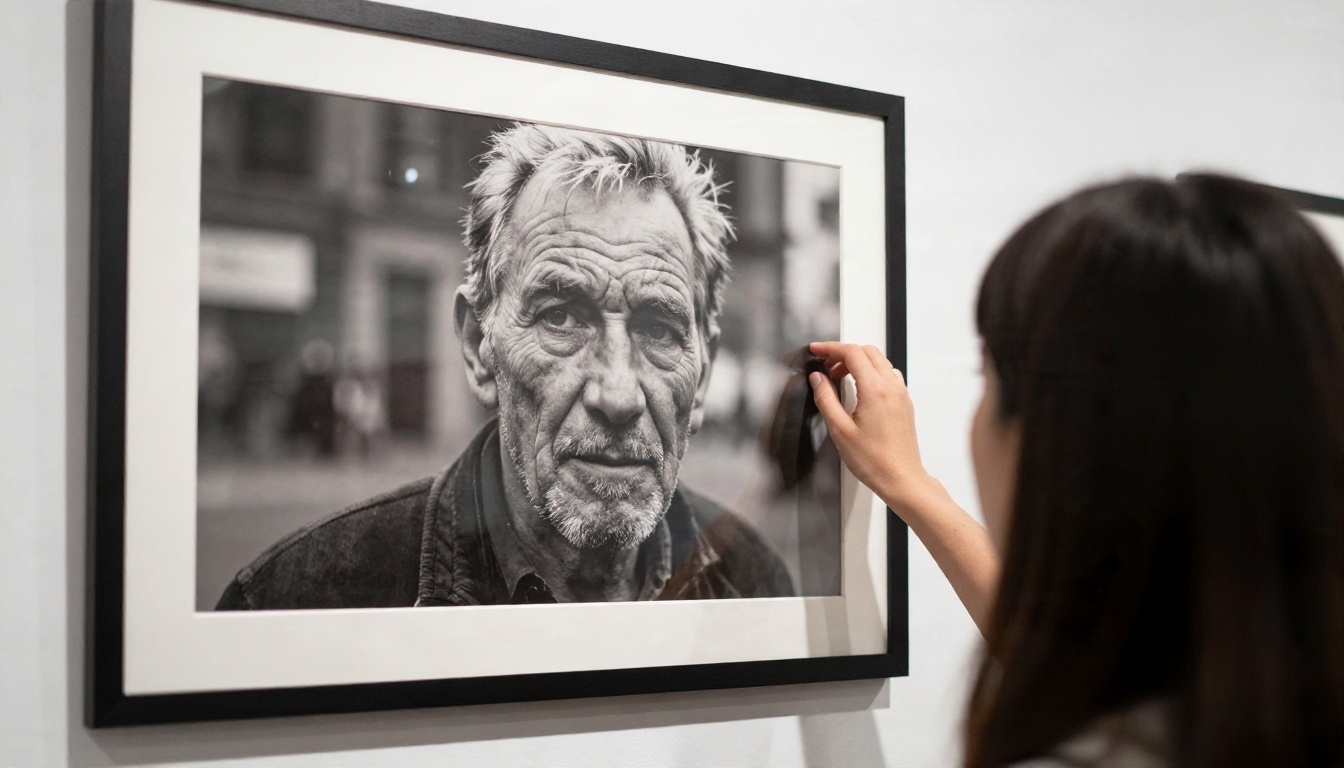
Portraits are the least forgiving. People notice errors in eyes, teeth and hairlines instantly. Use a model tuned for faces, stay at 2x if you can, and zoom to 100 percent on the eyes before accepting the result.
Product shots
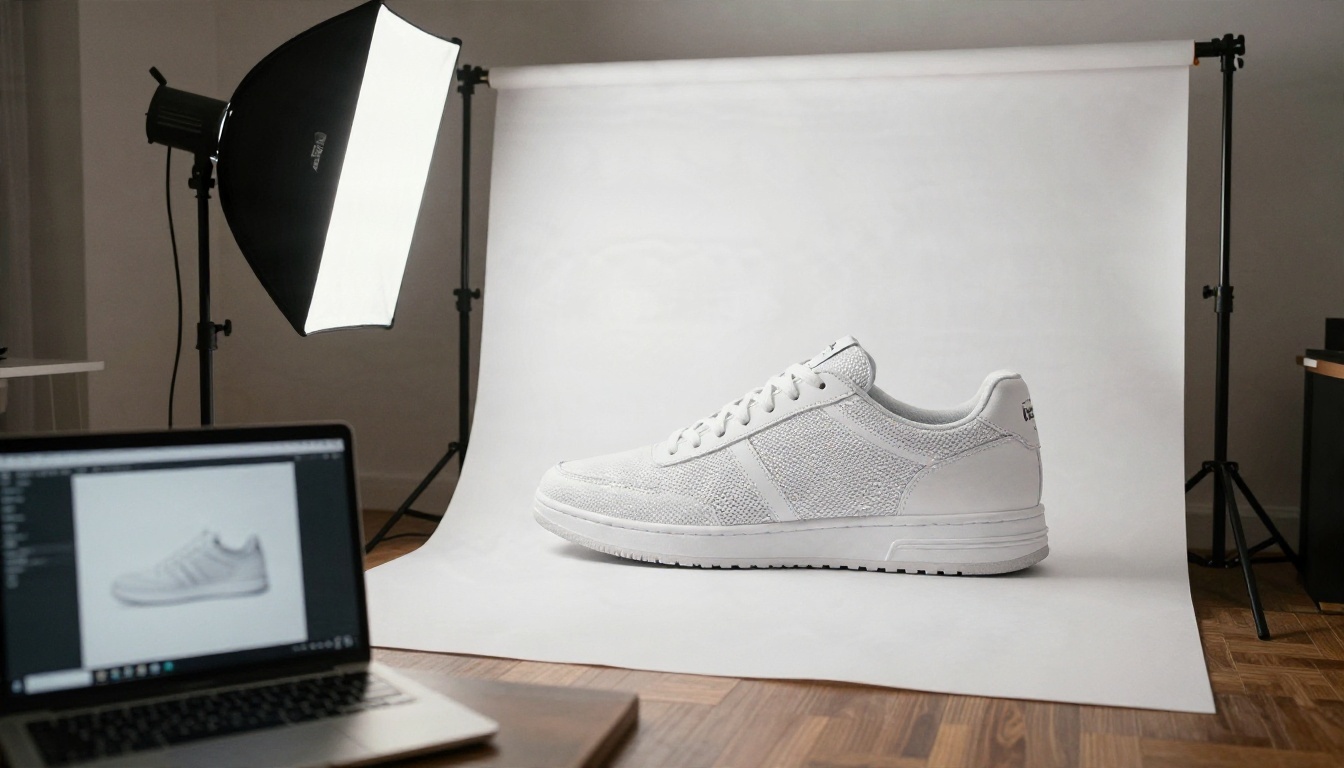
Product photos benefit most from upscaling, because the surfaces are simple and the details are well defined. Stitching, leather grain and metal edges respond well. The danger is text and logos: small lettering can turn into plausible looking nonsense. Check every label.
Phone crops and low light shots
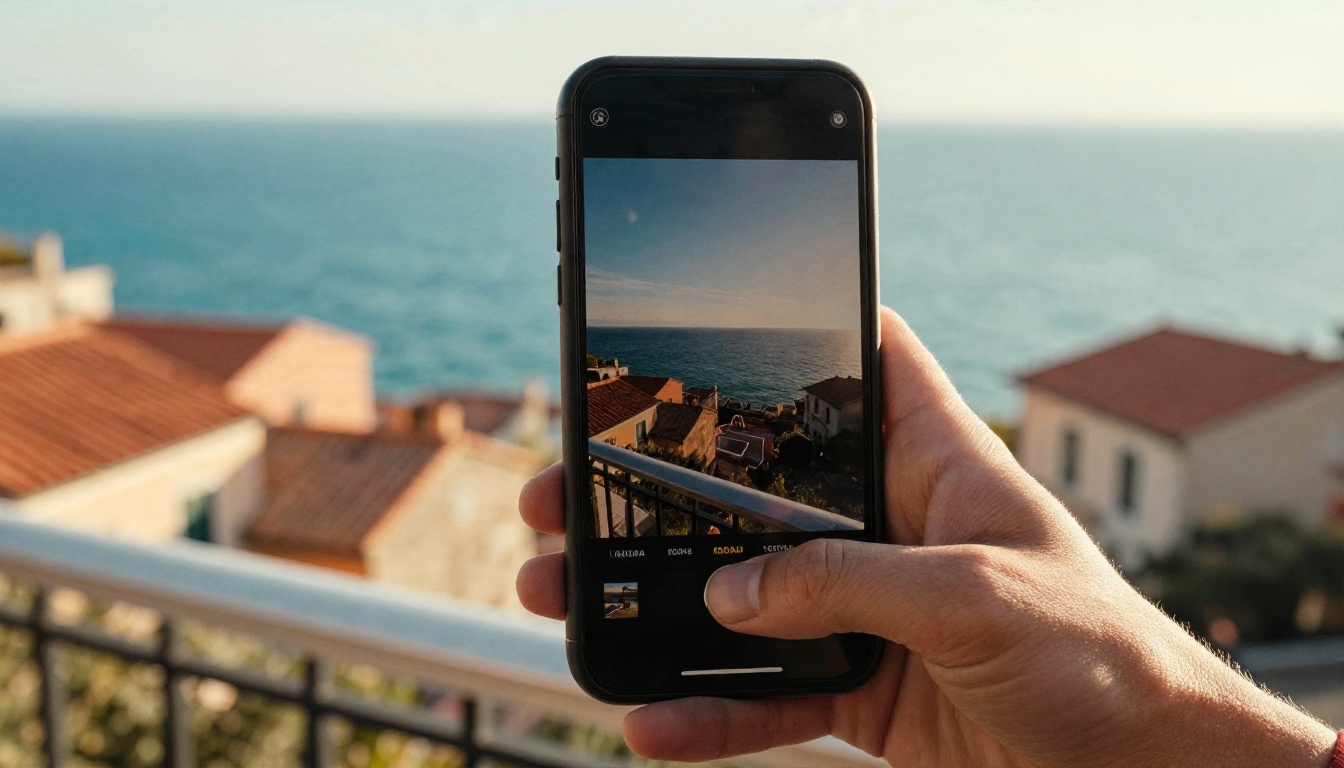
A tight crop from a phone image is a common reason to reach for an upscaler. Detail is limited and noise is high, so results depend on the model. Run a light denoise first if the tool allows it, then upscale at 2x.
Before and after comparisons that tell the truth
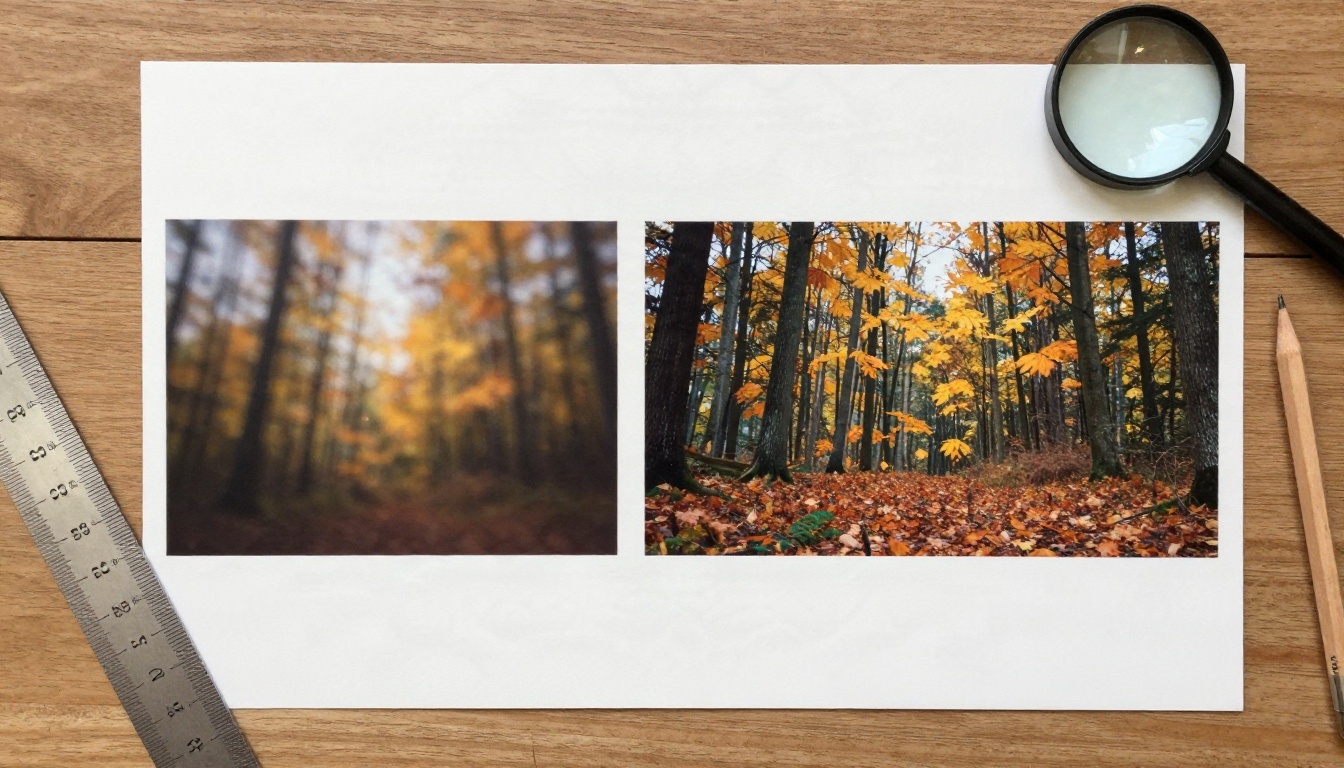
When you judge an upscale, do not look at the full image on a small screen. Zoom to 100 percent and check three spots: an edge (a roofline or a hair strand), a flat area (sky or skin) and a texture (grass, fabric). If edges are clean, flat areas are smooth without banding, and textures look believable rather than repeating, the result is good.
Free 4K Upscalers on PicassoIA
PicassoIA has a full super-resolution category, and several of the models are worth knowing by name. Each one behaves differently, so the table below maps them to the jobs above.
Having several models in one place is the real advantage. If one model makes a face look waxy, you try another on the same file in seconds instead of hunting for a new site.
💡 Tip: Run the same photo through two models and compare at 100 percent. The difference between a faithful and a creative model is often bigger than the difference between 2x and 4x.
How to Upscale a Photo on PicassoIA
This works the same way across the models above. Real ESRGAN and Upscaler are good starting points.
- Open a model page. Start with Real ESRGAN for a general photo or Crystal Upscaler for a portrait.
- Upload your image. Use a JPG or PNG. If your file is a HEIC or a very large TIFF, convert it first.
- Choose the scale. Select 2x if you only need to reach 4K, and 4x only for genuinely small files. If the model has a face option, switch it on for portraits.
- Run it and compare. Open the result next to the original at 100 percent zoom and check edges, flat areas and texture.
- Try a second model if needed. If skin looks plastic or textures look repeated, switch to a more faithful model such as Recraft Crisp Upscale, or a more creative one such as Clarity Pro Upscaler, depending on what is wrong.
- Save at full quality. Download the PNG if you plan to edit further, or a high quality JPG for sharing.
For a batch of photos, pick one model and one setting, then test on three representative files before running the rest. Consistency across a set matters more than squeezing the last 5 percent out of each image.
Printing a 4K Upscaled Photo
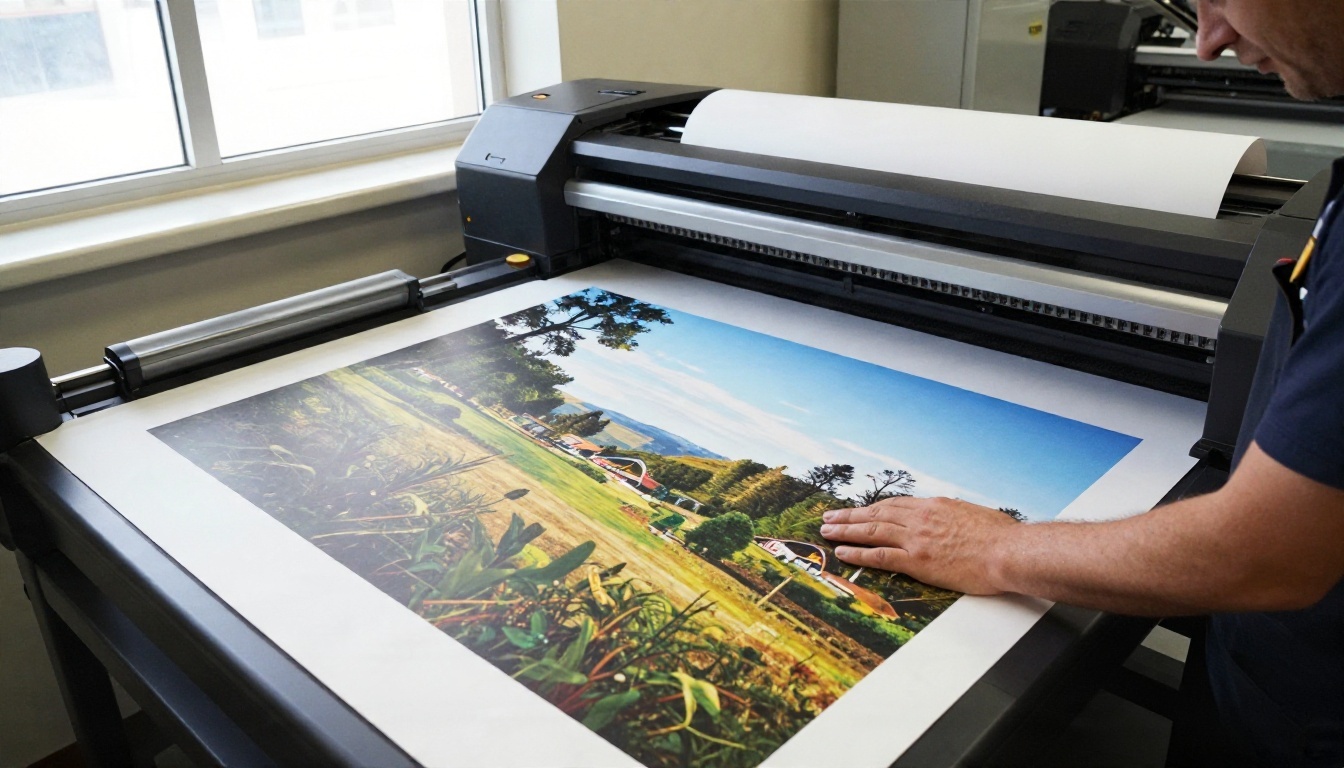
A 3840 px wide image prints at about 12.8 inches wide at 300 dpi, which is the usual standard for sharp prints held at arm's length. Posters and wall art are viewed from farther away, so 150 dpi is often acceptable, which stretches the same file to around 25 inches.
| Print width | Pixels at 300 dpi | Pixels at 150 dpi |
|---|
| 8 x 10 in | 2400 x 3000 | 1200 x 1500 |
| 16 x 20 in | 4800 x 6000 | 2400 x 3000 |
| 24 x 36 in | 7200 x 10800 | 3600 x 5400 |
For anything larger than 16 inches, choose a model built for big enlargements, such as Image Upscale, and then check a test print of a small section before sending the full job. Printers show flaws that screens hide.
Mistakes That Ruin an Upscale
Most bad results come from a few repeated habits.
- Upscaling a heavily compressed JPG. The model treats compression blocks as real detail and sharpens them. Use the best source file you have.
- Pushing 8x from a thumbnail. There is not enough information. Get a larger original if one exists.
- Skipping the 100 percent check. A result that looks great fitted to your screen can have broken eyes or warped text.
- Using a creative model on records. Family archives, IDs and documents should use a faithful model, and the original should always be kept.
- Upscaling twice with different tools. Errors stack. One good pass beats two mediocre ones.
- Ignoring licensing. Upscaling a photo does not give you rights to it. Use your own images or ones you are licensed to edit.
Try It on Your Own Photos
The fastest way to find the right settings is to test them on a photo you care about. Take one soft image, run it through two or three models in the PicassoIA super-resolution lineup, and compare the results at 100 percent. Start with Real ESRGAN for a quick baseline, then try Crystal Upscaler on a portrait or Clarity Pro Upscaler on a landscape. You will see within a few minutes which model suits your style of photo, and you can browse every option at picassoia.com/en/all-models.


