You took the photo. The light was perfect, the expression was right, and the framing was wrong. Too flat, too far away, shot from standing height when the scene begged for a low angle. A few years ago that meant a reshoot or a compromise. Today an AI camera angle changer can rebuild the same scene from a different viewpoint in under a minute, and several versions are free.
The catch is that most free tools behave very differently, and the default settings are rarely the ones that work. This article sorts out which online options are worth using, which prompts produce clean results, and which slider values keep faces and backgrounds from falling apart.
💡 Quick answer: the most reliable free route is an image editing model trained on multi-angle data, such as Qwen Edit Multiangle. Upload one photo, set a small rotation and tilt, keep the prompt short, and change one variable per run.
What an AI Angle Changer Does
A camera angle changer takes a single flat photo and estimates how the scene would look if the camera had been somewhere else. It does not simply rotate or crop the picture. The model infers depth, guesses what sits behind and beside the subject, and paints a new image from the shifted position.
Three things can change:
- Azimuth: the camera moves left or right around the subject.
- Elevation: the camera moves up toward a bird's-eye view or down toward a worm's-eye view.
- Distance: the camera moves closer for a close-up or farther back for a wider frame.
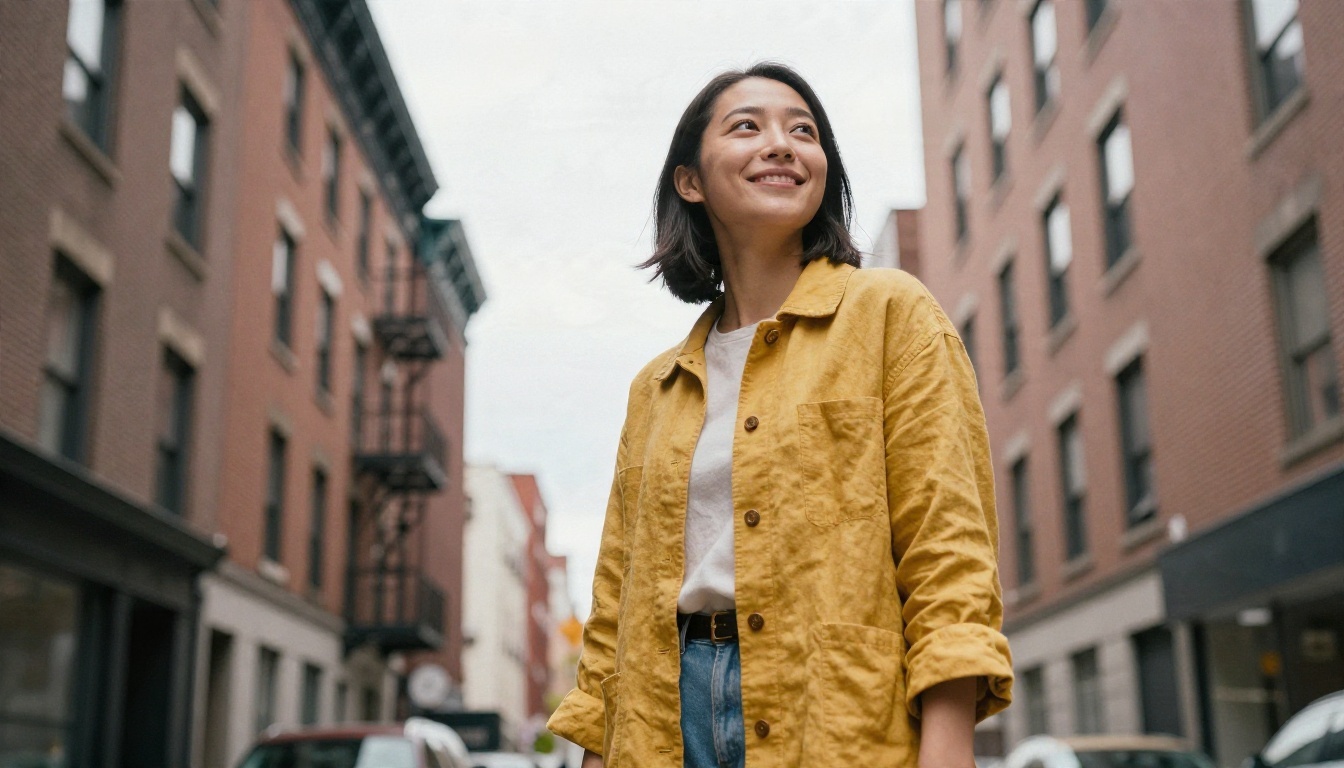
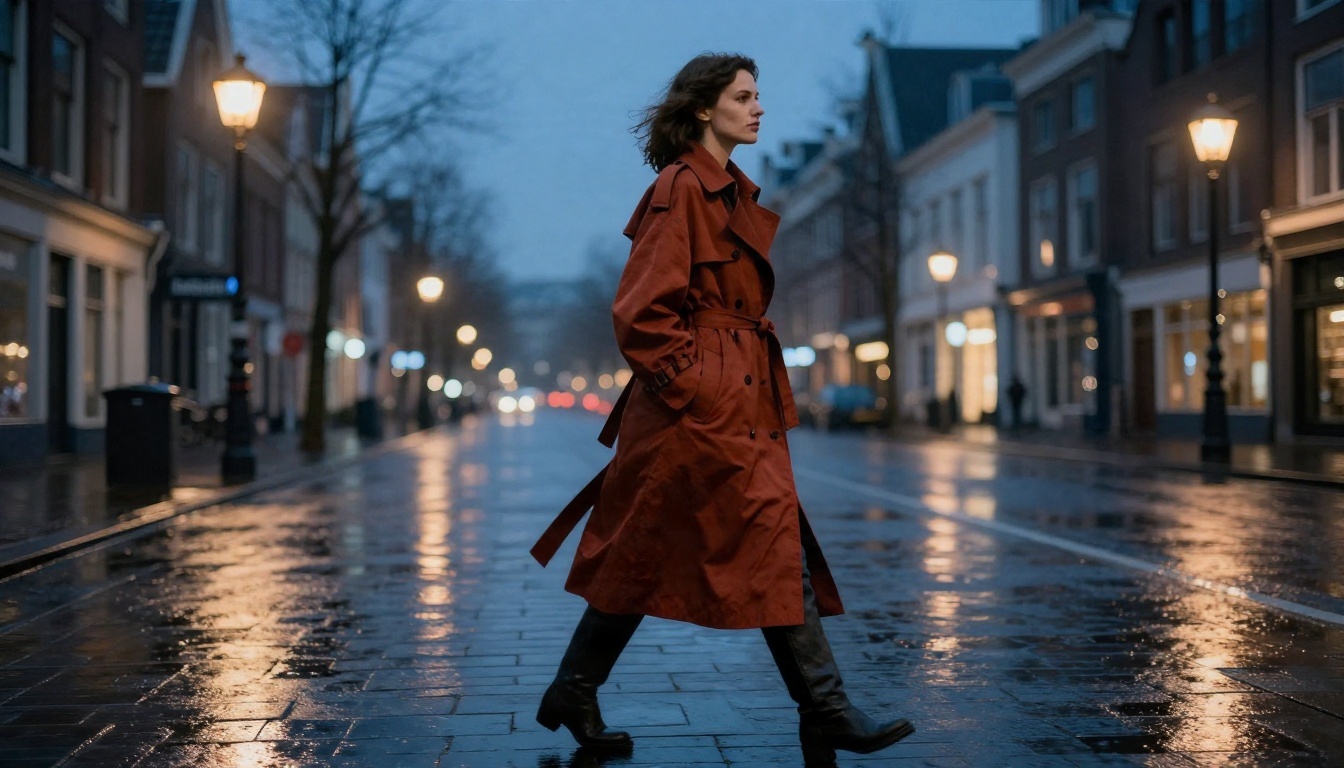
A low angle like the one above adds presence and height to a subject. A flat eye-level original can be pushed toward this look with a modest downward tilt, as long as the model has enough information about the shape of the person.
Why single photos are hard
One photo holds no information about what is behind the subject's shoulder or on the far side of a product. The model fills those gaps with plausible guesses. Small camera moves of 15 to 45 degrees work well because most of the original pixels remain valid. Large moves of 90 degrees or more force the model to invent half the object, and that is where distortion shows up.
Where the technology comes from
The current wave of free tools mostly runs on image editing models fine-tuned with LoRA adapters trained on many viewpoints of the same subject. The popular recipes use Qwen Image Edit as the base and add an adapter that responds to camera commands such as "rotate the camera 45 degrees to the left" or "turn the camera to a top-down view." That is why you will see nearly identical controls across different websites: many of them wrap the same underlying adapter.
Free Online Options Compared
Several kinds of tools call themselves a camera angle changer. They are not equal. Free usually comes with a limit, such as a daily cap, a watermark, a lower output size, or a queue.
| Tool type | Typical limit | Control style | Best for |
|---|
| Hosted Qwen multi-angle demos | Queue times, shared GPUs | Sliders plus text | Quick tests |
| Browser angle tools with daily caps | A few free runs per day | Prompt or dropdown | One-off edits |
| Local ComfyUI with LoRA | Free, needs a strong GPU | Node graph | Heavy batch work |
| General image editors with a prompt | Credits or free tier | Text only | Mixed edits |
| Platform models on PicassoIA | Free access to start | Sliders plus prompt | Repeatable settings |
A few points from testing the categories:
- Daily caps are fine for a single hero image but frustrating when you need to iterate on settings.
- Local setups give total control and no limits, but you will spend an afternoon on installation before the first image.
- Text-only editors can change angles, but results drift because "show it from the side" means different things on different runs.
- Slider-based tools are the most repeatable, since a rotation of 30 degrees means the same thing every time.
💡 Tip: keep a simple log of the seed, rotation, tilt and zoom for every output you like. When a client asks for the same angle on a second product, you can match it in one run instead of five.
How to Use Qwen Edit Multiangle on PicassoIA
Qwen Edit Multiangle is built for exactly this task. You upload an image, set the camera movement with numeric inputs, and optionally add a short text instruction. It runs the dx8152 multiple-angles LoRA by default, which is the same family of adapter behind many hosted demos.
Step by step
- Upload your image. JPEG, PNG, GIF and WebP all work. Pick a sharp original with the subject fully visible.
- Set the rotation. The
rotate_degrees field accepts positive values to rotate the camera left and negative values to rotate right. Start with 20 to 30.
- Set the vertical tilt. The
vertical_tilt field runs from -1 (bird's-eye) through 0 (level) to 1 (worm's-eye). Use 0 first, then try 1 for a hero low angle.
- Set the zoom.
move_forward pushes the camera in toward a close-up. Small integers are safer than large ones.
- Decide on wide angle. Toggle
use_wide_angle when you want a lens-style perspective change for interiors or environments.
- Add an optional prompt. The text is appended after the camera directive, so keep it short and descriptive.
- Pick the aspect ratio. The default
match_input_image keeps the original shape. Change it only when you need a specific format.
- Choose speed or detail.
go_fast set to true runs a 4-step preset. Set it to false for the 40-step detailed preset when you are happy with the angle.
Parameters worth changing
| Setting | Default | Suggested range | What it does |
|---|
| rotate_degrees | 0 | 15 to 45 | Moves the camera around the subject |
| vertical_tilt | 0 | -1, 0 or 1 | Sets bird's-eye, level or worm's-eye |
| move_forward | 0 | 0 to 3 | Pushes toward a close-up |
| lora_scale | 1.25 | 1.0 to 1.5 | Strength of the angle adapter |
| go_fast | true | true for tests | 4 steps versus 40 steps |
| seed | random | fixed number | Reproduces a result |
💡 Workflow: run with go_fast on while you search for the right angle, lock the seed on the best result, then switch go_fast off for the final render.
Prompts That Work
The camera directive is handled by the sliders, so the text prompt has a smaller job. It should protect what you like about the original and describe anything the new angle will reveal.
Prompt patterns
- Preserve identity: "same person, same clothing, same hairstyle, natural skin texture"
- Preserve light: "keep the soft window light from the left and the warm color palette"
- Describe the reveal: "show the side of the sneaker with the gum sole and stitching"
- Control the setting: "background stays a plain grey studio wall"
Prompts that cause trouble
| Weak prompt | Why it fails | Better version |
|---|
| "Make it cooler" | No angle or content instruction | "Low angle, same person, same jacket" |
| "Show the back" | Invents a lot of hidden detail | "Rotate 30 degrees, keep the front details" |
| "Change everything" | Drops identity and light | "Change only the camera position" |
| "Cinematic epic dramatic" | Adds style drift | "Natural light, realistic texture" |
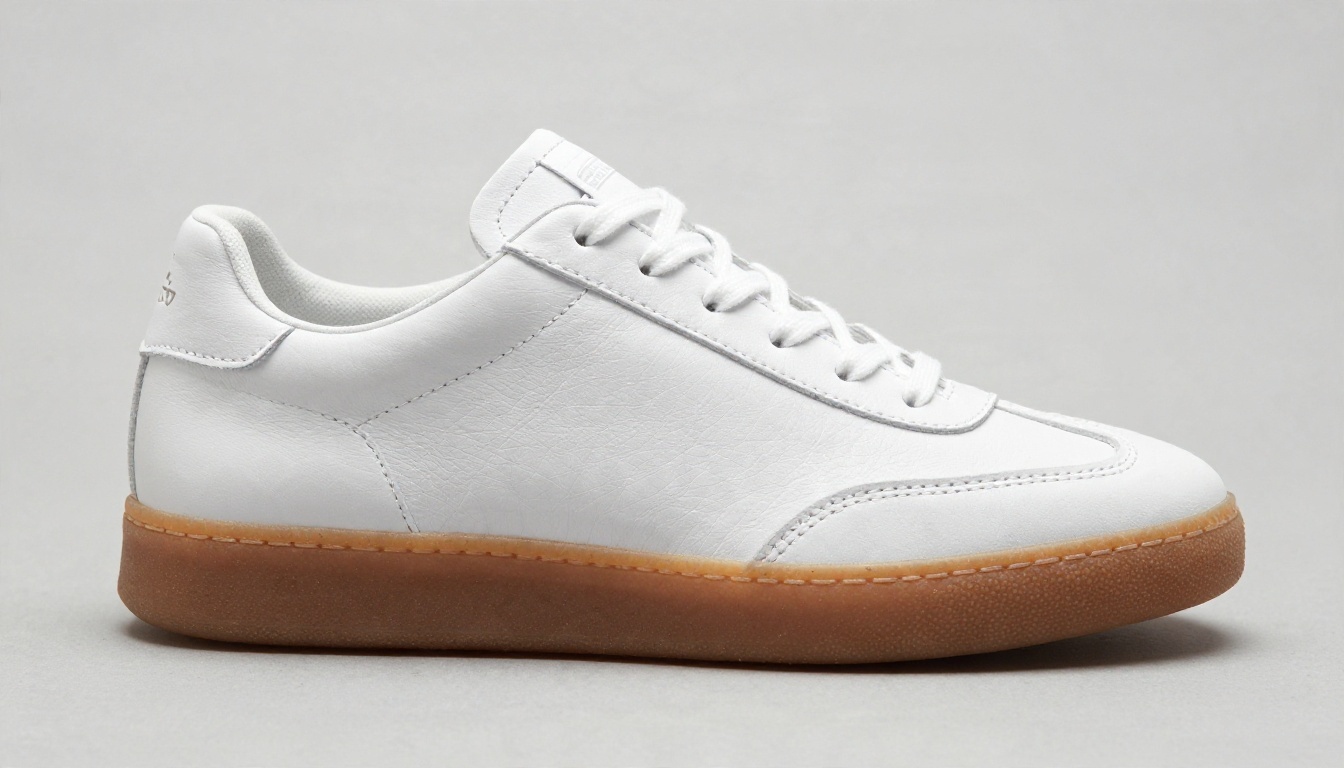
Product shots are a good place to practice. A three-quarter view like the sneaker above is the most useful commercial angle because it shows the front, the side and the sole in one frame. Start from a clean front photo, rotate 30 to 40 degrees, and the model will usually invent a convincing side profile.
Settings by Use Case
Different jobs need different numbers. These starting points work as a baseline, and you can adjust from there.
Portraits
Keep rotation under 35 degrees. Faces tolerate a small turn but start to distort beyond that, with the far eye and ear drifting out of proportion. For a flattering result, add a slight tilt and avoid wide-angle mode, which stretches features near the edges.
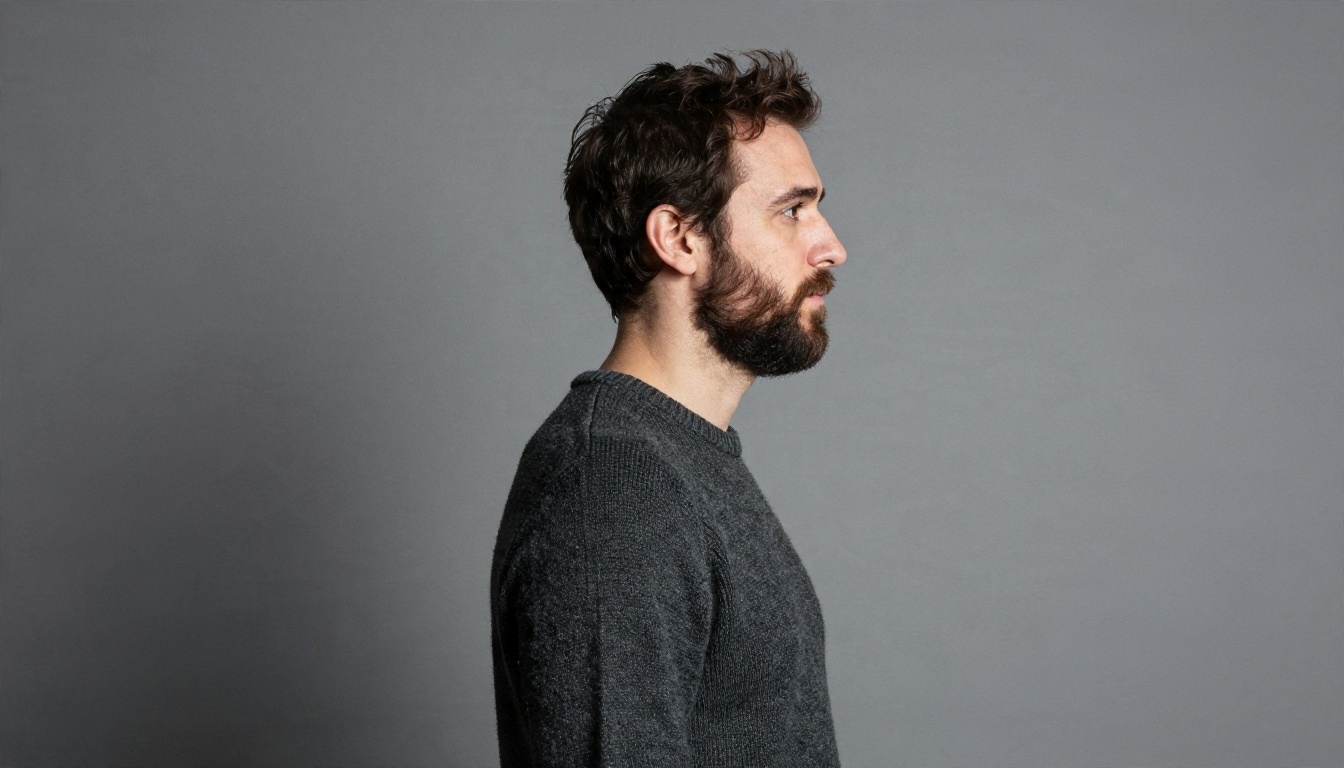
A full 90 degree profile is the hardest portrait request. If you need it, go in stages: rotate 30 degrees, use the result as the new input, then rotate another 30. Two gentle moves usually look better than one extreme jump.
Products
Products are forgiving because they have simple geometry. Use rotations of 30 to 60 degrees, a plain background and a fixed seed so a whole catalog shares one look. Keep lora_scale near the default, and lower it slightly if edges look overcooked.
Interiors and real estate
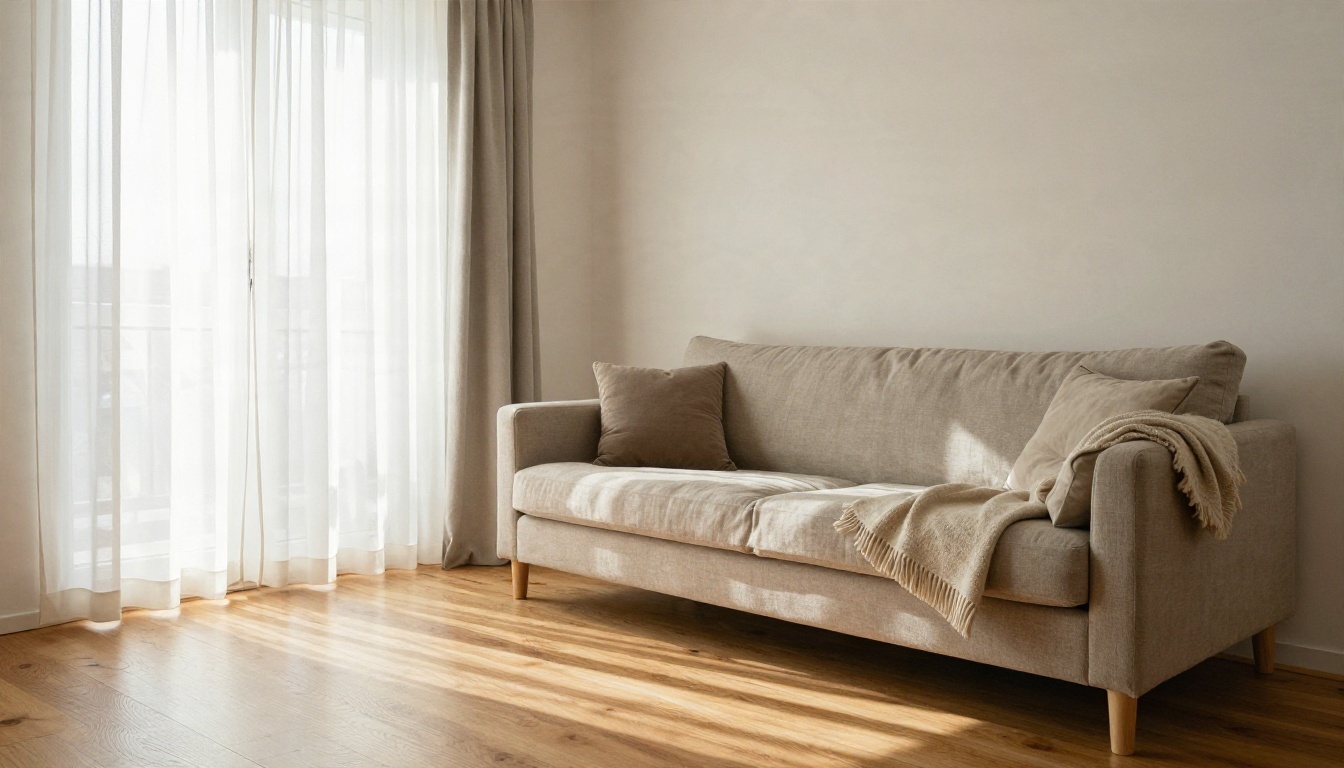
Switch on use_wide_angle for rooms. Interiors benefit from straight vertical lines, so avoid heavy tilt. A small forward move of 1 or 2 gives a more inviting framing without warping the walls.
Food and flat lays
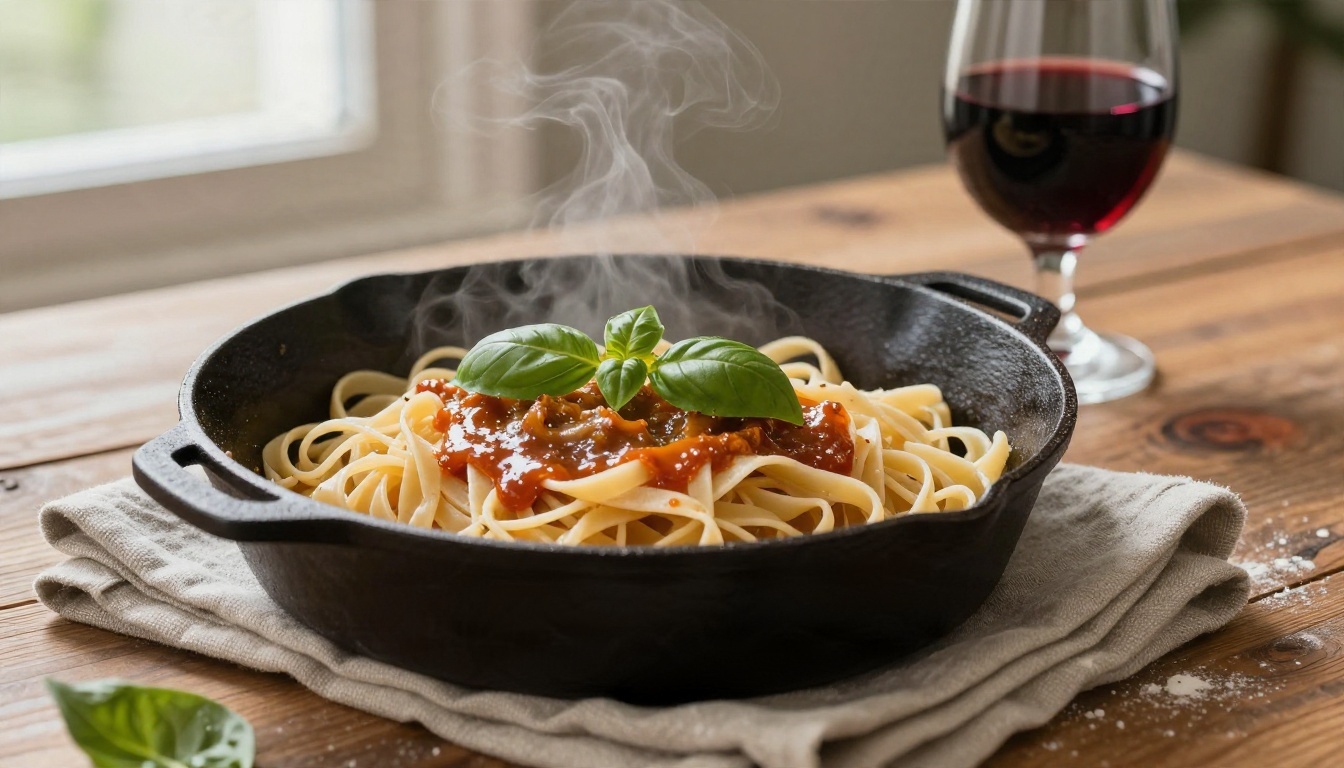
Food responds well to tilt. A vertical tilt toward bird's-eye produces a clean overhead plate, and a worm's-eye tilt with a forward move creates a hero look for burgers and stacks.
Quick reference
| Use case | Rotation | Tilt | Zoom | Wide angle |
|---|
| Portrait | 15 to 30 | 0 or 1 | 0 to 1 | Off |
| Product | 30 to 60 | 0 | 0 to 2 | Off |
| Interior | 10 to 25 | 0 | 1 to 2 | On |
| Food | 0 to 20 | -1 | 0 to 2 | Off |
| Street scene | 20 to 40 | 1 | 0 | Off |
Other Models Worth Trying
No single model wins every angle task. These alternatives are worth keeping in your rotation.
- Qwen Image Edit 2511: a general editing model that follows natural language well, good when you want to change the angle and fix details in the same pass.
- Qwen Image Edit Plus: handles multiple reference images, useful when you have several photos of one subject and want a consistent new view.
- Nano Banana Pro: strong at keeping a face consistent across edits and good with plain language like "show this from slightly above."
- Flux Kontext Fast: quick context-aware edits, handy for light changes in framing.
- P Image Edit: a very fast editor that suits rapid trial and error before you commit to a final render.
- Seedream 4.5: useful when you want to regenerate a scene at high resolution from a new angle using the original as reference.
💡 Combine models: use Qwen Edit Multiangle to set the new viewpoint, then pass the result through Nano Banana Pro or Qwen Image Edit 2511 with a short prompt to clean up skin, hands and fine details.
Common Mistakes and Fixes
Most failed generations come from the same handful of errors.
Changing too much at once
Rotation, tilt, zoom and a long style prompt in one run give the model too many things to balance. Change one variable, check the result, then add the next.
Starting with a weak original
Blurry, tightly cropped or heavily compressed images give the model little to work with. If the original is small, upscale it first with a super resolution model, then change the angle.
Pushing the angle too far
A move beyond 60 degrees asks the model to imagine the hidden side. Work in two or three smaller steps and use each output as the next input.
Ignoring the background
The background shifts with the camera too. A cluttered scene with many straight lines, such as a street full of windows, can bend in odd ways. A simple background keeps the result believable.
Letting the prompt fight the sliders
If the sliders say rotate left and the prompt says "view from the right," results become unpredictable. Keep your text focused on content and light, and let the numbers handle direction.
Troubleshooting table
| Symptom | Likely cause | Fix |
|---|
| Face looks stretched | Wide angle or big rotation | Turn off wide angle, lower rotation |
| Subject changes clothing | Prompt too loose | Add "same outfit, same colors" |
| Soft, muddy output | Fast preset | Switch go_fast off for final |
| Odd background warping | Busy scene | Simplify or reduce tilt |
| Result differs each run | No fixed seed | Lock the seed |
| Hands look wrong | Hidden detail invented | Fix afterward with an editing model |
From Still Angle to Moving Camera
Once you have a strong still from the new angle, you can take it one step further. Feeding the result into a video model lets you animate a slow push-in, orbit or tilt. A model such as Kling v3 Video can turn the new viewpoint into a short moving shot, and Video 01 Director offers camera movement controls designed for this kind of direction.
This is also a quiet advantage of fixing the angle first. A video model has a far easier time animating a clean, well-composed still than rescuing a flat original. For storyboards, social clips and product teasers, the sequence is simple: reframe the photo, polish it, then animate it.
A practical workflow
- Pick the best original, even if the angle is wrong.
- Reframe with a multi-angle model using small moves.
- Fix faces, hands and edges with an editing model.
- Upscale if the output will be printed or shown large.
- Animate only after the still looks right.
Try It on Your Own Photos
The fastest way to see what a free AI camera angle changer can do is to run it on a photo you already have. Pick one portrait, one product and one room, and try the settings from the tables above. Start with a rotation of 25 degrees, keep the prompt under ten words, and compare fast and detailed runs side by side.
Open Qwen Edit Multiangle on PicassoIA and upload your first image. When you want to compare other editors, browse everything available at picassoia.com/en/all-models and build the workflow that fits your own style of photography.


