AI Headshot Generator Free for LinkedIn: Prompts and Tools
Make a LinkedIn ready headshot from a single selfie using free AI tools. This article compares the main tool types, walks through the Professional Headshot model step by step, and gives copy and paste prompts, lighting tips, and fixes for plastic looking skin.
Your LinkedIn photo gets judged before anyone reads a single line of your profile, and most people still upload a cropped holiday picture or a webcam still. An AI headshot generator free for LinkedIn fixes that in a few minutes: you hand it one decent photo, pick a background, and get back a clean, studio style portrait that still looks like you. No booking, no waiting on proofs, no paying per pose.
This article sorts out which kinds of free tools exist, shows how to run the Professional Headshot model on PicassoIA step by step, gives you prompts to copy for photo editing and for text-to-image mockups, and lists the mistakes that make AI portraits look fake.
💡 Short version: Use a photo based tool so the face stays yours, choose a neutral or gray background, export a square image, and check it at thumbnail size before you upload.
Why Your LinkedIn Photo Matters
The profile photo is the smallest element on your page and the first one people see. It appears as a tiny circle in search results, comment threads, messages, and connection requests. At that size nobody reads your headline. They read your face: does this person look approachable, is the light even, does the picture look recent?
The same image often follows you beyond the platform. It lands in email signatures, speaker pages, conference badges, and company directories. A weak photo gets repeated everywhere, and a strong one quietly works for you in every place your name appears.
What Recruiters Notice First
A quick scan of a thumbnail picks up the same handful of things every time:
Face size. A face that fills most of the frame stays readable when the image shrinks. A tiny head in a wide scene turns into a dot.
Expression. A relaxed half smile reads as confident. A stiff grin or a blank stare does the opposite.
Background. Clutter pulls attention away from your face. A calm, even backdrop keeps it where it belongs.
Recency. A photo that is five years and two haircuts old creates a small jolt when you appear on the video call.
Likeness. The picture should look like the person who shows up. That is the one rule an AI headshot must never break.
Where Studio Sessions Fall Short
A photographer still gives you the most control, but the format has limits. You pay for a time slot, you get a small set of frames, and the result ages the day you change jobs, grow a beard, or switch glasses. Many people only update their photo every few years because the effort feels bigger than the payoff.
An AI headshot generator flips that routine. A new portrait takes about as long as making a coffee, so you can refresh your photo when your role changes, test two backgrounds, or build matching portraits for a whole team without scheduling anyone.
How a Free AI Headshot Generator Works
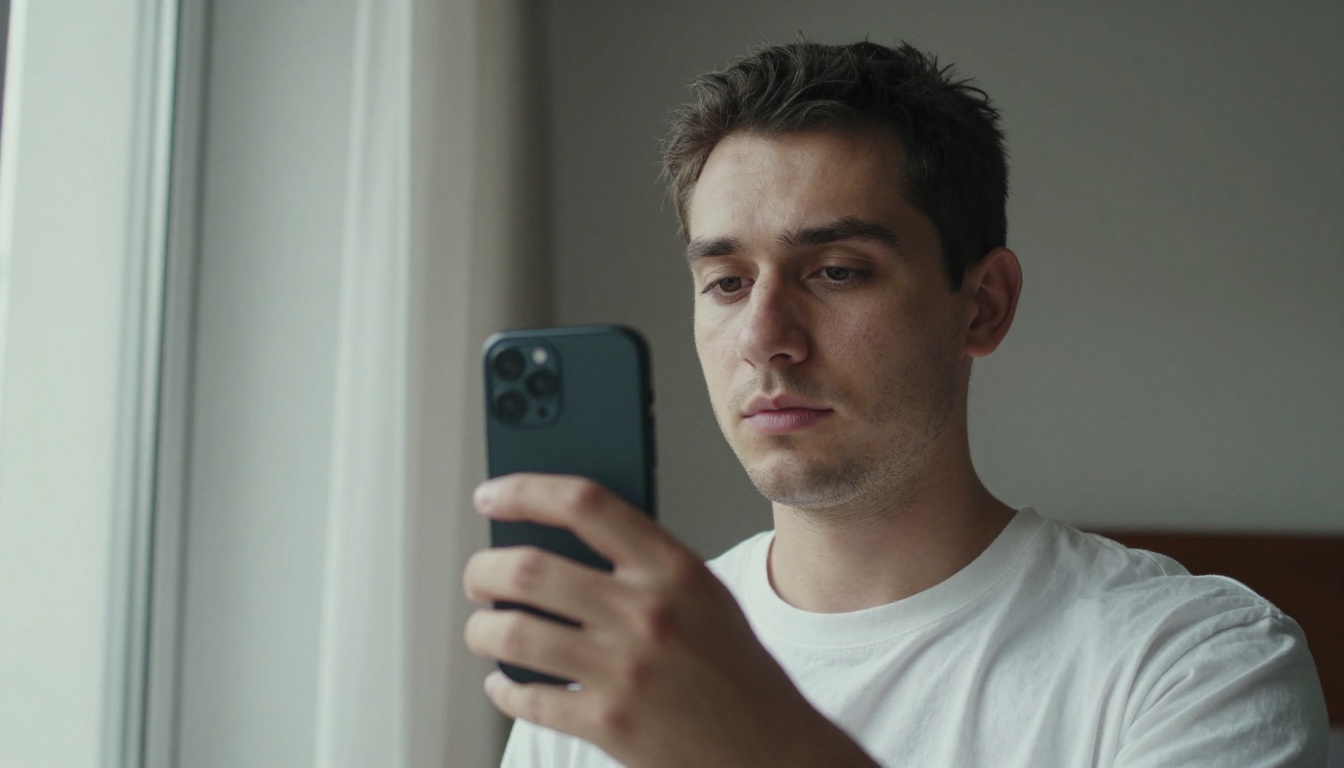
Under the hood, the process is simple. You upload a source photo. The model keeps the parts that identify you, such as face shape, eyes, hairline, and skin tone, then rebuilds everything around them: the lighting, the backdrop, the framing, and often the clothing area. What comes back looks like a studio shot, even though your input was a phone picture taken in a hallway.
Photo Based Versus Text Based Tools
Two families of tools get lumped together under the same label, and mixing them up is the fastest way to end up with a portrait of a stranger.
Photo based tools take your picture as input. They keep your identity and change the presentation. This is the right choice for your own profile.
Text based tools invent a brand new person from a written description. They suit mockups, layout tests, and placeholder portraits for a design, but the face is fictional.
💡 Rule of thumb: If the face in the result is not yours, it does not belong on your profile or your team page.
Before you upload anything, run through this short checklist:
Face fully visible. No sunglasses, no hand across the chin, no hair falling across an eye.
Sharp focus. Tap the screen on your eyes before you shoot.
Soft daylight. Stand facing a window. Direct flash flattens skin and creates shine.
Shoulders in frame. The model needs room to build a head and shoulders composition.
One person only. Crop out friends, partners, and pets.
Free Tool Options Compared
Not every tool does the same job. This table sorts the main options by what they take in and what they are good for.
For most people the first row is the best place to begin. Professional Headshot was built for one job: take a single photo of any person and return a polished portrait ready for LinkedIn, a company bio, or a job application. It offers five background options, 14 aspect ratio presets, a gender setting that helps with facial accuracy, PNG or JPG output, and watermark free downloads. A seed value lets you repeat a result exactly.
The second row matters when you want more than a backdrop swap. Nano Banana 2 is listed for editing and fusing images, and Flux 2 Pro accepts text or photos, so both can take a selfie plus an instruction such as "same face, navy blazer, soft gray background." The tradeoff is control: the prompt does the work that sliders do in the dedicated model. A precise prompt gets a good result in one try, and a vague one takes four.
The third row is a different product. Text to image models are great for placeholder portraits in a design, but they should never stand in for a real person on a real profile.
How to Use Professional Headshot on PicassoIA
The Professional Headshot model needs no prompt. Everything is controlled by one photo and a few settings, which makes it the fastest route from selfie to profile picture.
Click the Input Image field and upload your photo. JPEG, PNG, GIF, and WebP files are accepted.
Pick a photo where you face the camera within about 30 degrees, with sharp eyes and visible shoulders.
💡 Tip: If you have several photos, upload the one where you look most relaxed. The model can fix light and background, but it cannot invent a genuine expression.
Pick Background and Ratio
Set the other fields next. Each one changes the finished picture.
Setting
Options
What to choose for LinkedIn
Background
white, black, neutral, gray, office
Neutral or gray for most careers, office for sales and consulting
Aspect ratio
match input image, 1:1, 4:5, 3:4, 16:9, and more
1:1, since profile photos display as a square or circle
Gender
none, male, female
The option that fits you, for more accurate facial results
Output format
png, jpg
jpg for a lighter file, png if you plan to retouch further
Seed
any whole number
Fix a number to repeat a result you like
Each background suits a different purpose:
White looks bright and clean. It works well for speaker bios and press kits.
Black gives a dramatic, high contrast portrait for creative roles.
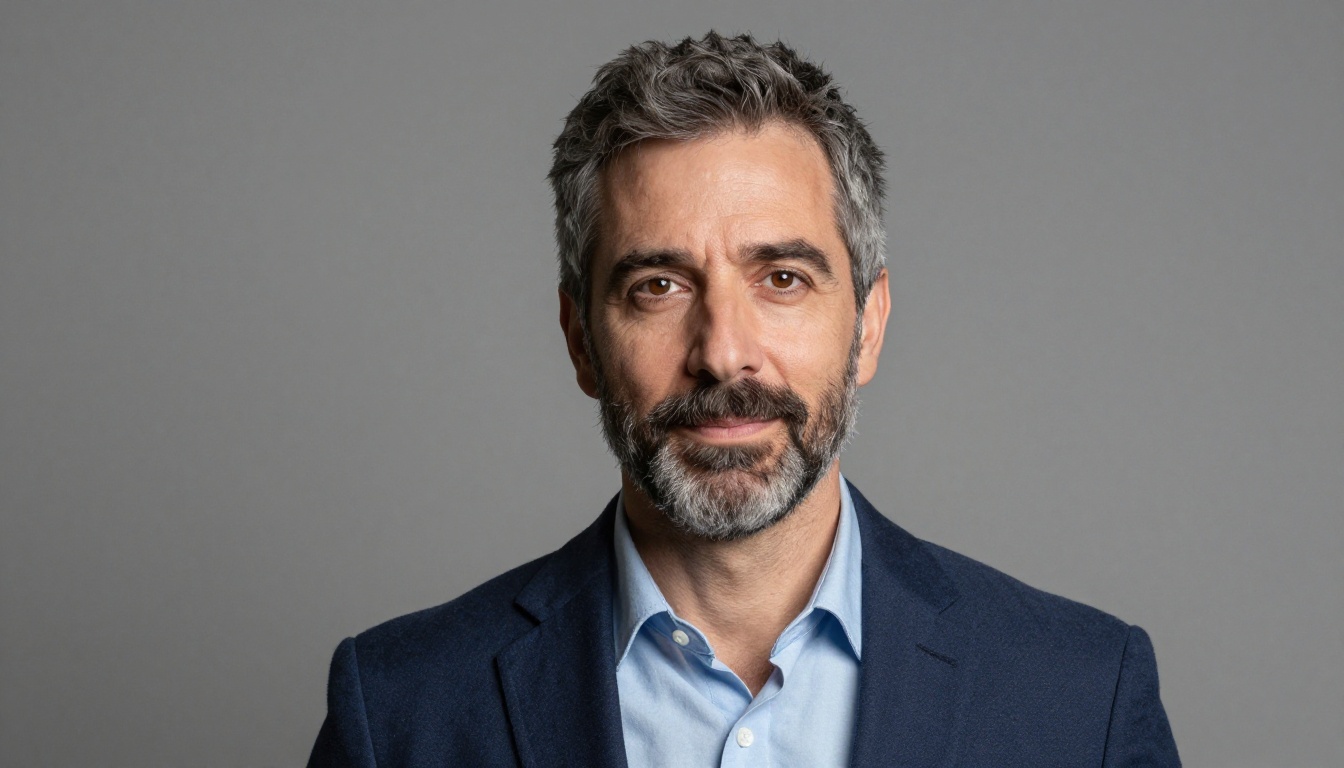
Neutral is the safest option and the default. It never competes with your face.
Gray reads as a classic studio backdrop, ideal for corporate profiles.
Office adds a blurred workplace behind you, handy for client facing roles.
Run, Review, Download
Press the generate button. In the model's own examples, a result arrives in about six seconds.
Shrink the preview to roughly the size of a LinkedIn thumbnail. If your face still reads clearly, the crop works.
Check the details: eyes sharp, hairline natural, ears and jaw consistent with the original.
Run two or three more times with different backgrounds or seeds, then pick the one that looks most like you on a good day.
Download the file and upload it to your profile.
💡 Tip: Keep the settings you liked in a note. When your role changes next year, you can rebuild the same look from a fresh photo in a minute.
Prompts That Work for LinkedIn Headshots
Professional Headshot runs on settings, but prompt based edit models give you more freedom. The prompts below work with photo input in Nano Banana 2 and Flux 2 Pro. Upload your photo, paste the text, and adjust the details to match your wardrobe and industry.
Prompts for Photo Edit Models
Classic corporate
Keep my face, hairstyle, and skin tone exactly the same. Place me against a soft gray studio backdrop, wearing a navy blazer over a white shirt. Soft window light from the left with a gentle fill on the right, head and shoulders framing, 85mm portrait look, natural skin texture, relaxed half smile.
Modern office
Keep my face exactly as it is. Put me in a bright modern office with a softly blurred window and a green plant behind me, wearing a charcoal jacket and a light blue shirt. Natural daylight, shallow depth of field, eye level camera, realistic skin with visible pores.
Clean and bright
Keep my face and hair unchanged. Pure white background, even soft lighting, wearing a simple dark crew neck sweater. Centered head and shoulders portrait, sharp eyes, subtle catchlights, no heavy retouching.
Creative professional
Keep my face the same. Warm beige wall behind me, an open collar shirt under a textured olive jacket, window light from the right, relaxed confident expression, 50mm lens, gentle film grain.
Every prompt opens with the same instruction: keep the face. That phrase protects your likeness while the model changes everything around it. If a result drifts, add "do not change my nose, jawline, or eye color" and run it again.
Prompts for Text-to-Image Mockups
Use these only when you need a fictional person, such as a layout test or a template preview. Models like Seedream 4.5 and P Image handle them well.
Photorealistic head and shoulders portrait of a woman in her thirties with shoulder length brown hair, charcoal blazer, ivory blouse, soft gray backdrop, window light from the left, 85mm f/1.8, natural skin texture, calm friendly expression, Kodak Portra 400 color.
Wording matters more than length. This table shows which phrases help and which backfire:
Add this
Avoid this
Why
natural skin texture, visible pores
flawless, perfect skin, airbrushed
Heavy smoothing produces a plastic face
85mm lens, shallow depth of field
wide angle, fisheye
Wide lenses distort faces
soft window light, gentle fill
dramatic spotlight, glowing effects
Harsh light looks staged
eye level camera
extreme low angle
Low angles exaggerate the chin
subtle catchlights in the eyes
hyper detailed eyes
Overdone eyes look uncanny
Mistakes That Make Headshots Look Fake
Plastic Skin and Flat Light
The most common giveaway is skin with no texture. Over-smoothed pores and a waxy sheen look like a cheap filter, and viewers sense it even when they cannot say why. Real skin has small variations: faint freckles, fine lines near the eyes, slightly uneven tone. A good headshot keeps them.
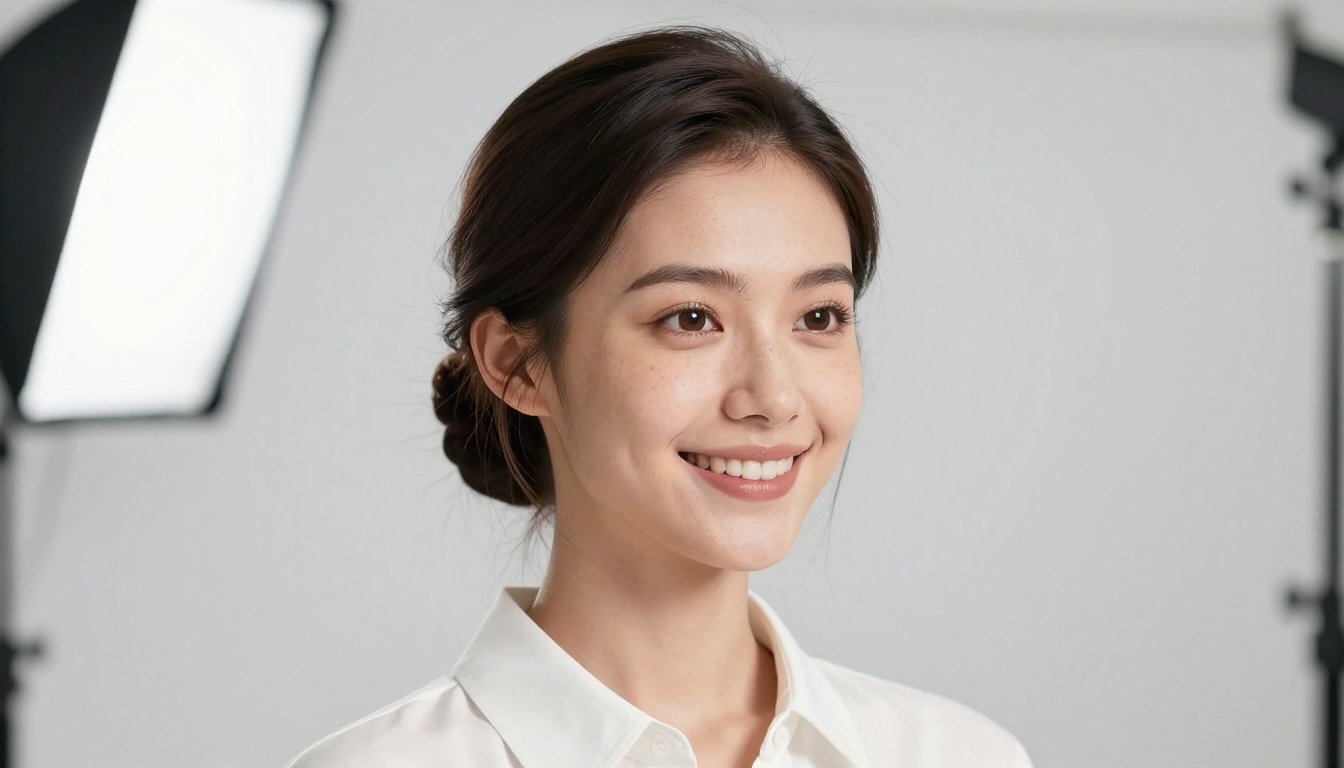
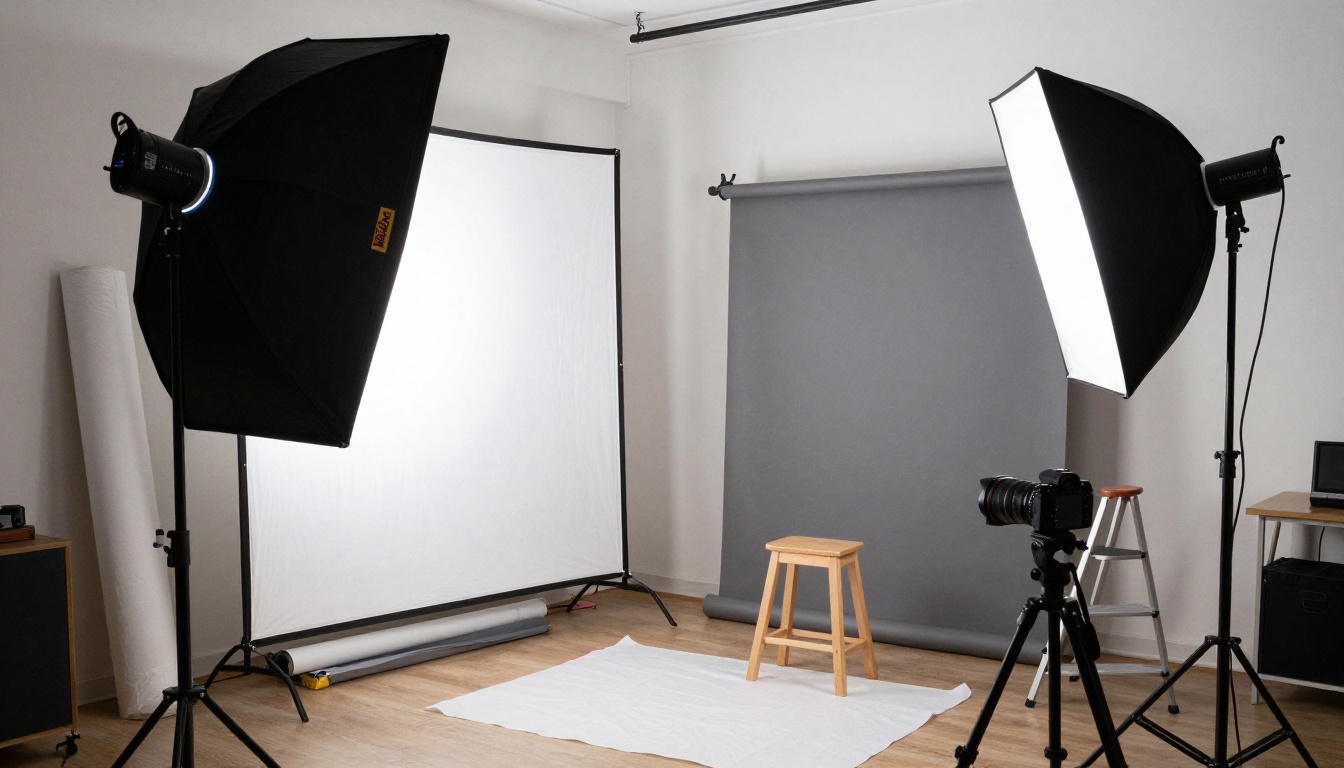
Flat light causes the same problem from another direction. Light that comes straight from the camera erases shadows, so the face looks like a sticker. Light from one side, with a soft fill on the other, shapes the cheekbones and jaw. That is why photographers use a large softbox and a white reflector, and why a window works almost as well for your source photo.
💡 Quick fix: Turn your body about 45 degrees toward the window, then turn your face back to the lens. You get one-sided shaping with no equipment.
Wrong Background Choice
Backgrounds send a signal. A black backdrop can feel heavy for an accountant, and a busy office can feel noisy for a designer. Match the backdrop to the field:
Finance, law, healthcare: gray or neutral.
Sales, consulting, recruiting: office.
Design, photography, media: black or white.
Academics and speakers: white or neutral.
If you work across several fields, neutral is the safe middle ground.
Clothes That Photograph Well
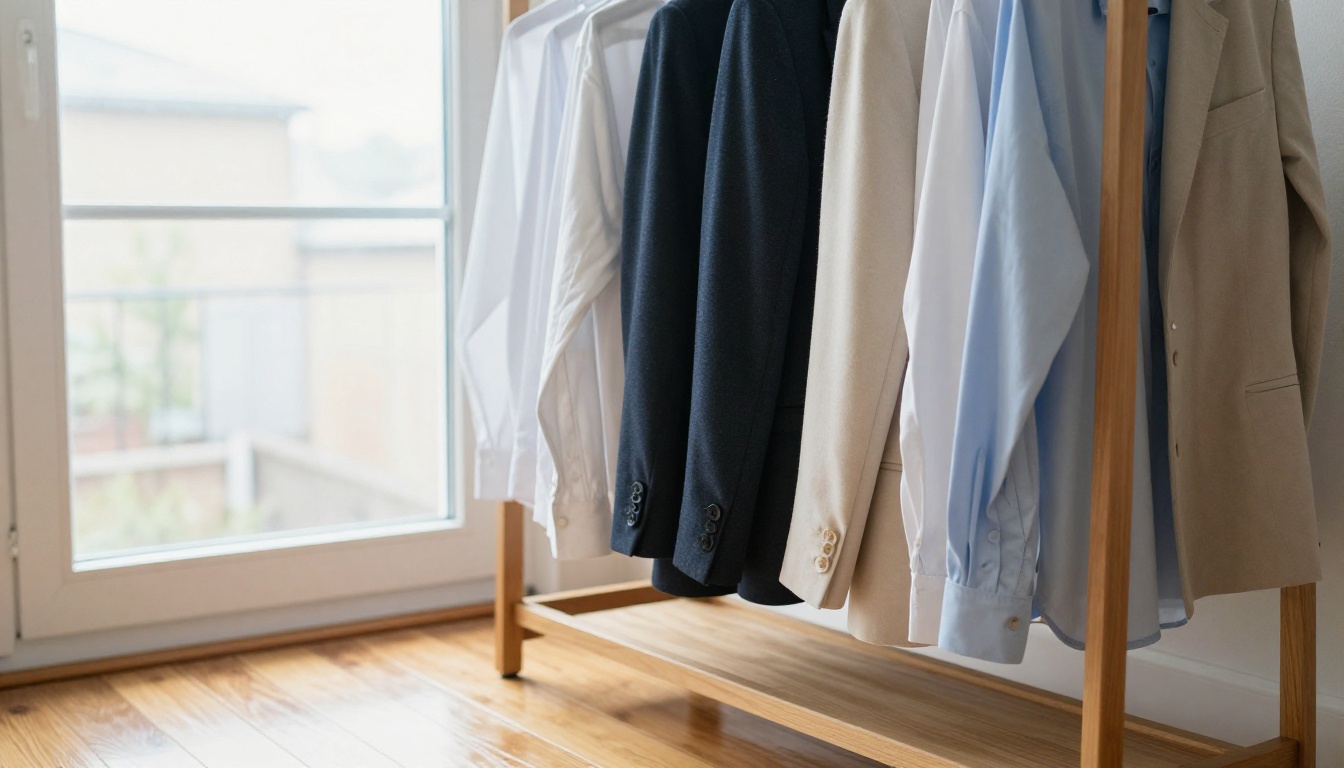
Solid mid tones photograph best. Navy, charcoal, olive, and cream hold detail, while pure white can blow out and tiny patterns can shimmer. Choose collars and necklines that frame your face instead of competing with it. Because the clothing in your source photo carries over into many results, wearing a good outfit for the original shot saves editing later.
Polish the Result Afterward
A first result is often 90 percent there. Small fixes close the gap.
Skin, Light, and Sharpness
Three retouch models on PicassoIA handle the usual leftovers. Feed them your headshot as the input image:
If your hairstyle changed since the source photo, Change Haircut swaps styles on a finished portrait. Apply one fix at a time and compare, because stacking several edits can drift away from your likeness.
Consistency makes a company page look put together. Use the same background, the same aspect ratio, and the same output format for everyone, then note a seed per person in case you need to regenerate. Portrait Series can also turn one photo into several variations, which helps when you want a formal option, a casual option, and a speaker option from a single upload.
💡 Ask each teammate for a photo taken in similar soft light. Consistent inputs give consistent outputs.
Make Your Own Headshot Today
You do not need a studio, a photographer, or a free weekend. You need one good photo and about ten minutes.
Choose neutral or gray, set the ratio to 1:1, and press generate.
For more say over clothing and setting, paste one of the prompts above into Nano Banana 2 or Flux 2 Pro.
Polish with the retouch models, check the thumbnail, and update your profile.
Try two or three versions and compare them on your phone before you commit. When you want to experiment further, browse the full model list on PicassoIA and run your own photo through a few of them. Your next profile picture could be ready before your coffee cools.