You have about two seconds. That is roughly how long a recruiter, a hiring manager or a potential client looks at your LinkedIn photo before deciding whether to click, scroll or move on. A dim selfie taken in a hallway, a cropped wedding photo or a grainy screenshot from a video call quietly says "not ready." A clean, well lit headshot says the opposite. The good news is that you no longer need a studio, a photographer or a paid retouching service to get there. A modern AI LinkedIn photo editor can fix lighting, clean up the background, sharpen detail and even generate a fresh studio-style portrait, all in your browser and often for free.
This article walks through what these editors actually do, which tools on PicassoIA fit which job, a step-by-step workflow for cutting out your background, and the small photo habits that make the biggest difference. It also covers where to stop, because an over-edited headshot can hurt you more than a plain one.
Why Your LinkedIn Photo Matters
First Impressions Happen Fast
LinkedIn is a search engine for people. When someone types your name, or a job title you hold, your photo appears next to your headline in a tiny circle. At that size, details disappear and only three things survive: face visibility, contrast and background noise. If your face is small in the frame, shadowed, or competing with a busy room, the thumbnail turns into a smudge.
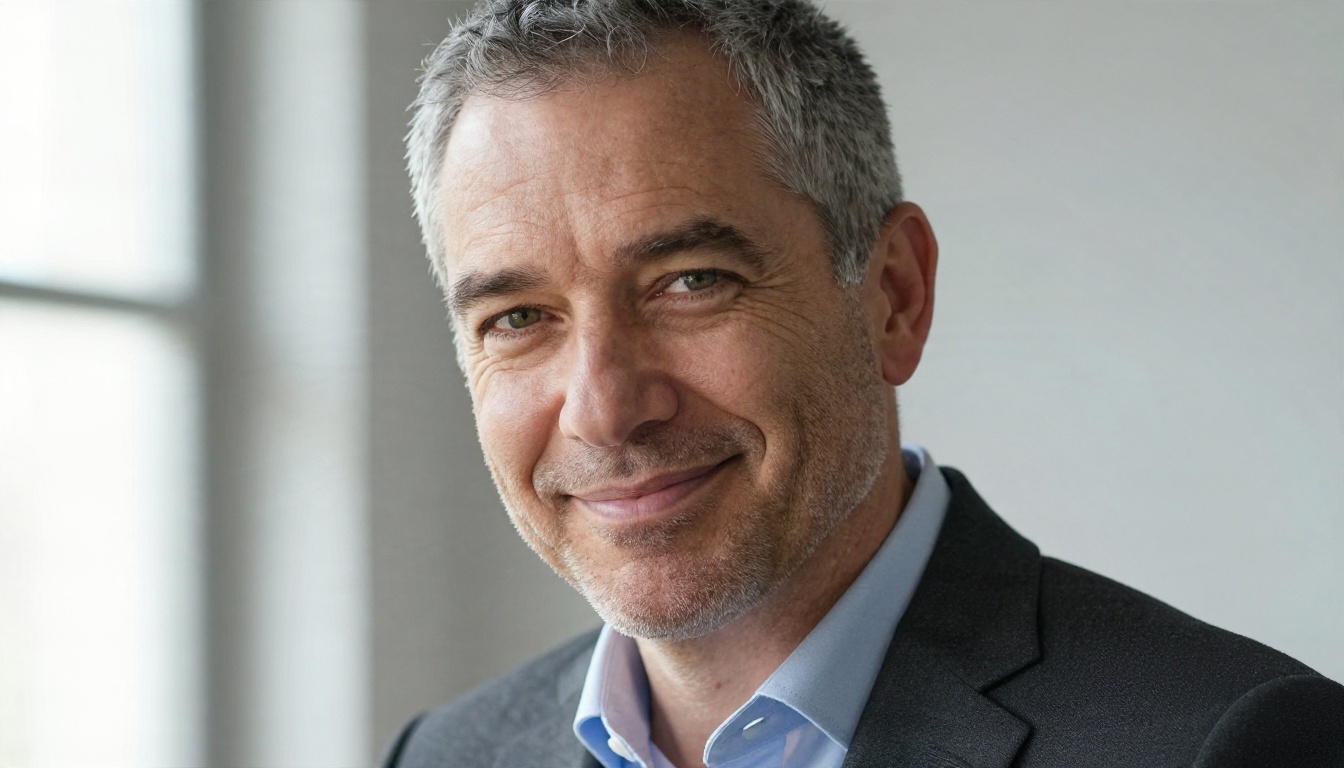
A tight, well lit portrait like the one above reads clearly even when it shrinks to a 40 pixel circle. That is the standard you are aiming for: an approachable expression, a face that fills a good part of the frame, and a background that does not argue for attention.
What Recruiters Actually Notice
Recruiters rarely say "great photo." They notice when it is missing or wrong. Here is what tends to register, usually without anyone consciously naming it:
- A visible smile or relaxed expression, which suggests you are easy to work with.
- Even lighting on both sides of the face, which suggests care and effort.
- A neutral or softly blurred background, which keeps focus on you.
- Clothing that fits your industry, which signals you understand the field.
- A recent image, because a ten-year-old photo creates an awkward gap when you show up on a call.
💡 Quick test: shrink your current photo to the size of a postage stamp on your screen. If you can still see your eyes and your smile, it passes. If not, it needs work.

What an AI LinkedIn Photo Editor Does
An AI photo editor is not a filter. Filters change the color of every pixel the same way. AI editors recognize what is in the picture (a face, hair, a shirt, a wall) and treat each part differently. That is why they can brighten a shadowed cheek without blowing out the window behind you.
Lighting and Color Fixes
Bad lighting is the number one reason profile photos fail. Overhead office lights create dark eye sockets. A window behind you turns your face into a silhouette. A warm lamp gives your skin an orange cast. AI editors can rebalance exposure, lift shadows on the face and correct white balance so that skin looks like skin again.
The best results come from small moves. Lift the shadows a little, cool the temperature a touch, and stop. If you can tell the photo has been edited, you went one step too far.
Background Removal and Replacement
A cluttered bookshelf, a messy kitchen or a half-visible coworker can ruin an otherwise good photo. Background removal tools separate you from the scene and let you replace it with a solid color, a soft gradient or a blurred office. This is where the "Remove backgrounds" side of the workflow earns its place: you can rescue a good expression taken in a bad location.
Sharpening and Upscaling
Photos from older phones, screenshots or messaging apps are often small and soft. Upscaling models rebuild fine detail such as eyelashes, hair strands and fabric texture, so a 400 pixel image can become a crisp 1600 pixel one. LinkedIn displays your picture in several sizes, and a sharp source image holds up better when it gets compressed.
Here is a quick comparison of the main jobs and what to reach for:
| Problem | What the AI does | Best moment to use it |
|---|
| Dark, uneven face lighting | Lifts shadows, balances exposure | Before anything else |
| Busy or distracting background | Cuts you out, replaces or blurs the scene | After lighting is fixed |
| Soft or low resolution photo | Upscales and restores fine detail | Right before you export |
| No usable photo at all | Generates a new studio-style portrait | When retakes are not possible |
| Awkward crop or framing | Extends or recomposes the canvas | Before the final square crop |
PicassoIA bundles image generation, editing, background removal and upscaling in one place, so you do not have to bounce between five websites. These are the ones that matter for a profile picture.
PicassoIA Image Editor Pro
PicassoIA Image Editor Pro is the most direct answer to "I just want to fix my photo." You upload your picture, describe the change in plain language, such as "brighten the face, soften the harsh shadow on the left, and use a plain light grey background," and it applies the edit while keeping your face intact. It is built for unlimited generations, which matters because good headshots usually take a few attempts.
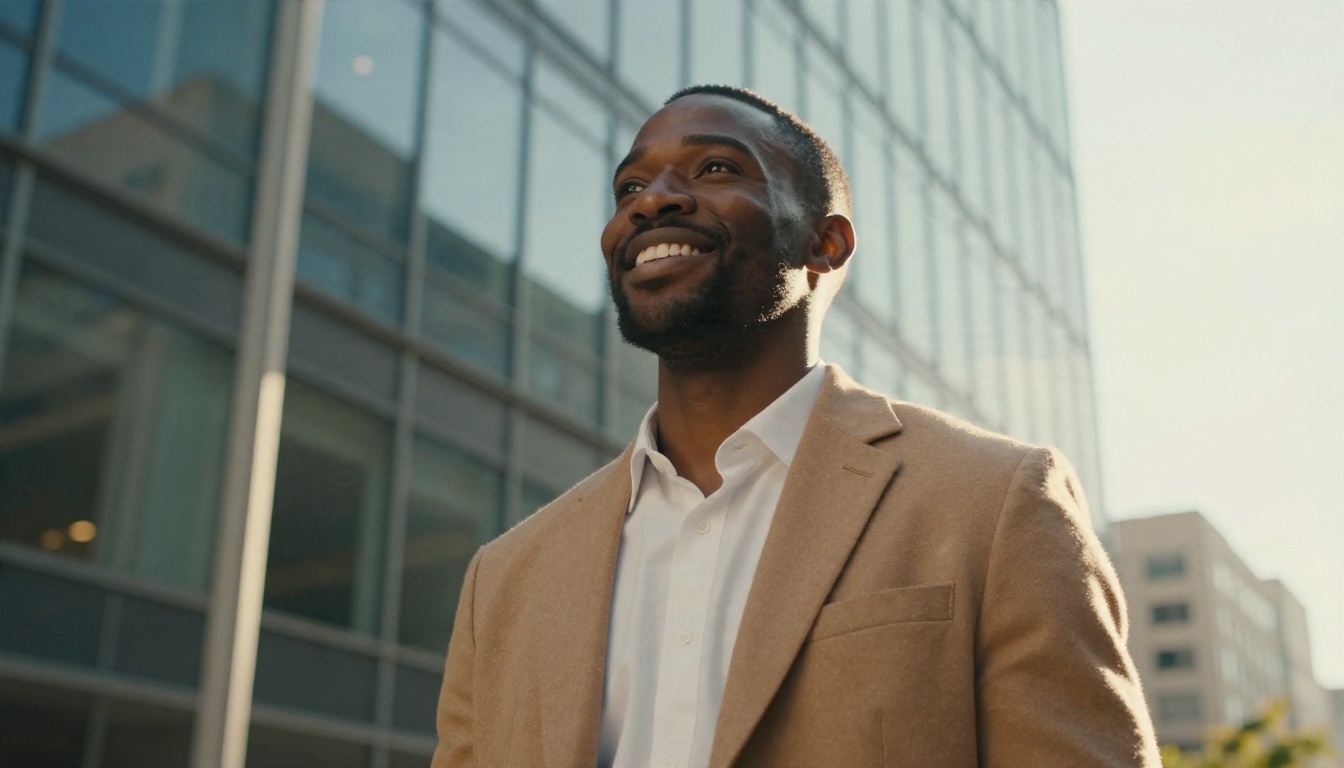
Outdoor photos like this one often work well once you fix the exposure. The golden light on the hair is flattering, and the building behind gives a professional setting. If the street behind is too busy, you can ask the editor to soften it.
Nano Banana and Seedream 4.5
When you want to restyle or regenerate a portrait, two models stand out:
- Nano Banana is fast and good at edit-style prompts. Upload your photo and ask for a change in clothing, background or light, and it usually keeps the identity consistent. For heavier work, Nano Banana Pro outputs higher resolution.
- Seedream 4.5 produces detailed, realistic portraits with believable skin texture. It is a strong pick when you want to generate a studio-style image from a reference photo.
For precise, minimal edits, Flux Kontext Fast is another good option. It follows short instructions closely, which suits small fixes such as "remove the glasses glare" or "change the shirt color to navy."
Background and Sharpness Tools
Two specialist tools round out the workflow:
- Remove Background gives you a clean cutout with careful edges around hair, which is where cheap tools tend to fail.
- Real ESRGAN upscales images up to 4x, which rescues small or soft source photos.
If you want a natural blurred-office look after cutting out the background, Depth of Field can soften the scene behind you in a way that mimics a real lens.
How to Use Remove Background on PicassoIA
Background removal is the single edit that changes a snapshot the most. Here is the full process, from messy selfie to profile-ready portrait.
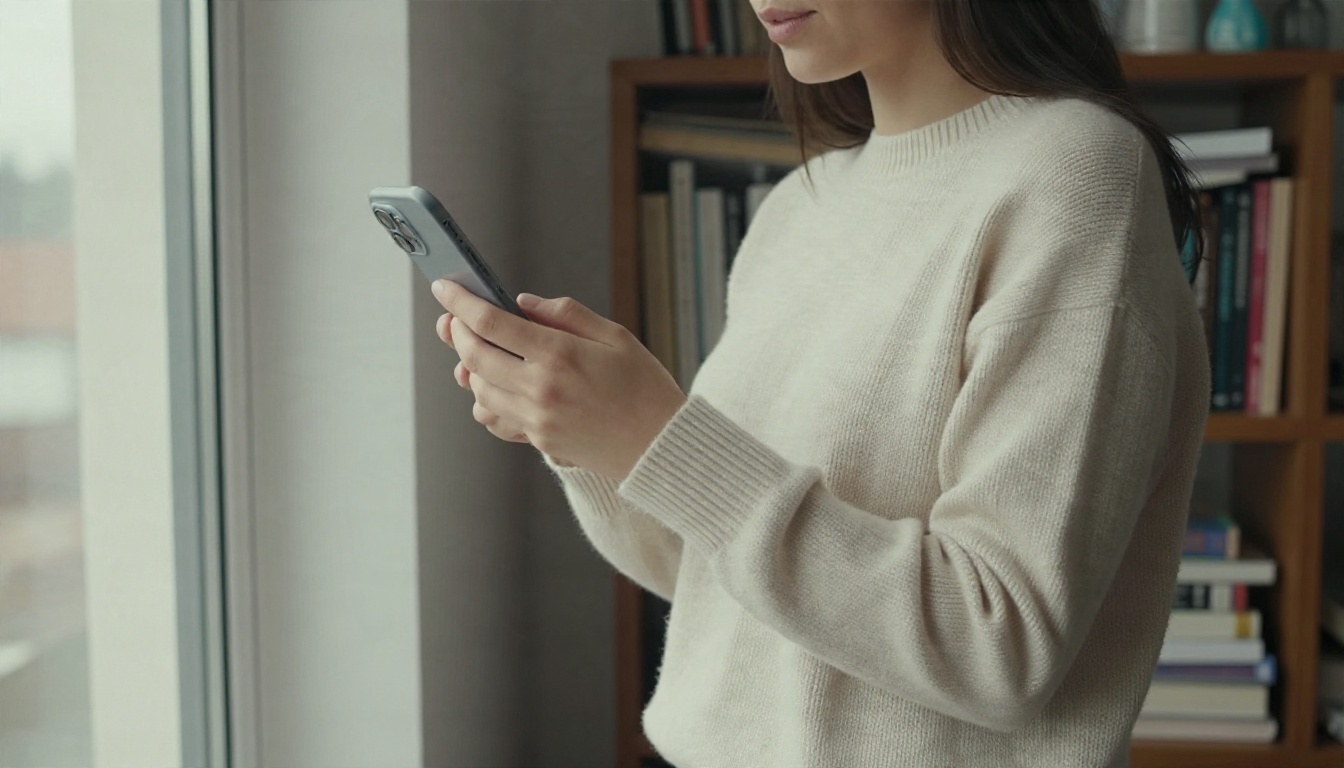
A photo like the one above is a perfect candidate. The face is lit softly by the window and the expression is natural, but the shelf behind is distracting. Here is how to fix it:
- Open the model page. Go to Remove Background on PicassoIA.
- Upload your photo. Pick the sharpest version you have. JPG or PNG both work, and a larger file gives cleaner edges around the hair.
- Run the cutout. The tool separates you from the scene and returns a transparent PNG. Zoom in on the hairline and shoulders to check the edges.
- Choose a new background. Open Image Editor Pro with your cutout and ask for a soft neutral background, such as light grey, warm beige or a gently blurred office.
- Match the light. Add a line to your prompt like "keep the soft window light from the left" so that the lighting on your face fits the new scene.
- Upscale if needed. If the image looks small, run it through Real ESRGAN for a 2x or 4x boost.
- Crop to a square. Place your eyes about one third down from the top and leave a little space above the head, then export.
💡 Parameter tip: if hair edges look rough, try a source photo where your hair contrasts with the original wall. Dark hair against a pale wall cuts far more cleanly than dark hair against a dark curtain.
Some quick settings to keep in mind:
| Setting | Recommended choice | Why |
|---|
| Output format | PNG for the cutout, JPG for the final image | PNG keeps transparency, JPG keeps the file small |
| Background color | Light grey, soft beige or pale blue-grey | These tones flatter most skin tones |
| Final crop | Square, face filling about 60 percent | Reads well in a circular frame |
| Resolution | At least 800 x 800 pixels | Stays sharp after LinkedIn compresses it |
Pick the Right Starting Photo
AI can fix a lot, but it works better when you give it a decent base. Five minutes spent on a better source photo saves thirty minutes of editing.
Lighting Rules
Face a window. That is the entire rule. Soft daylight from the side or slightly in front of you gives the flattering, even look that studios spend money to create. Avoid standing with your back to the window, and avoid overhead bulbs.
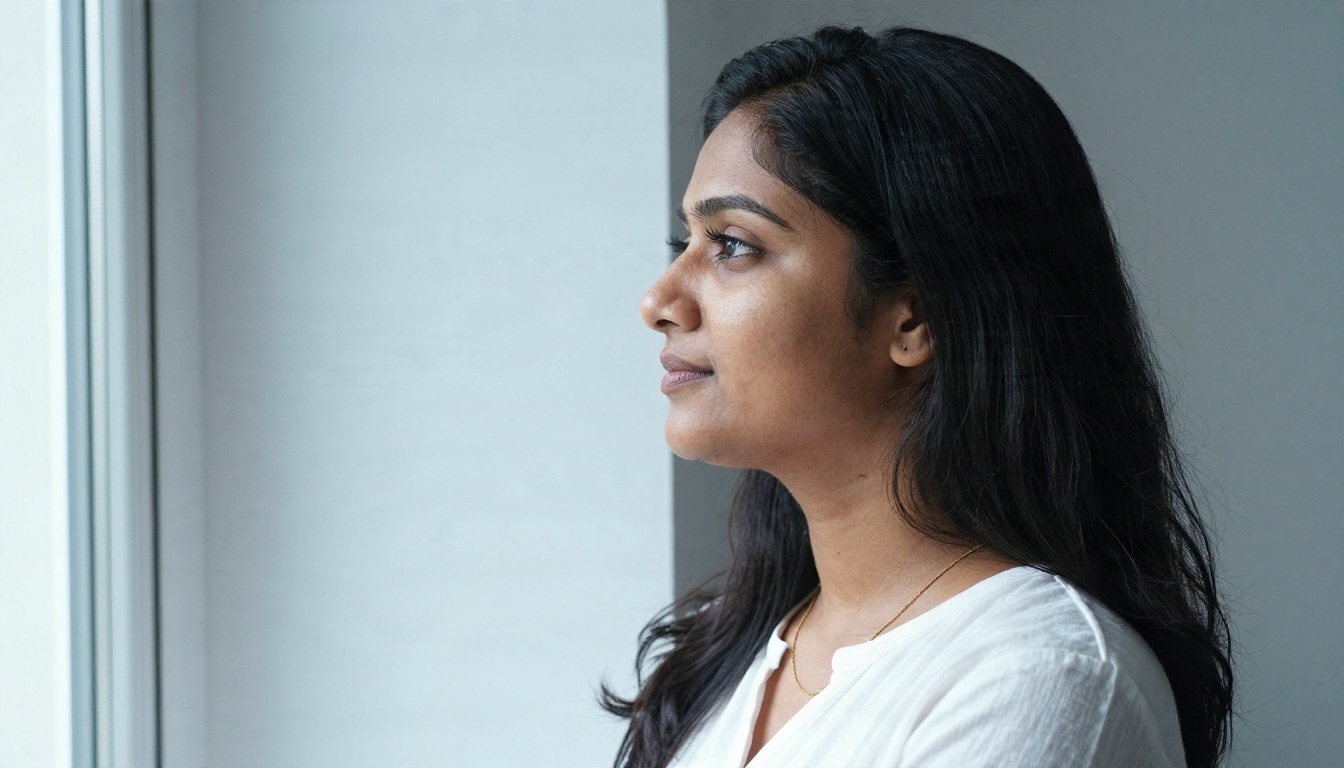
Notice how the light in this photo wraps across the cheek and leaves only a gentle shadow on the far side. No harsh lines, no glare. If you can recreate that with a window and a white wall, the AI editor has very little to repair.
Framing and Angles
Hold the camera at eye level or just slightly above. Shooting from below makes the chin look heavy, and shooting from far above makes the eyes look large and the head small. Use the back camera with a timer or ask a friend, because front cameras distort the face a little at close range. Frame from the chest up and leave a bit of room around the head so you have space to crop.
Clothing and Colors
Solid colors work best. Navy, charcoal, deep green, white and soft earth tones all photograph well. Busy patterns, thin stripes and large logos pull focus from the face. Match your outfit to your field: a blazer for finance or law, a clean knit for design and creative roles, a simple shirt for tech.
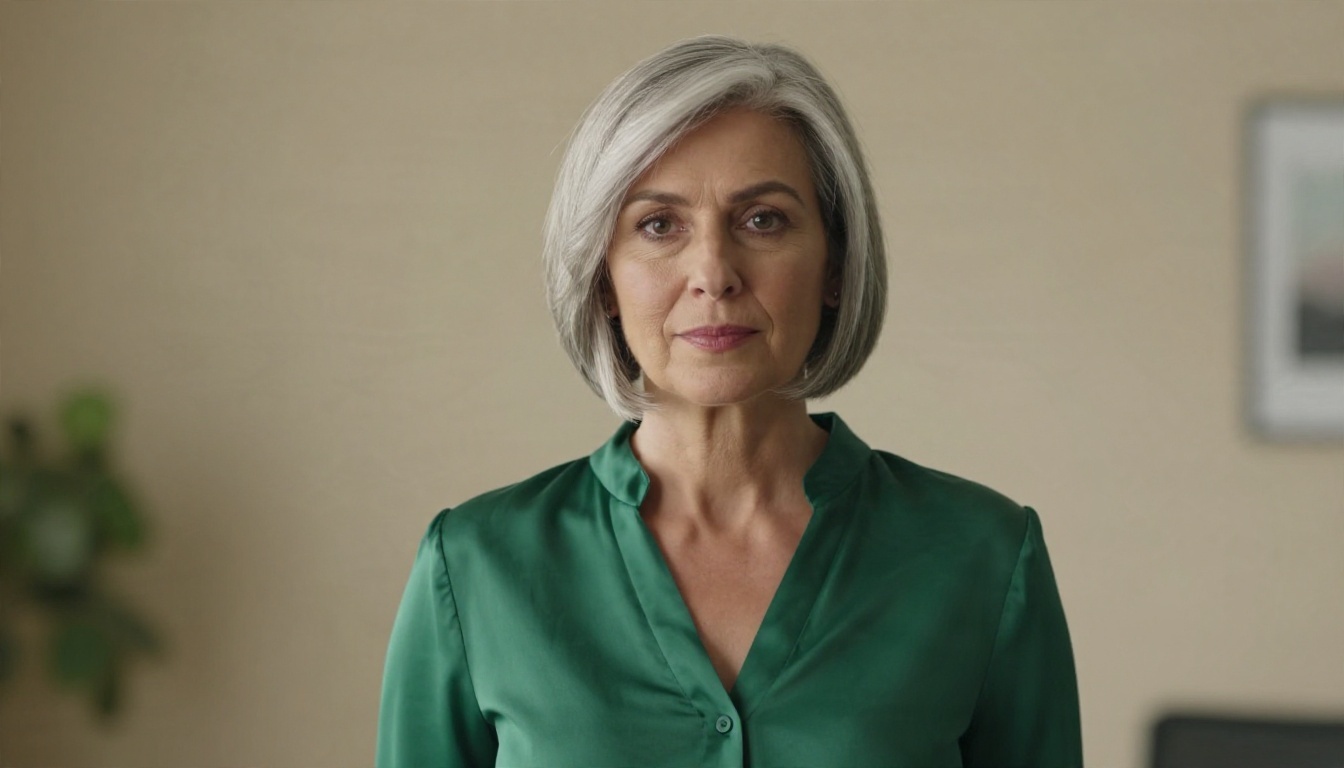
A deep, saturated color like the green above stands out against a neutral background without feeling loud. It also gives AI tools a clean edge to work with when cutting you out.
Fix Common Headshot Mistakes
Most weak LinkedIn photos fail in the same handful of ways. Here is a fast checklist with the fix for each one.
- Harsh shadows under the eyes. Use Image Editor Pro with a prompt like "soften the shadows under the eyes and even out the lighting on the face." Do not ask for the shadows to disappear entirely, or the face will look flat.
- Cluttered background. Run Remove Background and replace the scene with a neutral tone.
- Over-smoothed skin. If the edit makes you look like a mannequin, rerun it with a prompt that says "keep natural skin texture and fine lines." Real texture is what makes a photo trustworthy.
- Low resolution. Upscale with Real ESRGAN before you do any other edit, so the later steps work with more detail.
- Cropped or off-center face. Ask Nano Banana to extend the canvas, or use a tool with outpainting to add room above the head.
- Group photo crop. Cutting yourself out of a group shot usually leaves a stray shoulder or a hand. A cutout tool plus a fresh background removes the leftovers.
- Wrong tone for your industry. A beach photo may suit a travel blogger and sink a banker. Match the setting and clothing to your audience.
When you cannot decide between versions, ask someone you trust to pick one without any explanation from you. First reactions are usually right.
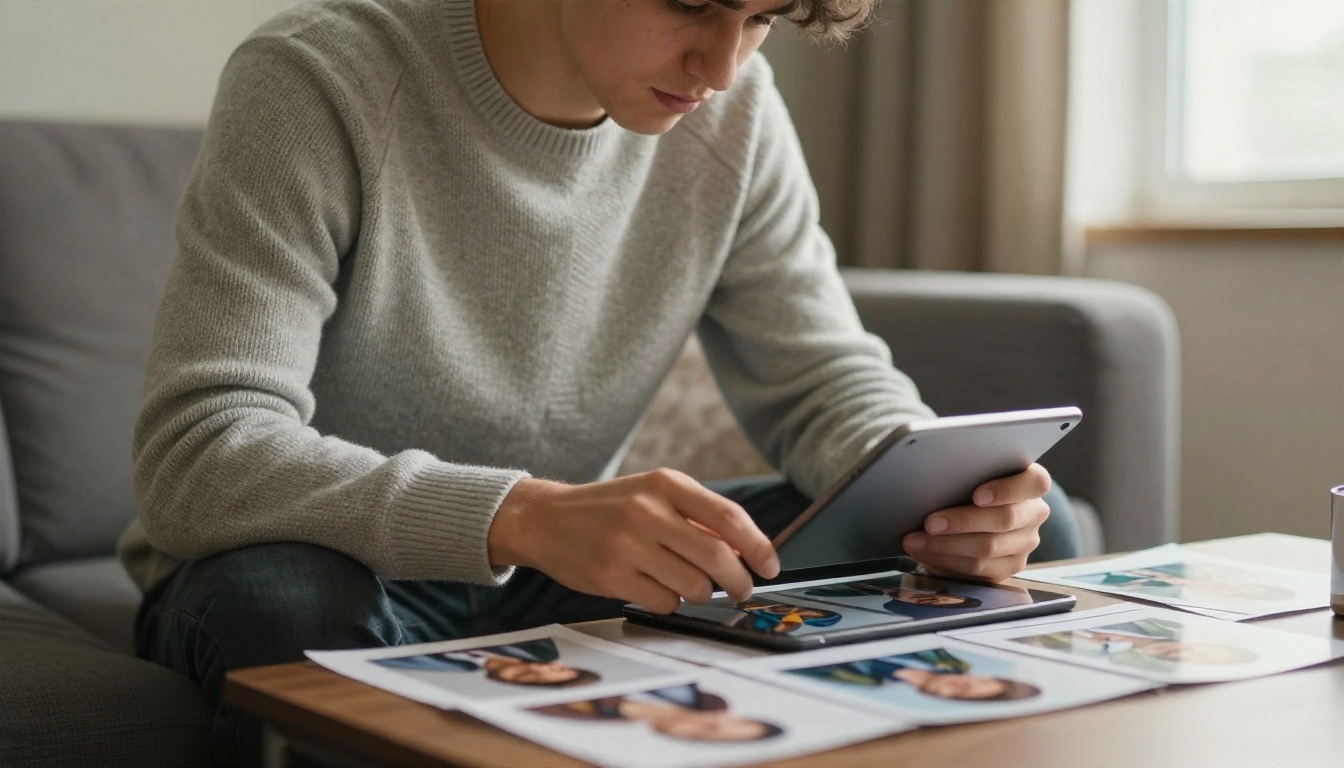
Generate three or four variations, print them or view them side by side, and pick the one where you look like you on a good day, not like a different person.
Keep It Honest and Consistent
Look Like Yourself
This is the rule that matters most. The point of a profile picture is that someone can recognize you when you walk into a meeting or appear on a video call. If the edited photo shows a face that looks five years younger, a different jawline or unnaturally flawless skin, you create a small moment of doubt at the exact point you want trust.
A good rule: edit the light, the background and the sharpness, but leave the face alone. Removing a temporary blemish is fine. Reshaping your features is not. Wear what you would wear to an interview, smile the way you smile in person, and let the AI handle the technical problems that a camera could not.
💡 Reality check: show the edited photo to a friend and ask "does this look like me on a good day?" If the answer is hesitant, go back one version.
Match Your Other Profiles
Your LinkedIn photo does not live alone. It sits next to your email avatar, your company website, your speaker bio and maybe a personal portfolio. Using the same photo, or the same session of photos, across those places builds recognition. People start to associate the face with the name and the work.

Teams benefit from this too. When everyone at a company uses the same background tone and similar framing, the team page looks coordinated without anyone having to book a photographer. With an AI editor you can apply one background and lighting style to every photo, even if each person took theirs at home.
Try It on Your Own Photo
You already have the raw material: a phone, a window and a face worth showing. The next step is to try it. Pick your three best recent photos, run the sharpest one through Remove Background, and then open PicassoIA Image Editor Pro to adjust the light and background. If you want a fresh studio-style version, give Seedream 4.5 or Nano Banana a reference photo and a short, concrete prompt.
Generate a few options, compare them at thumbnail size, keep the one that looks most like you, and upload it. The whole process can take less than twenty minutes, and the result sits at the top of your profile every day. Open Picasso IA, experiment with the prompts above, and see how far a small edit can go. You can also browse every model at picassoia.com/en/all-models to find the one that suits your style.


