You hit record, switch on a makeup filter, and your lipstick slides off your face the moment you turn your head. Or the app opens, the camera stays black, and nothing happens. Or you find the perfect free tool, export your clip, and discover a giant watermark across your cheek. If any of that sounds familiar, you are in the right place. AI makeup for video is one of the most useful and most frustrating corners of mobile editing right now, and the gap between a convincing result and an obvious fake usually comes down to a few simple choices.
This article walks through how video makeup actually works, which apps are worth installing, what you can do for free, and how to fix the most common failures one symptom at a time. You will also see how to apply a makeup look to footage you already shot using prompt-based video editing on PicassoIA.
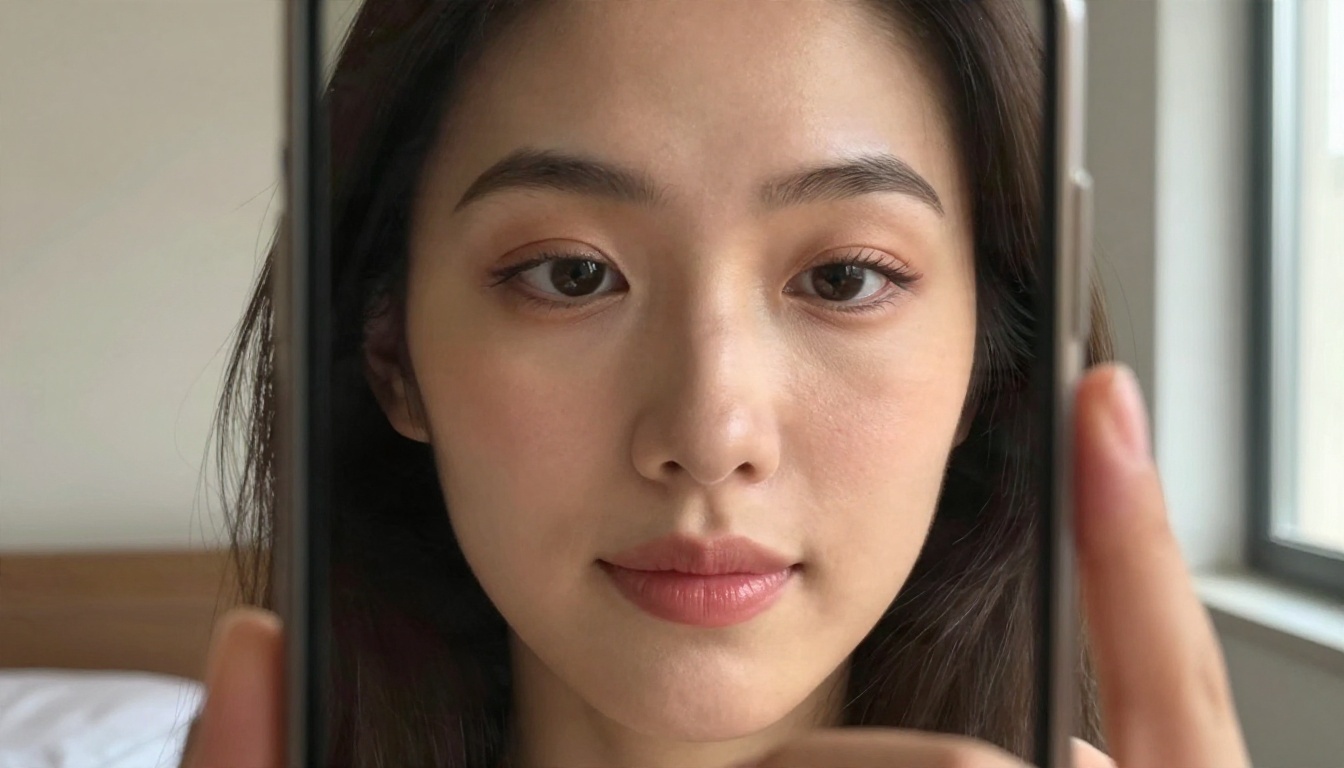
What AI Makeup for Video Does
Before picking an app, it helps to know there are two very different things sold under the same name. One happens live while your camera is open. The other happens after the fact, on a clip that is already saved.
Live filters versus edited footage
Live try-on tracks your face in real time through the front camera. The app finds landmarks such as the lips, eyelids, brows and cheekbones, then paints digital color on top of them every frame. It is fast and it works on a phone, but it can only do what a lightweight model can calculate in a fraction of a second. That is why the result often looks like a flat sticker.
Edited footage is different. You upload a finished video, describe or select the look, and a heavier model processes the clip frame by frame. It takes longer, but it can blend color into skin texture, respect the lighting in the shot, and keep the look steady when you move. This is where text-based video editors come in.
| Approach | Speed | Realism | Best for |
|---|
| Live camera filter | Instant | Medium, can look flat | Stories, calls, quick previews |
| Photo makeup app, then animate | Minutes | High on the still | Short loops, thumbnails |
| Prompt-based video editor | Minutes per clip | High if lighting is even | Finished videos, ads, tutorials |
Why video is harder than photos
A photo needs one good result. A video needs around 120 good results in a five second clip at 24 frames per second, and every one of them has to agree with the others. Lipstick that moves two pixels between frames reads as jitter. Eyeshadow that fades when you blink reads as a glitch. Blush that ignores a shadow when you turn toward a window reads as fake.
💡 Tip: Even, soft lighting from the front makes every kind of AI makeup look better. Harsh overhead light or a bright window behind you is the number one reason filters slip.
Best Apps for Video Makeup
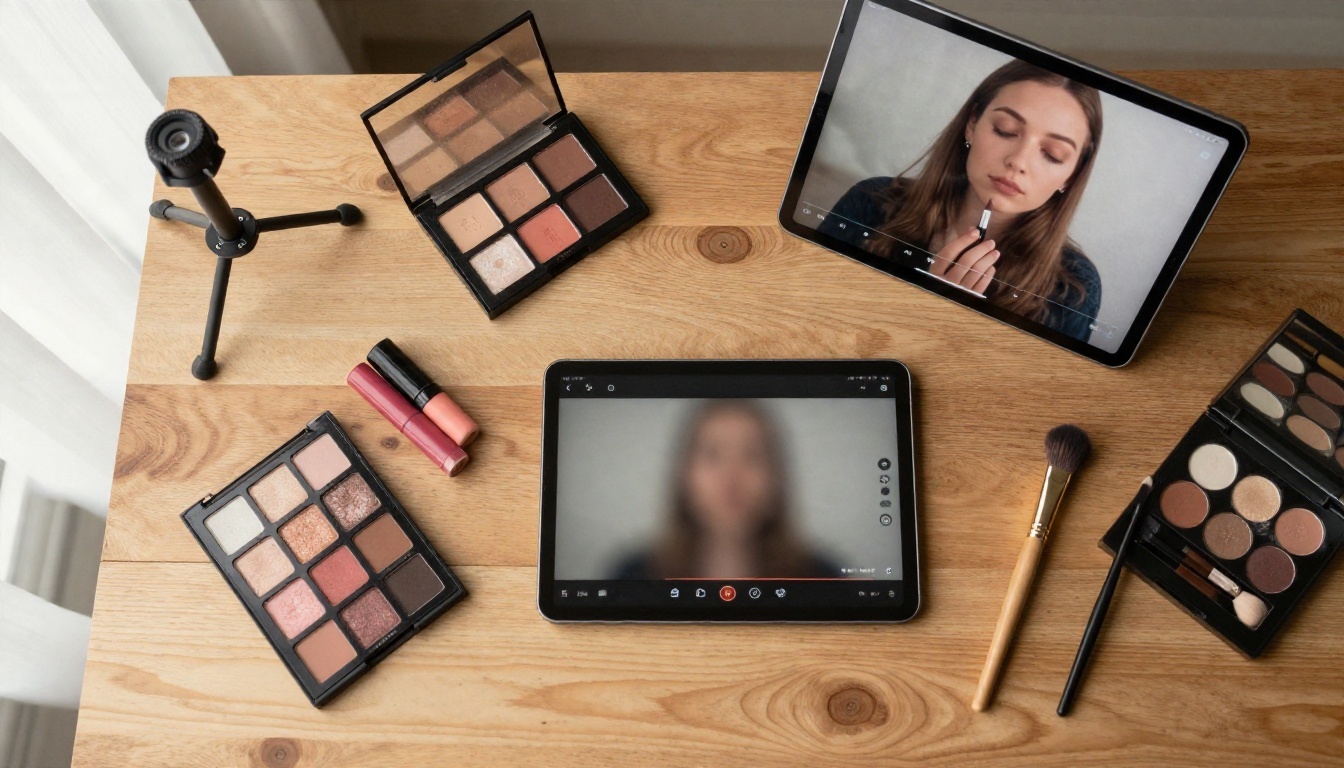
The app market changes quickly, and plans and prices shift often, so treat the notes below as a starting point and check the current store listing before you commit.
Phone apps for live try-on
YouCam Makeup from Perfect Corp is the best known name. It offers virtual try-on for lipstick, eyeshadow, foundation and more, and it is available on iOS and Android. Perfect Corp also makes YouCam Video, an app aimed specifically at editing selfie videos with makeup and retouching tools.
Other tools people reach for:
- Snapchat and Instagram lenses: built into apps you already use, with a huge library of makeup effects made by creators. Quality varies a lot from lens to lens.
- BeautyPlus and Meitu: popular beauty editors with video modes, strong on smoothing and soft glam looks.
- CapCut: a general video editor with beauty and makeup effects you can apply on a timeline instead of live.
Desktop and editing tools
If your video is already recorded, a phone filter is the wrong tool. You get better results from an editor that treats the clip as footage rather than a live feed. On PicassoIA that means models built for video editing, such as P Video Edit, Modify Video and Aleph 2. Each one changes the look of an existing clip from a written instruction, so you can ask for a specific lip color or eye look without rebuilding the shot.
| Tool type | Example | Free tier | Watermark risk | Typical weakness |
|---|
| Live makeup app | YouCam Makeup | Usually yes, limited looks | Sometimes | Flat color on fast movement |
| Social lens | Snapchat, Instagram | Free | None on platform | Cannot export clean to other apps |
| Beauty video editor | BeautyPlus, Meitu | Usually yes | Common on free | Over-smoothed skin |
| Timeline editor | CapCut | Usually yes | Sometimes | Preset looks, little control |
| Prompt-based editor | P Video Edit on PicassoIA | See platform | Check export | Needs even lighting for best result |
Free Options That Actually Work
"Free" in this category almost never means unlimited. It means a taste of the product, and the limits tend to arrive at the worst moment.
What free plans usually limit
Most free tiers cut features in the same few places:
- Export quality. Free exports are often capped at a lower resolution, which is painful when makeup detail lives in small areas like lashes and lip edges.
- Watermarks. A logo burned into the corner, or sometimes the middle, of your video.
- Look libraries. A handful of basic shades free, the trendy looks locked.
- Clip length. A short maximum duration per project.
- Daily counts. Only a few exports or generations per day or per week.
💡 Tip: Before you spend an hour on a look, export a three second test. If the watermark, resolution or length is a dealbreaker, you find out in two minutes instead of two hours.
A zero cost workflow
You can get surprisingly far without paying if you split the job into steps:
- Preview the look live. Use a free live try-on or a social lens to pick shades. This costs nothing and tells you whether a color suits you.
- Record clean footage. Film bare or lightly done skin in even, front-facing light. Clean input is the cheapest quality upgrade there is.
- Apply the look with a video editor. Use a prompt-based editor on the finished clip rather than stacking three filters live.
- Sharpen the export. If the free export is soft, run it through an upscaler such as Video Upscale to recover detail.
Not Working? Fixes by Symptom

Most reports of "AI makeup not working" fall into three groups: the makeup never shows up, it shows up but looks bad, or the app itself fails. Support pages for apps like YouCam note that camera access is a frequent culprit, especially on web versions, so start there.
Makeup does not appear
If the filter loads but your face stays bare, the app has probably not found your face.
- Check lighting. Face tracking fails in dim rooms. Move toward a window or turn on a soft lamp in front of you.
- Face the camera straight on. Many models lose tracking at steep angles. Start frontal, then turn slowly.
- Remove obstructions. Glasses with thick frames, hair across the eyes, hands near the mouth and masks all break landmark detection.
- Switch cameras. Some apps only support the front camera for live makeup.
Lag, flicker and drifting
If the makeup appears but shakes, lags behind your face, or blinks on and off, the cause is usually processing power or input quality.
- Close background apps. Video calls and screen recorders compete for the camera and the chip.
- Lower the recording resolution. Counterintuitive, but a lighter live feed tracks better. You can upscale afterward.
- Let the phone cool down. Overheated phones throttle and the tracking suffers.
- Move slower. Fast head turns outrun lightweight face tracking. Slow it down for the take, then speed up in editing if you need to.
Camera permission and crashes
If the camera is black or the app closes by itself, work through the basics in order.
- Open your phone or browser settings and confirm the app has camera and microphone permission.
- Update the app, then restart the phone.
- If it still fails, reinstall and sign in again.
- Try a different browser or device to see whether the problem belongs to your setup or to the app.
- Contact the developer's support page with your device model and app version.
| Symptom | Likely cause | Fastest fix |
|---|
| Black camera screen | Permission blocked or camera in use | Allow camera in settings, close other camera apps |
| No makeup visible | Face not detected | Brighter front light, remove obstructions |
| Makeup slides off | Fast movement, weak tracking | Slower head turns, edit after recording |
| Flickering lips or eyes | Low light or low frame rate | Even lighting, lower live resolution |
| Plastic skin | Heavy smoothing on | Turn smoothing down, add texture back |
| Watermark in export | Free plan limit | Test export first, or use a prompt-based editor |
| App crashes on launch | Outdated build or low storage | Update, clear space, reinstall |
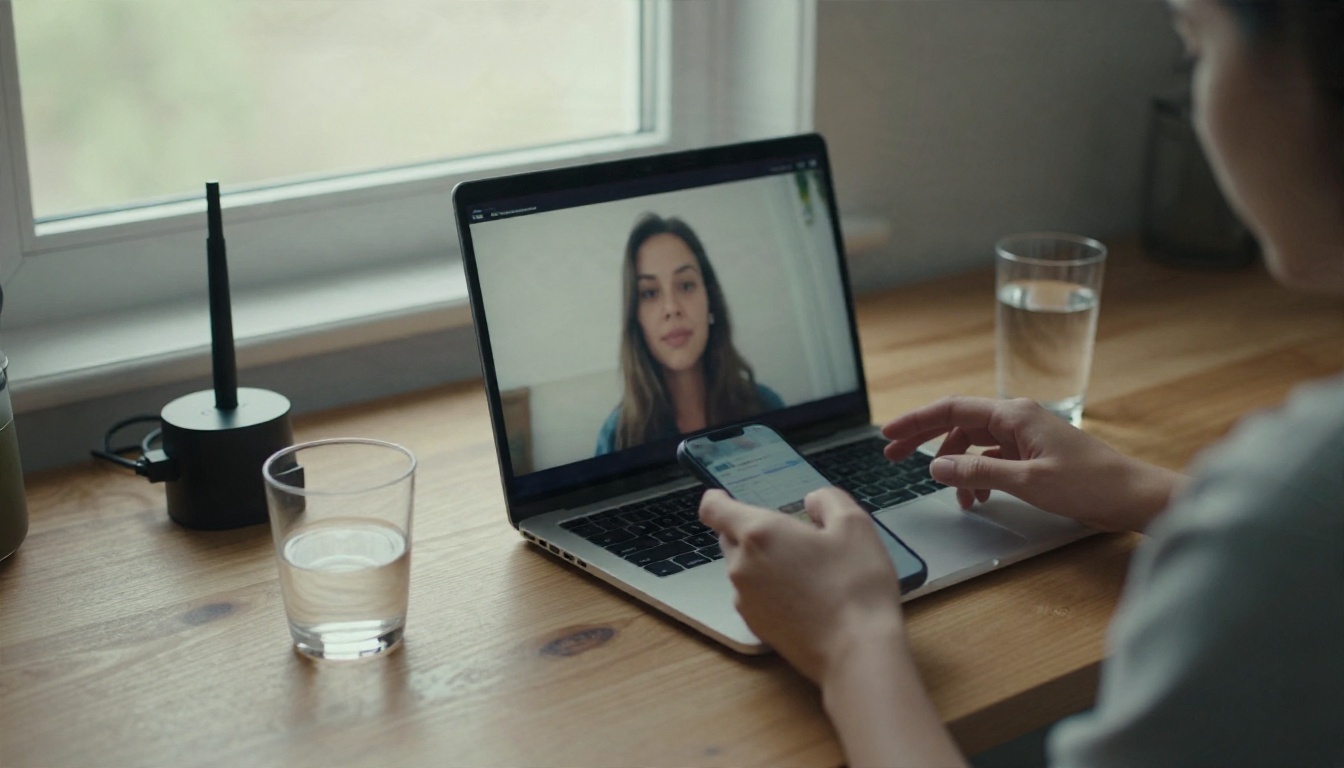
How to Use P Video Edit on PicassoIA
When live filters keep failing, editing the recorded clip is the more reliable path. P Video Edit takes a video and a text instruction, which makes it a practical way to add a makeup look to footage you already have.
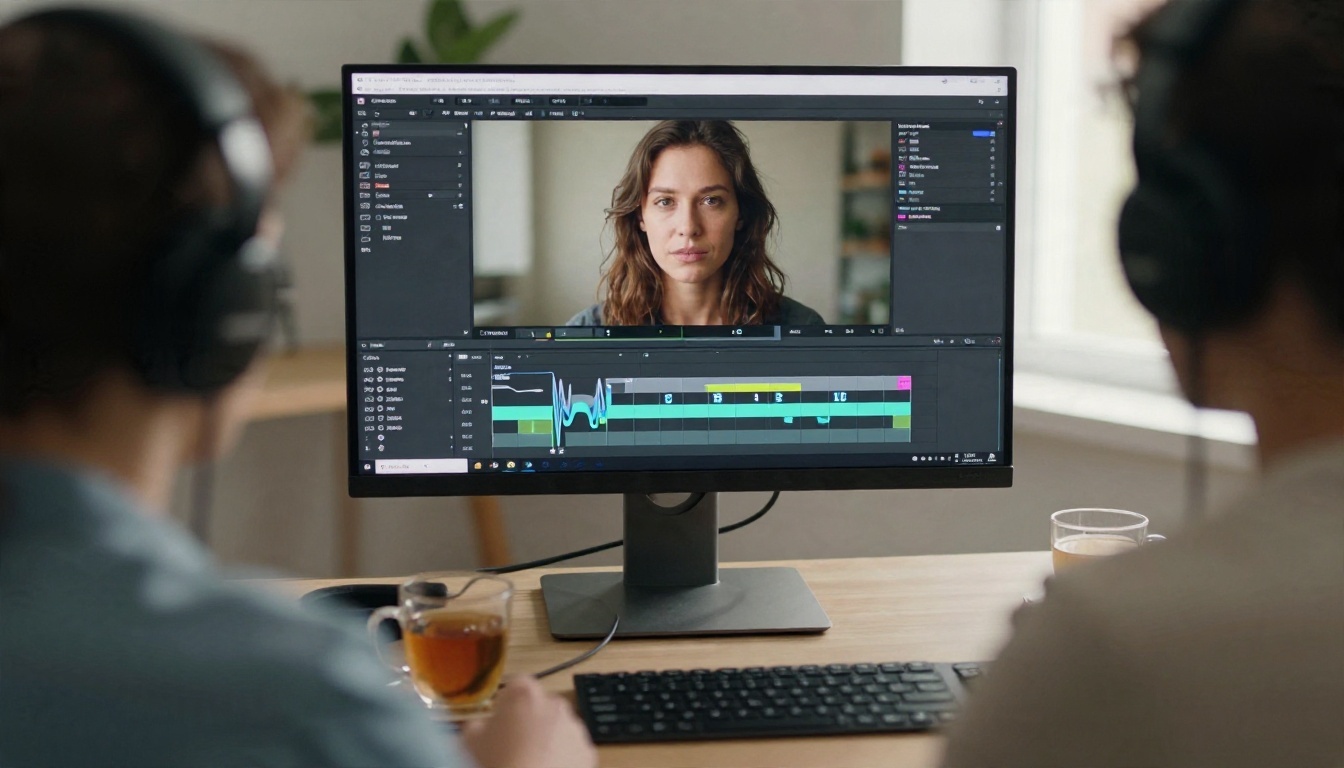
Steps:
- Open the P Video Edit page on PicassoIA.
- Upload a short clip with the face clearly visible and lit evenly. Short clips process faster and are easier to correct.
- Write a specific instruction in the prompt box (examples below).
- Run the edit and watch the full result, not just the first frame. Check the lips and eyes during head turns and blinks.
- If one detail is off, adjust only that detail in the prompt and run it again.
- Download the final file, then upscale it if you need extra sharpness.
Prompts that give natural results
Vague prompts produce vague makeup. Name the product, the finish and the placement, and keep the look believable.
- Soft everyday look: "Apply a natural peach blush on the cheekbones, a sheer rose lip tint, and soft taupe eyeshadow. Keep the skin texture and pores visible."
- Evening look: "Add a defined winged eyeliner, deep berry matte lipstick and subtle contour. Keep the original lighting and do not smooth the skin."
- Clean fresh look: "Add light mascara, groomed brows and a hint of balm on the lips. No heavy foundation."
💡 Tip: Tell the model what to keep as well as what to add. Phrases like "keep skin texture" and "keep the original lighting" prevent the waxy, over-filtered look that gives AI makeup away.
No single model does everything, and a short chain of tools often beats one big attempt.
Fix a still first, then animate
If you struggle to get a look right on moving footage, design it on a still frame first. Nano Banana Pro and PicassoIA Image Editor Pro are both useful for editing a portrait photo, so you can test lip shades and eye looks quickly. For fully generated portraits, Seedream 4.5 makes sharp results with convincing skin detail.
Once the still looks right, you can bring it to life with an image-to-video model such as Kling v3 Video, which turns your finished portrait into a short moving clip. If you want to restyle a whole video from one edited frame, Aleph 2 is built around that idea.
If you want to put a different person or look into existing footage, P Video Replace handles that kind of swap.
Sharpen the final export
Makeup detail lives in small areas, and compression eats it first. After editing, run the clip through Video Upscale or Real ESRGAN Video to recover lash definition and lip edges. If your video has a voice track you want to redo, Lipsync Precision can match new audio to the mouth.
Keeping Makeup Looking Real
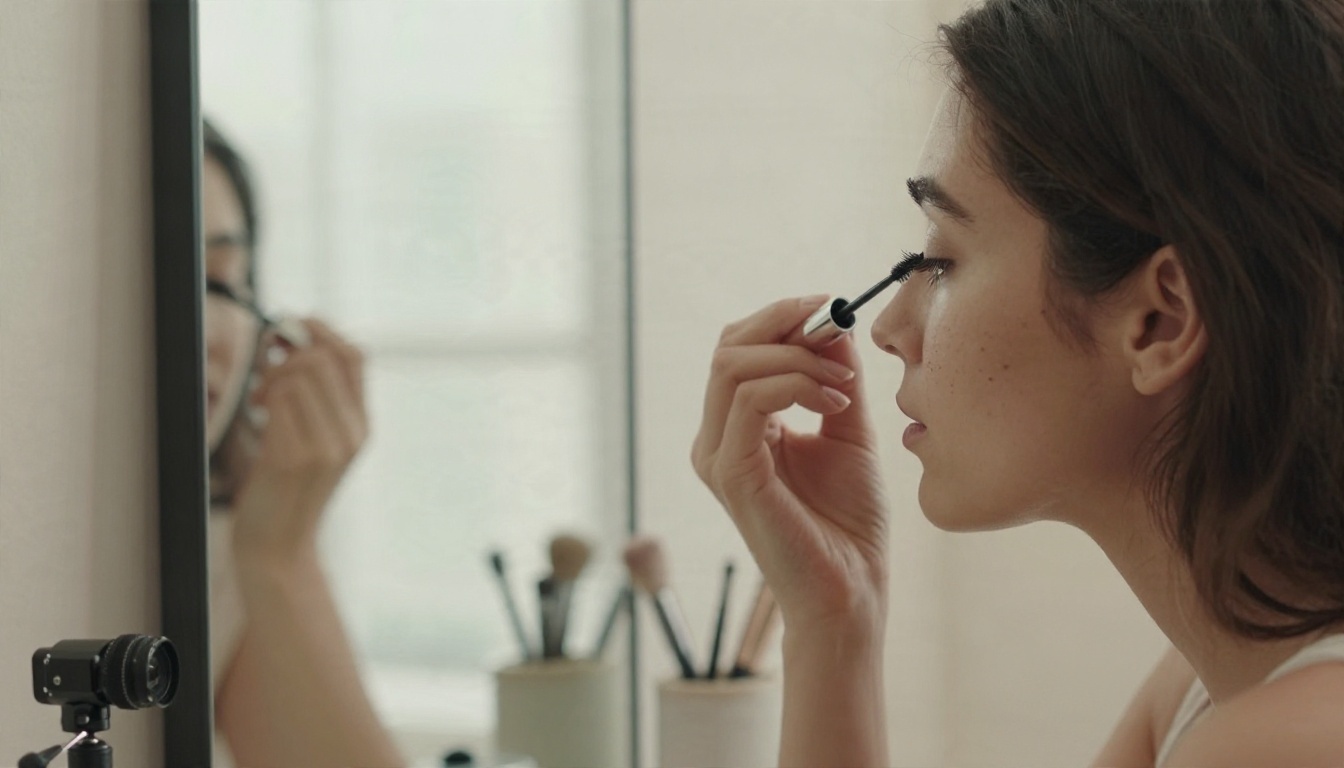
The difference between "nice" and "obviously fake" is rarely the color. It is the surface.
Skin texture matters
Real makeup sits on skin. It follows pores, catches light on the high points of the cheek and settles slightly in fine lines. AI makeup looks fake when it erases all of that. Three habits help:
- Turn smoothing and beauty sliders down. If the app has them, keep them low.
- Pick finishes that suit the light. Matte lipstick looks more natural in flat light, glossy in soft directional light.
- Check the edges. Lip lines, lash lines and the hairline are where mistakes show first.
Consent and disclosure
If you are editing someone else's face, get their permission first. If you post commercial content, such as a product demo where the makeup look is part of the claim, say clearly when the look was added digitally. Viewers who buy a shade because of a video deserve to know whether it was applied with a brush or a prompt.
The fastest way to settle which approach suits you is to test one real clip. Record ten seconds of yourself in soft front light, write a short prompt that names the product, the finish and the placement, and run it through P Video Edit. Watch the lips and eyes during a head turn. If something slips, change one detail in the prompt and run it again.
From there you can design a look on a still with PicassoIA Image Editor Pro, sharpen the export with an upscaler, or browse everything else available at picassoia.com/en/all-models. Open PicassoIA, pick a clip, and see how far one good prompt can take your next video.


