Most people who search for a free clothing mockup tool hit the same wall. The preview looks great, then the download button asks for a payment or stamps a giant diagonal logo across the shirt. An AI mockup generator free of watermarks removes that wall, because the picture is built from your description or your own garment photo instead of being pulled from a locked template library. You type what you want, check the result, and download a clean file for a store page, a social post or a print on demand listing.
This article shows how that works in practice. You will see how a generated mockup differs from a template mockup, how to write prompts that produce believable tees, hoodies and totes, how to put a real garment on a model photo with P Image Try On, how to change colors without a new shoot, and how to avoid the flaws that make a mockup look fake. Every step uses tools on PicassoIA, with plain settings you can copy.
What an AI Clothing Mockup Really Is
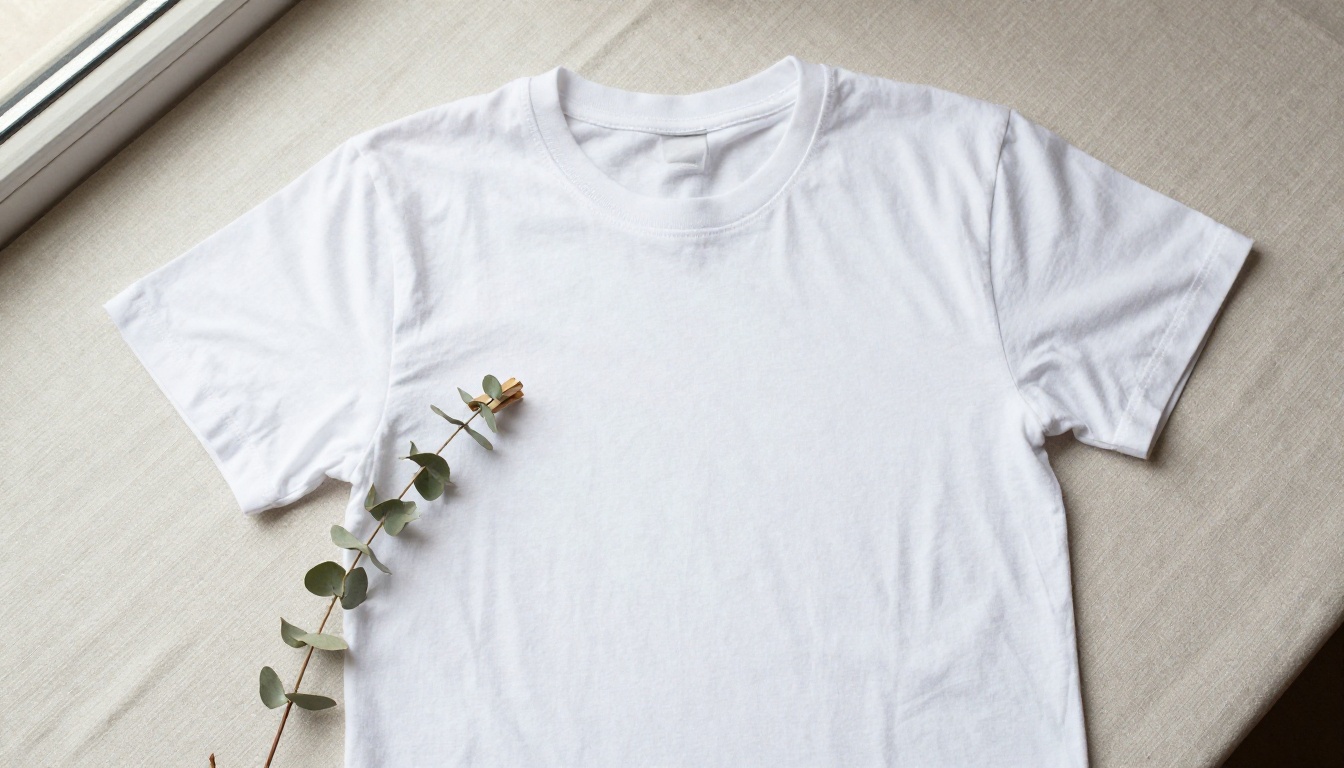
A mockup is a believable picture of a product that does not exist yet, or that you have not photographed yet. For clothing, that usually means a t-shirt, hoodie, sweatshirt, cap or tote bag shown on a model, a mannequin or a table, so buyers can judge the design before they order. Traditional mockups come from layered template files. AI mockups come from image models that build the garment, the light and the scene from a prompt or from reference photos.
Template Mockups Versus Generated Ones
The two approaches solve different problems, and picking the wrong one is the fastest way to waste an afternoon.
| Template mockup | AI generated mockup |
|---|
| Source | A fixed photo with a smart layer | A new image built from your prompt or photos |
| Variety | Limited to the poses in the pack | Any pose, scene, color or fabric you describe |
| Watermarks | Often added on free exports | Not part of the process |
| Setup time | Find a template, place artwork, fix shadows | Write one prompt, review the result |
| Best for | Exact placement of a finished logo | Fast concept tests and many color variants |
💡 Tip: Use AI mockups to test ideas and build listing photos quickly. If your design has fine print or small lettering, check it closely, because generated fabric can bend or blur tiny text. Keep the chest area simple, or add the final artwork in a separate step.
Where Watermarks Come From
Watermarks come from the business model, not from the technology. A free template site pays for hosting and licensed photography, so it protects the template photo with a visible stamp and sells the clean export. When you generate your own image from a prompt, there is no licensed template photo to protect. The picture is new, so the idea of stamping it makes no sense.
That does not remove your own responsibility. Only upload garment photos and model photos you have the right to use, and keep the original files so you can prove where an image came from.
Build a Watermark Free Mockup in Minutes
The whole process fits in a short loop: describe, generate, review, adjust. The quality of the result depends mostly on how clearly you describe the garment and the scene.
Start With a Clear Garment Idea
Before you open any tool, write down five things:
- Garment and fit: crewneck tee, boxy fit, oversized hoodie, zip sweatshirt.
- Fabric weight: lightweight jersey, heavyweight cotton, brushed fleece.
- Color: a real color name such as sage, rust or oatmeal beats "green" or "brown".
- Scene and wearer: studio table, street corner, courtyard wall, mannequin.
- Light: soft window light, golden hour, overhead daylight.
Those five lines become your prompt. Skipping any of them means the model guesses, and guessed garments tend to look generic.
Write a Prompt That Behaves
A good mockup prompt reads like a photographer's shot list. Here is how weak and strong versions differ:
| Element | Weak version | Strong version |
|---|
| Garment | a shirt | plain white heavyweight cotton crewneck t-shirt, boxy fit |
| Detail | nice fabric | ribbed collar, visible cotton weave, small woven label |
| Scene | outside | quiet cobblestone street in early morning |
| Light | good lighting | soft golden light from behind, gentle rim along the hood |
| Camera | a photo | 50mm lens, shallow depth of field, fine film grain |
Put together, a prompt looks like this:
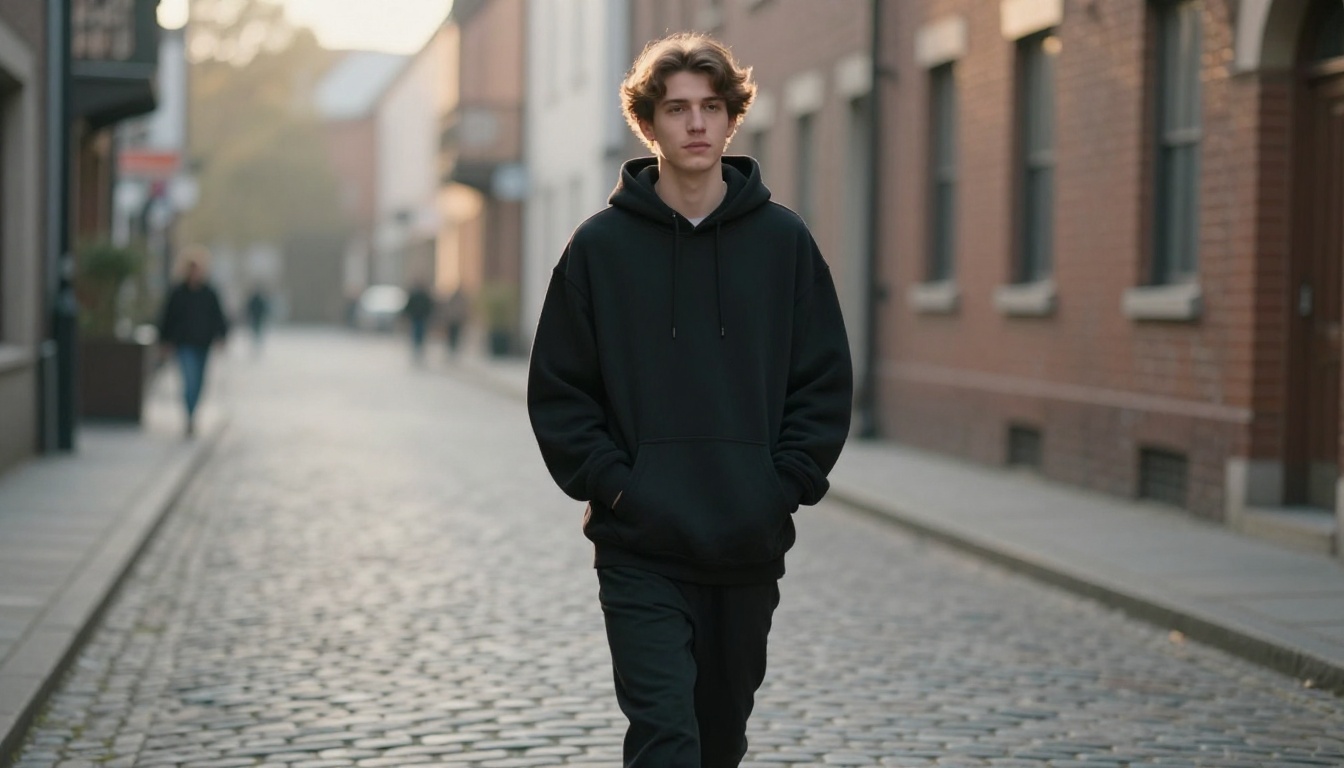
Low-angle photo of a young man in a plain oversized black hoodie walking across a quiet cobblestone street, soft golden sunlight from behind, 50mm lens, shallow depth of field, visible fleece texture and drawstring detail, natural film grain.
For text to image work, GPT Image 2 and Seedream 4.5 are both good places to try this prompt. Run the same wording on each and keep the one that renders the fabric more believably.
Keep the Frame Clean
Ask for a blank garment first. A plain chest gives you a neutral base that you can reuse for every design you want to test. A few habits keep the frame tidy:
- No lettering in the scene. Signs, posters and shop windows tempt the model to invent text.
- One subject. A single garment on a single wearer beats a crowded group.
- Ask for realism by name. Words like unretouched, natural skin texture and film grain pull the image away from the glossy, plastic look.
- Generate two or three versions. Pick the best one instead of trying to fix a weak one.
💡 Tip: Save your best prompt in a note and change only one word per run, such as the color or the scene. That is how you build a whole catalog that looks like one shoot.
How to Use P Image Try On
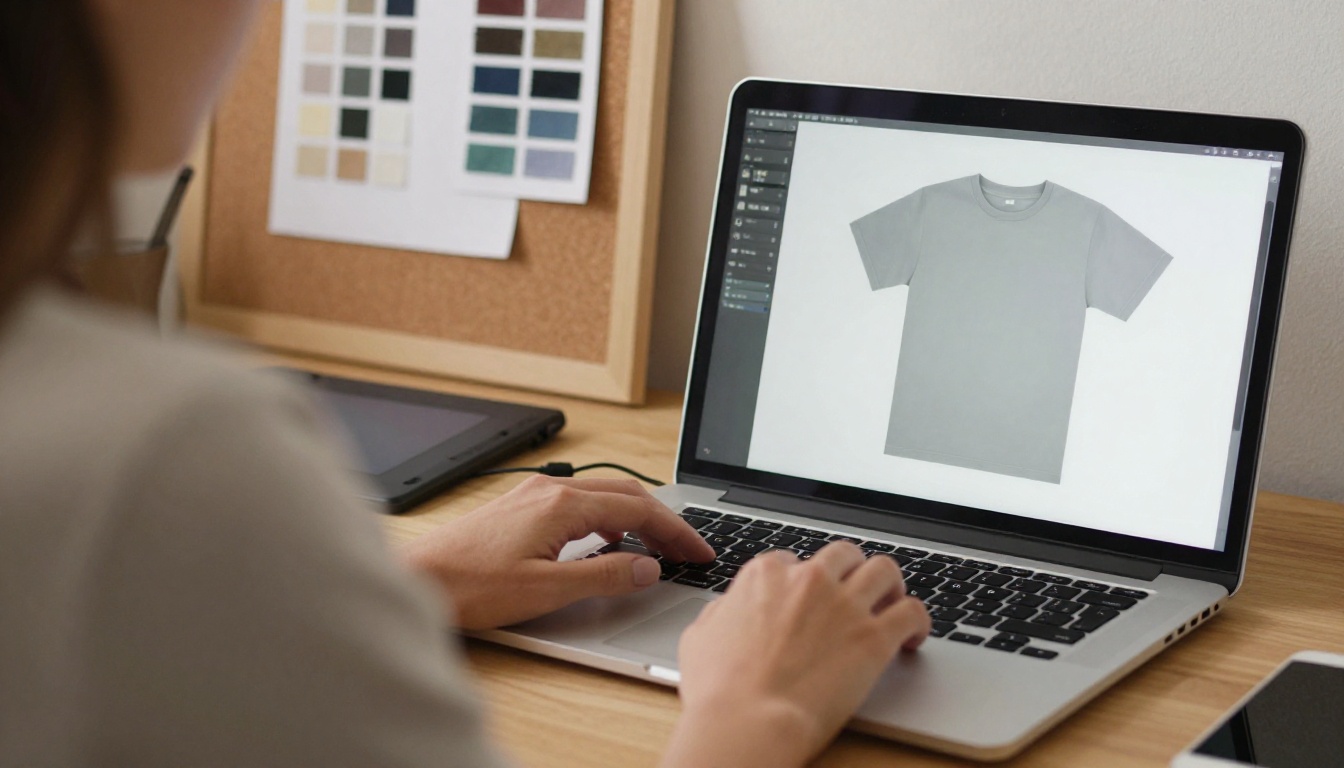
Sometimes you already own the garment. You have a flat lay photo of a real sample and you want to see it on a person without booking a model. That is the job of P Image Try On. It places one or several garments onto a person photo while keeping the original face, pose and body shape.
Upload Your Model Photo
Open the model page on PicassoIA and choose the person image. Pick a photo where the body is clearly visible, the arms are not crossed over the torso, and the light is even. The tool returns the result at the same pixel size as your input, so start with a sharp, well framed picture.
Add the Garment Images
Upload the garment photos next. Up to six are recommended and up to eleven are supported, so you can mix a top, bottoms and accessories in one run. Flat lays on a plain background work best. If your photo shows several items, use the experimental prompt field to name the piece you want, for example the sage t-shirt from image 1 and the trousers from image 2.
Tune Turbo and Output Settings
A few settings are worth knowing before you press generate:
- Turbo: faster processing, but not recommended for outfits with more than four garments.
- Output format: JPG by default, with WebP and PNG available.
- Output quality: a value from 0 to 100, with 95 as the default.
- Preserve input size: on by default, which keeps the original resolution.
- Reference pose: experimental, and it can fail for some seeds, so treat it as a bonus.
- Seed: set a number if you want to reproduce the same result later.
💡 Tip: Run the same model photo with different garments to build a consistent catalog. Because the face and pose stay fixed, the pictures look like they came from one session.
Recolor Garments With Image Editor Pro
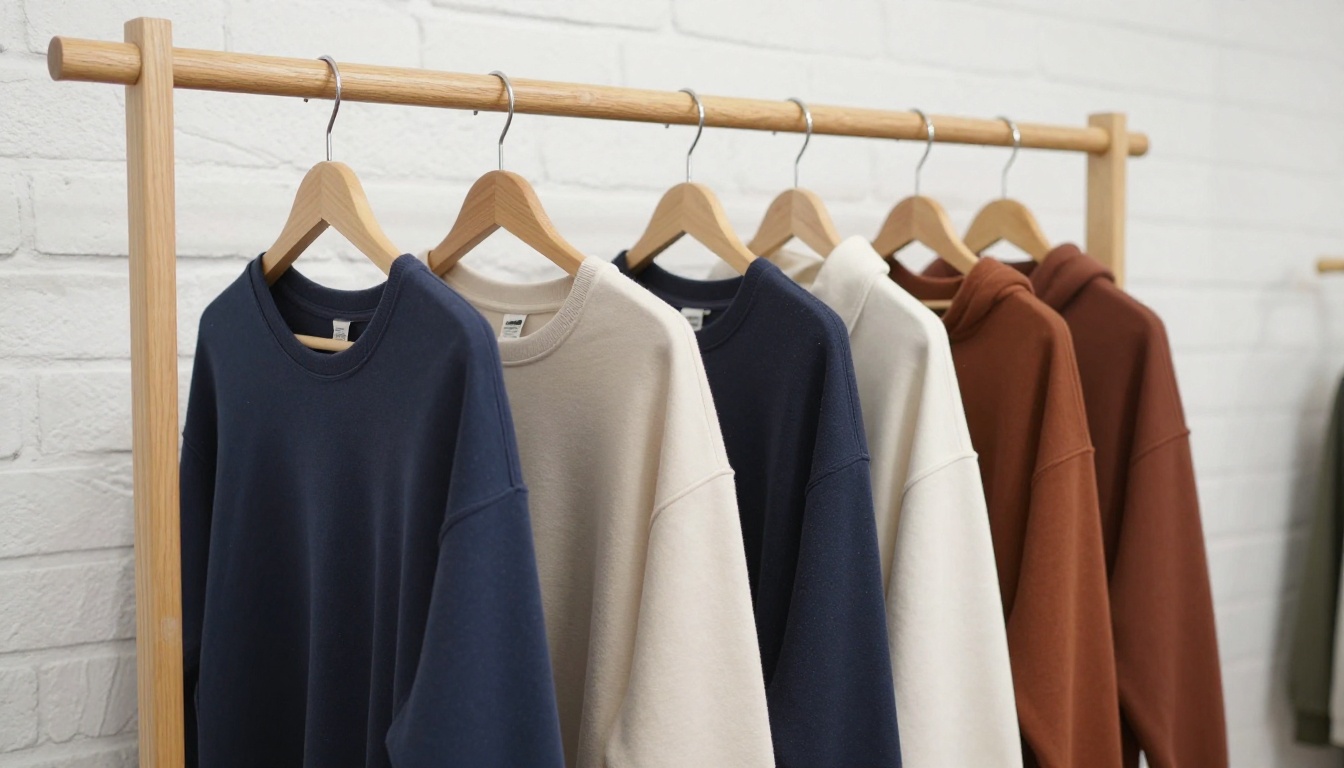
A real shop sells the same tee in six colors, and nobody wants to photograph six versions. PicassoIA Image Editor Pro solves that by editing an existing image from a plain language instruction. It accepts up to three reference images, which you can address as image 1, image 2 and image 3 in the prompt. It has no per-edit cap and no daily quota, so you can run as many color tests as you want.
Here is the workflow:
- Upload your base mockup as the first image.
- Write the change: Change the t-shirt in image 1 to dusty terracotta. Keep the fabric folds, the background and the lighting unchanged.
- Set the aspect ratio to
match_input_image so the framing stays identical.
- Ask for two outputs in one call and compare them side by side.
- Lock the seed once you like the result, then repeat the prompt with the next color name.
The phrase keep everything else unchanged does a lot of work. Without it, the model may drift the background or the lighting, and your colorways will no longer match each other.
You can also use the same model to put a second garment on a model photo. A prompt such as dress the model in image 1 with the clothes from image 2 and keep the original background works with up to three images.
Make Mockups Look Like Real Photos
Buyers decide in about a second whether a picture looks real. Three details separate a believable mockup from an obvious fake.
Fabric Texture and Folds
Cotton is never perfectly flat. It bunches at the elbows, pulls across the shoulders and creates soft shadows under the collar. Ask for those details by name: visible stitching, ribbed collar, natural creases, heavy cotton weave.
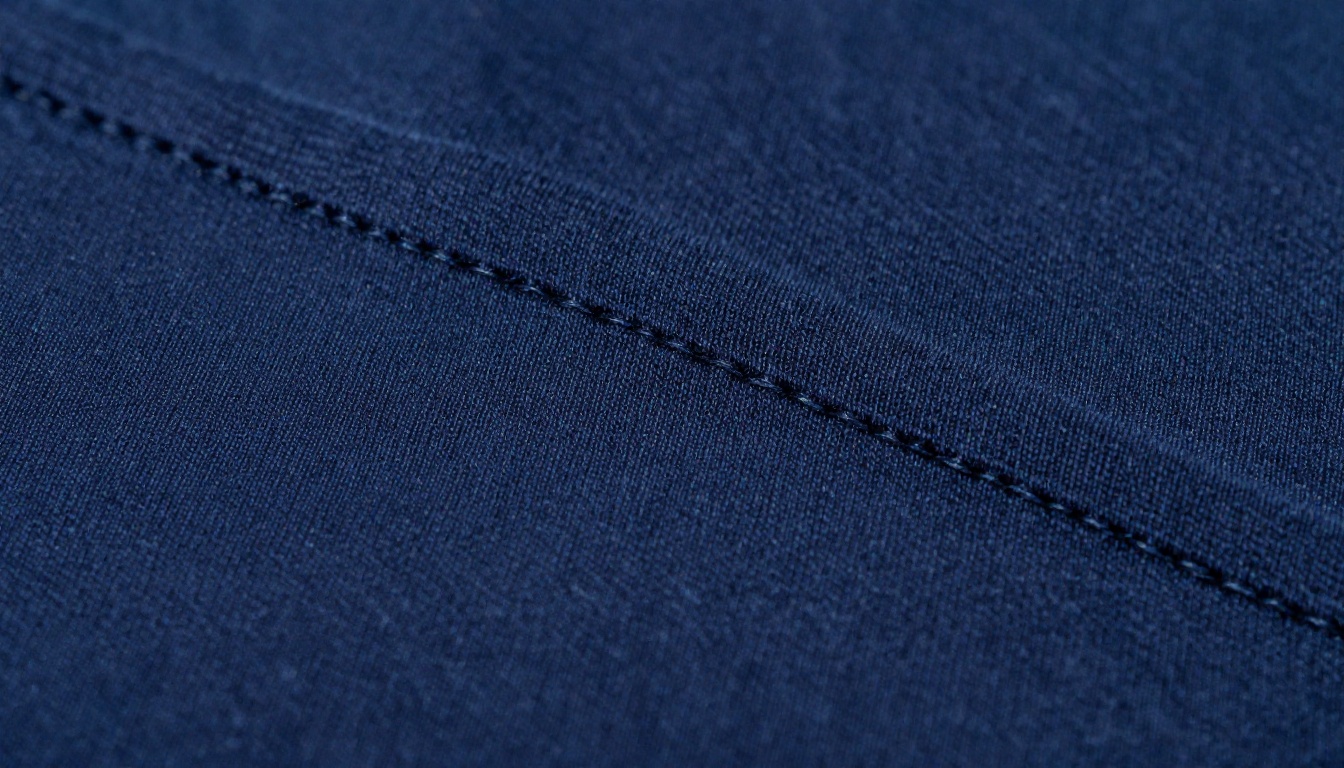
A single close-up like this is also a useful listing photo. It shows the fabric quality that a full-length shot cannot.
Lighting That Matches the Scene
Light direction is the quickest tell. If the window is on the left, every shadow should fall to the right. Use these pairings as a starting point:
- Studio product shot: one large softbox on one side and a white bounce card on the other.
- Street style: low golden sun from behind, which adds a soft rim along the shoulders.
- Lifestyle courtyard: dappled afternoon light through leaves, which gives the fabric a natural pattern of shade.
- Flat lay: soft window light from one side, with faint shadows in the folds.
Cutouts and Upscaling Before Export
Two small steps polish the final file. If you need a clean white or transparent background for a marketplace listing, run the image through Remove Background. If the picture will be printed or shown on a large banner, enlarge it with Real-ESRGAN or, for a more photographic result, Clarity Pro Upscaler.
Mockup Ideas by Product
Each product has an angle that sells it. Start with the one that matches what you plan to stock.
| Product | Best angle | Scene idea | Common flaw |
|---|
| T-shirt | Eye level, chest forward | Brick wall, sunny courtyard | Collar looks flat |
| Hoodie | Low angle, walking | Quiet street, early light | Drawstrings uneven |
| Sweatshirt | Three-quarter view | Mannequin on grey paper | Cuffs lose their ribbing |
| Tote bag | Top-down at 45 degrees | Whitewashed table | Handles twist |
| Cap or beanie | Close-up, slight angle | Wood surface with plants | Brim shape warps |
T-Shirts and Hoodies
The shirt is the easiest place to start because the shape is simple and the fabric is forgiving. A relaxed lifestyle portrait gives buyers a sense of the fit, while a studio shot on a mannequin shows the construction.
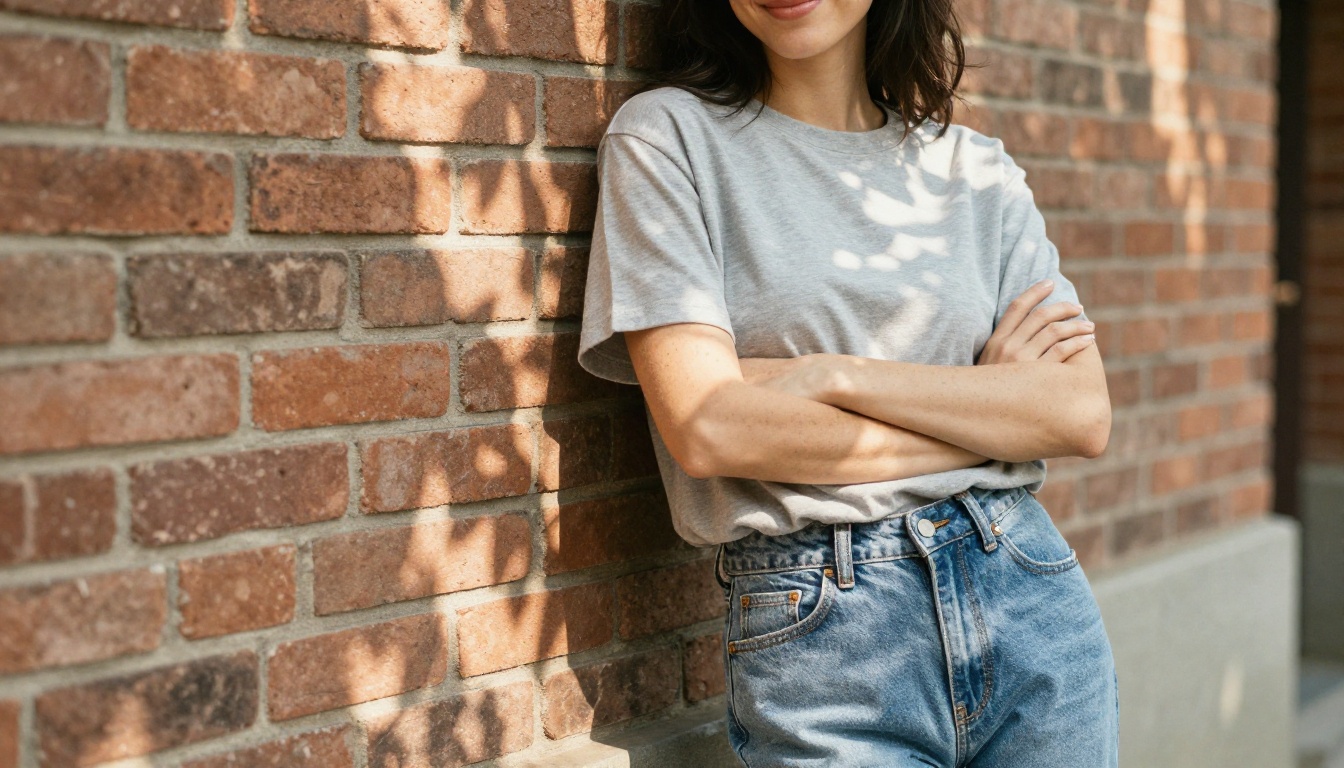
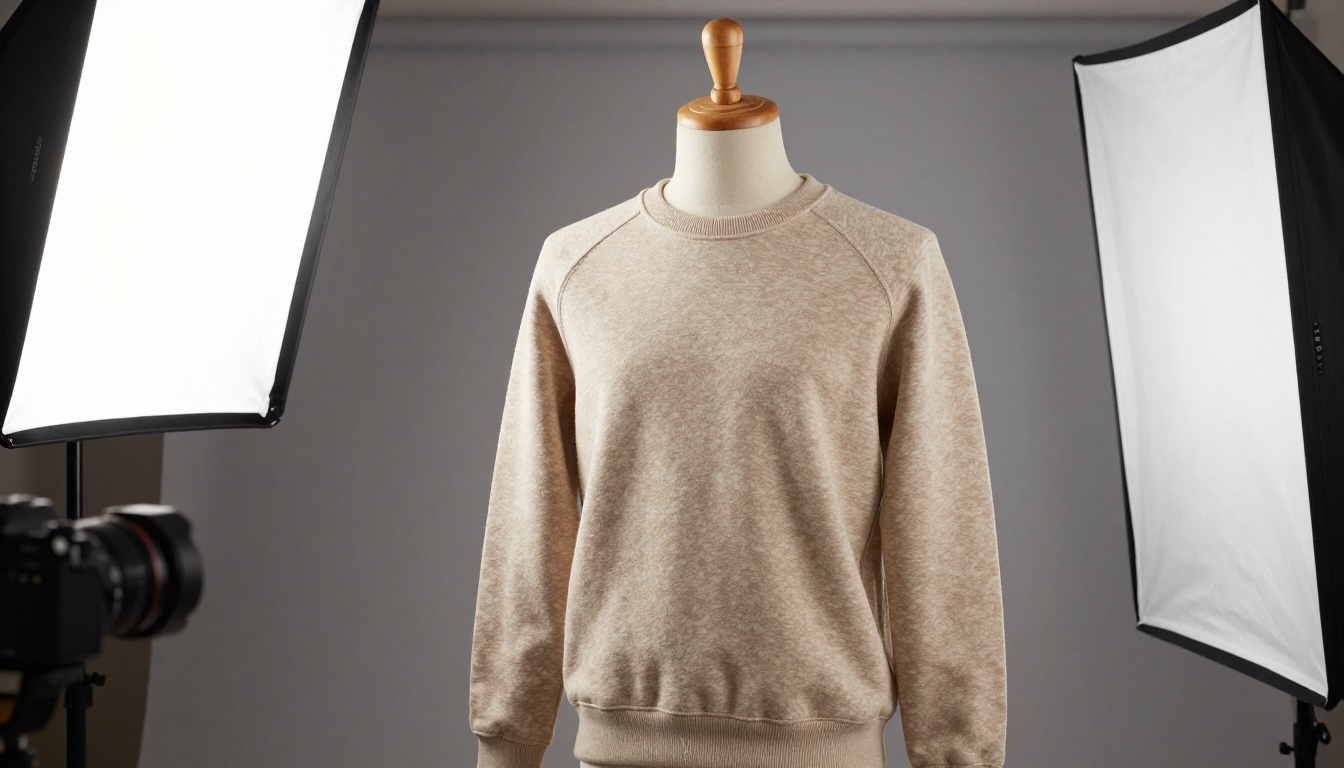
For sweatshirts, a mannequin on a seamless grey backdrop is the classic product shot. Ask for a softbox on one side and a white bounce card on the other, and mention the ribbed cuffs and brushed fleece so the model renders them.
Totes, Caps and Beanies
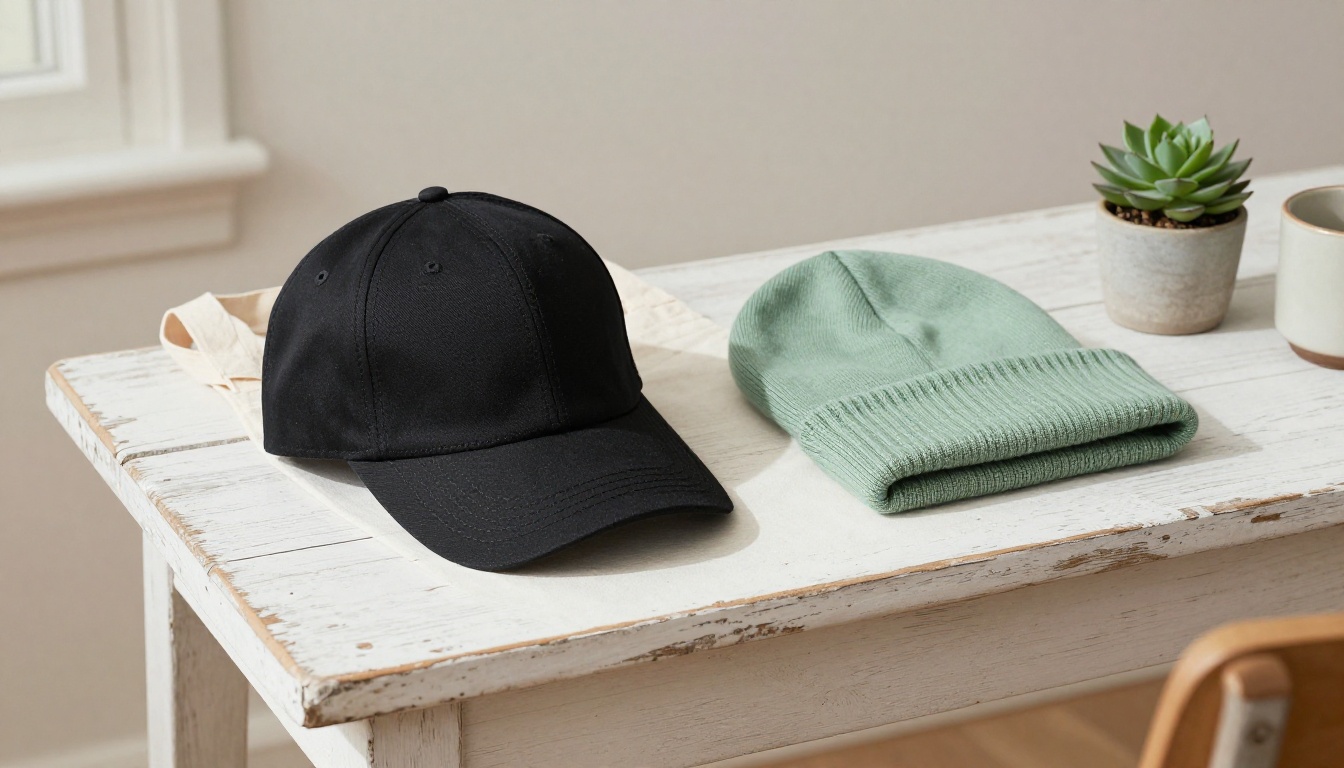
Accessories sell well as a group. A tote, a cap and a beanie arranged on one table make a single image that shows a whole collection. Ask for a top-down view at roughly 45 degrees, soft window light and a few neutral props such as a small plant or a ceramic cup.
💡 Tip: Keep props in the same neutral palette as the product. A bright prop pulls the eye away from the garment, and the garment is the thing you are selling.
Mistakes That Make Mockups Look Fake
Most failed mockups share the same handful of problems. Check your image against this list before you publish:
- Warped text and logos. If lettering looks wobbly, remove it from the generated image and add the final artwork separately.
- Shadows that disagree. One shadow falling left and another falling right is an instant giveaway.
- Perfect symmetry. Real shirts hang with small asymmetries. Ask for natural creases.
- Plastic skin. Add natural skin texture and fine film grain to the prompt.
- Colors that drift between variants. Recolor from one base image instead of generating each color from scratch.
- Low resolution. A soft image looks cheap on a large screen. Upscale before you export.
- Fantasy details. Extra fingers, odd seams or a collar that changes shape mean you should regenerate, not repair.
The final test is simple. Would you order this shirt from this picture? If the answer is yes, post it. Plenty of small brands use mockups to check interest before they spend money on stock, and a clear, honest picture is the cheapest way to measure demand.
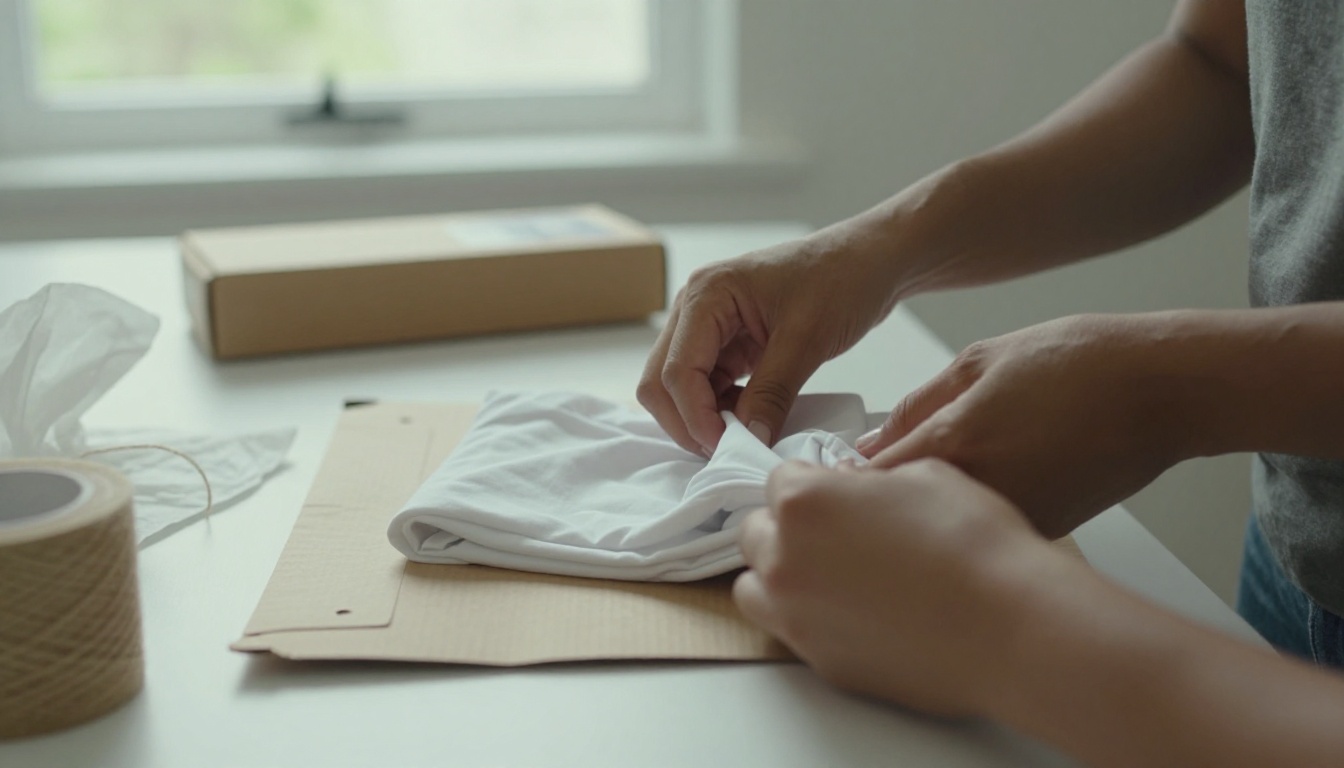
Make Your First Mockup on Picasso IA
You do not need a studio, a model or a paid template pack to get a clean clothing mockup. You need one clear prompt, a few minutes and the willingness to run the idea twice. Open P Image Try On to dress a model photo with your real garment, or open PicassoIA Image Editor Pro to recolor a base mockup into a full range of colors.
Start with one plain tee, one scene and one light direction. Generate it, change a single word, and generate again. By the third run you will have a rhythm, and by the tenth you will have a small catalog. Try it on Picasso IA today and see how far one prompt can take your clothing brand.


